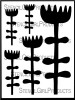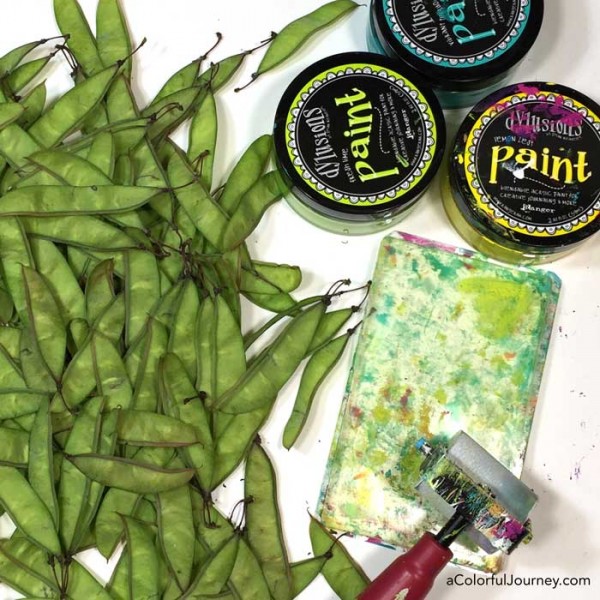
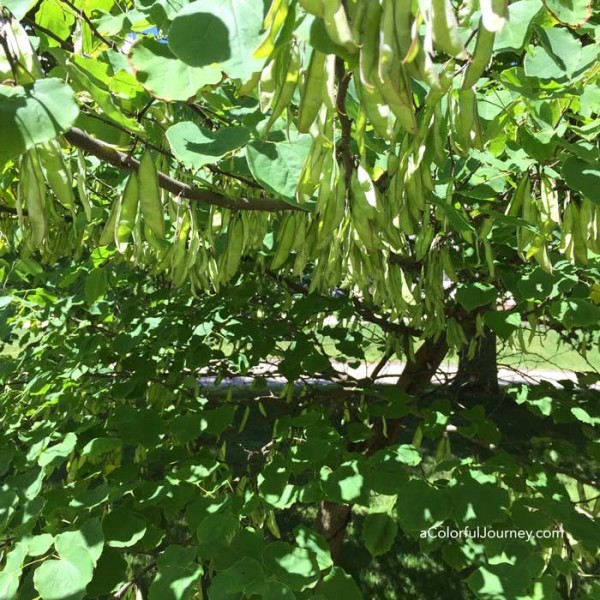
Inspiration can come from anywhere, including the everyday. I have walked by the tree below for weeks noticing the abundance of seed pods but it wasn’t until I was hit in the head by one of the branches that I realized how much fun they would be Gelli printing®!
Yes, my muse literally hit me in the head with this month’s theme for the Let’s Play videos. Ordinary things can be fantastic starting points for play.
What is Let’s Play? It’s all about rediscovering the ability to play. Each month I share a specific strategy that helped me recapture the freedom and fun of play. This month’s theme is being inspired by the everyday. You can see more of the Let’s Play series here.
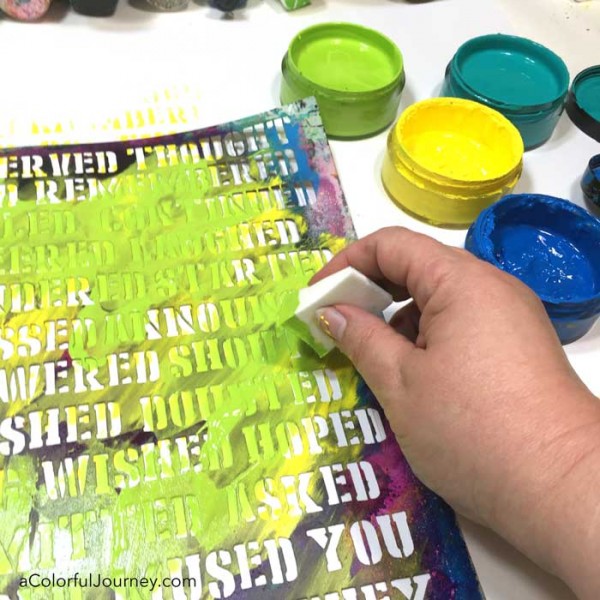
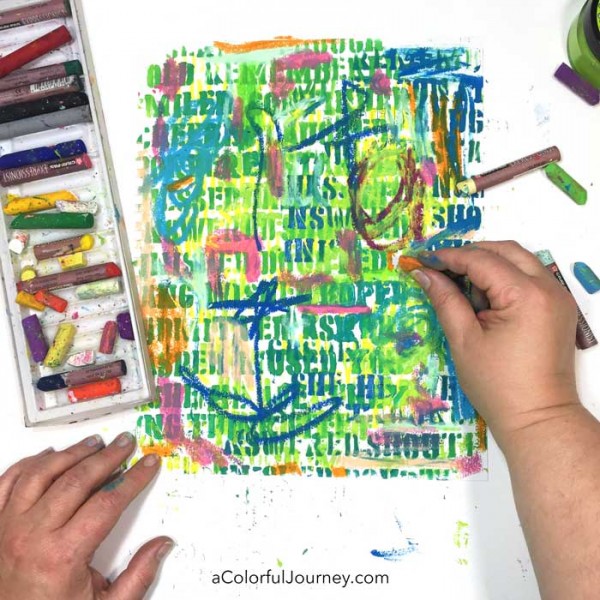
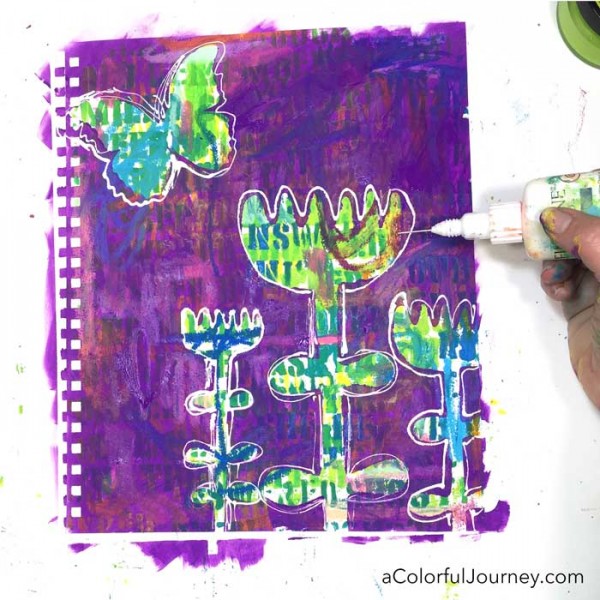
In the video, you’ll see me Gelli printing® directly in my art journal with the layers building up to make a vibrant background!
Watch Gelli Printing with Seed Pods on YouTube.
Giveaway! Leave a comment telling me what everyday things inspire you to get entered in the $50 Dick Blick gift certificate giveaway (more details below). I’d love to see what you’re creating- share it with us all in our Facebook community!
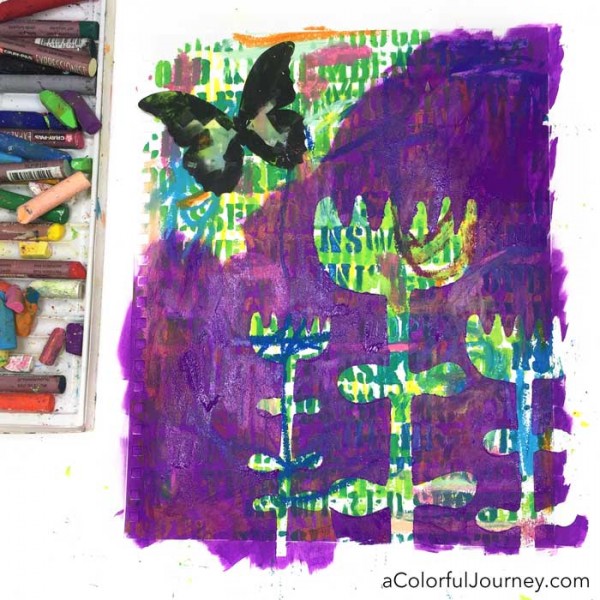
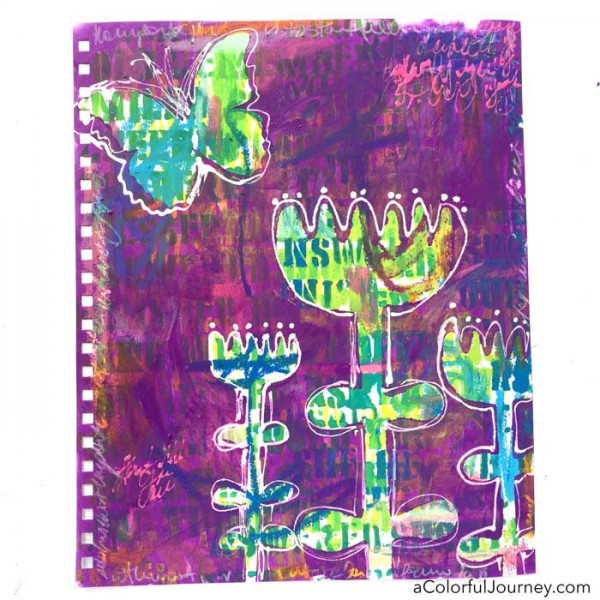
Here’s the art journal page…but it won’t be staying like this for long! I’m going to be finishing up this page in a video next week! Subscribe to my YouTube channel or get signed up for my newsletter to be sure you see it!
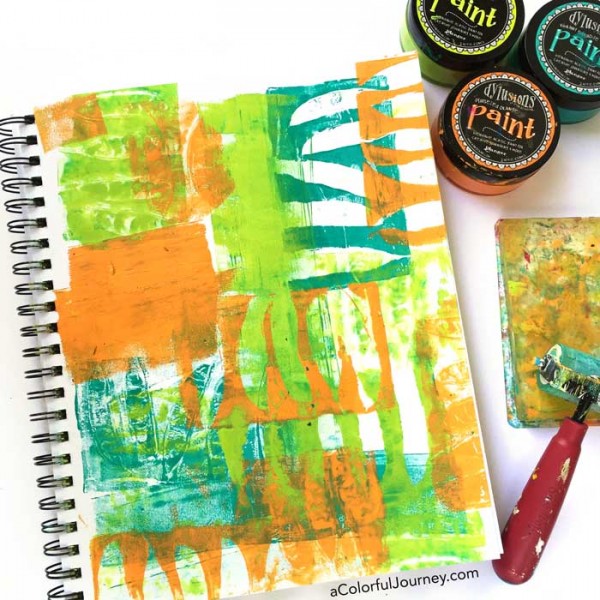
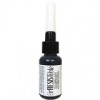
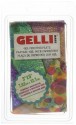
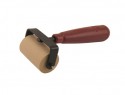
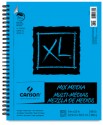
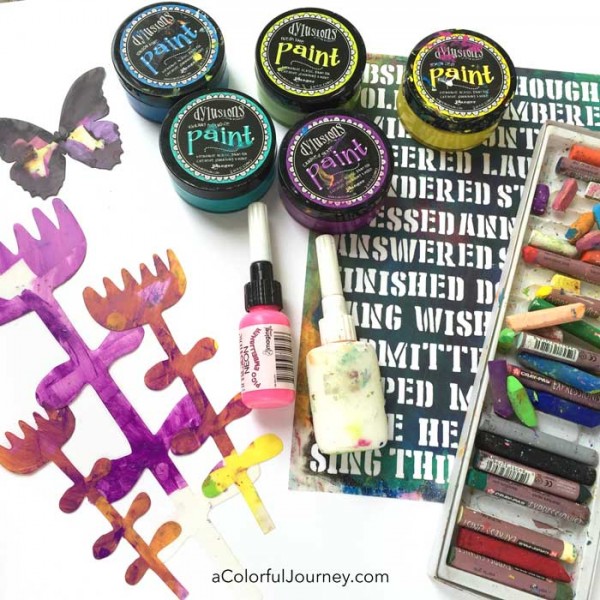
Here are the supplies I used. Some of these links are affiliate links which means I get a small percentage. It doesn’t cost you anything extra and you are helping me keep this blog and my videos ad free! Thank you- I don’t like ads any more than you do!


Want to see more Let’s Play videos? You can find all the weekly posts here.
Sharing your play: I, and a whole bunch of others, would love to see what you’re creating! We’re sharing it in the Facebook group called A Colorful Place to Play. Why Facebook? I’ve listened to your feedback about how and where you’d like to share your play instead of the link parties.
Monthly giveaways: Leave comment on any (and all for more chances) of the weekly Let’s Play blog posts to be entered and one winner each month will be chosen by random.org. Want more chances to win a $50 gift certificate to DickBlick.com? Pin any of the images from the page or share about it on Facebook- then come back and leave a comment telling me what you did and you can have more chances to win! Giveaway closes the Sunday, July 31st at 11 pm EST and the winner will announced on the blog the following Monday.
 What’s always been the hardest part of creating for me? Starting. Especially when there is a blank page involved. I used to be stopped by thoughts such as, “Will it be good enough?” or “I don’t have a good plan” or “I don’t have the right supplies” or “It won’t be good enough anyway”.