What happens when my head and heart need a place to let it all out? I create. I play. And sometimes, what comes out is more than just shapes on the paper—it’s a way to feel whole again when life gets heavy. That’s exactly how my latest collection at StencilGirlProducts.com came to be.
These new stencils are visual reminders of the women who’ve shaped us, the friends who help us carry the weight, and the power of our stories. Life is a lot lighter (and a lot more colorful) when we hold that space for one another.
Want to see these stencils in action? Check out the video above where I share several ways to play with these including three big ways I use words.
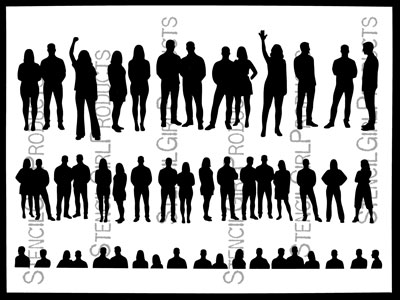
We Carry Each Other was inspired by the invisible ways we hold space for one another. It’s a is a visual reminder that the weight of life — its joys, struggles, and uncertainties — becomes lighter when it’s shared.
Whether in moments of celebration or hardship, we rise not alone, but lifted by the presence, compassion, and resilience of those around us. A crowd of individuals, each unique, yet woven into a larger tapestry of shared experience.
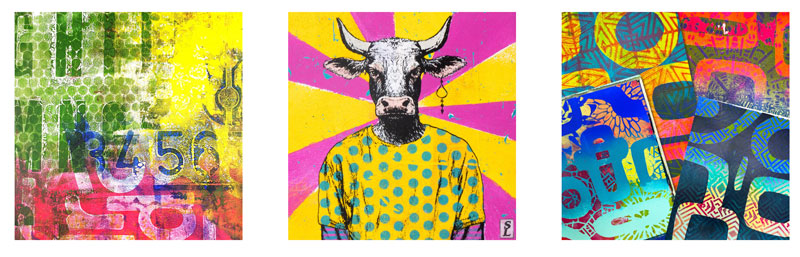
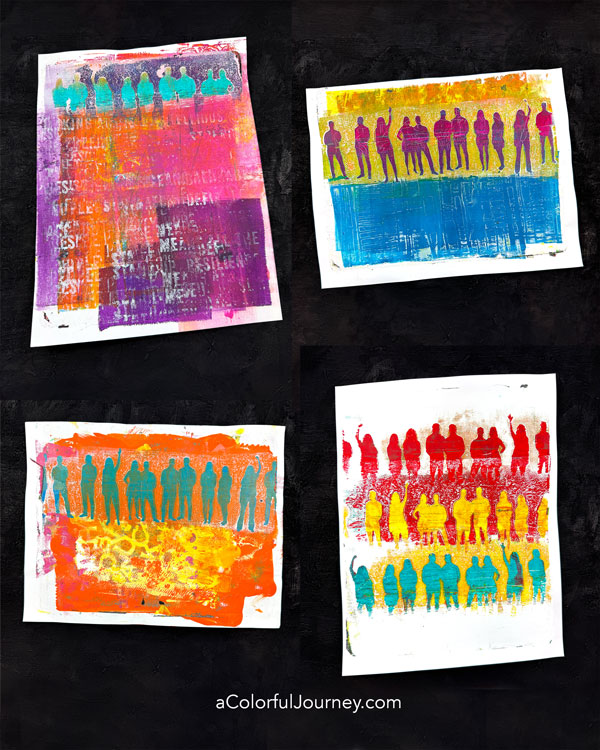
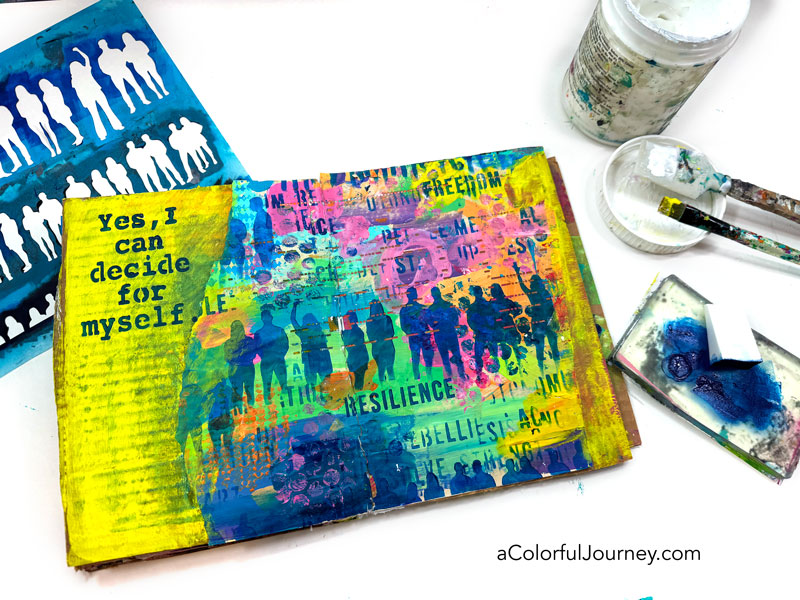
Stencils are a quick way to add images and patterns into gel prints. You can use the figures from head to toe or only use part of them so they look like they’re fading into the background.
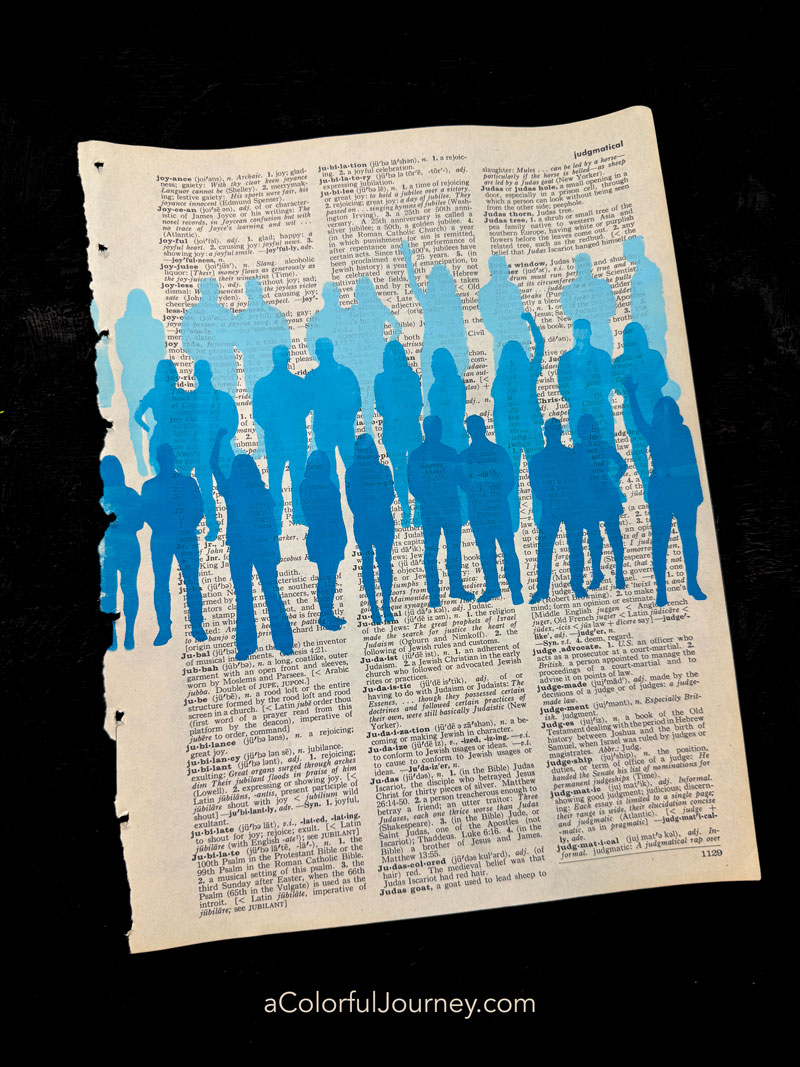
To create a gradient look like this simply takes one dark color of paint, in this case I used blue, and white to mix it with. In the video above you’ll see how easy this is to do and the power of flipping a stencil.
3 Stencils, 3 Ways
Words are powerful and in this collection I created 3 different word stencils and I’m sharing 3 big ways they can be used in your play. I’ve got photos to show you all three of these ideas in action.
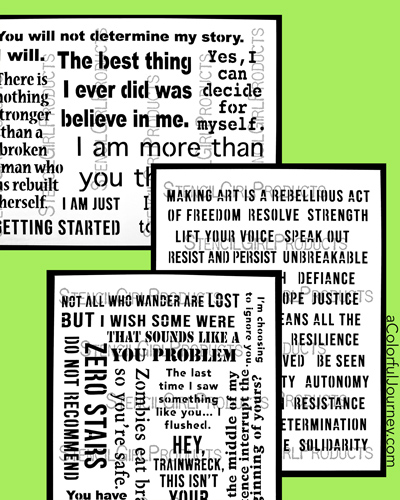
1. Exactly as they are- great for titles!
2. As a design element
3. To add meaning
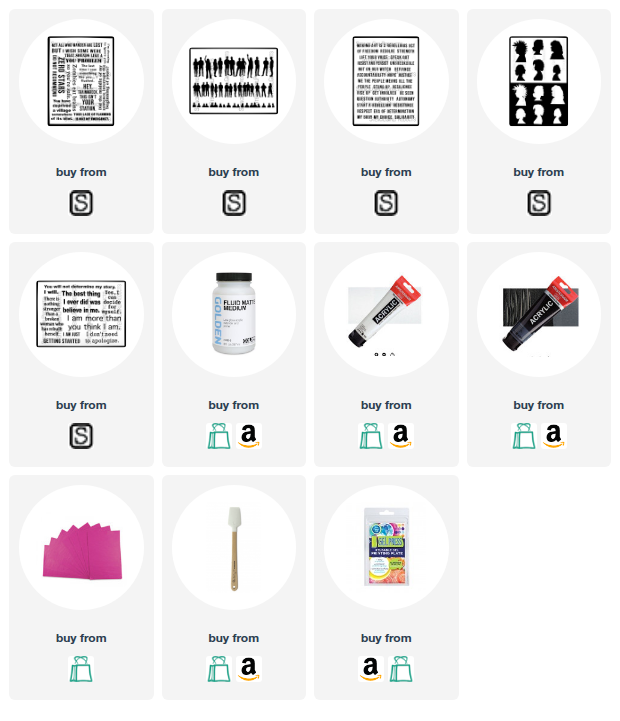
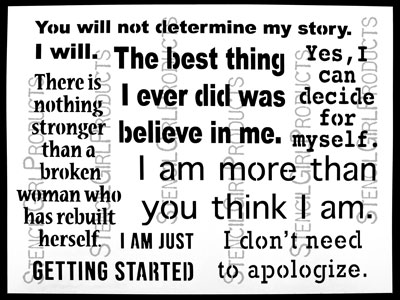
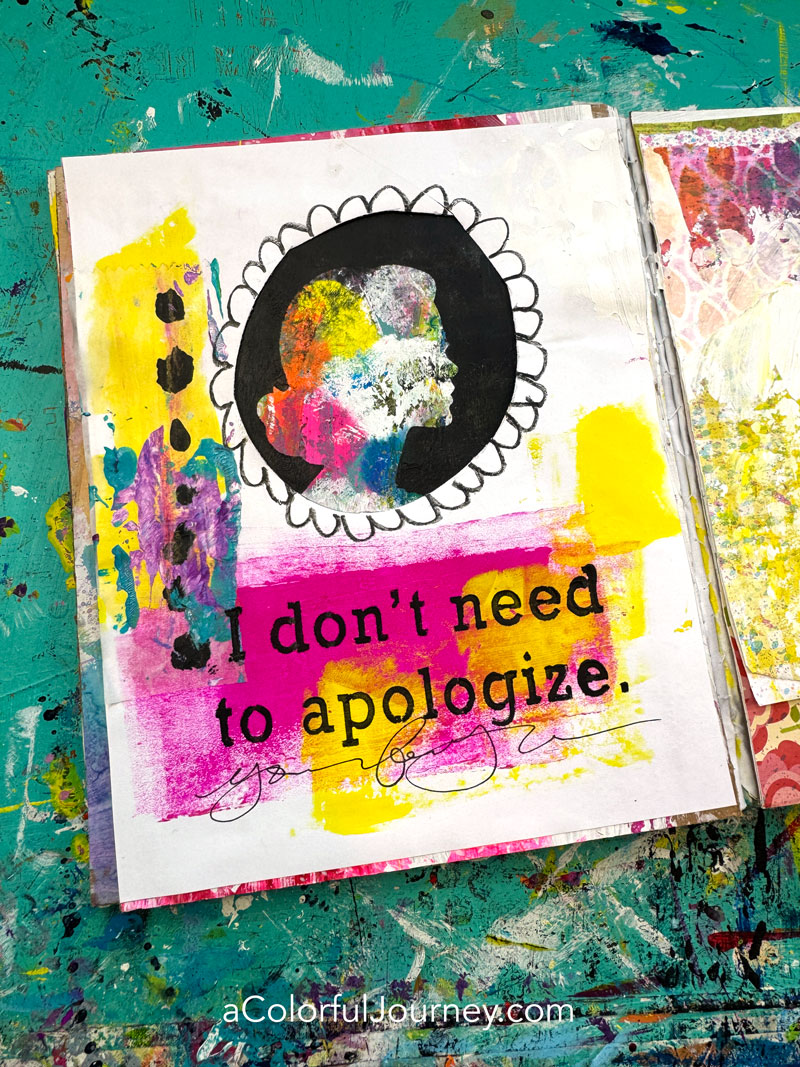
Own Your Story is a bold declaration for self-truth, resilience, and the radical act of showing up for yourself. These words are a reminder that your journey — with its twists, triumphs, and scars — is worthy of respect, not apologies. Shake off their expectations and stand tall in the truth of who you are. Because the most powerful story you can tell… is your own.
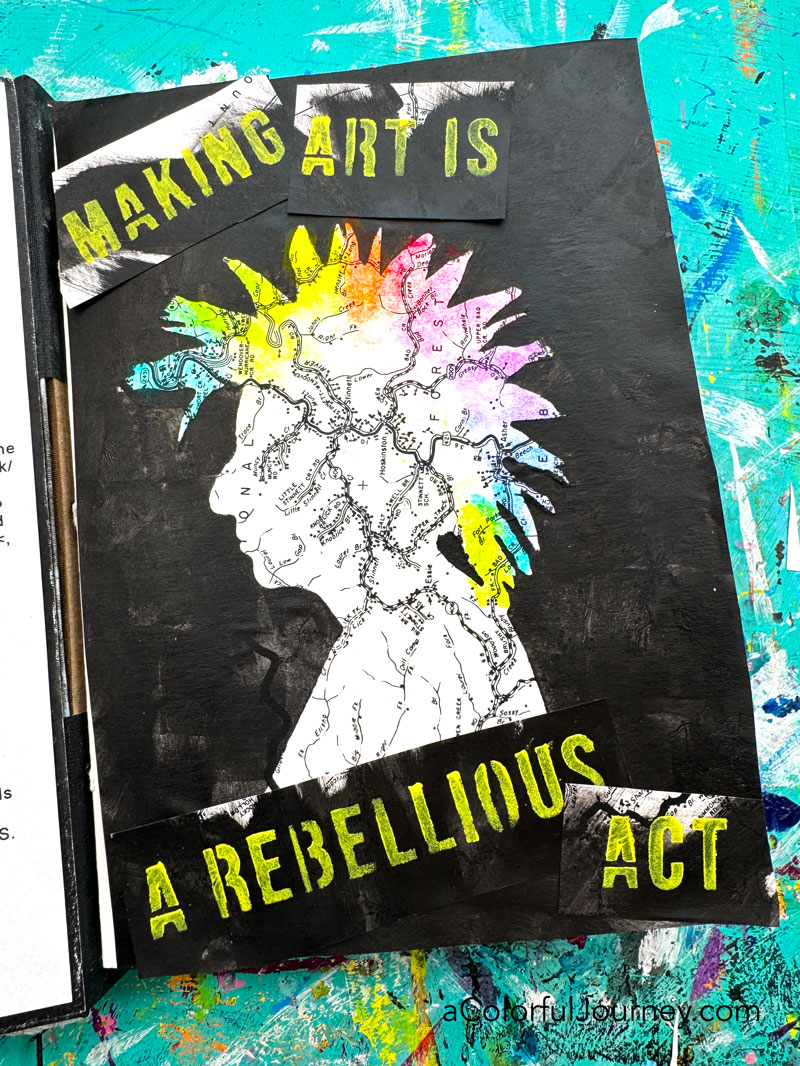
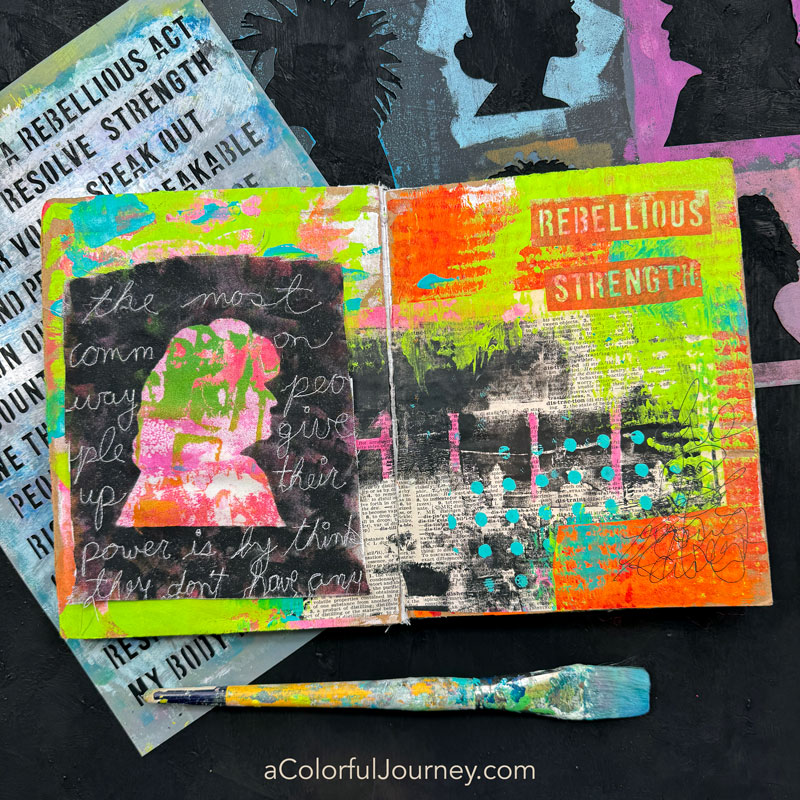
On this art journal page, Own Your Story created the title. What about those other words on there? Well they came from Rebellious Acts.
Words from Rebellious Acts are both a design element and bring meaning for this page. The words you can read give you a bit of context for the title. Then there are the broken bits of words fading into the background using words as a design element.
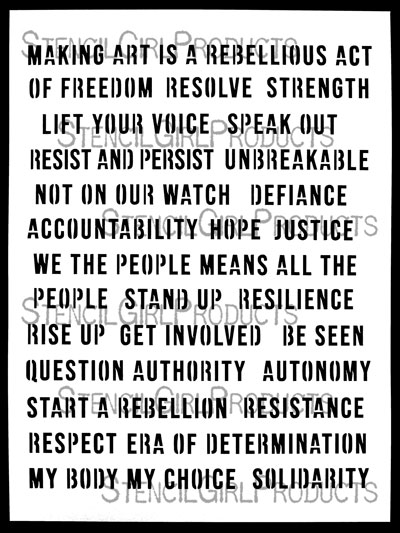
Why did I create Rebellious Acts? Because art can (and should) challenge the norms and push back against the pressures that try to contain us. Sometimes the most rebellious thing you can do is let yourself play, make a mess, and trust that even the OOPS moments are part of the magic.
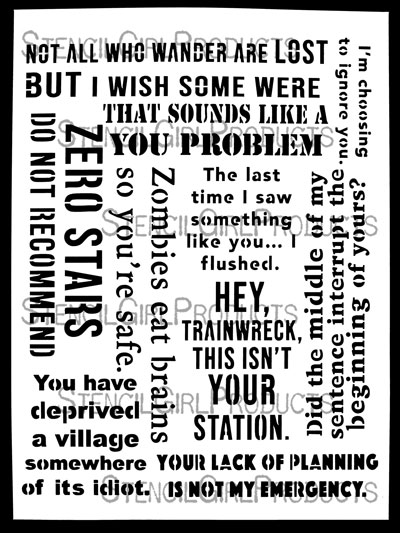
Bold and Brazen is an unapologetically mouthy celebration of sarcasm in all its glory. Inspired by those times when I was told to smile more, to be quieter and tone it down. Spoiler, we don’t have to!
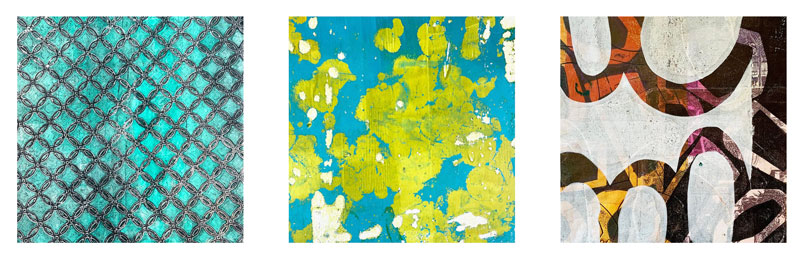
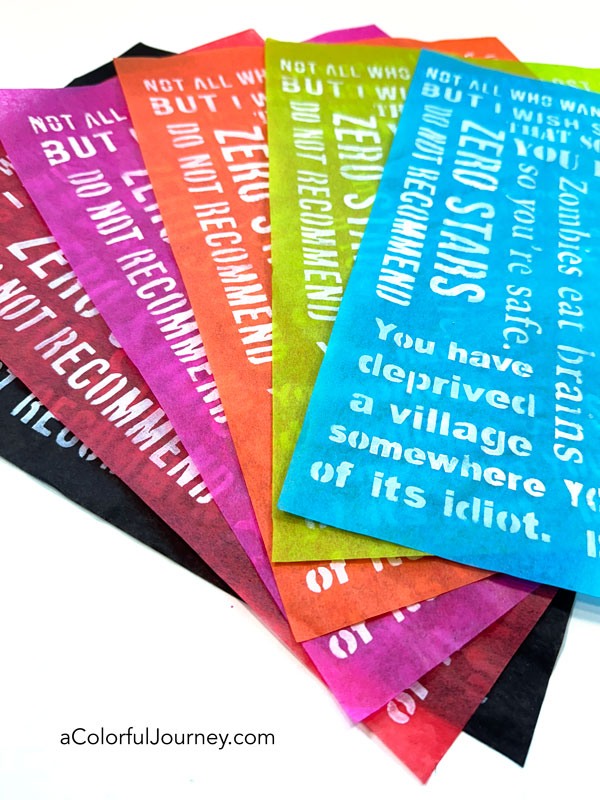
By simply stenciling with white paint on colored tissue paper, I’ve got an easy way to start a collage or art journal page. So that’s the design part, but there was also some meaning…
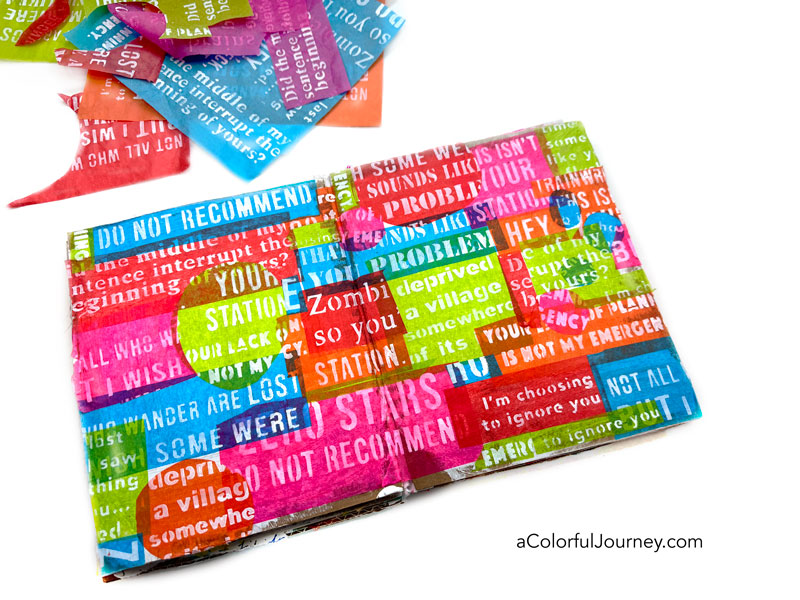
I was frustrated and fed up with a whole host of things and being able layer some sarcasm on the page helped me let some of it go. That’s the meaning that is now infused into this page. How will it evolve as the layers build up? No idea, since I don’t know what will happen until I start the next layer. That’s where the words will act as a guiding design element.
Want to know what it becomes as more layers are added? If you’re signed up for my newsletter, you’ll be in the know! Need to jump on in for the weekly encouragement and creative inspiration? Then head on over here.
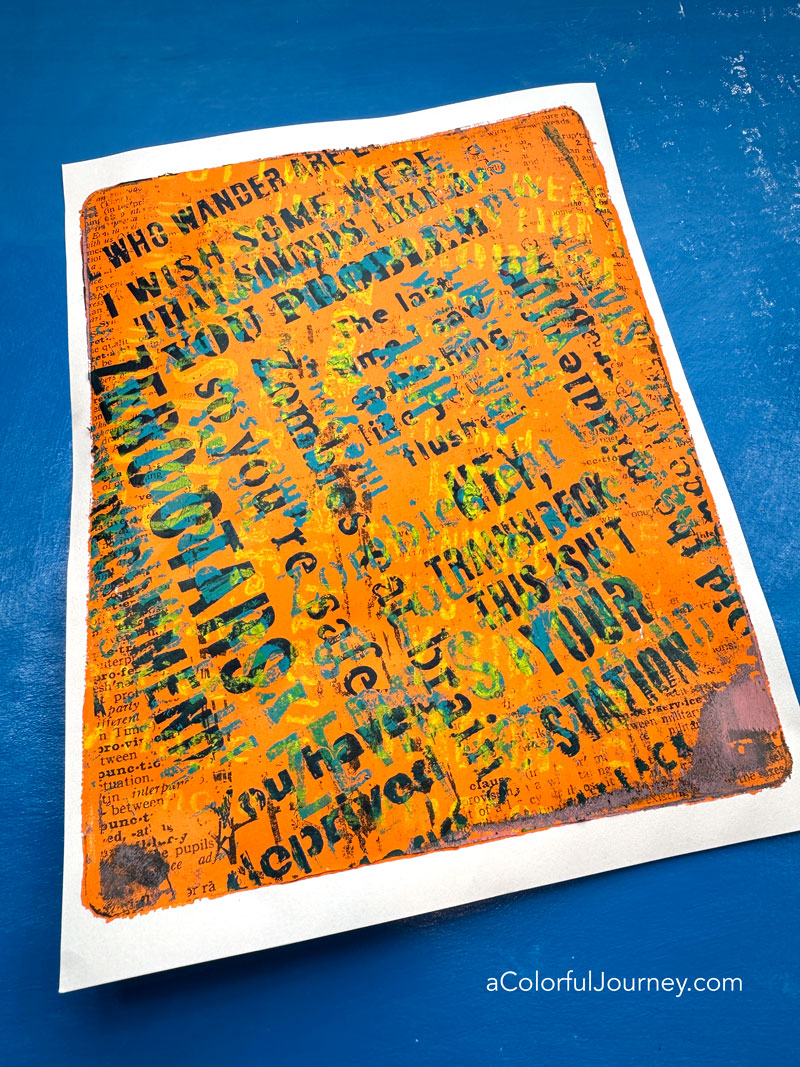
Layers of imperfect words on a gel plate turns the words into a design element with a “secret” meaning of snark since it’s hard to read unless you know what stencil was used. I like having that bit of mystery in the play.
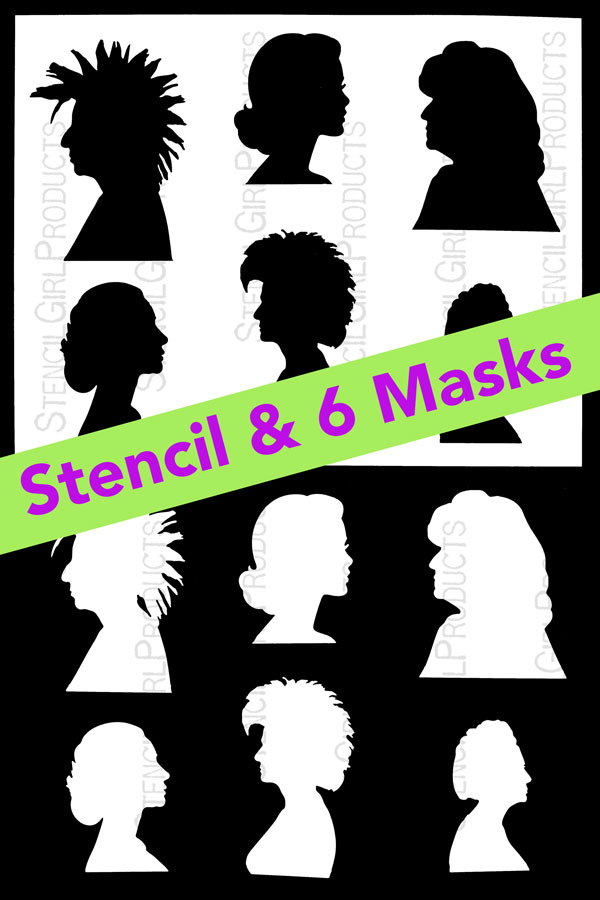
Before Us, Beside Us, Within Us is a tribute to the lineage of womanhood — to the friends, family, mentors, and strangers who shape us. These silhouettes reflect the interconnected presence of the women in our lives — those who came before us, walk beside us, and live within us — whether by blood, influence, memory, or soul.
This is a set that includes the stencil and all 6 masks. Having the mask and the stencil means there is zero guessing when placing it. It wasn’t luck or skill in getting these women in just the right place on a colorful background. In the video above, I show you how to use them together.
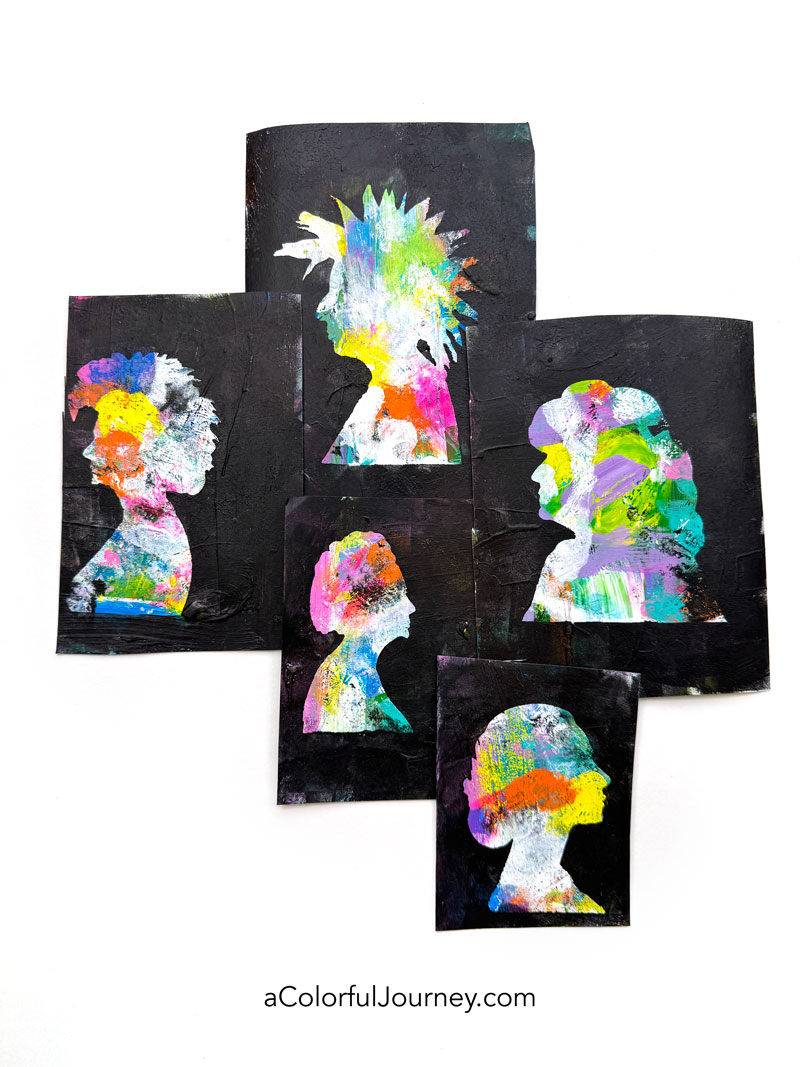
Having these colorful women stenciled and ready means I can grab one any time I need a strong woman to add to an art journal page. Plus, it’s an easy way to turn a colorful background paper into a focal image!
Stencils can play on fabric too! Here I used a fantastic piece by designer e bond with one of the silhouettes. After using plain old acrylic paint, I added a quote by Alice Walker with some free motion sewing. Since this art journal won’t be going through a washing machine, I used plain old acrylic paint. But yes, you could do this with fabric paint if it’s something you want to wash.
What if you don’t have the exact same art supplies I used? No problem! Use whatever you have on hand or what you prefer to play with because I have never, and I mean never, found an art supply that can’t play with stencils. That’s why stencils help me get even more out all of my other art supplies!
You can see these and all of my stencils at StencilGirlProducts.com. As much fun as designing stencils is, the best part is seeing how you use them in your play and I can’t wait to see what you create!
Here are the supplies used. Some of these links may be affiliate links which means I may get a small percentage and it doesn’t cost you anything extra! And you get a really good feeling knowing that you are helping keep the free tutorials coming!