
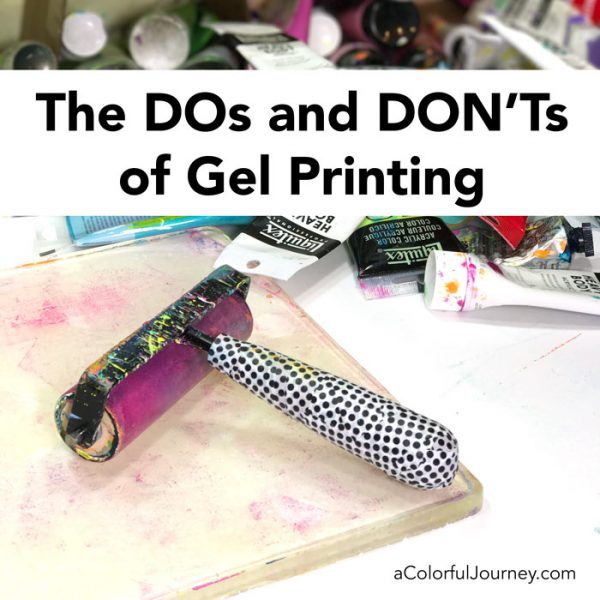
 What are the dos and don’ts for gel printing? The most important is Do have fun and Don’t worry about doing it the “right” way because there is no right way…just the way you enjoy! Do use a gel plate with the squish factor, like the Gel Press plates. Don’t use a hard plate, they don’t release the paint nearly as well.
Watch The Dos and Don’ts of Gel Printing on Youtube.
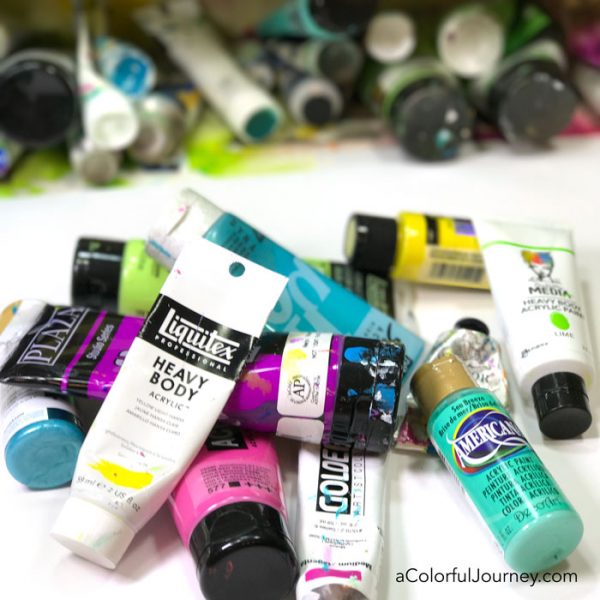
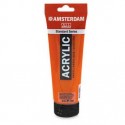
Do use any acrylic paint. Don’t worry if the paint is the correct type for gel printing. All acrylic paints work on it!
Do get your favorite colors, even if they are different brands of paint. Don’t worry, paint doesn’t have cooties and the different brands can all play nicely together.
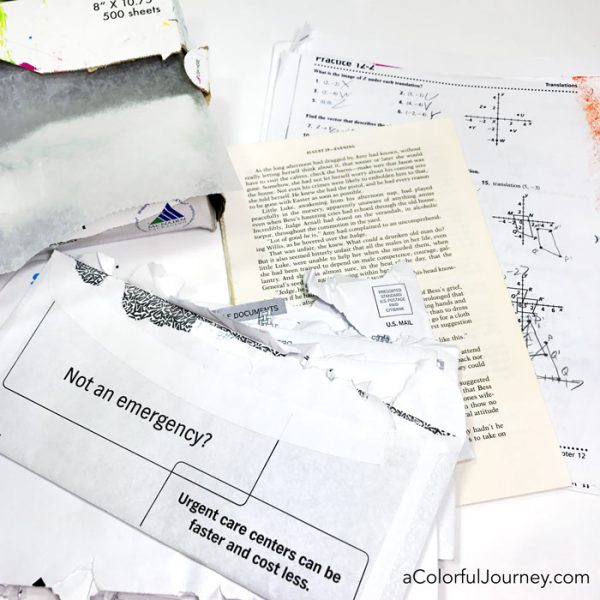
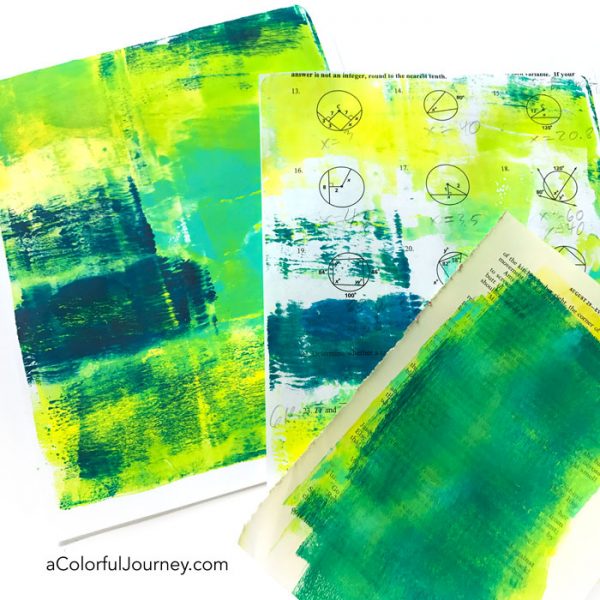
Do grab whatever papers you have around. Junk mail, white paper, cardstock, geometry homework, old scrapbook paper, book pages, the phone book, whatever you have!
Don’t use heavily coated papers (like print at home glossy photo paper) since the coating might leave a residue on the plate and fragile extra vintage crumbling papers because well…they just crumble fall apart when you print with them.
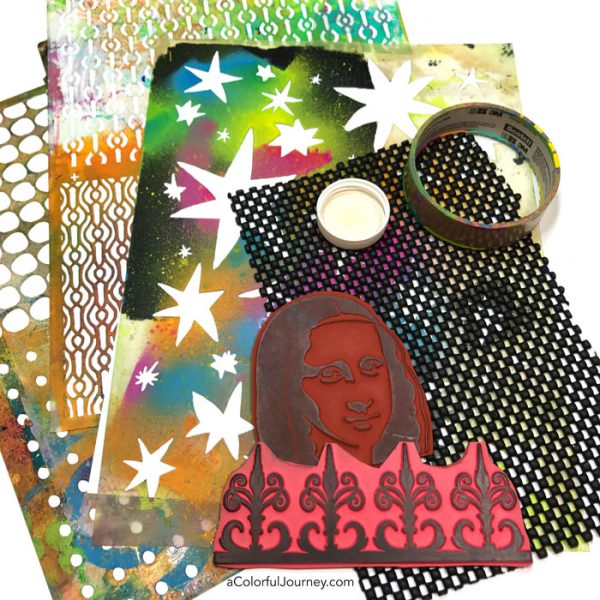
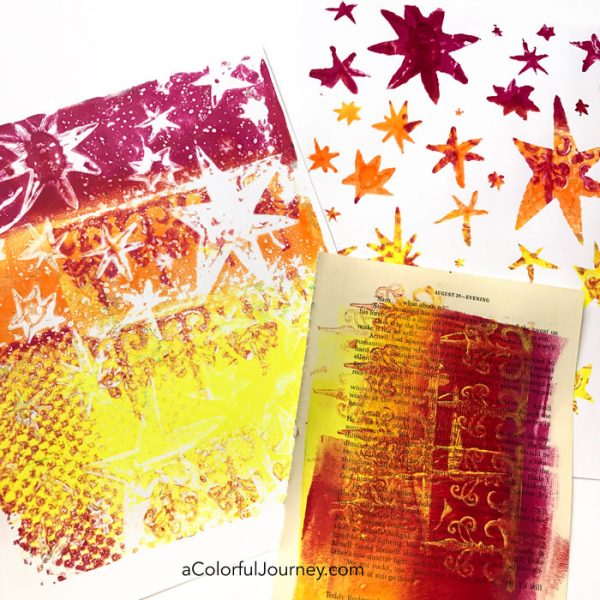
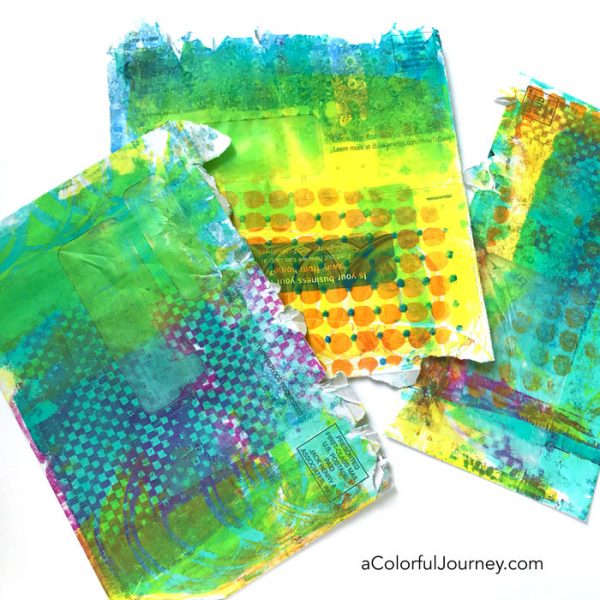
Do look through your house and your stash of supplies to find things to add texture and pattern. Shelf liner, caps, bottles, cardboard from a finished roll of masking tape, stencils, rubber stamps- anything can become texture or pattern!
Don’t overlook anything. You might be surprised what fun textures you can create with everyday items…like pasta. Yes, I used dried pasta and of course, there’s a video of it.
Do make some ghost prints. Don’t be afraid, ghost prints are not the paranormal, they are they 2nd or so 3rd pulls that have less paint on them and a softer look (hence the ghost name) than the very first pull.
Do have fun and go a little wild and crazy with that paint! Don’t be afraid to take a risk…after all it’s just paint and paper. It’s not like we are walking a tightrope 50 feet in the air without a net.
Do put the amount of paint on the plate that you like. Don’t worry if it is the right amount. Let yourself experiment and find the amounts that feel best to you. Some people like thin precise layers of paint on the plate. I prefer to put a river of color on the plate. No wrong amount, it just gives you different looks.
Do make sure you have good contact between the paper and the paint when using a stencil especially if using cardstock. The thicker the paper the more you need make sure you have that paper paint contact. Don’t forget to take a pull of the paint from under the stencil. There is magic under there.
Do let the layers build up. Don’t worry if you don’t like one layer – just add another layer on top of it.
Do make lots of prints that way you will have lots of opportunities to create prints you love. Don’t worry if every print isn’t magical on the first pull. You can always print right on top of those prints. So often the print I thought was yuck in the beginning becomes my favorite after a few more layers.
Do clean it if it brings you joy to clean it. My plates frequently have dried paint on them because cleaning does not bring me joy.
Don’t clean it if it does not bring you joy to clean it. I rarely ever clean my plates. They don’t look factory perfect, but they don’t have to look that way to make magical prints.
Gel Printing Resources
Gel printing videos on YouTube
Getting Started Gel Printing Guide (There’s a downloadable getting started guide available here)
Gel Printing Workshops I offer both in person and online workshops. The most up to date list and workshops can be found here.
Gel Printing Supplies
Some of my favorite gel printing play

Thanks for showing us the proper way to play! I really need to let go with my gel plate!
Where did you get the stencil that you used in this video, with the hook at top for hanging it had small circles and larger circles at the bottom?
I think I’m going to look forward to junk mail now!
Nice dos and don’ts. You certainly have the knack for all kinds of gell press rainbow goodness. I can see you slapping that plate on the wall now. xox
Love your style and humor. You blog and videos your classes are inspiring. Thanks Carolyn.
Beautiful! Thanks for your generosity .
What a wonderful and witty tutorial. You present yourself and your ideas so professionally. I learned a lot and will be back for more. Thank you.
You are fabulous—thanksgiving!
Awesome
Starting my first gel printing journey today and had to re-watch you starter video. You make me feel competent and energized. Thank you for your happy outlook!
Some of the prints I’ve made have dried and are warped. I want to use them to make greeting cards. Should I use something like a decoupage to finish them on card stock and smooth them out? I usually use double faced tape to stick layers of paper to card stock, but these prints are crispy and not flattened.
Put them between 2 heavy books overnight and that should flatten them back out Joyce.
I found you on Pinterest. Am new to all this but very keen to print my own papers. Seen several tutorials but yours is truly inspirational. Love your delivery and the motivation you impart. Thank you for helping me with my journey. Lots of good wishes, nervous potential crafter Su ??.
I’m a woodturner. I make spinning tops that I like to color wildly. I’ve done nice marbling. I’m wondering if it’s possible to use a gel plate to color a contoured wooden surface, like the top of a spinning top. I’m thinking about drilling a round hole in the gel plate to accommodate the “spinner,” then pressing the top into the gel and rocking it around to color its convex contour. Does this sound at all reasonable?
I’m new to this and I had a question. My brayer seems to slip and slide on the plate. Is my paint too wet? Or ffo I have the wrong type of barter.
Thanks
I use a soft rubber brayer- not sure what kind you are using Terri- so can’t tell for sure what’s going on for you on your plate. If you think it is too much paint, try less and see if it works better. In the workshop, Gel Printing FUNdamentals, there are videos that go into detail about all the facets of gel printing- including the brayer. There is also a private FB group where you can share your prints and photos of the process so I can get you a specific answer for your exact situation. Workshop information can be found at http://bit.ly/2ENaDCN
Love your enthusiasm.Go girl!!!!
love your work!! great ideas and creativity
Good job. Thank you
I bought my gel plate last June and have not used it yet. You make it look so easy.
I’m going to use it on Christmas day as we cannot go out and mingle.
Have a good X’Mas and hope 2021 will be better for us all.
XOXO
I always enjoy your presentation. Good timing without a bunch of filler, but really showing some helpful techniques in a timely way. Thanks Carolyn.
Really enjoy the that you explain and show each process. Your process makes it look so much easier and lots more fun. I will definitely be following you.
Hi Carol,
Thank you for your recipes for gel painting, I have so much to learn about gel painting. I love that you use different types of paper from books, envelopes and what ever you can get your hands.
Your brayers should not rest on the cylinder. Turn them over to rest on the metal.. The cylinder can develop irregularities if you place your brayer on them between printing… and this can mess up a surface… unless you want that to happen.
Hi Carolyn,
oh, what a wonderful, cheerful, fun-inducing, liberating text! Thank you so much for this great invitation to play. With a two-week-holiday coming up, I’m sure I will see more of you soon!
Thankfully,
Stefanie
I am constamtly wondering how long to leave the final layer of paint and my paper together before peeling it off. I get so many ‘fails’ from the paint sticking to the gel plate and not coming off according to my vision…. help!
Can you lay your gelli plate on a bulletin board as a bottom surface to work on
That has given me some ideas thank you
Hi.
Just a quick question…
Why does my geli printing always come out with speckles?
Many thanks David
Thank you for mentioning mingling of paints. I tend to use the cheap ones (Apple Barrel and one from Target brand) using a faux plate. A lot of videos keep mentioning a heavy body paint i.e. more pricey brands but I feel it’s not necessary. I’ve now got an actual gelli plate (Gelli Arts) and even with the less expensive paints it has been fantastic. I just hate to think of people being priced out because they can’t afford the more pricey tools in order to create their art. Sorry for the rant and I really like your post of does and don’ts.
Why does my paper tear when pealing?
I have a question about “does and don’ts.” I make greeting cards. If I use commercial dies, embossing folders, stencils, or purchased paper on my cards, I need to find out the copyright information on the images and follow the policy of the person or company that created the image–for any cards that I might choose to sell. However, I am recently learning about gel printing. I see people taking images out of magazines, using commercial stencils and stamps, etc. in the gel print art. If they were to use the papers they produce for cards or any other item to sell without following the copyright restrictions of the creators of the images on those tools or magazines would they be breaking copyright? You might say the designs are altered–but they are often altered when they are used in greeting cards. Do you know the rules on this?
Have you tried sray paints in a can on gelli plate? Just saw a clip with no details. I know you like to experiment.
Thanks