A silly misunderstanding sparked this play and no matter where inspiration comes from there’s magic in letting yourself creatively wander with ideas.
Ever see something breathtaking and when you try to explain it someone, they just don’t understand what the big deal was? I found myself describing a burst of inspiration, only to be met with confusion—as if I was speaking in polka dots!
So I headed up to the studio, turned on the camera, and started playing. There’s lots for you in the video including:
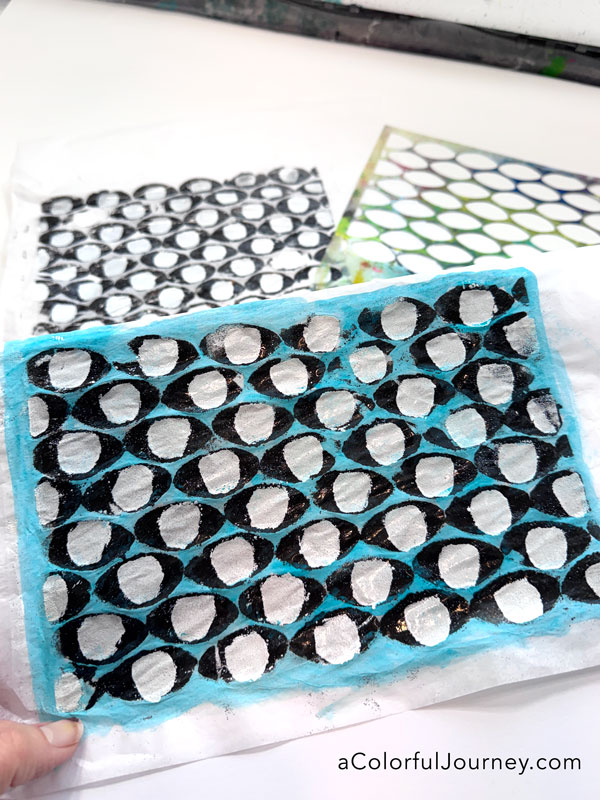
- Stenciling on transparencies (and the paint will never scratch off for one very simple reason
- Why it was a good thing I couldn’t sew on the line
- What NOT to do when using resin
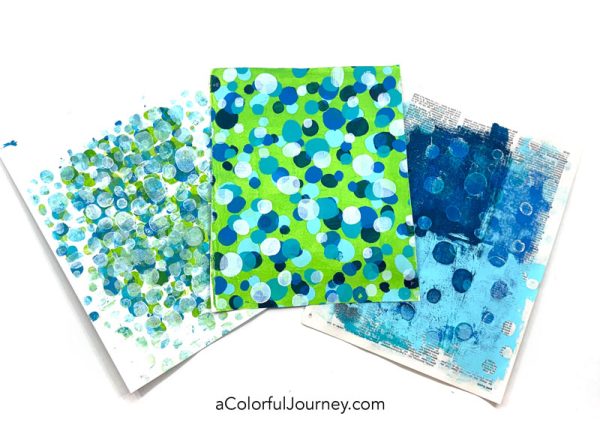
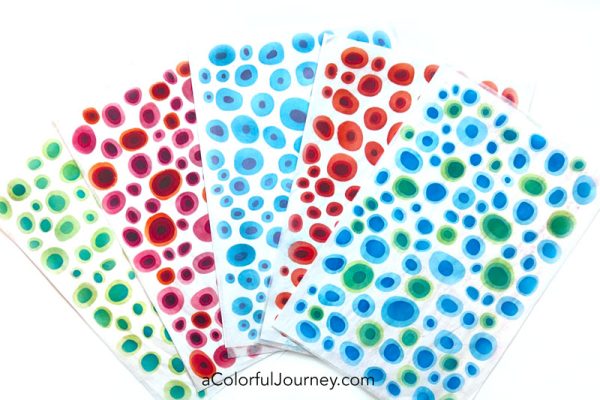
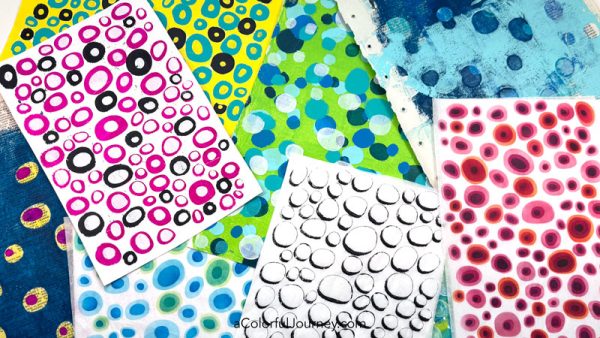
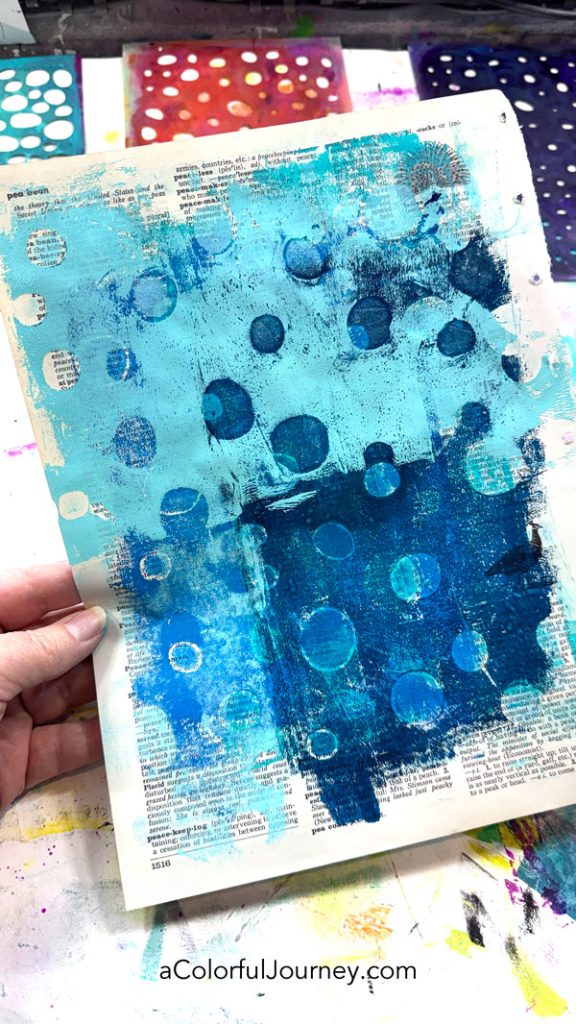
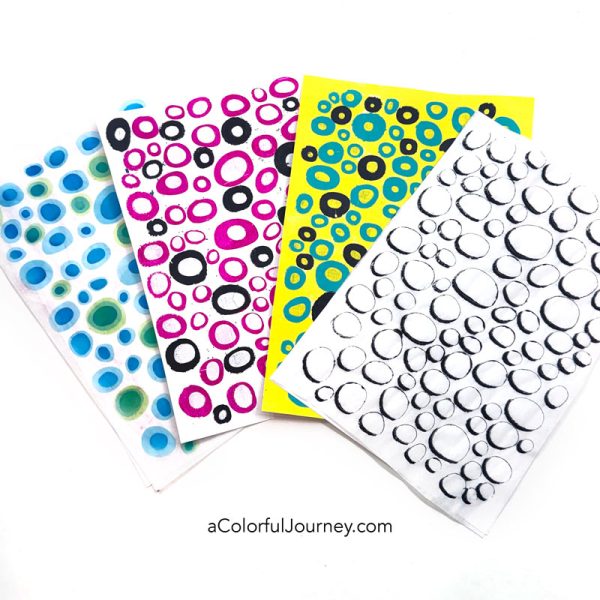
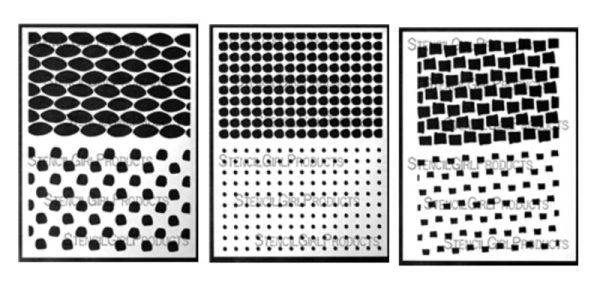
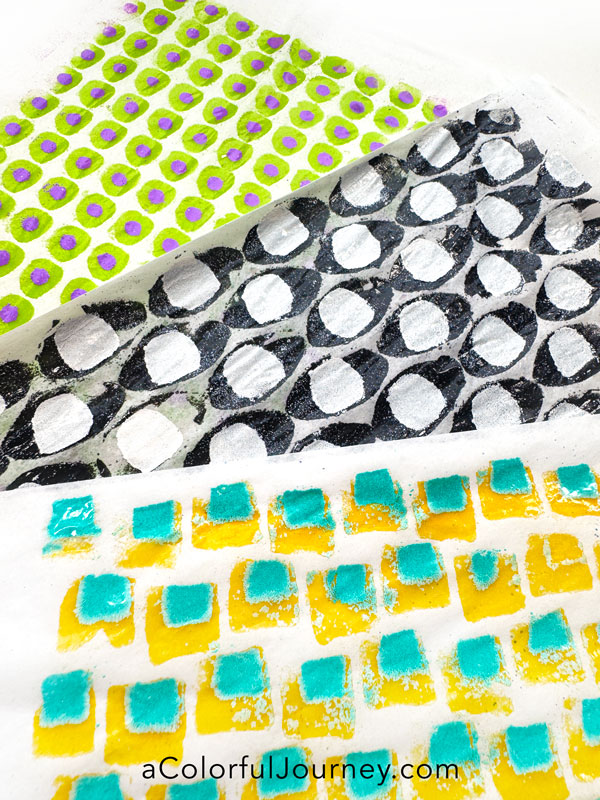
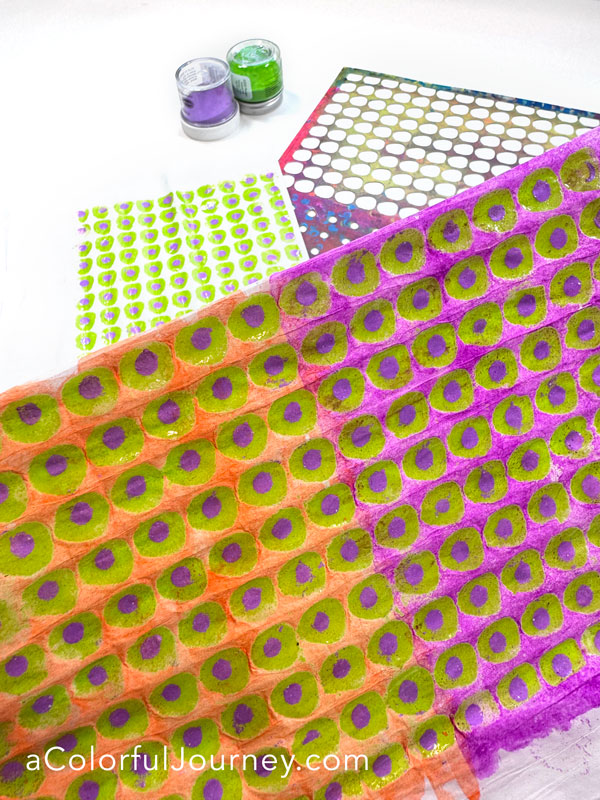
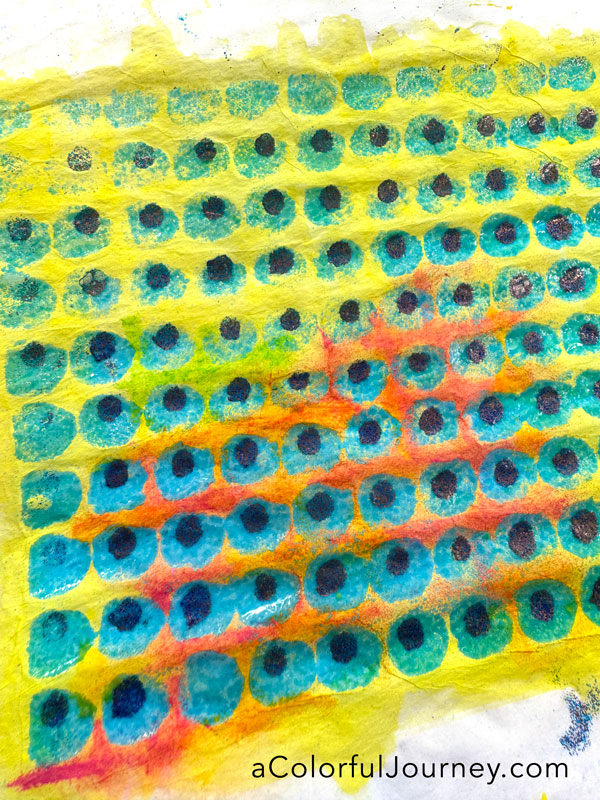
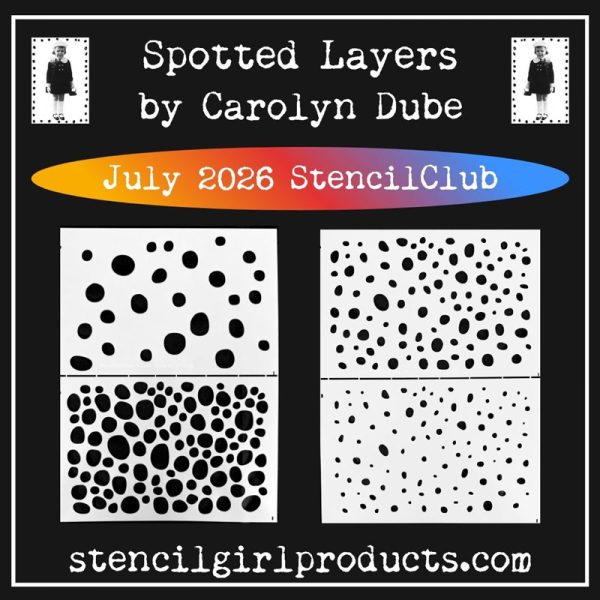
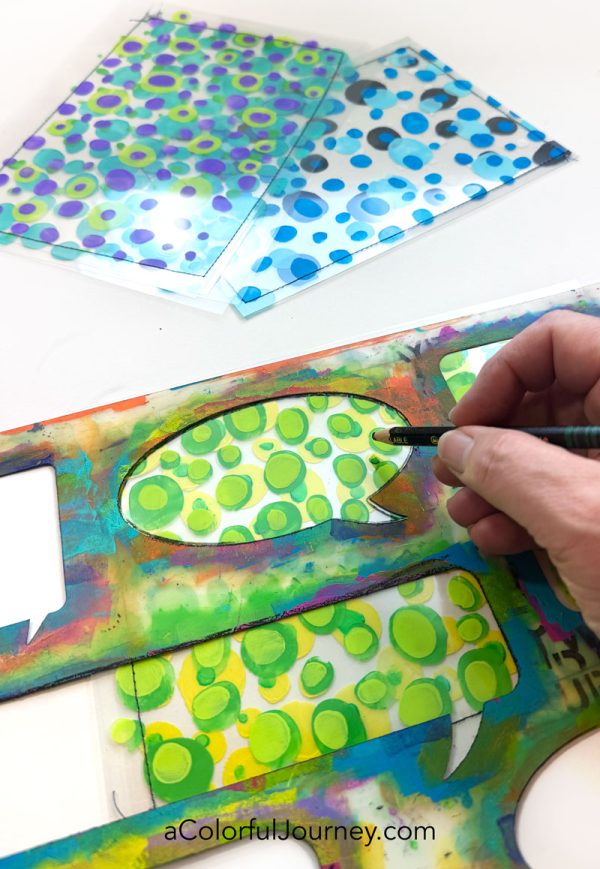
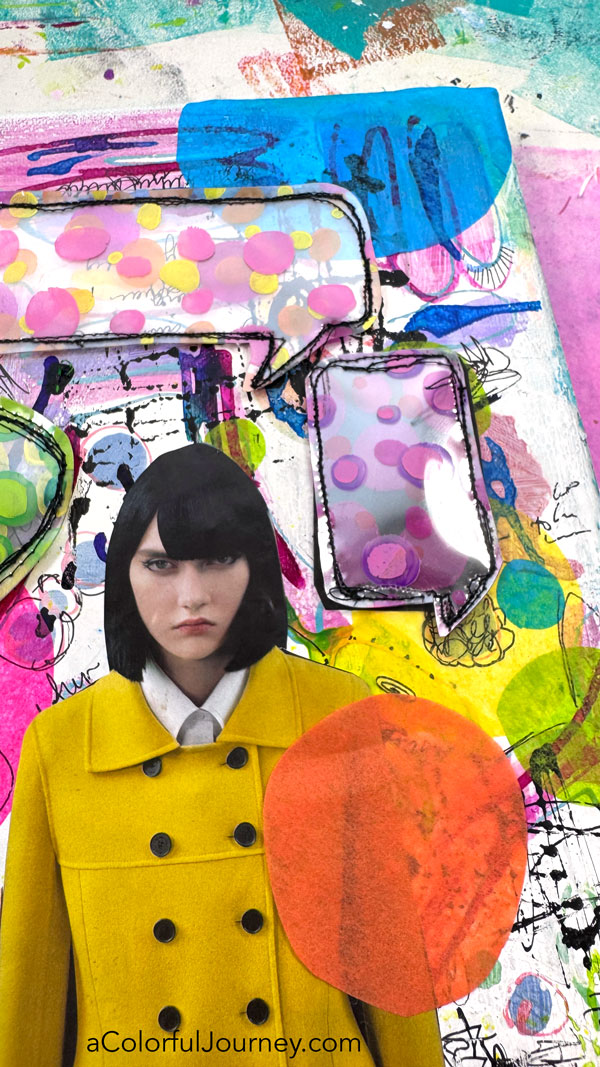
Using the July StencilClub stencils, I created colorful polka dots on plain old transparencies – the kind you use in a laser printer. You can see more ways to play with these stencils here.
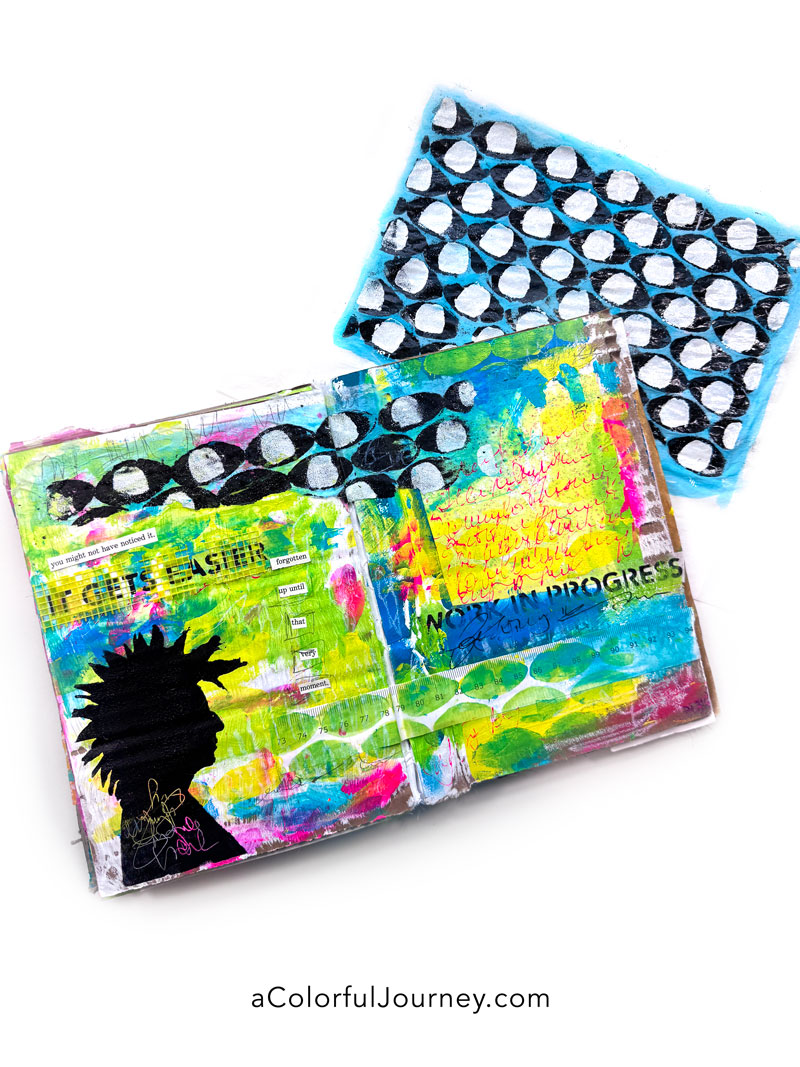
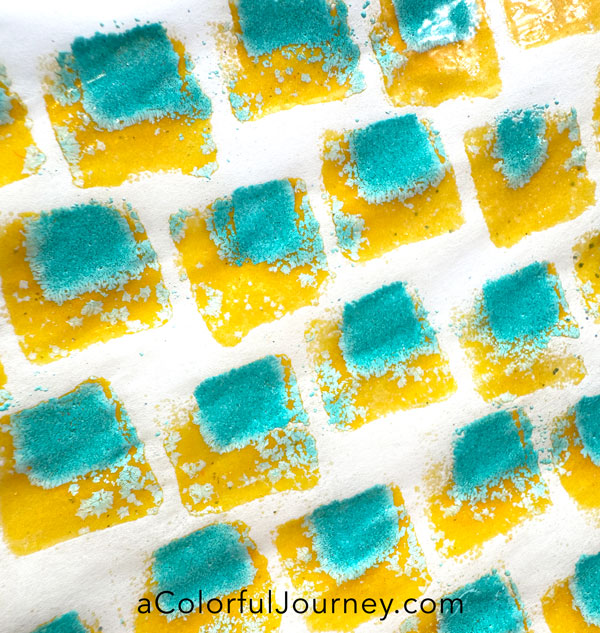
I chose to do speech bubbles using a stencil and this is just one possibility! Circles, squares, diamonds and more!
But I wanted more polka dots and that’s where tissue paper is so handy. A few sheets of colored tissue paper became wonky circles.
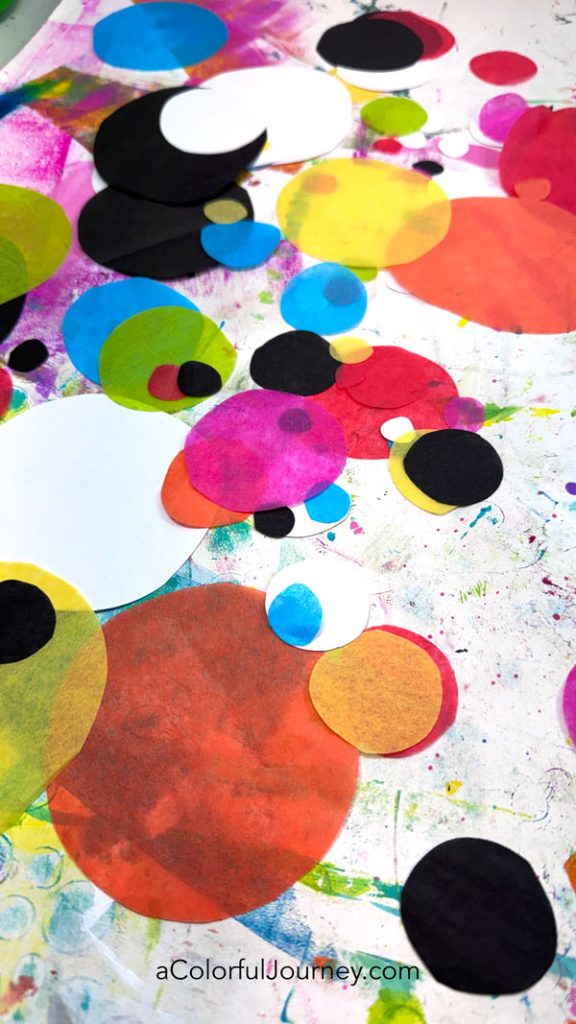
When gluing down the tissue paper, I like to use a fluid (or runny) glue. That lets the tissue paper be wonderfully translucent!
If you’re ever feeling stuck or misunderstood in your creative journey, remember: sometimes the best art comes from the moments no one else quite understands. Keep playing, keep wandering, and let your colors speak for you.
Want more positive in your life? Want more creative encouragement? Then join my free weekly newsletter and let’s be a part of each other’s colorful journey!