
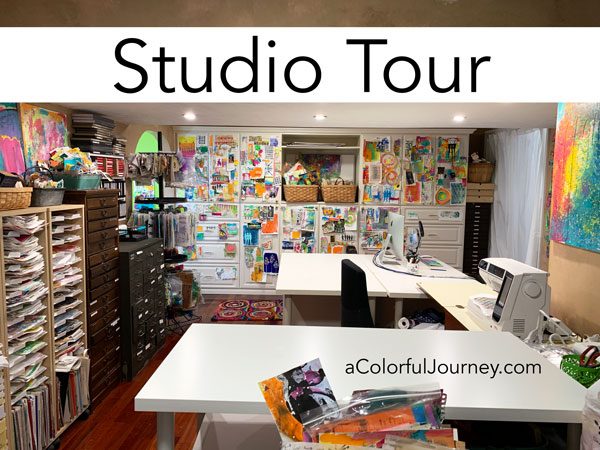
Welcome to my art studio, my play place. As you watch the studio tour, you’ll notice 2 big themes. 1. Keep as much out where you can easily see it. 2. Lumber from the hardware store can do all sorts of things!
Did I always have this much space so that there was a splash zone and a dry zone? Nope. Just like I have evolved and changed, so has my art studio. One thing has been constant, no matter how much space I have, I could always fill more.
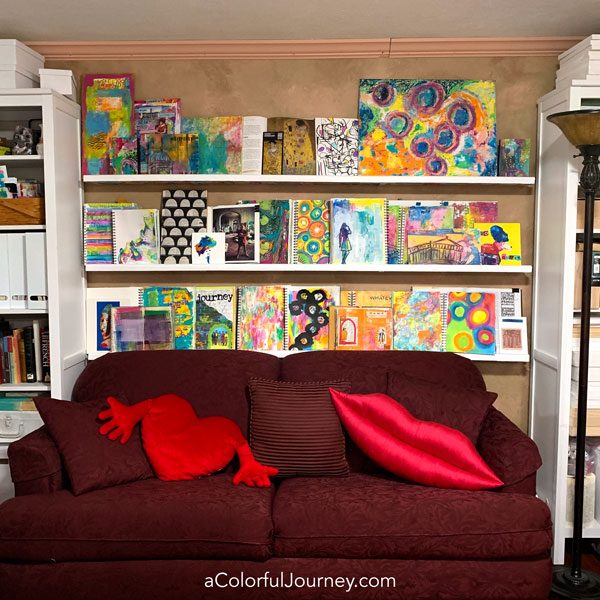
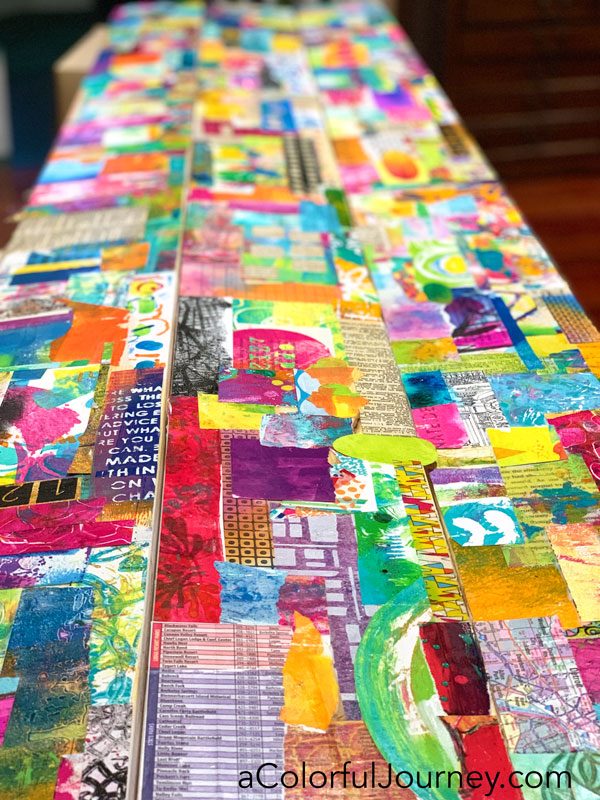
Propped up on these shelves, made from basic hardware store lumber, are books that inspire me at the moment, art journal pages (finished and in progress), canvases, and anything else that calls to me.
When sitting on the sofa, you see the underside of the shelves. So why leave them plain when it’s a chance to use up leftover bits and scraps to add some color.
Did this all go as planned? Nope. I apparently didn’t understand that short people can’t reach as high as tall people. The original plan was to have the shelves about 8 -12 inches higher, bu then I couldn’t reach them easily. O.O.P.S.
As with all Outstanding Opportunities Presenting Suddenly, this one turned out better than planned. Having it right at sofa level makes it so easy to grab what I want off the shelves.
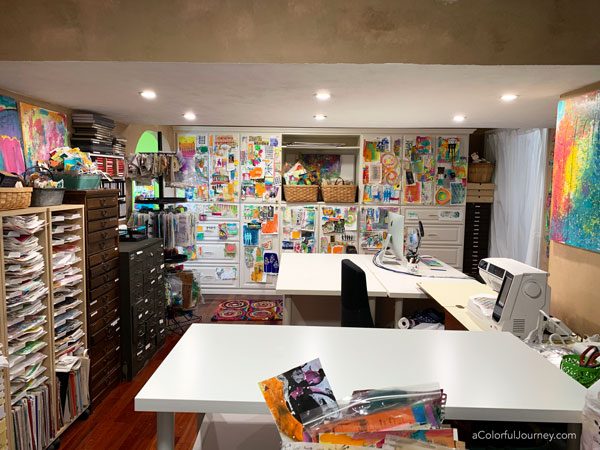
This is the dry zone for things like the die cutting machine, computer, and sewing machine. Since I knew you were coming, I cleaned everything up. Usually, there is a mess everywhere and you can’t see the table tops or even the floor after a day of gel printing.
No matter how big of a space I have, there just isn’t enough so I will use anywhere I can – like the fronts of the cabinets. My favorite bits and pieces get taped up there so I can see what I have and find what I need when I’m creating. Why waste any space.
The cabinets with the skinny little drawers or shelves are by Best Craft Organizer. They have held up extremely well over the years and are a compact way to organize everything from rubber stamps to ephemera to beads.
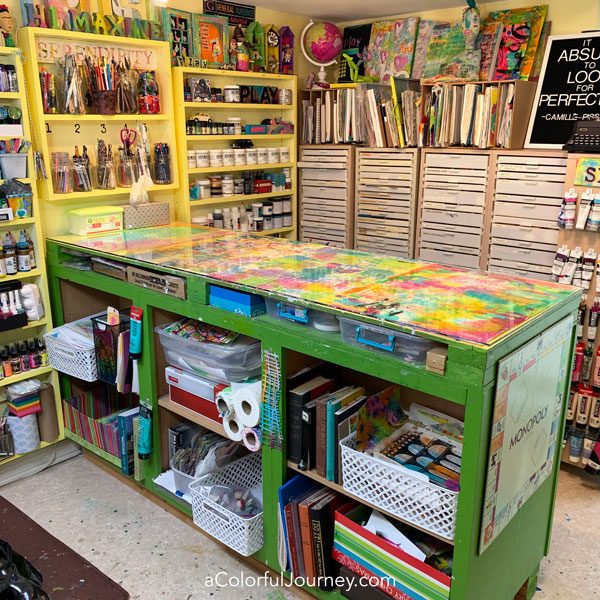
These are cheap unfinished kitchen wall cabinets from the hardware store turned into the counter for the center of the splash zone area of the studio. They had the open shelving that I wanted but were just a little too short.
So, using the ever functional 2 x 4, we raised up the glass on top. If you look closely, you can see 2 of them stacked on the ends and the middle. Nothing fancy but extremely practical.
The glass top is also practical. It is easy to clean no matter what I throw at it and can handle things like cutting with a craft knife directly on it plus you can customize it by putting art underneath it.
Having as much
When you paint the cheap wood the same color as the walls, they look like so much more than what they are.
To make it easy to store my stencils, I use J hooks. They just go on like a sticker and it is the fastest way I’ve found to store my stencils. You can find them on Amazon or at Uline.
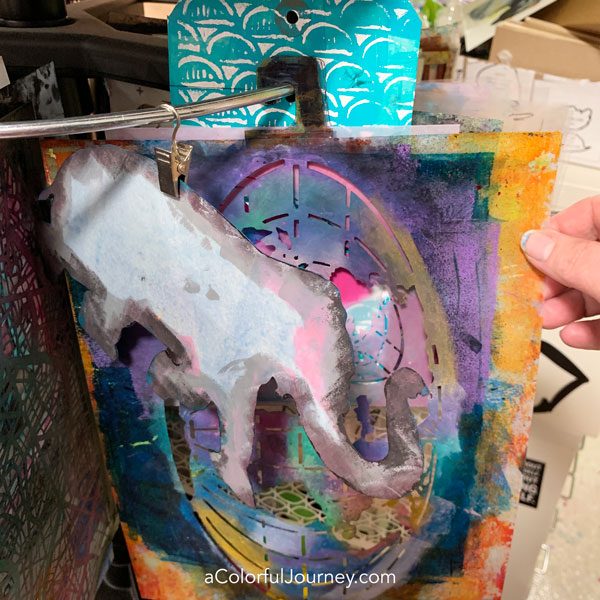
Any spinner rack that I’ve bought, comes with clips- those I use for stencils or masks, like this elephant mask designed by Nat Kalbach.
If you’re looking for stencil storage ideas, check this blog post at StencilGirl Talk. The spinner rack that I have is called a Clip it Up by Simply Renee, but sadly, it is no longer available, but every now and then you can find one on
A frequent question I get is how do I store my gel plates. Here they are- on the top shelf. No
Why do I store them this way? So they are easy to grab and easy to put away. I tend to avoid
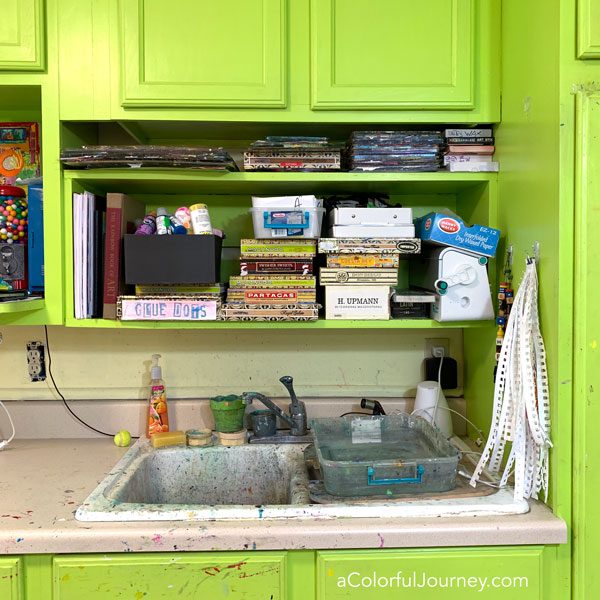
I cleaned the tables for you, I cleaned the floor, but not the sink. I just never seem to get around to cleaning that sink. There’s only so much cleaning I can bring myself to do!
Ready for more studio peeks? Be sure to check out the Rainbow Stairs that lead into the studio.

Wonderful, thanks for sharing your art space. I have a TBI and i have to have everything out or i do not know it exists, it was so funny to hear you say that.
I use only clear plastic containers and mostly labeled clear scrapbook plastic boxes like you get from Michaels. My husband built the shelves to match the plastic boxes and then i labeled them. Thanks again for giving us a tour of your art studio.
Hi! Did you know that Gel Press does NOT recommend that you store the plates flat with other plates on top? it can create odd bubble like inclusions in the plates. They are supposed to be stored like books, in the clamshells… no weight on top. that info comes directly from the manufacturer, just thought I’d share.
Hi Elizabeth, as long as the surfaces are smooth, I have found there were no more bubbles/inclusions stacking them vs. the clamshell. Have done it this way for years now. I used to store them in the clamshell upright but over time, it was a nuisance to put them back in there and the clamshell packaging was falling apart because they were used so much.
Thank you for sharing your world with us.
Your studio is like walking in a rainbow! Wonderful ? Thanks for sharing all the good ideas ?
Great Space! Just makes you want to get in there and start getting creative!
I love how you just do what you want and what works for you! I love your welcoming attitude and sunny disposition. You inspired me to take up art play after retiring from teaching. It is so freeing to just play without fear of failure, fear of mediocrity, or even fear of success. Play on!
gotta ask…who’s Maxine?
Love your studio! Thanks for the tour; a very liberating experience. I envy and admire your working spaces, and your wonderful easy attitude. If you decided to have a bed & breakfast in the studio, I’d want my name at the top of the guest list. Ha, ha.
Kudos to your hubby for his support.
Enjoyed the tour! Thank you for sharing your ideas. You’re a great inspiration!
Wavin “Hi” from TN.
I wondered how you were able to do at least some of what you have done … and beautifully, might I add … a husband. I don’t have one of those (LOL). Only males here are my Labs. And … you, my dear, are an “SYT” (Sweet Young Thing) … I’m nearly 70 and live alone, except for my Labs. Age is number, that people say, but let me tell you … it’s attitude … all attitude! I drive a big Dodge Ram and also a red three-wheel motorcycle. Love what you do and loved the tour!! Tell your husband thank you (from me) for helping you with some of what you’ve done!!!
I love how you have organized everything. I only have my desk area and a few plastic drawers and carts so far. Am looking forward to becoming more organized in the future. I have a computer cabinet that I need to convert but haven’t got that done yet..
Awesome!!!!! I am inspired!