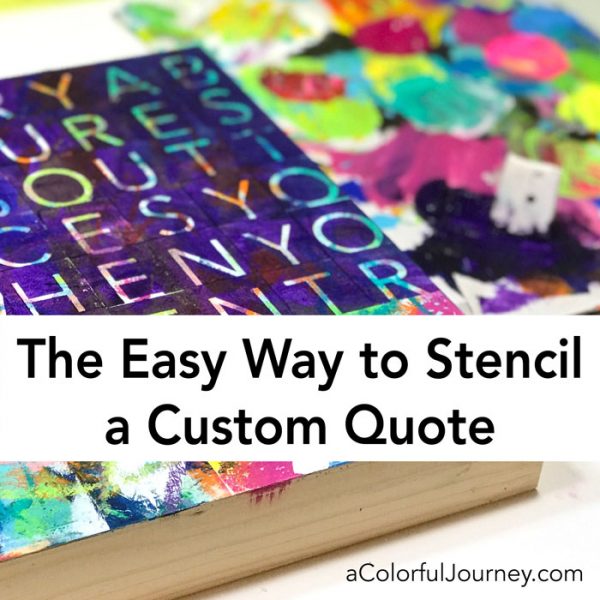
Quotes make great wall art, especially when you use a quote that is meaningful to you. What if you could stencil it without having to worry about lining up the letters or keeping the rows straight.
That is why I designed this masking stencil, so that it was easy to create any words or phrases, and even full quotes. This is for those like me who are not fans of using rulers, but sometimes want things lined up straight.
I don’t want to leave you in suspense. Will I misspell a word? Yup. It was an easy fix plus I’ve got tips and tricks for crisp stenciling too in the video.
Watch The Easy Way to Stencil a Custom Quote on YouTube.
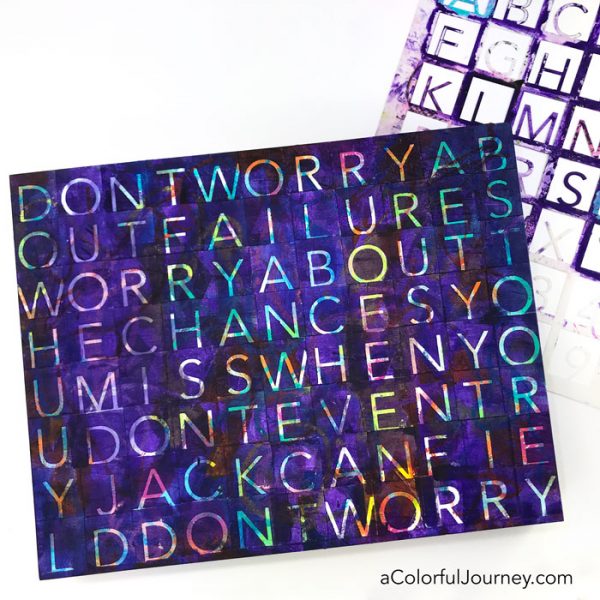
The quote is by Jack Canfield, “Don’t worry about failures, worry about the chances you miss when you don’t even try.”
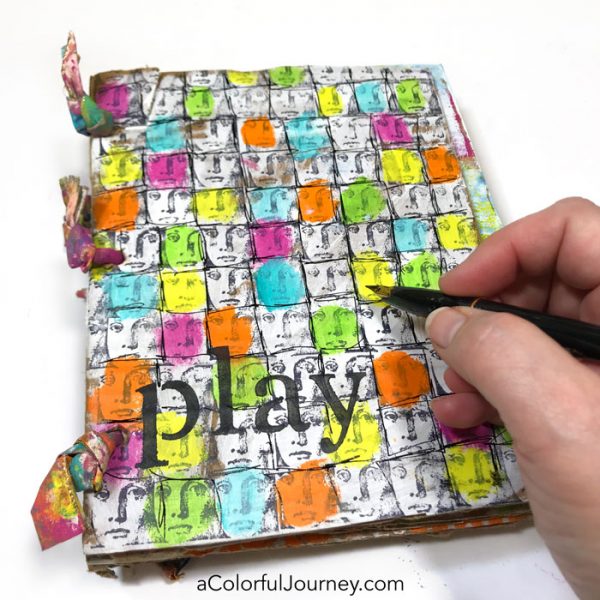
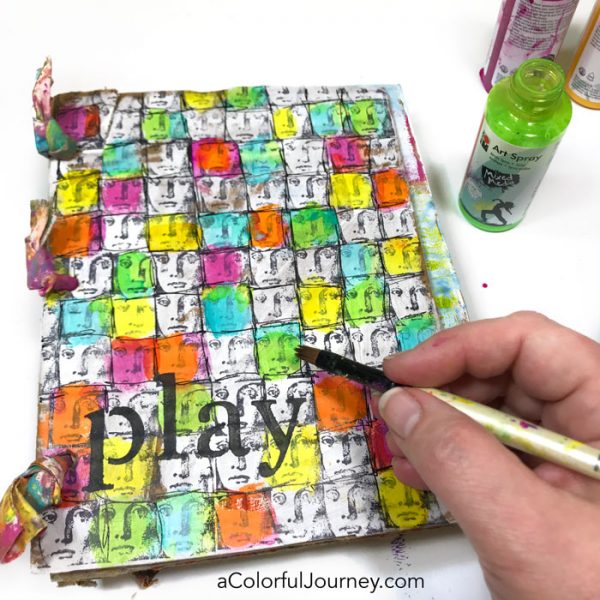
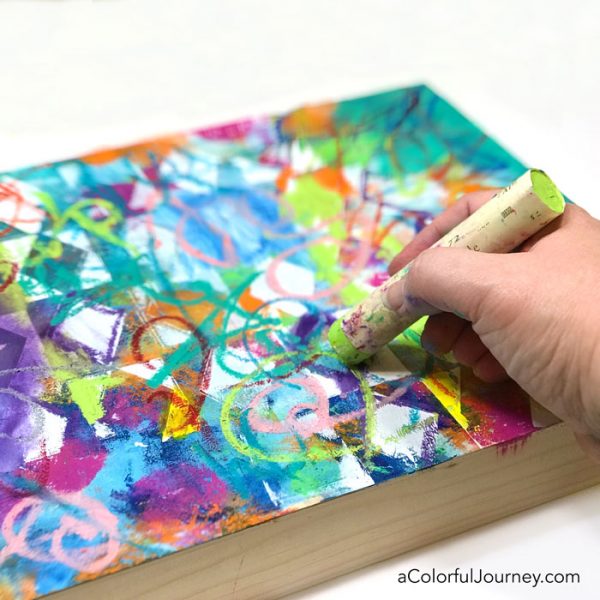
Start by creating a colorful background. It can be precise or loose. I went for loose. Holding an oversized art supply, like the jumbo Senniler oil pastel, brought my inner kid right out to play.
The Hip to Be Square alphabet stencil is a masking stencil which means that what is on the background layer will actually become the letter. Use a contrasting color to stencil if you want the letters to pop.
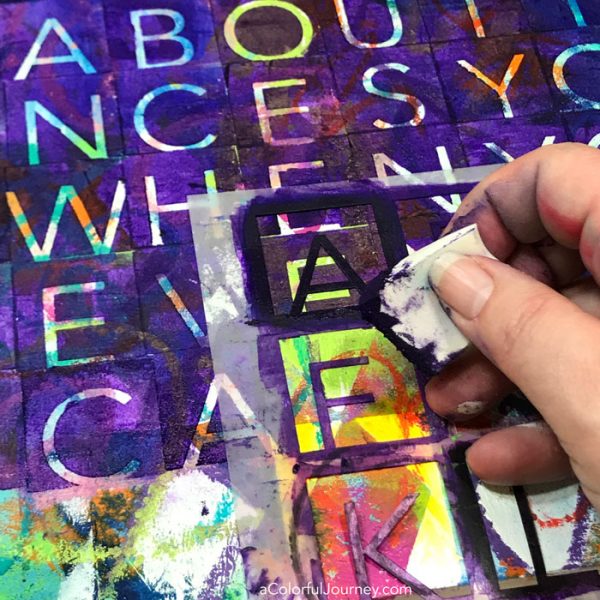
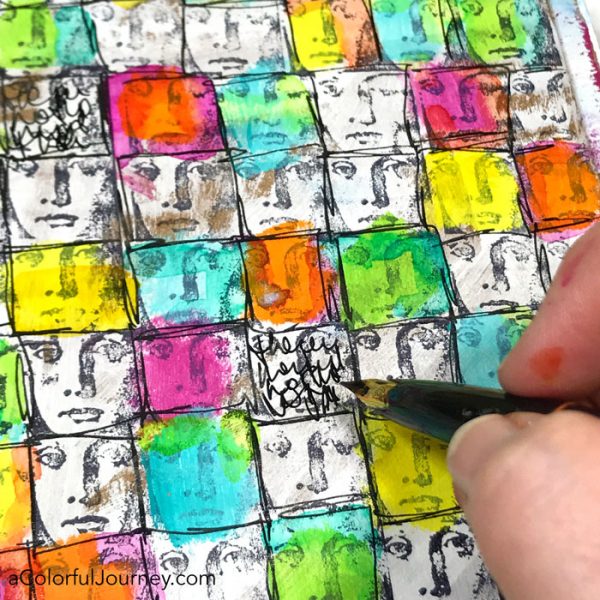
As you add each letter, to get the lined up precise look, all you need to do is line up the edges of the box around the letter touch the box before it an above it. Even that doesn’t have to be precise, because the edges can be touched up at the end.
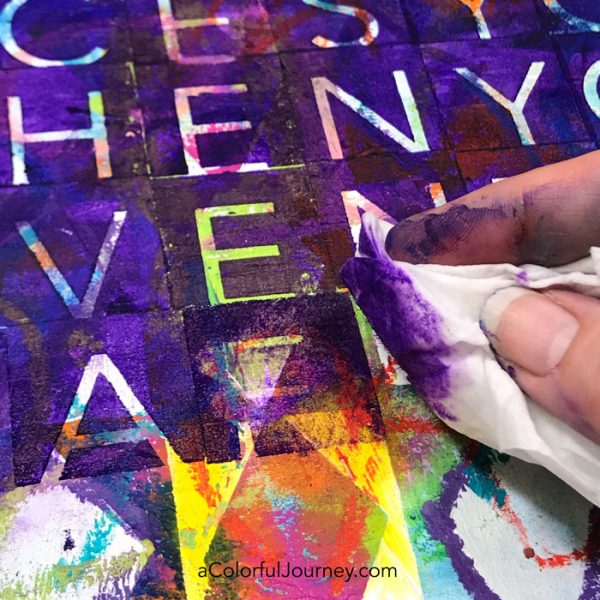
What happens if you put the wrong letter down and make an artful typo? Use a baby wipe and blot off the paint promptly. This also works if you get paint under the stencil, as it did for me a couple of times because I was using too much paint when I forgot to blot it off well enough.
There are few ways to prevent paint from going under a stencil if you want a crisp look.
- Use very little pressure and pounce the cosmetic sponge in an up and down motion. I get in a hurry at times and push harder than needed.
- Use a thicker paint. The thicker the paint, the less likely it will run under the stencil.
- Use the least amount of paint possible. Globs of paint will go under the stencil. This is why you blot off the sponge before stenciling.
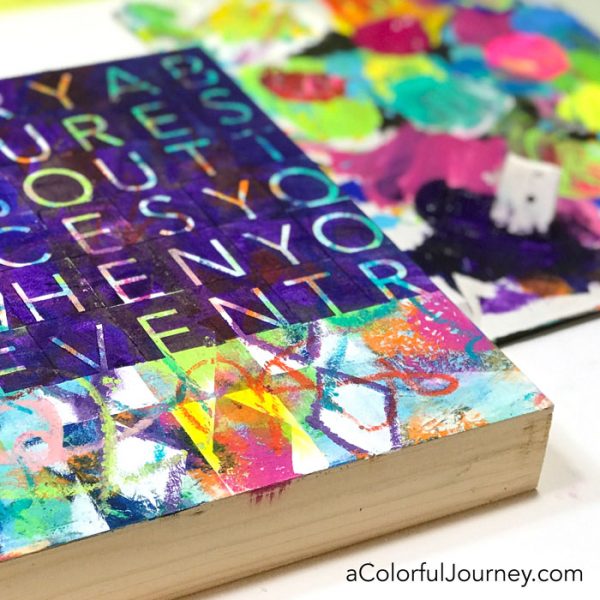
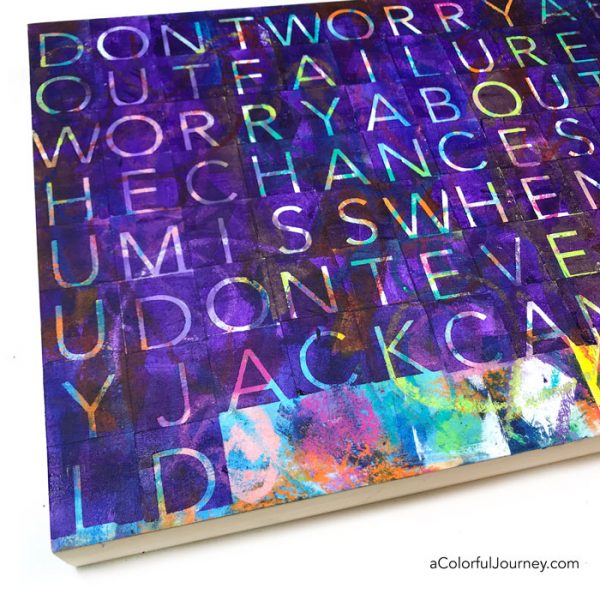
The quote didn’t fill the entire surface, so I simply started with the quote again to be sure the entire area was filled top to bottom. But the bottom wasn’t.
Notice that little bit under the L and D below? That line was painted right over using the ever fancy Post It note as a mask.
How did I know that all the letters would fit? I didn’t. I took a leap and expected letters to be cut off at the end of each row. The plan was to just stencil half the letter on that row, and then the other half of it on the next row.
I was looking forward to doing that, so OOPS that plan didn’t go as planned. Turns out 11 x 14 size wood panels or canvases fit the letters just right. Guess I will have to try this again on another size to get the letters to not fit. Twist my arm and make me play again.
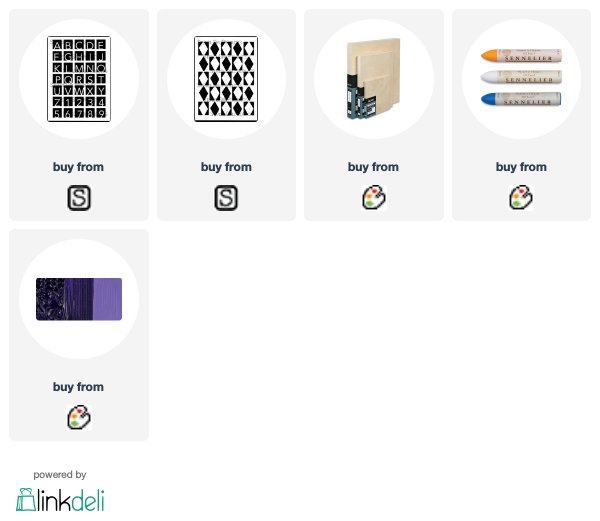
 Here are the supplies used. Some of these links are affiliate links which means I get a small percentage. It doesn’t cost you anything extra and it helps keep the free tutorials coming!
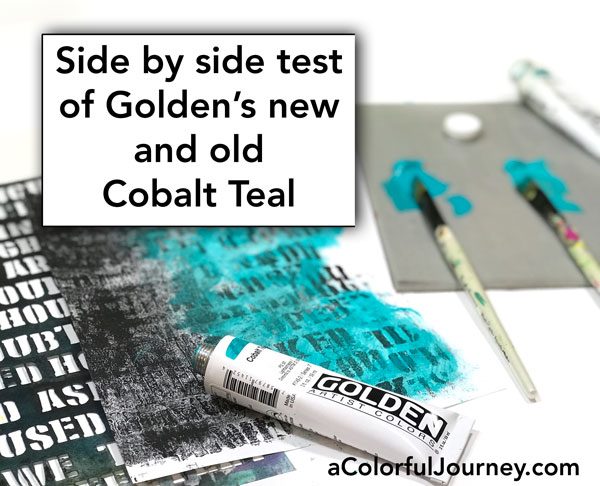 The rumors are true! Golden did bring back Cobalt Teal paint and the first thing I wanted to know was, “Is this same as the old Cobalt Teal that I loved?” Since I happened to be hoarding a tube of the old stuff, I did a side-by-side test to see if they were the same in case you were wondering about it too.
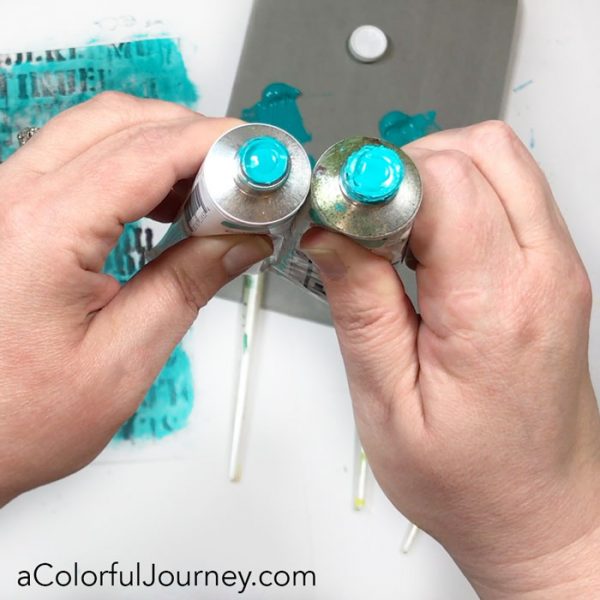 Here are the supplies used. Some of these links are affiliate links which means I get a small percentage. It doesn’t cost you anything extra and it helps keep the free tutorials coming!
 How do you know if an art journal page is finished? Here’s my perspective on it. It’s a very personal thing because what you create comes from your soul and is unique to you. When you look at it, if it feels finished, then it’s finished. If it doesn’t feel finished, then it isn’t.