Ever have a canvas or a page in your art journal that just stalled out when the mojo just vanished? What can you do when that happens? Give yourself a do over. If there is any part you like, keep that and then cover over whatever you don’t like.
That’s what I did to jump start this canvas with white paint. Along the way, I surprised myself by doing crisp careful stenciling, stole letters to build the word I needed, and used the greatest art play tool ever, the baby wipe. Then overthinking struck.
Watch Do over! Fixing a Mixed Media Canvas with More Layers on YouTube.
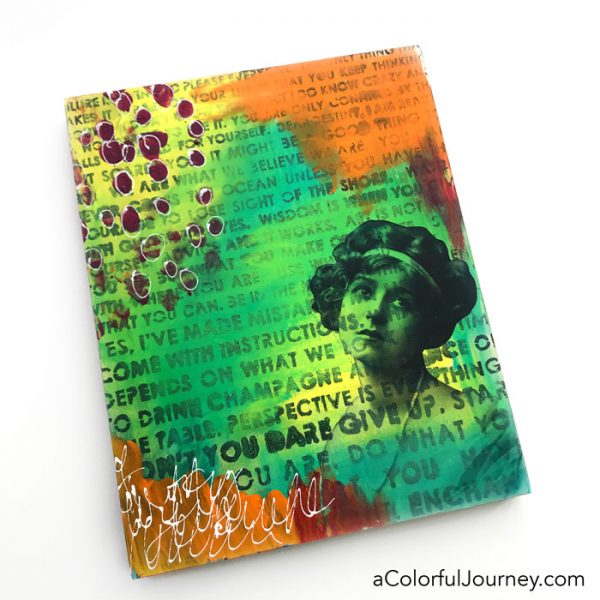
Here’s what the play started with, lots of layers but the only part that will be “kept” is the woman. She was created doing an image transfer with Craft Attitude and a digital image by Tangie Baxter. She has lots of fun images. If you’ve never used Craft Attitude you can see how in this video.
Craft Attitude has a backing paper and that acted as a mask to protect her as the white paint was added. Pure luck that as old as this piece of art play is that I still had the mask with it. So lucky in fact, that maybe I should go buy a lotto ticket.
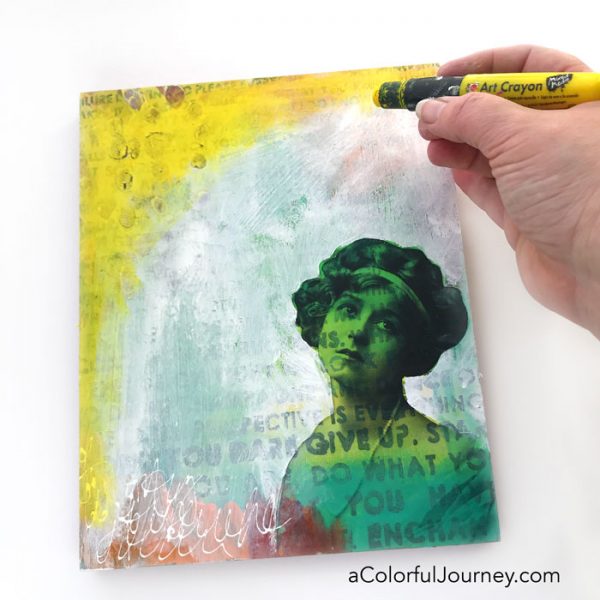
All that white space called for some color so in came the Art Crayon. One nice thing about these is how creamy they are when you put them on but that in a couple of hours they will dry.
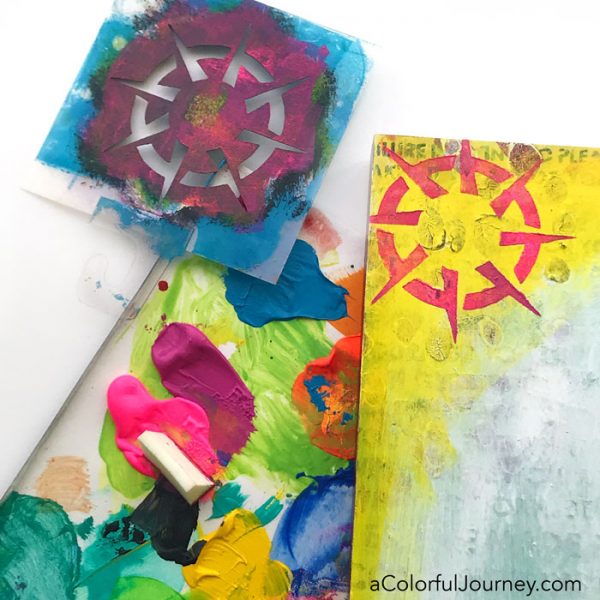
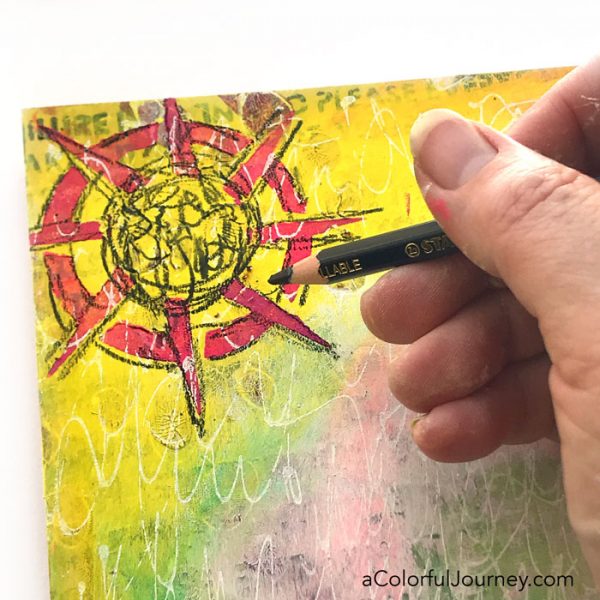
She has a story to tell with lots on her mind so the Compass stencil by Mary C. Nasser provided her a true North as a guide.
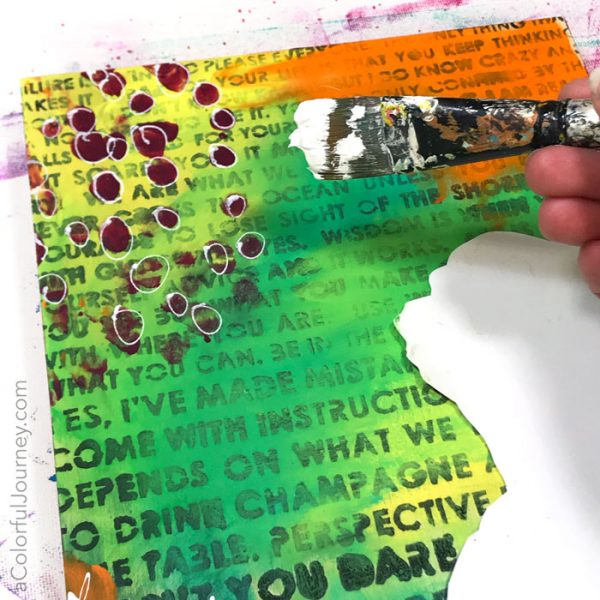
I expected this to be a somewhat sloppy stencil job because of how much paint I used getting 2 colors on there. Imagine my surprise when it actually stenciled crisply! And how it didn’t matter if this was done in a sloppy or neat way in the end.
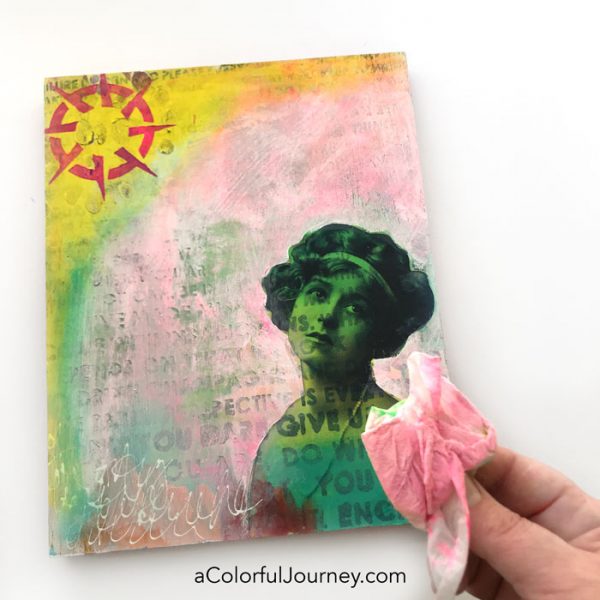
The almighty baby wipe helped get the color spread around on the rest of the white areas.
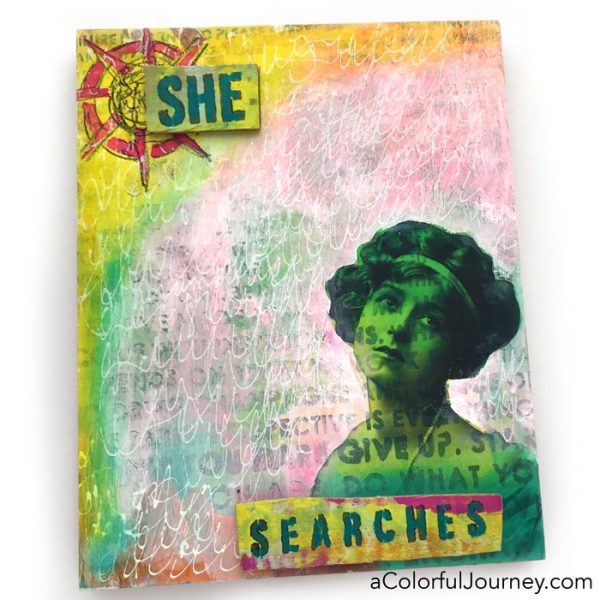
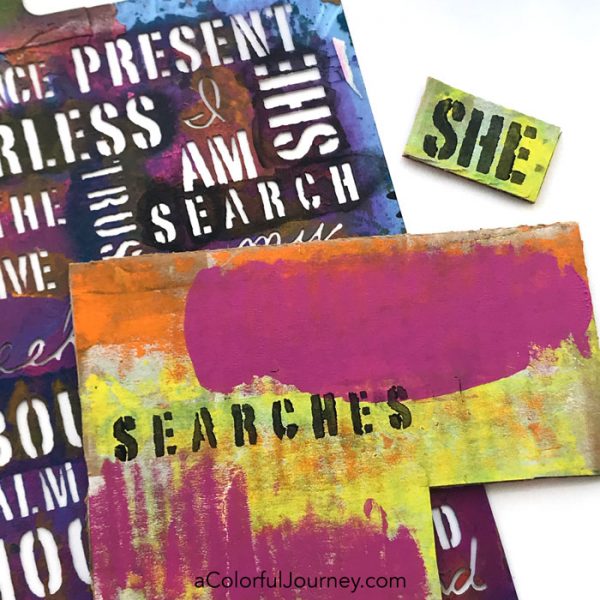
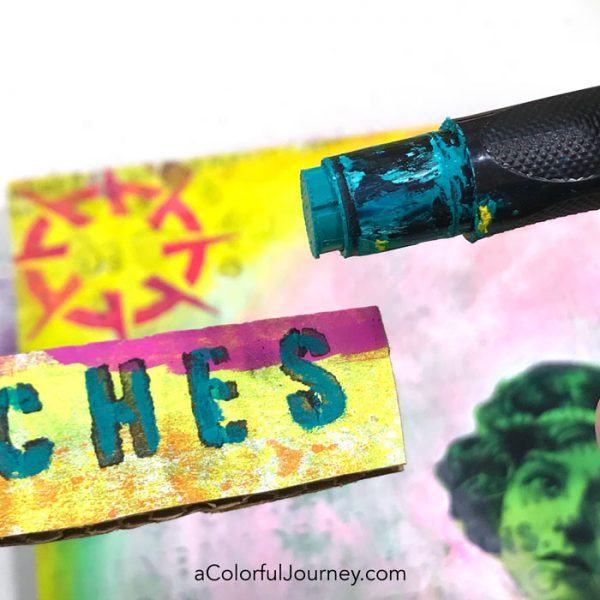
What can you do if you only have part of the word you want? Borrow letters. The title became She Searches but the words on the Uplifting Words stencil were only she and search.
Never fear! After stenciling search, simply stencil the E and S from the beginning of the word at the end.
The stenciling on the letters was messy and it didn’t matter because there was more color coming with another Art Crayon. Using the side edge allowed me to write a fine line and trace over the letters adding more depth to them. And more color. More color is always good.
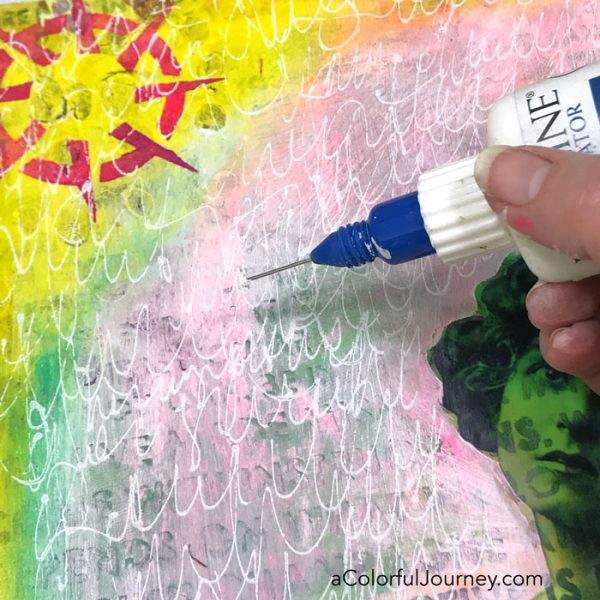
What about her story? What was she searching for? What was her journey? Using a fine liner I scribbled journaled what she had to say. If you’re new to fine liners you can see how they are used here.
For all that neat and crisp stenciling, you’d think I would cherish it. Nope. Using a Stabilo I outlined the stenciling and added more scribble journaling.
Overthinking struck at the very end as I was deciding where to put the title. Should it be all at the bottom, at the top and bottom, centered, to the left to the right? Choices, choices, choices!
What snapped me out of that head space was the 3 second rule. I had to make a decision and just glue it down. I think my muse was laughing when what I ended up doing was one of the very first ways I had positioned the words.
The 3 second rule is just one way that I keep the play going. Want to know more ways? Check out my free workshop, Permission to Play which you probably have an inkling what it is all about.
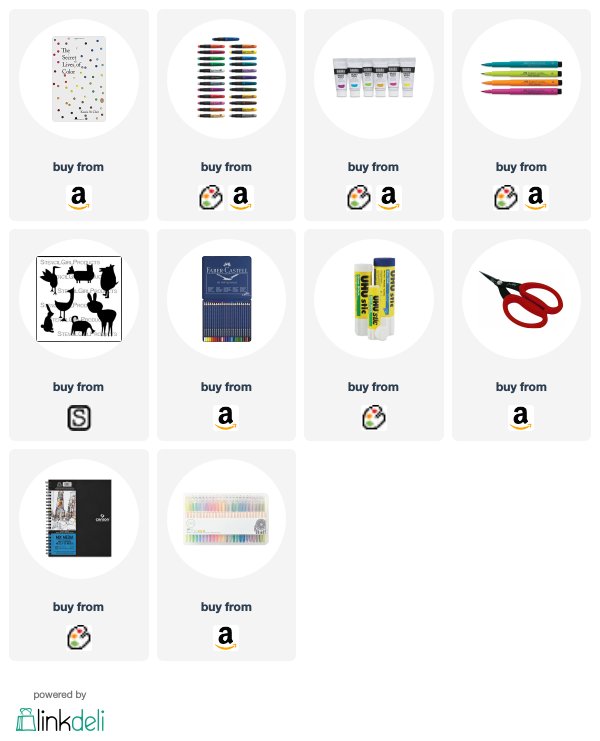
Here are the supplies used. Some of these links are affiliate links which means I get a small percentage. It doesn’t cost you anything extra and it helps keep the free tutorials coming!