Welcome! I’m Carolyn Dube – This colorful journey is all about the freedom of play!
Search My Blog
Search by Category
The Fine Print
Some of the links on this blog are affiliate links and I receive a small percentage. It doesn't cost you anything extra and helps keep all the free tutorials and videos coming! It's a win-win!
The website is copyright Carolyn Dube, and that is kinda common sense since this is my site.
As an Amazon Associate I earn from qualifying purchases.
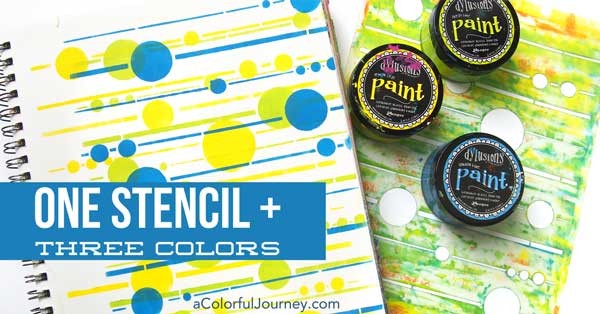
Layering stencils have been on my mind and what’s on my mind ends up in my journals. You might have seen my latest layering stencils that have 2 patterns on each stencil. Solar System is not one of those…but I ended up layering it anyway. (Be sure to check out the giveaway here!)
If you’ve been here before you might know how I am NOT about precision. Or measuring. Or perfection. So not lining up patterns is my happy place. And when I do actually line up patterns it had better be easy. In the video, I show you how I did that with the last layer of blue.
After looking at layer number two, I almost stopped. I still can’t decide which look I like better, before the blue or after the blue. Thankfully, this is paper and paint so I can make as many of these as I want and I don’t have to choose! I’m also sharing tips about using Dylusions Paints with stencil in the video.
Here are the supplies I used. Some of these links are affiliate links which means I get a small percentage. It doesn’t cost you anything extra and you are helping me keep this blog and my videos ad free! Thank you- I don’t like ads any more than you do!
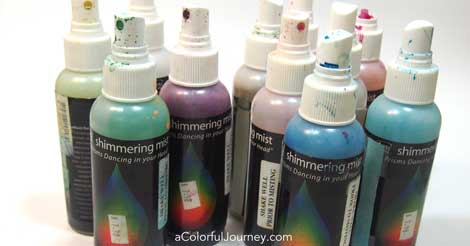
The spray inks that I used for today’s play should have been in a museum. They have to be at least 10 years old. That makes it a vintage supply in my world. And these Luminarte spray inks still worked just as well as they did when I bought them.
If you’ve ever had spray inks, you know they clog. It’s a fact of life for me. Some of these bottles had clogged beyond saving so all I did was transfer them into an empty spray bottle. I’ve learned to save my working spray bottles when the ink is all used up for just this type of thing. This is why you’ll see that some of these are in other bottles in the video.
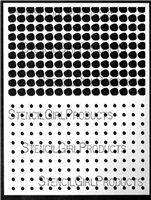
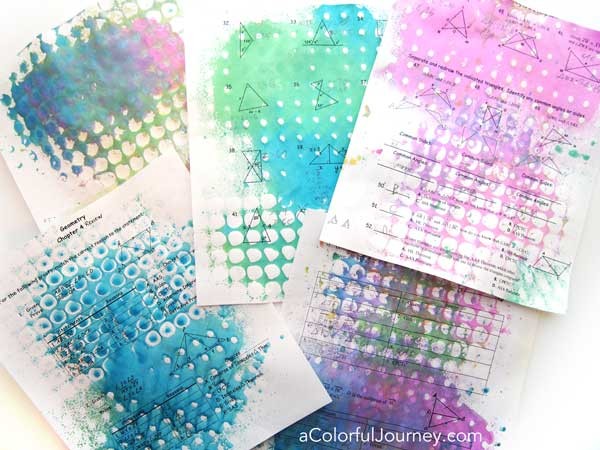
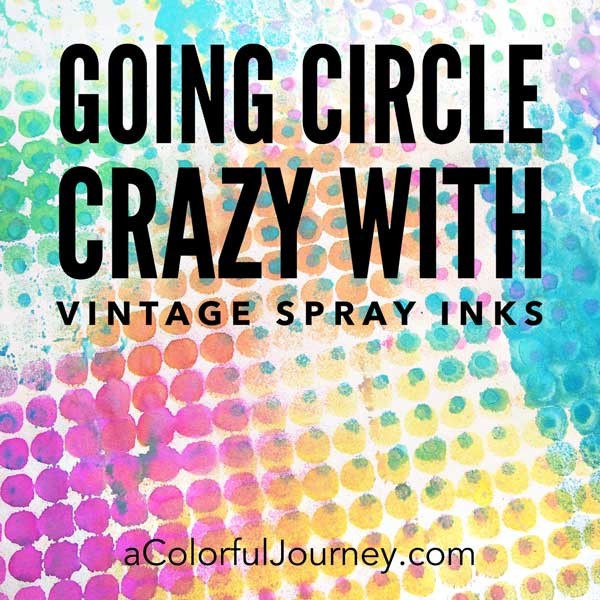
Well, I’ve had them long enough so I decided I needed to use them up. I grabbed just one stencil, my new Circles Layer Me and a giant sheet of watercolor paper then let myself play.
I’m giving away this stencil and 4 more – you can find all the details in the blog post here.
I started with random play…and then used the fact that the two patterns on the stencil were designed to layer over each other to add extra detail to my circles. Even made an ugly color in there too…Oops.
The clean up papers, using my kid’s old geometry homework, will make great paper for collage, art journaling, and mail art!
Here are the supplies I used. Some of these links are affiliate links which means I get a small percentage. It doesn’t cost you anything extra and you are helping me keep this blog and my videos ad free! Thank you- I don’t like ads any more than you do! Sorry the 4 oz Radiant Rain shimmer mists are no longer available but you can substitute any spray inks you have.
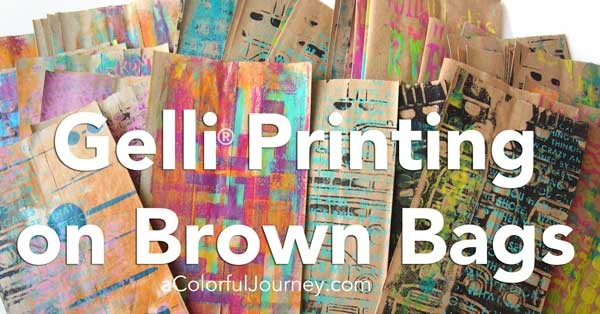
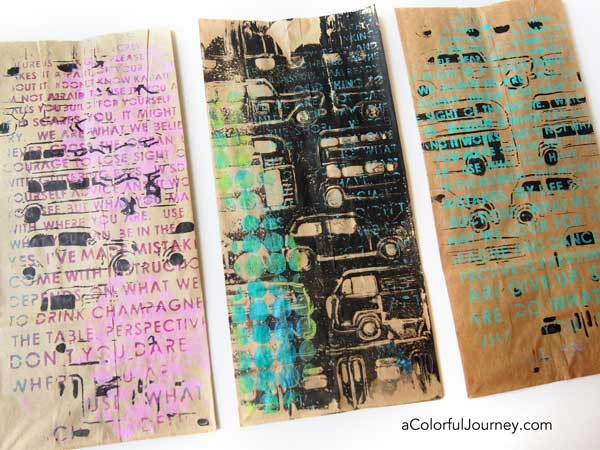
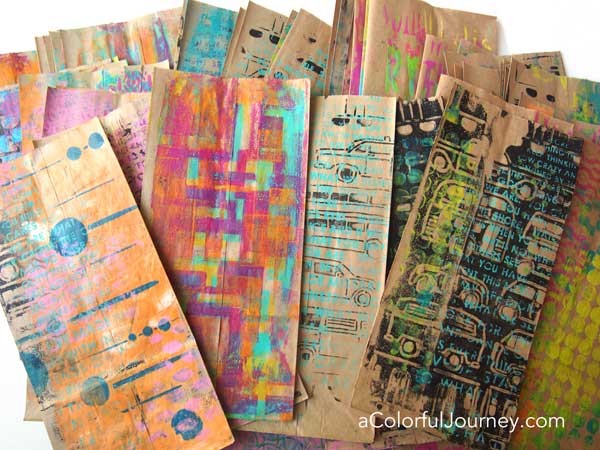
The Gelli Plate® turned plain brown lunch bags into colorful goodie bags for my upcoming workshops at Stampaway. I played with some of new stencils that were just released from StencilGirl – and I’m giving a set of them away. You can get entered to win here.
I just went to town with all sorts of paints, stencils, and the plate. The layers built up quickly and before I knew it, I had all 60 bags printed and ready for my workshops this weekend. Looking forward to seeing my on-line friends in person!
If you’re new to the Gelli Plate, I’ve got a page dedicated to getting started here. It’s loaded with information like what size to get, what paint to use, and more! Want to print in person? On September 12th, I’ll be teaching Gelli Printing: Easy as 1-2-3 at the Arts Alliance in Mason, Ohio. Find all the details here.
Here are the supplies I used. Some of these links are affiliate links which means I get a small percentage. It doesn’t cost you anything extra and you are helping me keep this blog and my videos ad free! Thank you- I don’t like ads any more than you do!
This website uses cookies to improve your experience while you navigate through the website. Out of these cookies, the cookies that are categorized as necessary are stored on your browser as they are essential for the working of basic functionalities of the website. We also use third-party cookies that help us analyze and understand how you use this website. These cookies will be stored in your browser only with your consent. You also have the option to opt-out of these cookies. But opting out of some of these cookies may have an effect on your browsing experience.
Necessary cookies are absolutely essential for the website to function properly. This category only includes cookies that ensures basic functionalities and security features of the website. These cookies do not store any personal information.
Any cookies that may not be particularly necessary for the website to function and is used specifically to collect user personal data via analytics, ads, other embedded contents are termed as non-necessary cookies. It is mandatory to procure user consent prior to running these cookies on your website.


 Layering stencils have been on my mind and what’s on my mind ends up in my journals. You might have seen my latest layering stencils that have 2 patterns on each stencil. Solar System is not one of those…but I ended up layering it anyway. (Be sure to check out the giveaway here!)
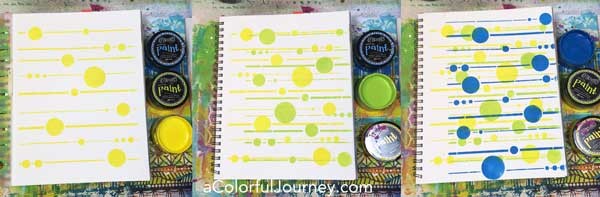
 If you’ve ever had spray inks, you know they clog. It’s a fact of life for me. Some of these bottles had clogged beyond saving so all I did was transfer them into an empty spray bottle. I’ve learned to save my working spray bottles when the ink is all used up for just this type of thing. This is why you’ll see that some of these are in other bottles in the video.