Welcome! I’m Carolyn Dube – This colorful journey is all about the freedom of play!
Search My Blog
Search by Category
The Fine Print
Some of the links on this blog are affiliate links and I receive a small percentage. It doesn't cost you anything extra and helps keep all the free tutorials and videos coming! It's a win-win!
The website is copyright Carolyn Dube, and that is kinda common sense since this is my site.
As an Amazon Associate I earn from qualifying purchases.
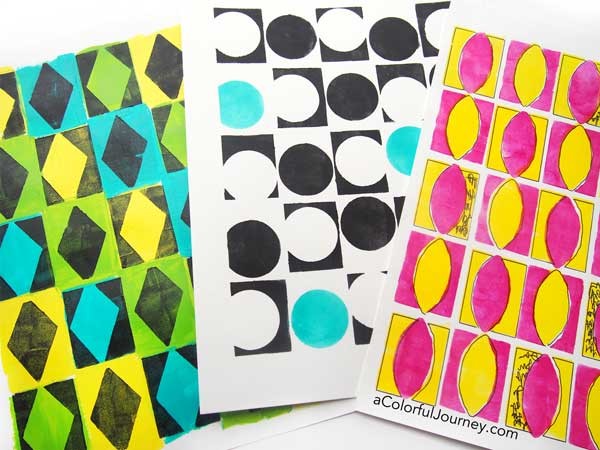
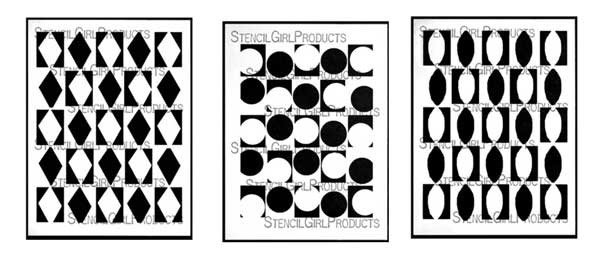
So excited to share with you 3 new stencils I created for StencilGirl! These are big bold patterns with just a hint of wonky. The bold shapes mean wide open spaces allowing for lots of opportunities to make colors play off of each other!
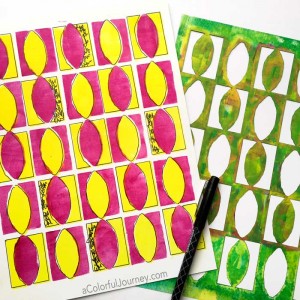
In the video, I’m sharing 3 different ways you can use these stencils. All three techniques can be adapted to each of the stencils.
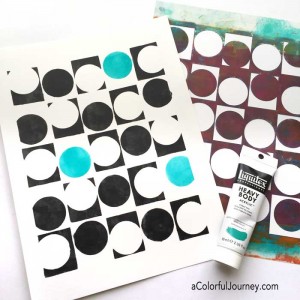
I played a lot of Othello and Go when I was a kid, and I didn’t realize how much until it came bubbling out of my subconscious in the form of a stencil! This is a super quick technique to get a bold look with Alternating Circles.
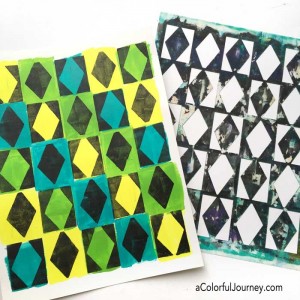
The technique of getting the multi colored background goes extremely quickly as I play with Alternating Diamonds. Why? Because it uses an extremely forgiving technique!
Since these patterns were created by me, and I am clearly not an engineer type, they are not geometrically perfect. They won’t line up like a machine. And I wanted it that way. What it allows is for little bits of white to peek out when I do this technique, creating an offset feeling easily.
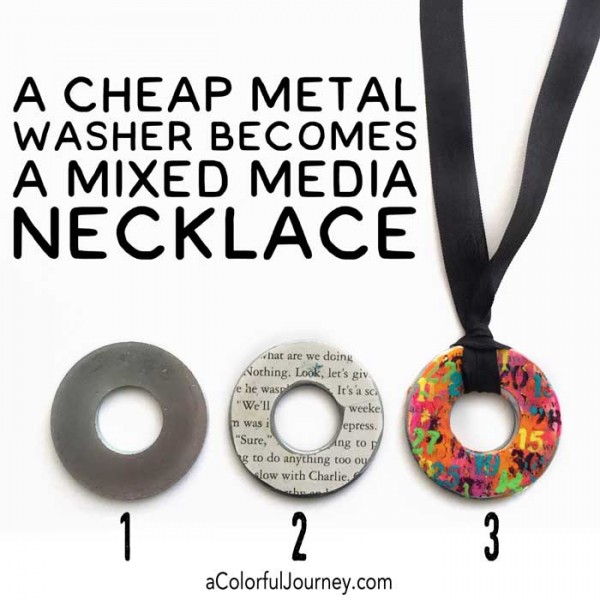
22¢. That’s a price I can get excited about! This metal washer was only 22¢ so a handful cost less than a gallon of gas!
One of the ways I found to help myself play was to use things from the hardware store. They’re often cheap…like today…I can get as many I could possibly want, and there is no pressure to use it correctly since I am not doing any home construction here. I am making a mixed media necklace!
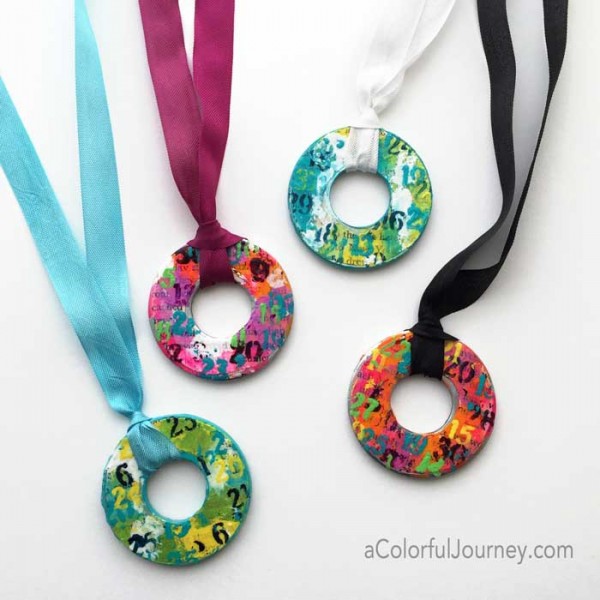
As I turned that washer into a colorful necklace for this week’s Let’s Play link party, it became a necklace of gratitude. A count your blessings type of necklace. The numbers each represented something I am thankful for or some memory associated with the numbers. So as I wear it, I am reminded of all the every day things I have to be grateful for in my life.
And I even clean off a stencil in the video…but that is just to not waste paint…
Here are the supplies I used. Some of these links are affiliate links which means I get a small percentage. It doesn’t cost you anything extra and you are helping me keep this blog and my videos ad free! Thank you- I don’t like ads any more than you do!
This necklace is the one I thought was horribly ugly at one point in the video, and it turned out to be my favorite! That happens quite a lot to me.
Now you’ve seen my play and I’d love to see your play! What play can you link up? Any play- it doesn’t have to follow this month’s theme because play just doesn’t have a lot of rules. And you get a bonus entry into the monthly $50 giveaway every time you link up!
This month’s giveaway is a $50 gift certificate to Walmart.com because you can find all sorts of non art supplies there that work wonderfully for art play! Link up what you’re creating (and you get a bonus entry into the giveaway for sharing your play) or leave a comment telling something that you liked about one of the photos shared. One comment per person. Giveaway closes Monday, April 4th at 8am EST.
New to Let’s Play? You can find out all about it, what you can share (and it is almost anything- it doesn’t have to follow the monthly theme), why your play (yes YOURs!) helps others to play, plus other info here.
[inlinkz_linkup id=610962 mode=1]
Link up etiquette
If you see something you like, leave a comment on their photo or blog post and show some love – let them know they inspired you!
Share your recent play (any form of creativity is welcome) that hasn’t been linked up to a Let’s Play before ( limit 3 per week please)
Add a link back to to this post so that others can find it, be sparked, and join the fun!
New link party begins each Tuesday..sometimes even late Monday night…
Enter the giveaway for the $50 gift certificate by linking up (and you get a bonus chance for sharing your fun) or by leaving a comment telling something you liked about one of the photos shared in the link party. One comment per person on this week’s blog post. The winner will be announced on the first Tuesday of the following month. You can find all the details about Let’s Play here.
You can upload a photo or use a URL or Instagram. Not sure how to find a URL or link up? Check out this page of Let’s Play FAQs.
Want to put the button your blog? Just copy all of the the code from under the button.
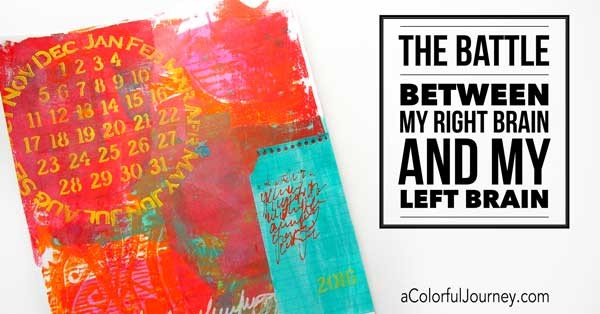
Time was on my mind around the start of new year and I wanted to capture that in an art journal page. Start of the new year? It’s March! Well, this video got lost in my files and I just found it again. Better late than never!
Little did I know when I started this page, that there would be a battle for control. Right brain wanted to play. Left brain wanted precision. My muse was thoroughly entertained watching all of it- I am quite sure!
I should have had a clue something was amiss when I tried to do a messy sloppy stencil job and it wasn’t messy….and it’s all caught on video for you!
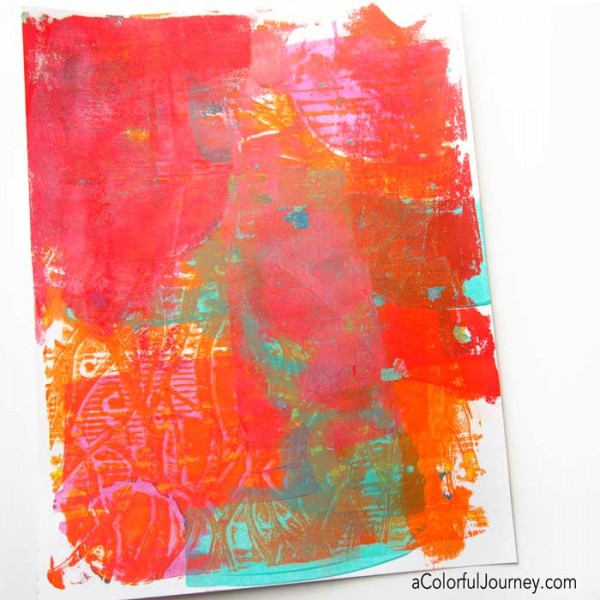
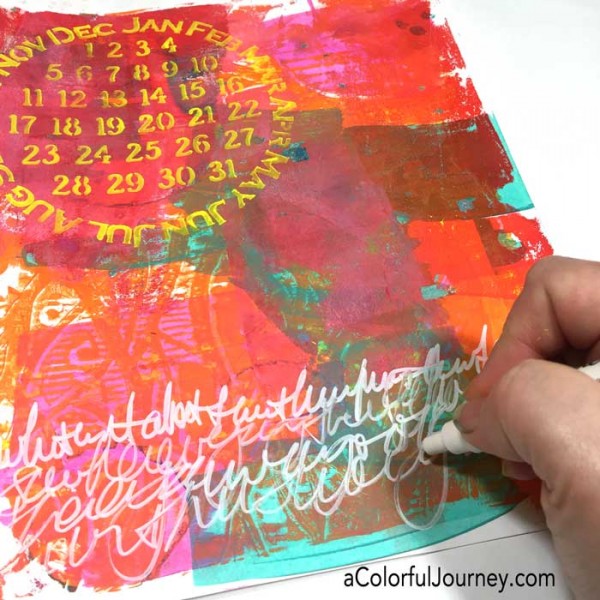
Time is limited, so sometimes I only have a little of it for play. To make the most of the time, one of my tricks is to start with a Gelli print® from my stash. I was able to get an art journal page finished in under 10 minutes thanks to that print. If you’re new to Gelli prints® and want to know more, I have a page of resources and videos here.
This website uses cookies to improve your experience while you navigate through the website. Out of these cookies, the cookies that are categorized as necessary are stored on your browser as they are essential for the working of basic functionalities of the website. We also use third-party cookies that help us analyze and understand how you use this website. These cookies will be stored in your browser only with your consent. You also have the option to opt-out of these cookies. But opting out of some of these cookies may have an effect on your browsing experience.
Necessary cookies are absolutely essential for the website to function properly. This category only includes cookies that ensures basic functionalities and security features of the website. These cookies do not store any personal information.
Any cookies that may not be particularly necessary for the website to function and is used specifically to collect user personal data via analytics, ads, other embedded contents are termed as non-necessary cookies. It is mandatory to procure user consent prior to running these cookies on your website.


 This month’s giveaway is a $50 gift certificate to Walmart.com because you can find all sorts of non art supplies there that work wonderfully for art play! Link up what you’re creating (and you get a bonus entry into the giveaway for sharing your play) or leave a comment telling something that you liked about one of the photos shared. One comment per person. Giveaway closes Monday, April 4th at 8am EST.