Welcome! I’m Carolyn Dube – This colorful journey is all about the freedom of play!
Search My Blog
Search by Category
The Fine Print
Some of the links on this blog are affiliate links and I receive a small percentage. It doesn't cost you anything extra and helps keep all the free tutorials and videos coming! It's a win-win!
The website is copyright Carolyn Dube, and that is kinda common sense since this is my site.
As an Amazon Associate I earn from qualifying purchases.
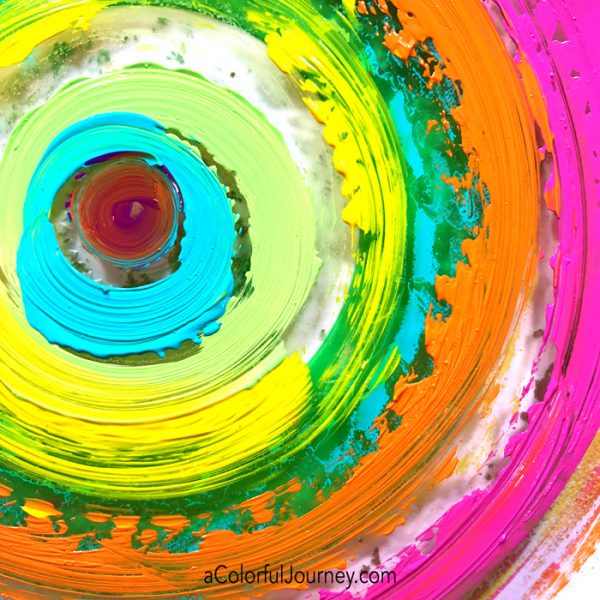
Since I don’t get to see rainbows in the sky that often, I am always happy to make them in the studio. Warning: this is a colorfully hypnotic way to spend an afternoon watching the rainbow spin round and round on the Gel Press plate! And yes, I most definitely loved Spin Art as a kid…and still do!
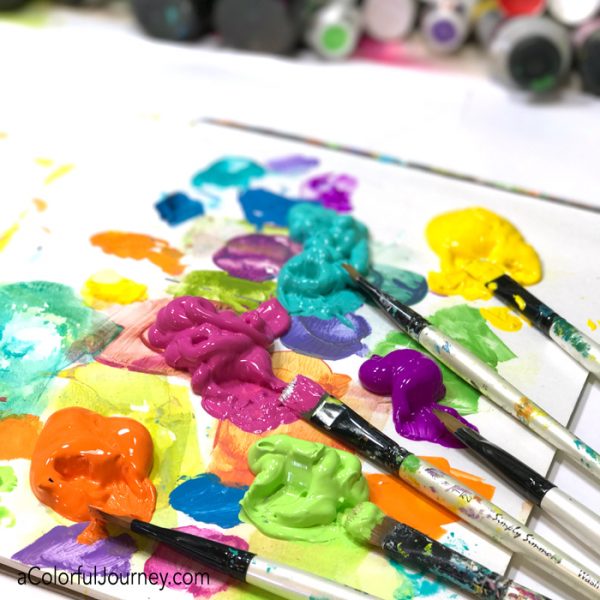
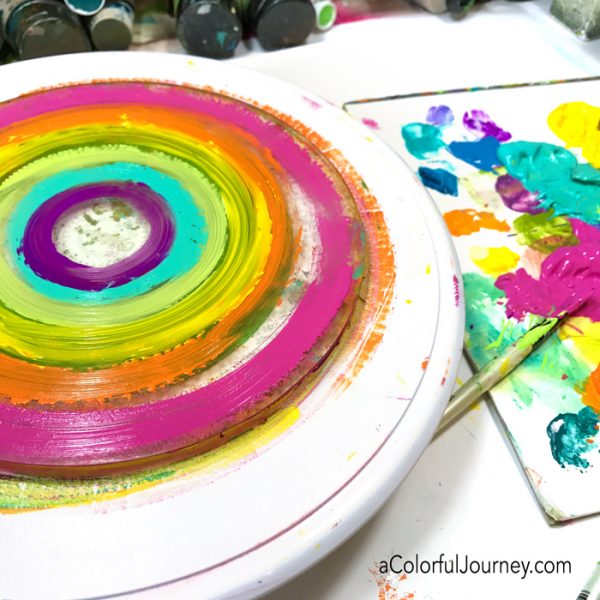
Start with a palette with piles of paint and a brush for each color. Why piles? Because I like to make a lot of prints with juicy color. Do you have to use this much paint? Absolutely not, paint just makes me so happy I can’t help myself.
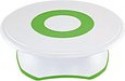
Put a round gel plate on a cake spinner. As you spin the cake spinner round and round, add the colors one at a time. It is wonderfully hypnotic to see the rainbow spin round and round!
Obviously, once a cake spinner has been used with paint, it isn’t food safe any more. Since I don’t bake cakes often, this was a no brainer for me to steal this from the kitchen for some play.
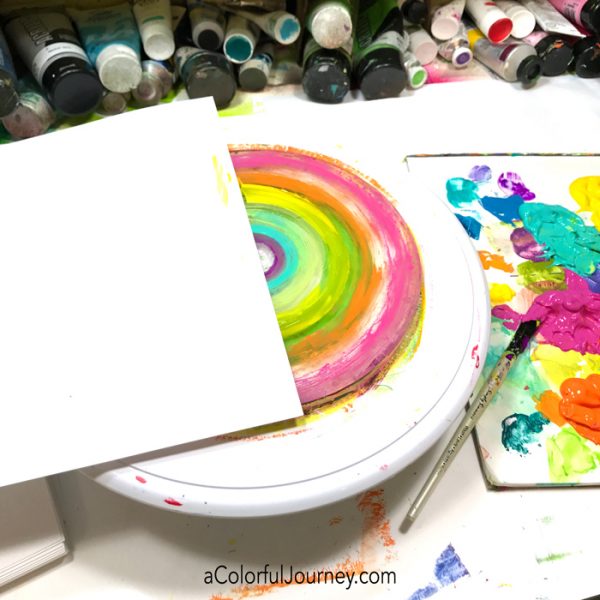
To make a rainbow print, simply put your paper on only half of the circle. Then take another piece of paper to capture the other rainbow on the plate the same way.
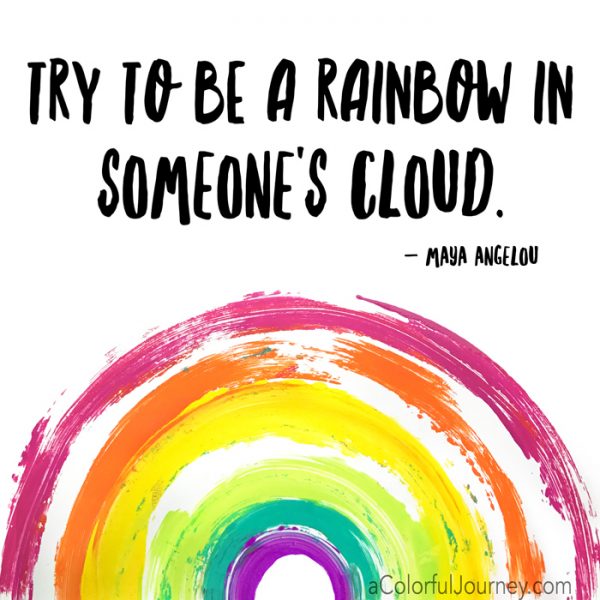
All this play reminded me of one of my favorite rainbow quotes of all time, “Try to be a rainbow in someone’s cloud,” by Maya Angelou. Now I’m heading back to the studio to make more rainbows for my art journals and maybe I’ll even do this with a smaller gel plate for a card!
Here are the supplies I used. Some of these links are affiliate links which means I get a small percentage. It doesn’t cost you anything extra and it helps keep the free tutorials coming!
I’ll be teaching 4 classes this August in Cincinnati, Ohio and then shopping at the preview party Friday night at Stampaway! This is the 25th year for Stampaway. The classes are held in the modern Sharonville Convention center and the hotel is brand new! Class descriptions can be found here & the registration form is here.
Here are the 4 classes I’m teaching and of course each is full of play and plenty of OOPSies!
Sneaky Art Journaling Friday, Aug. 11th
Class details: I used to struggle with letting go and creating loosely, but now I’ve found ways around that. That’s why I call this workshop Sneaky Art Journaling! It’s all about how to trick the controlling left brain into quieting down so play can happen! Once that left brain is settled down, I’ll be sharing how I keep it that way with techniques using heavy bottled paints, glazing liquid, stencils, and different ways to apply the color – we’re not
going to be only using brushes.
I’m bringing all the paints, Stencil Girl stencils, and more for you to create your art journal pages. Paper will be provided, but you are welcome to bring your own journal to work with.
Bring: three to five small paint brushes (I like the ¼” flat brush), water container to clean your brushes, permanent black ink pad, and a variety of rubber stamps (15 or so: big, little, fine, and bolder and of course if you’re willing to share, I’ll have stamps too).
Jumping in to Gel Printing Friday, August 11th
Class details: Come play with color and pattern on a gel plate. We’ll start with a big stash of Stencil Girl stencils as I share how to get that fabulous Gel Press printing plate to give you magical ghost prints, how to combine multiple patterns in one printing, and most of all, how to avoid mud when working with the entire rainbow. New to gel printing? No experience is needed to create amazing prints when you know the secret! Not only will you get my shortcuts that were learned through hours of printing play, along with a fundamental understanding of gel printing, but you will walk out the door with a huge stack of amazing prints.
Bring: six to seven acrylic paint colors (including white) and an apron.
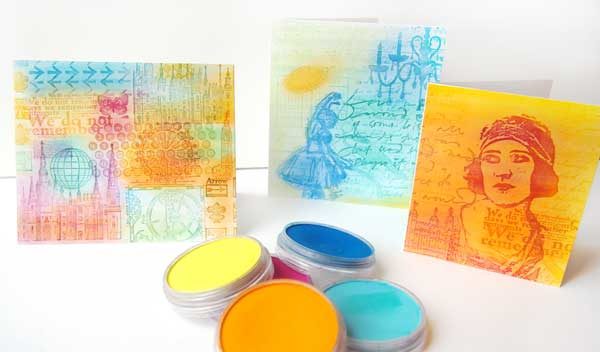
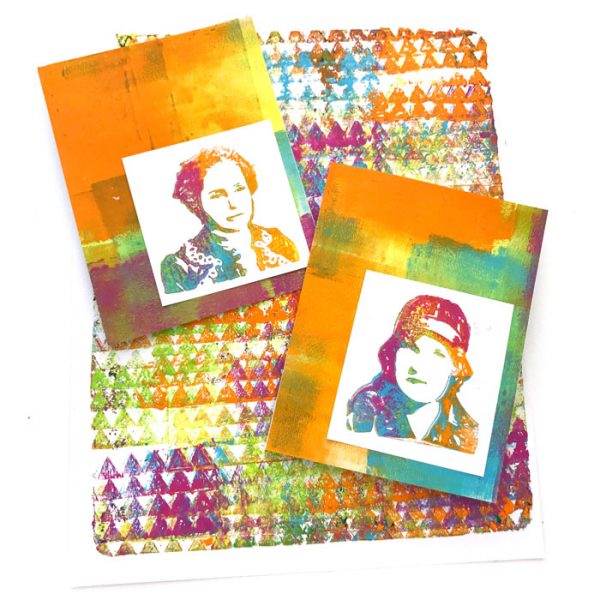
Stamping with PanPastels is back as it sold out quickly last year at Stampaway Wednesday, August 9th
Class details: Using rubber stamps, you will layer, blend, mix colors, and seal PanPastels while creating collages full of color. When you walk out the door, you will be able to confidently make cards, backgrounds, and more with PanPastels because Carolyn is sharing the whys and hows
of PanPastels so you will have a clear and strong understanding of the medium. Including an easy way to seal them completely indoors! So no stinky sprays! She is bringing the PanPastels, the supplies for sealing, and rubber stamps for those willing to share.
Bring: a variety of 10-12 rubber stamps (bold, fine, little, big, text), 15 cosmetic wedge sponges from the drugstore, glue stick, scissors, and permanent ink pad.
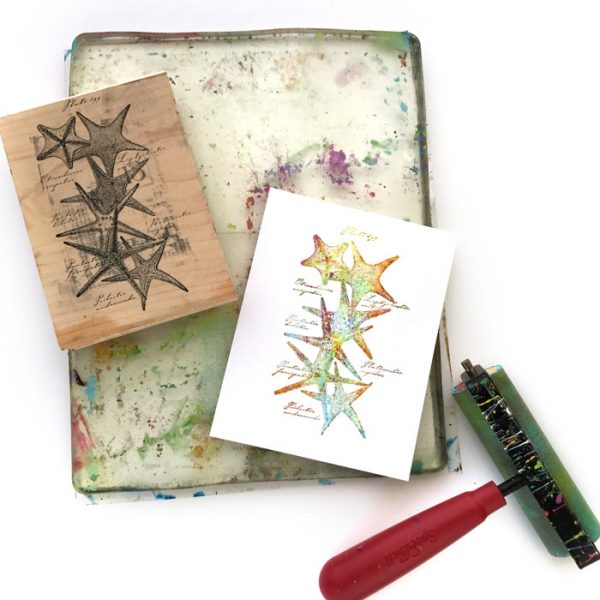
Using Rubber Stamps on a Gel Plate Friday, August 11th
Class details: Come play and use rubber stamps in new and colorful ways with a Gel Press monoprinting plate. If you have never used a gel printing plate, this is a great opportunity to try it out and see what all the excitement is about. You will make backgrounds that perfectly match your stamped images, and you will see how to get multiple looks from the same stamp. As we make these cards and patterned papers, you will use the entire rainbow of paint at one time without making mud, and you will also learn an easy shortcut for cleaning paint off of any rubber stamp.
Bring: scissors, a variety of eight to ten stamps, six to seven colors of paint including at least one color that is darker (e.g., dark blue, deep red), and an apron. Instructor will have stamps for sharing.
Looking forward to all the play at Stampaway! If you’d like to join me you can find the the registration form here.
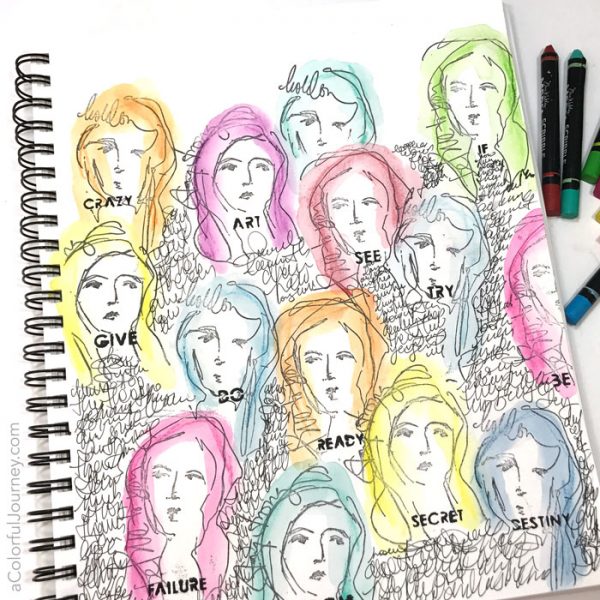
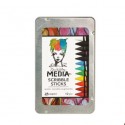
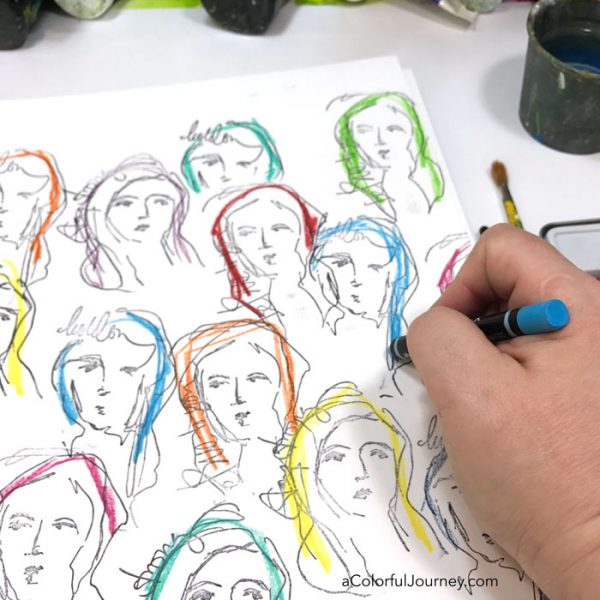
Precision is not my middle name. Happily, not a drop of precision was needed to create this art journal page of rainbow women as I played with Dina Wakley’s Scribble Sticks, some stamps, and a stencil. And yes, there was an OOPS (an Outstanding Opportunity Presenting Suddenly). Actually there was more than one.
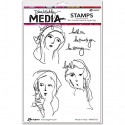
Random stamping of the 3 women with Dina Wakley’s stamp filled the page. The ink is permanent, which is important to me because there is going to be water involved and I don’t want the images to run.
Once the color is hit with the water, it reacts and behaves like a watercolor. Easy to move the color around without worries of precision.
All that white space between these women was an opportunity to journal. I scribble journaled whatever was on my mind and I was surprised to see what I began to think about. What did I write about? All the different parts of me through the years. It was like a walk down memory lane of how I became the person I am today. Many moons ago I had blue hair in the 80’s, and now I would so love to have this entire rainbow happening in my hair.
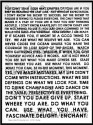
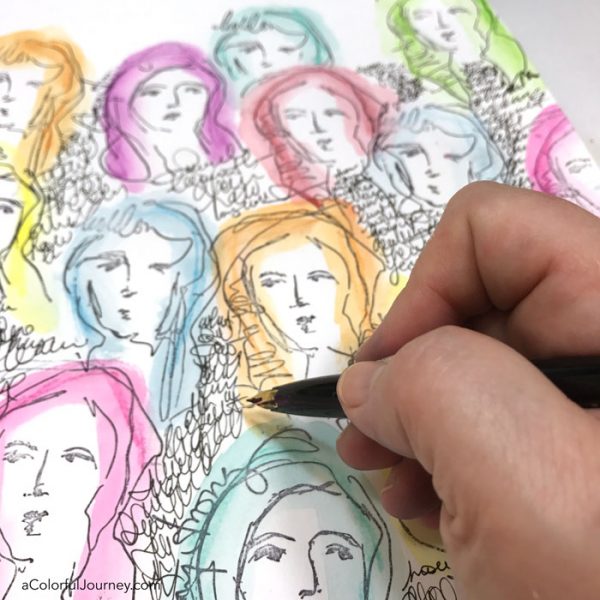
OOPS! There wasn’t much room left to put a big title, so I decided to make a zillion little titles. One for each woman. Using my Wall of Words stencil, I picked out the words that spoke to me for each of them. There are so many words on this one stencil, I easily found what I was looking for plus each one has a different word.
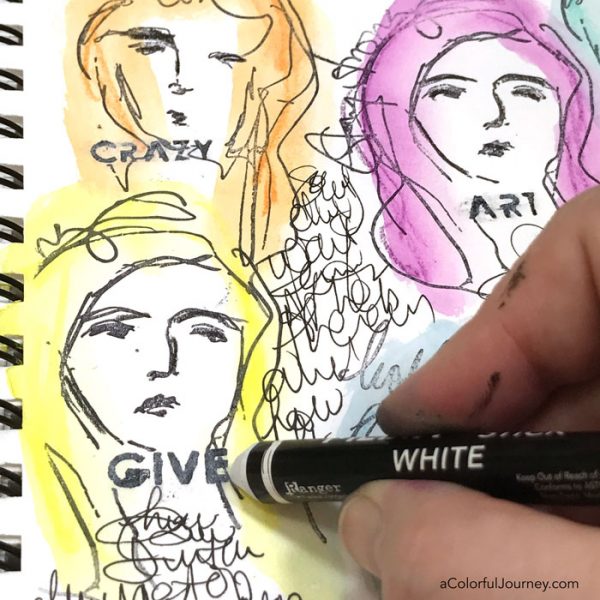
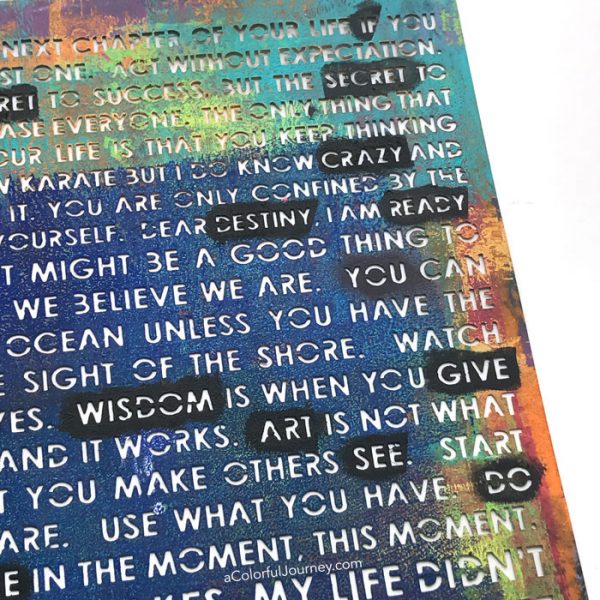
But alas, the paint used to stencil the words was just too dark. O.O.P.S! A failure? Nope. Just an Outstanding Opportunity Presenting Suddenly.
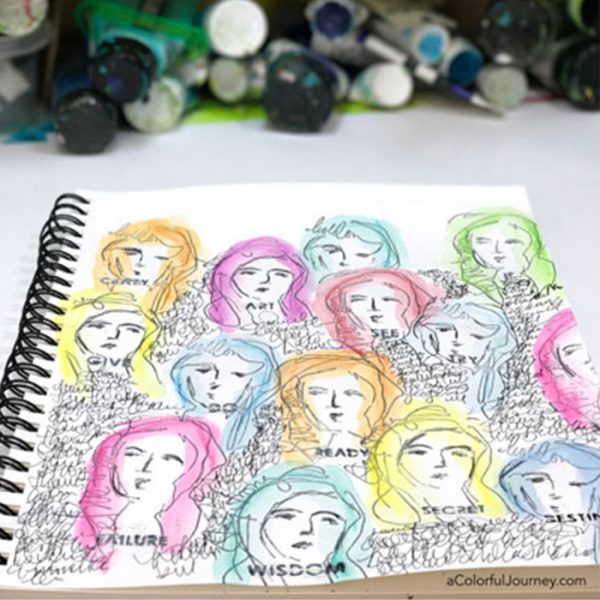
White Scribble Stick to the rescue! By just doing a sloppy scribble over the words, suddenly they were softened and blending into the page. Crisis averted. Okay…it never was a crisis but I am glad the words are blending in more. While I was doing that, I added bits of black here and there on the stamped images too.
The rainbow, a walk down memory lane, and play time. What more could I ask for?
Here are the supplies I used. Some of these links are affiliate links which means I get a small percentage. It doesn’t cost you anything extra and it helps keep the free tutorials coming!
This website uses cookies to improve your experience while you navigate through the website. Out of these cookies, the cookies that are categorized as necessary are stored on your browser as they are essential for the working of basic functionalities of the website. We also use third-party cookies that help us analyze and understand how you use this website. These cookies will be stored in your browser only with your consent. You also have the option to opt-out of these cookies. But opting out of some of these cookies may have an effect on your browsing experience.
Necessary cookies are absolutely essential for the website to function properly. This category only includes cookies that ensures basic functionalities and security features of the website. These cookies do not store any personal information.
Any cookies that may not be particularly necessary for the website to function and is used specifically to collect user personal data via analytics, ads, other embedded contents are termed as non-necessary cookies. It is mandatory to procure user consent prior to running these cookies on your website.


 I’ll be teaching 4 classes this August in Cincinnati, Ohio and then shopping at the preview party Friday night at
 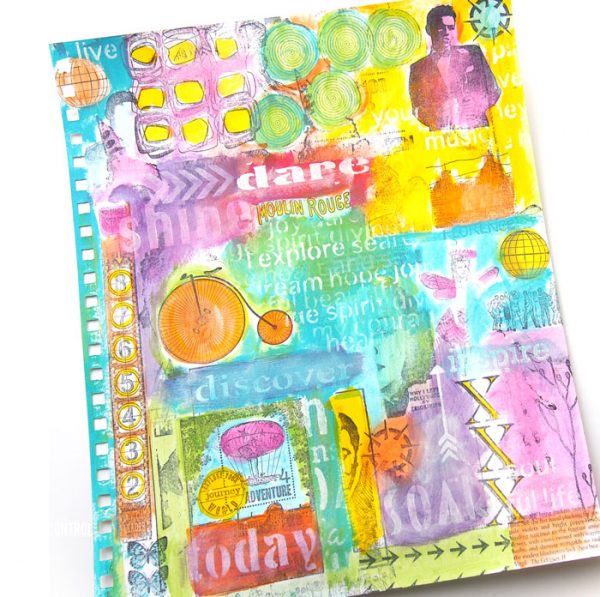 Sneaky Art Journaling Friday, Aug. 11th
 Stamping with PanPastels is back as it sold out quickly last year at Stampaway Wednesday, August 9th
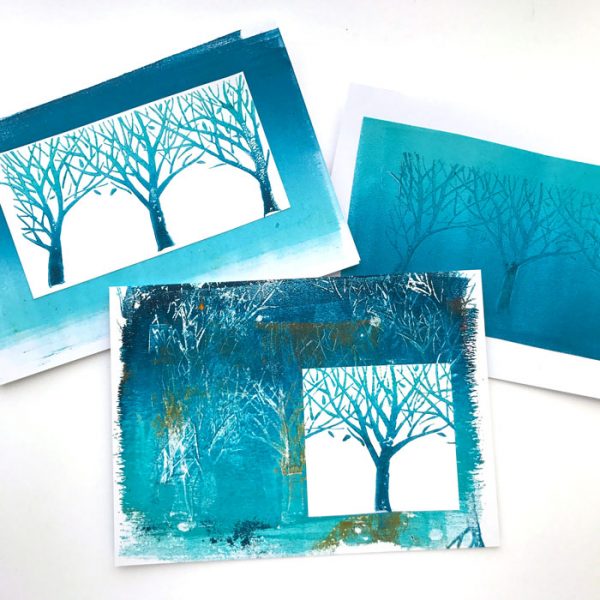
 Looking forward to all the play at Stampaway! If you’d like to join me you can find the the
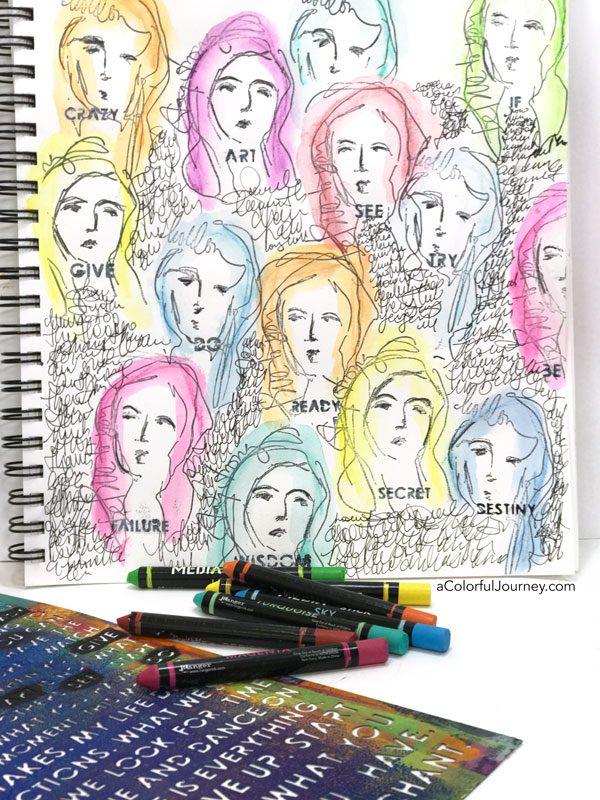
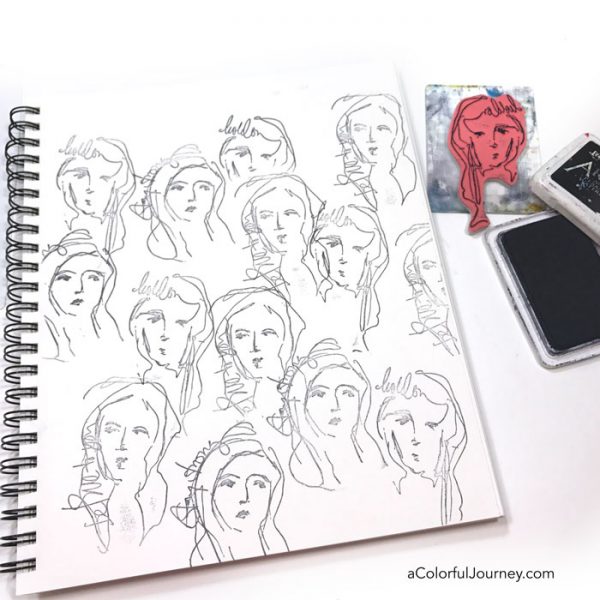
 Once the color is hit with the water, it reacts and behaves like a watercolor. Easy to move the color around without worries of precision.
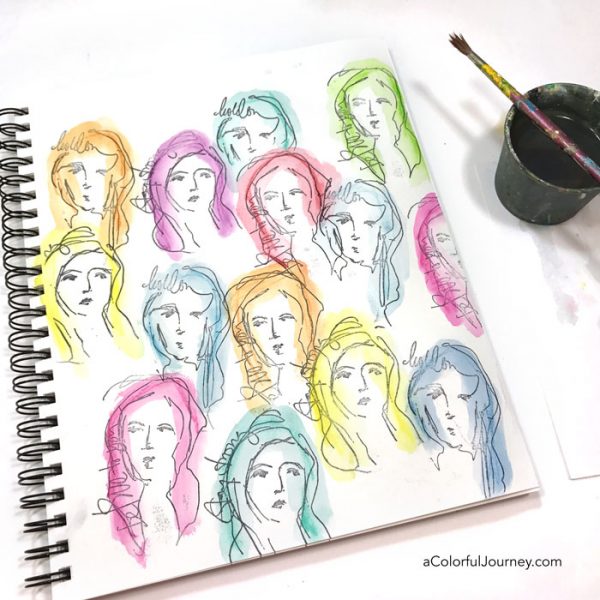
 But alas, the paint used to stencil the words was just too dark.