Welcome! I’m Carolyn Dube – This colorful journey is all about the freedom of play!
Search My Blog
Search by Category
The Fine Print
Some of the links on this blog are affiliate links and I receive a small percentage. It doesn't cost you anything extra and helps keep all the free tutorials and videos coming! It's a win-win!
The website is copyright Carolyn Dube, and that is kinda common sense since this is my site.
As an Amazon Associate I earn from qualifying purchases.
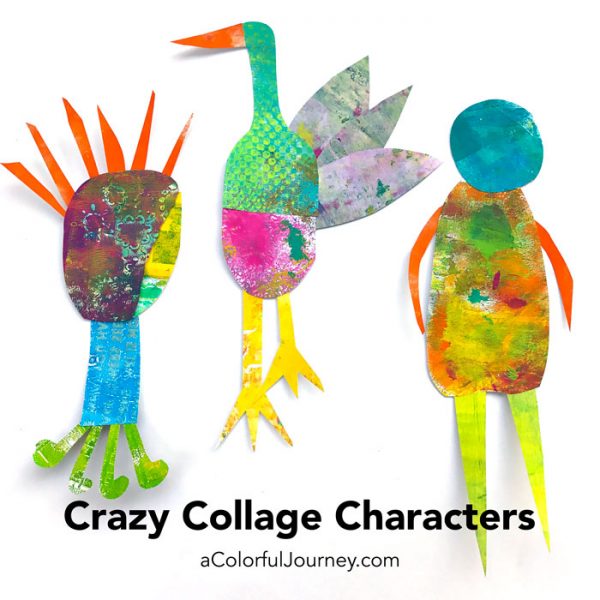
What can you do with a stack of gel press prints? Make crazy collage critters! All you need to create these are some Gel Press prints, scissors and glue. Roald Dahl, one of my favorite authors whose imagination knew no bounds, inspired this play.
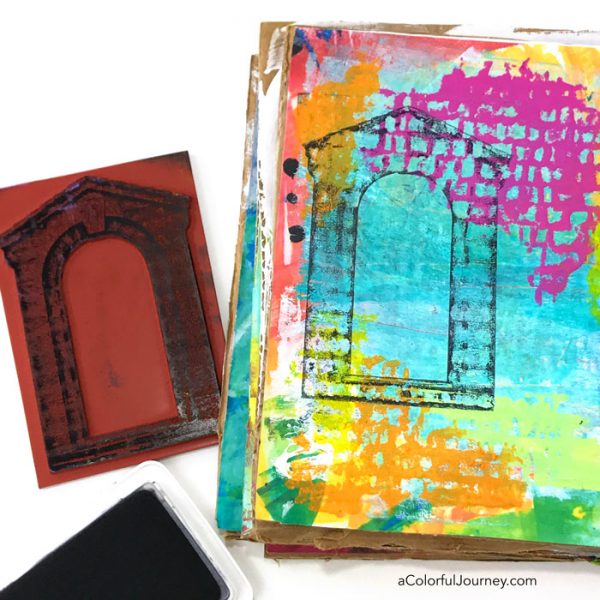
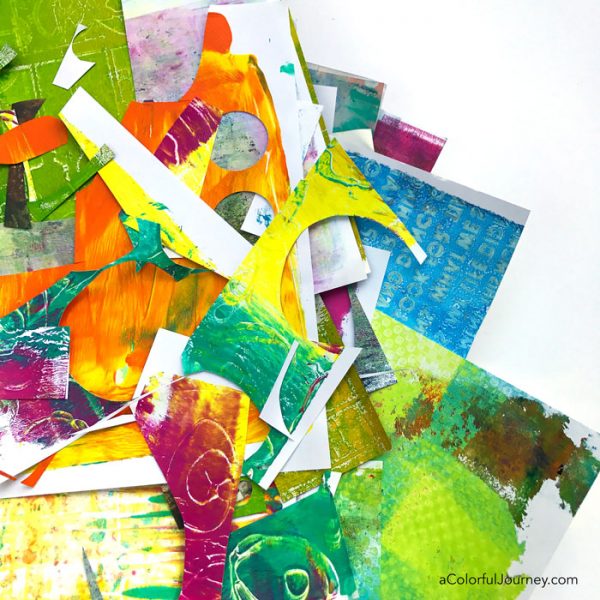
Why do I choose gel prints for collaging? Because all the little details make every print interesting, even the ones that look basic as one large print. Notice in the video how the patterns and details really jump out when cut up and assembled into these characters.
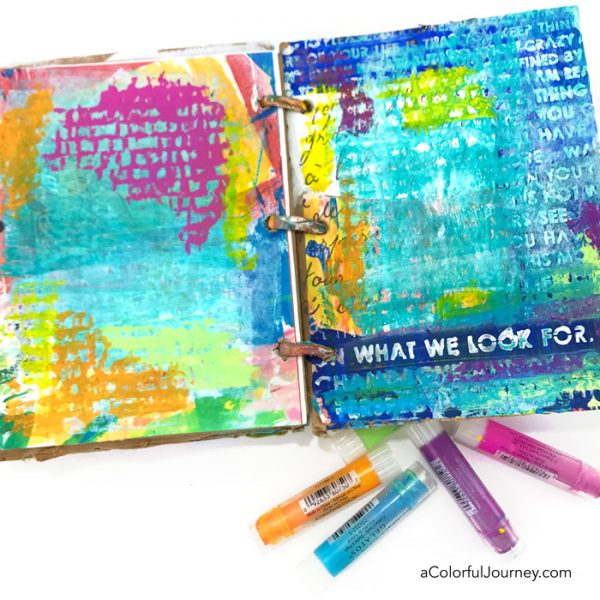
The stack I grabbed is an assortment of colors and patterns. What mattered to me was having an assortment of prints, not exactly what was on each print. Why such a large stack? I wanted choices for my crazy critters.
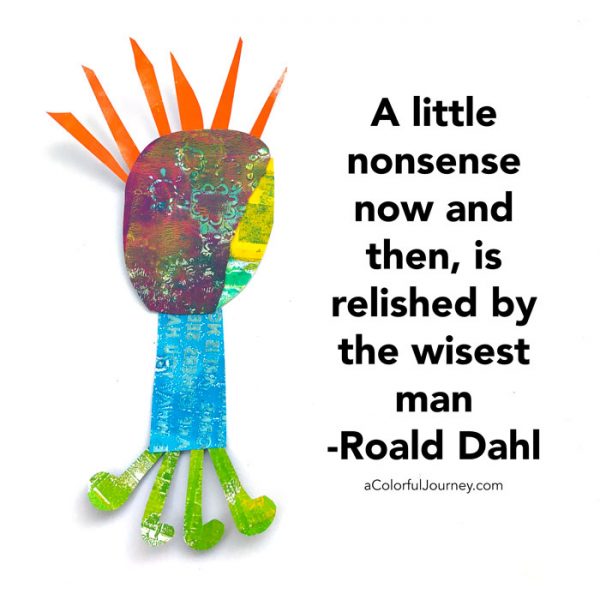
When creating these, I simply look through the prints and start with whatever shape jumps out at me. For this one, it was an oval shape that said body to me. After finding a body…the next step was a head…blue to coordinate with the belly button of course.
There are 4 body parts I tend to put on a critter. Head, body, arms, and legs. These are just guidelines as this little one, a cross between Marvin the Martian and an octopus, didn’t get any arms.
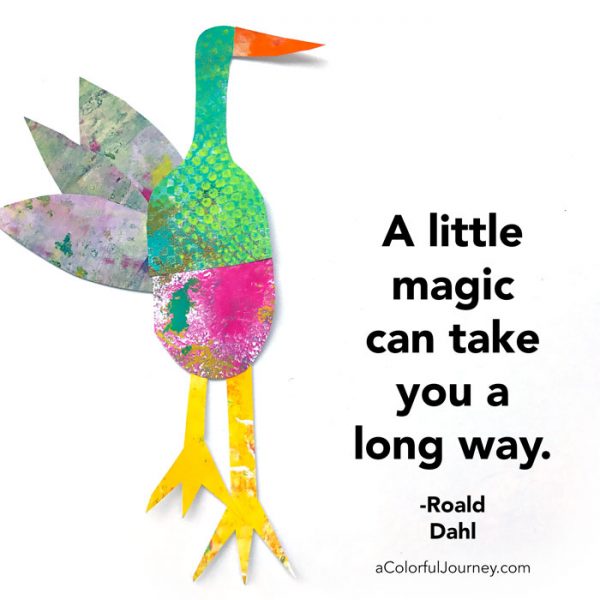
Inspiration can also come from real animals. Oh what fun it would be to find this bird hanging out at the pond! I was thinking cute little flying bluebird when I started cutting the shape, and then it became more duck like. To get the feathers just right, I channeled a bit of that Thanksgiving turkey making from kindergarten.
What will I do with these silly critters? These make playful gift tags for kids and adults (they enjoy the silly too). They might become cards or make an appearance in an art journal or perhaps they will inhabit my studio walls.
There was a stress intervention from the Muse at the request of my family. Grown up responsibilities had been getting the better of me. As I played and added more layers to this collage, a ridiculous plot involving Alfred Hitchcock appeared. The sillier the plot, the less stress I felt.
The play began with the zipper being glued down with heavy gel medium. Why heavy gel? Because I figured the zipper needed something strong to hold it in place. I never guessed where this one zipper was going to take me.
The pink woman, a flexible, dimensional collage element, was made with modeling paste and a stencil. I used several modeling paste “decals” in this collage so how do I make these? I share it step-by-step in my self paced workshop, Modeling Paste Play.
Why did I choose traverse for this collage? Because there is such a silly story traveling across this entire thing. I will admit that the story is a bit unbelievable, even by Hollywood standards.
The plot of an Alfred Hitchcock movie evolved as the layers built up. It starts with a group playing bridge. This is no ordinary bridge game, this is one that requires courage. Can you feel the suspense building?
Those bridge players needed courage because the zipper monsters attacked them. How did they survive? A heroine who saved the day! Who? Well, she’s a mermaid…and the mortal enemy of zippers. After all have you ever seen a mermaid with a zipper? Now you know why!
I’ll admit it was not an exactly Oscar worthy plot but it did chase my stress away. If there happens to be a Hollywood producer reading this who would like the rights to this story, I bet we can work out a deal.
Here are the supplies I used. Some of these links are affiliate links which means I get a small percentage. It doesn’t cost you anything extra and it helps keep the free tutorials coming!
The play almost didn’t happen today. That logical left brain of mine was having a control freak kind of a day and things were being taken way too seriously. What rescued me? What got me playing? My Permission to Play art journal!
I was overthinking it, so I turned to a page and just started. Logical lefty pestered me with questions like, “Do you really want cover that up?” “Do you want to put that there?” as I added a layer of paint with the Gel Press plate.
As I added color with the Gelatos that voice in my head was having a hissy fit because the page on the left was one I loved. But it just hasn’t gone anywhere. The page on the right, well, that one has been one giant O.O.P.S. after another. But the opportunity in all those previous Outstanding Opportunities Presenting Suddenly finally became clear when I uncovered the words I needed today, What We Look For.
It was like a slap on the head from my muse. If you’re looking for problems, that’s what you’ll see. If you’re looking for places to play, that’s what you’ll see. So any time those serious, and play stifling thoughts returned, I just laughed at them with the reminder that this is a cardboard art journal and I have permission to play!
My logical left brain can be rather persistent, so it kept trying to “help” as I stenciled with the castle tower mask from the Once Upon a Time stencil set.
A touch of pink with a Pitt Pen was added on top of the words. It seems I must color any white space, and those words were white after all.
Stamping an a not-perfectly smooth surface like cardboard means stamped images won’t be “perfect” and artsy stamps like this one from Darkroom Door are awesome for this.
Adding the white paint around the arch was a great opportunity to mess with logical lefty because there is no going back from that white paint. There is no wipe it off and start again. It will never be the same.
Logical lefty was so freaked out by this you’d think I had just boarded the first spaceship to Mars and would never see the planet Earth again. Really? It is just a cardboard art journal.
As I added the women to the archway using my Learning to Dance stencil, a Post-It note as a mask made it quick and easy to make it look like she was behind the stamped image.
Before today’s play, the page on the left was one I loved. But it was stalled, it never went anywhere until now.
This page had been yuck to me through so many layers, O.O.P.S. after O.O.P.S. until now. Now I love love love this page and that critical logical lefty voice in my head has quieted down.
You can see how I made this journal and 3 of ways I rediscovered how to play in the free workshop, Permission to Play.
Here are the supplies I used. Some of these links are affiliate links which means I get a small percentage. It doesn’t cost you anything extra and it helps keep the free tutorials coming!
This website uses cookies to improve your experience while you navigate through the website. Out of these cookies, the cookies that are categorized as necessary are stored on your browser as they are essential for the working of basic functionalities of the website. We also use third-party cookies that help us analyze and understand how you use this website. These cookies will be stored in your browser only with your consent. You also have the option to opt-out of these cookies. But opting out of some of these cookies may have an effect on your browsing experience.
Necessary cookies are absolutely essential for the website to function properly. This category only includes cookies that ensures basic functionalities and security features of the website. These cookies do not store any personal information.
Any cookies that may not be particularly necessary for the website to function and is used specifically to collect user personal data via analytics, ads, other embedded contents are termed as non-necessary cookies. It is mandatory to procure user consent prior to running these cookies on your website.