
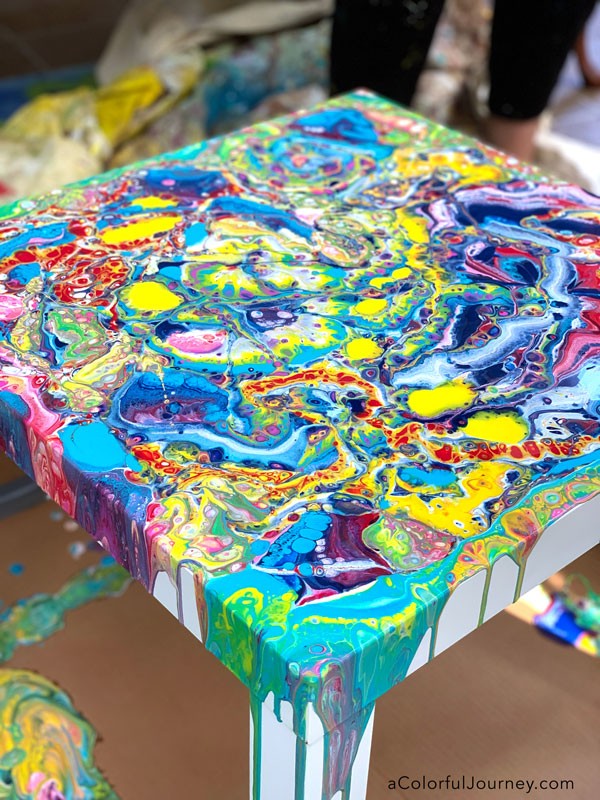
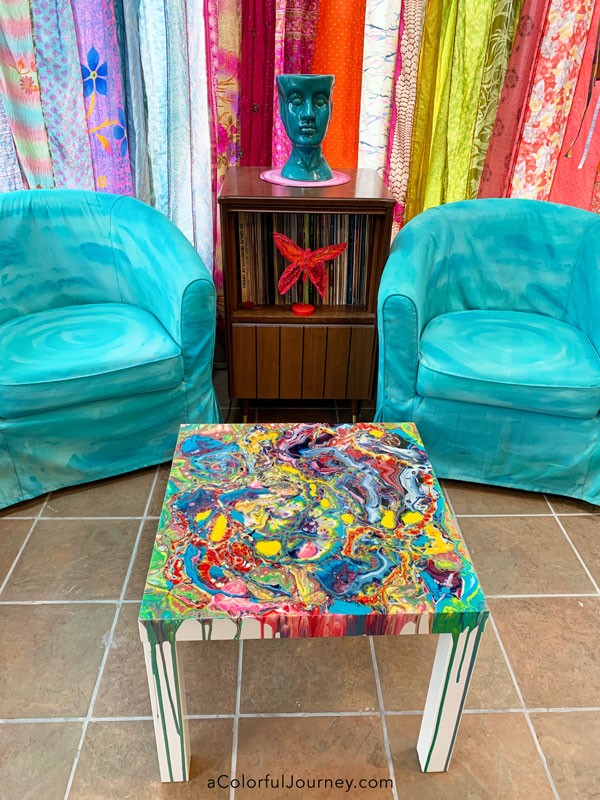
A piece of white IKEA furniture and turning it into a conversation piece of art. There was a step that I skipped that led to a problem later on but I don’t regret it one bit! You’ll see why at the very end of the video
Even though both our cups look different, we were using the same paint, just different amounts of each color in our cups.
There’s more than just paint in there, it also includes a pouring medium. If you’re new to paint pouring you might be wondering how to mix it up, how much pouring medium to use, what different pouring mediums do, how to set it up so there’s no mess, and more.
To help you get started the easy way, I put together the free Paint Pouring Guide for you. Everything else you need to know to get started is in there. You can get it sent to your inbox here.
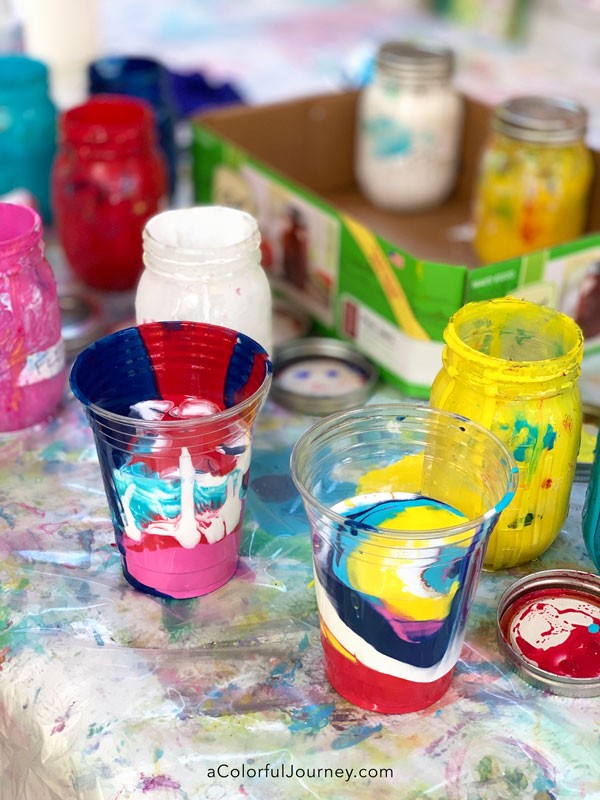
With the cups loaded with layers of paint, we poured directly onto the table. Naturally, you can use any pouring medium you like.
We used Floetrol for the table. At the end of this post I have links to where you can get it online and it’s also available in most hardware stores in the paint section.
Here’s a link to it on Amazon. I’m an Amazon Associate & I earn from qualifying purchases. It doesn’t cost you anything extra and you get a really good feeling knowing that you are helping keep the free tutorials coming!
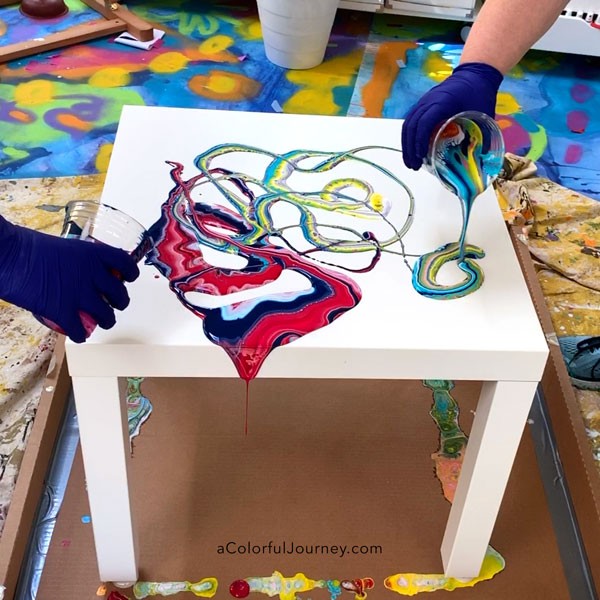
What about the drips and making a mess? Paint pouring doesn’t have to be messy. Just put a box under your project to catch any paint that goes over the edge. For added containment, I tend to duct tape the inner edges of boxes to be sure there isn’t any leakage.

But there’s something I didn’t do before we started. Prepping the table. When I paint furniture I usually use a super duper primer that sticks to slick surfaces.
There are several brands at the hardware store, and all are good. BUT, I ran out. Or I put it somewhere safe and couldn’t find it. So I just skipped that step. You’ll see in a moment what challenge that created.
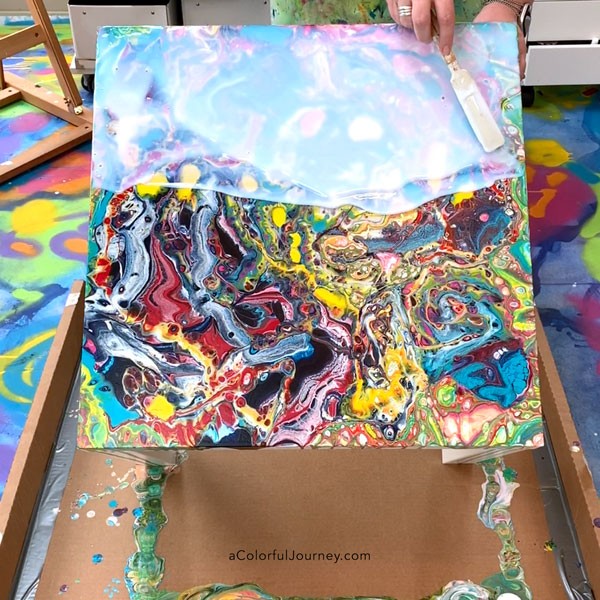
Since there was no primer on this surface, the paint didn’t stick well to it once it was dry. So that meant it needed something on top to protect the paint. Resin would have been ideal, but I didn’t have any of that so I looked through what I did have.
Self Leveling Clear Gel. It dried crystal clear with a great shine but there was one huge problem. The Sticky Factor. Once it was totally dry something like a piece of paper would not stick to it at all. But something like a drinking glass would.
The glossy surface has a tendency to stick to things so we have to be careful what we put on it or for how long we leave it there and pull it up gently.
Do I regret skipping the priming and using the self leveling gel? Nope, just for one big reason. If I had waited until I had the perfect supplies, I wouldn’t have been able to do this with my daughter.
She was only home for a short visit and as she’s gotten older, finding times like this is becoming harder and harder. By using what we had on hand allowed us to take full advantage of our play time together.
The table is now a souvenir of our time together.
Next time you’ve got the opportunity to play, use what you have even if it isn’t the “perfect” supply so you don’t miss out on the fun!
Want to know more about paint pouring? It’s all in my free Paint Pouring Guide.

you are right, grab time together now
Love it!
Fabulous. Why not improvise. You can always put a piece of plexi on top and perfect. Thanks for sharing, Denise
Loved the project and the sentimental vibe of having time with an adult child.
I am assuming that Resin cannot go ever the medium you used to seal the table top??
Gracie
Carolyn you have inspired me to do this type project with my grandchild. I don’t get to see her all that often. The final result will be for her to keep. Maybe she will remember the fun we had paint pouring together.
hi Carolyn
what primer would you have used for a project like this please. ? Great project something enjoyable with your daughter too ❤
thanx
debbie ?
I use whatever super strong primer is available at the local hardware store- just ask at your local store which one would be strong enough for the surface you’re working on.
It is lovely, couldn’t you still put a resin on top of the self levelling stuff? Nothing more annoying than sticking, I have coasters that my family all make and I sprayed them with a glossy vanish and now, every cup and glass sticks to them and it is so annoying.
PERFECTION!!! I want to play…SJ