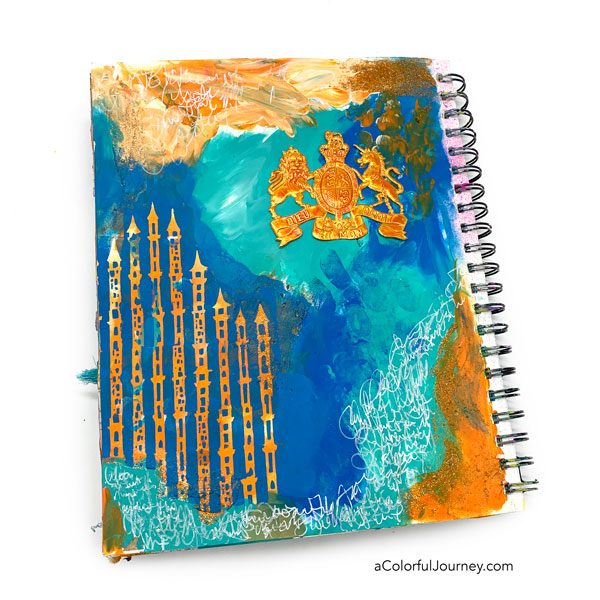
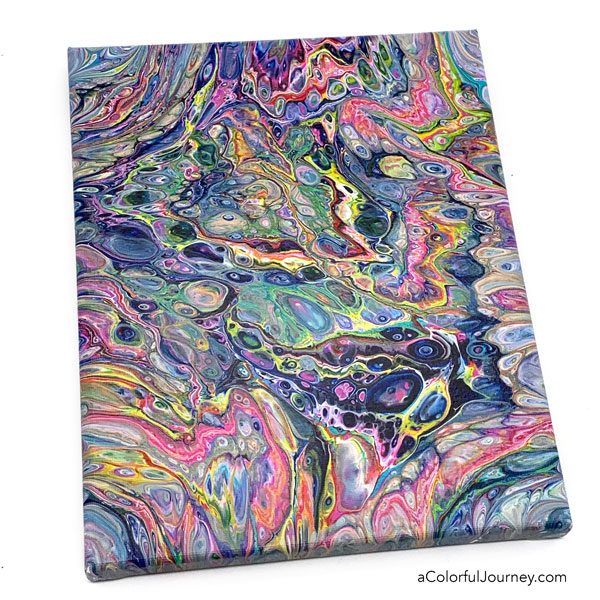
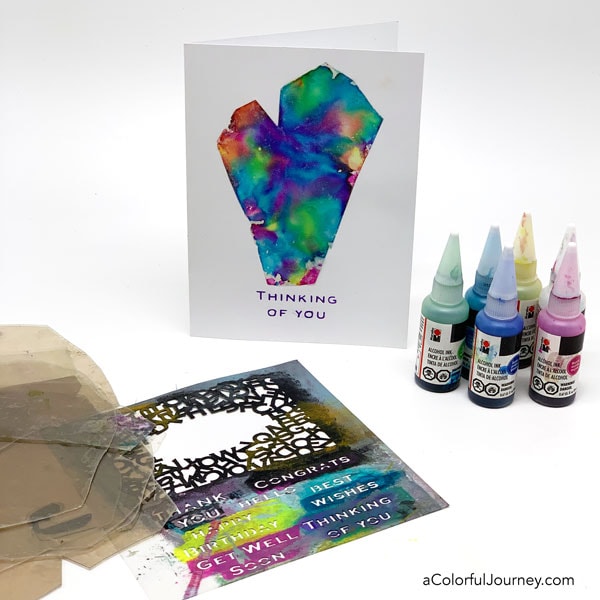
Use alcohol inks to make a dreamy rainbow of color on mica and see how to attach something see through without seeing the glue!
But what if you don’t have mica? You can use anything that’s glossy or non absorbent, like an office transparency.
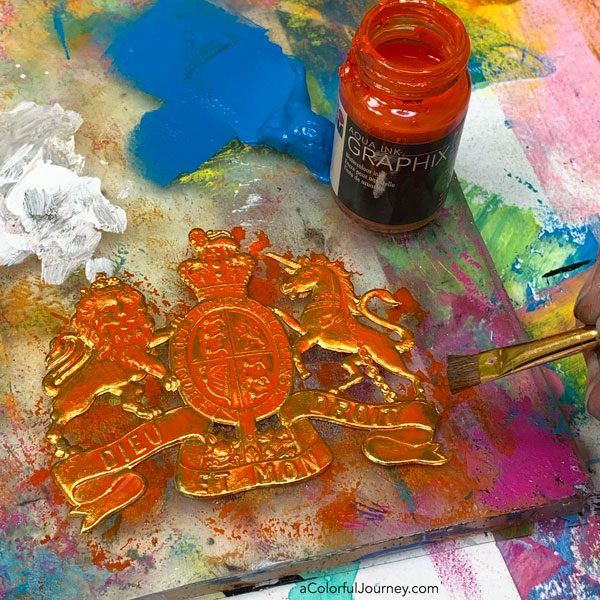
There are 2 things I love about Marabu’s Alcohol inks.
- The colors- so vibrant!
- The bottle- that long tip makes it so easy to get the ink just where I want it or as in this video, all over the mica!

Mica is a naturally occuring mineral so that’s why the pieces I’m using have such organic shapes to them. They came this way. You can buy a variety of sizes of mica tiles and I’ve got 2 that have been good quality linked for you at the bottom of this blog post.
But how do you attach something see through to card without the glue or adhesive showing? Keep reading!

Using Artist-tac you can attach it without anyone noticing the adhesive. What is Artist-tac? It’s a micro adhesive dots. I’ve got a link for this in the supplies section below for you.
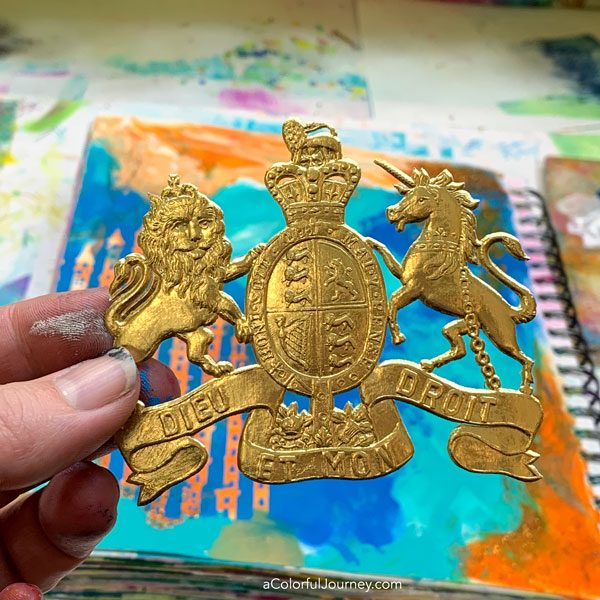
To show you what they look like, I put a ton of the on this piece of mica above so you could see what the dots look like.
When I attached the heart shape to the card, I only put a few of the dots on there. So few that you can’t even see them. After all mica is very light weight and doesn’t need much to stick.
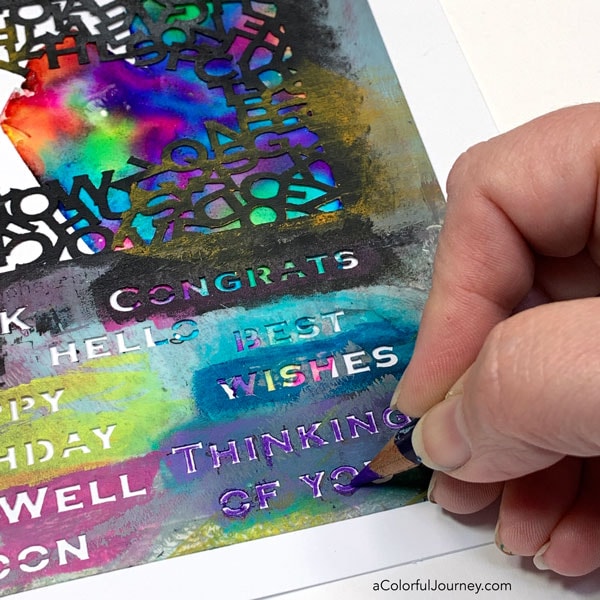
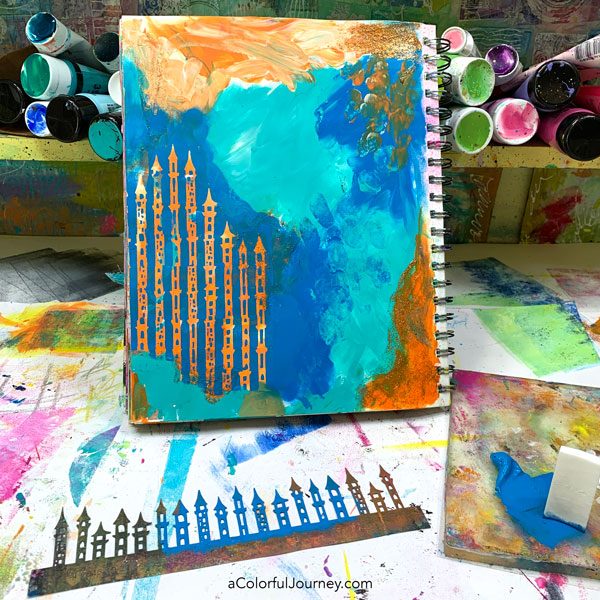
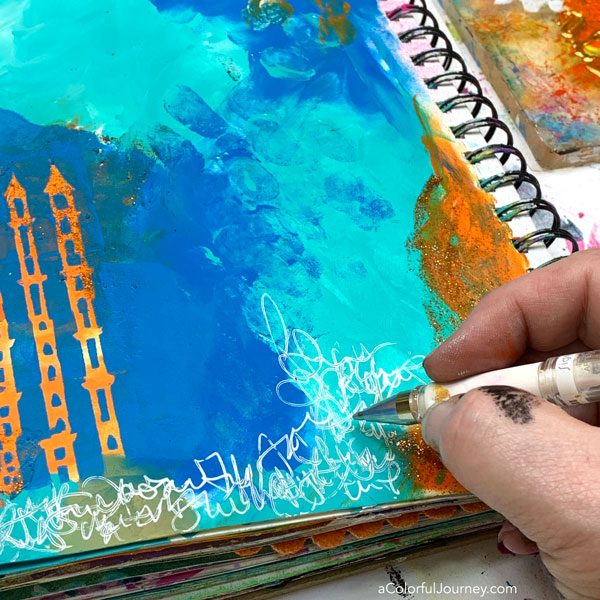
I don’t like my handwriting, so I let the Alpha Jumble Small stencil do the heavy lifting.
Using a colored pencil, I added the sentiment to the card. The trick to this is to make sure the pencil is nice and sharp.
These alcohol inks have given new life to the mica I had buried in a drawer. What do have tucked away in your stash that could work with alcohol inks?
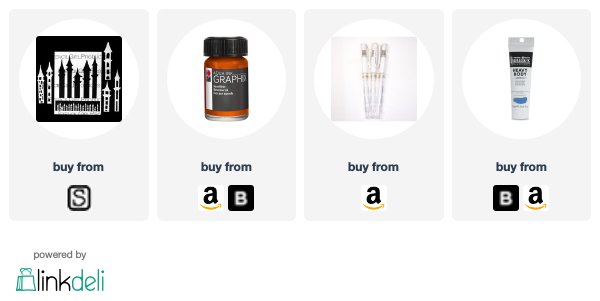
Here are the supplies used. Some of these links are affiliate links which means I get a small percentage. For example, I’m an Amazon Associate & I earn from qualifying purchases. It doesn’t cost you anything extra and it helps keep the free tutorials coming!