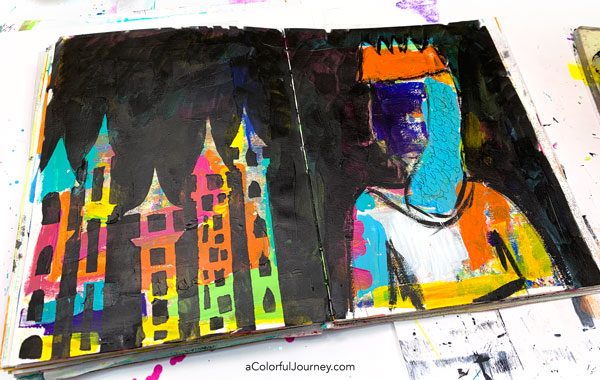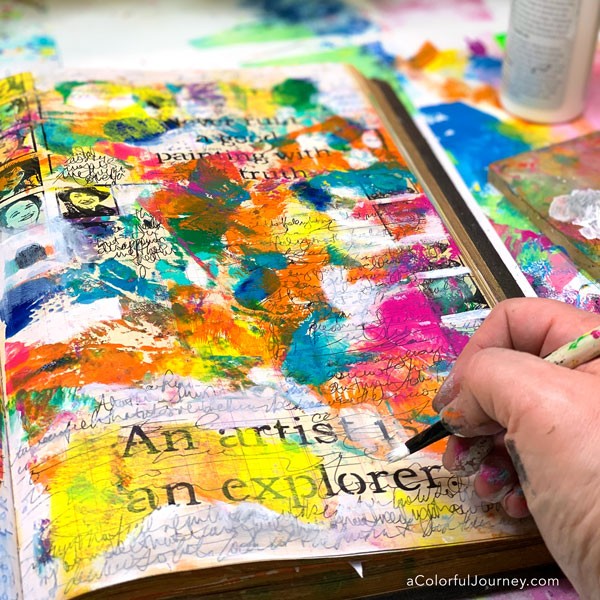
Gel plates make great layers in an art journal plus they can make things much easier for you when you’re stamping with paint.
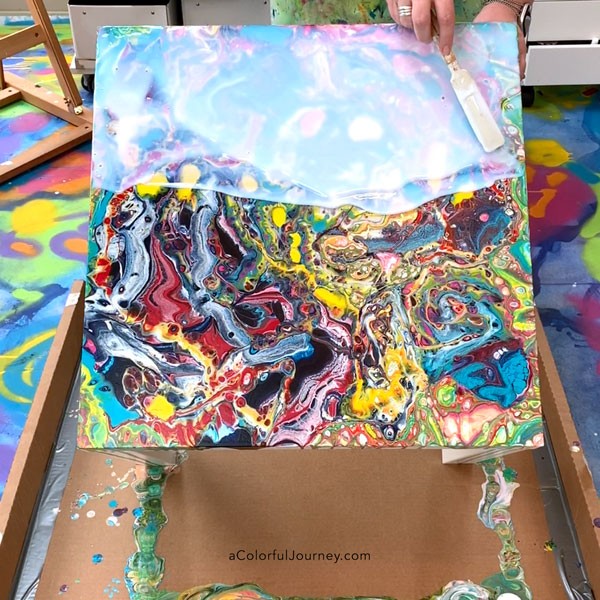
An O.O.P.S., an Outstanding Opportunity Presenting Suddenly, happened with the gel plate with white paint. It wasn’t until the very end of the page that I realized what the opportunity in it was.
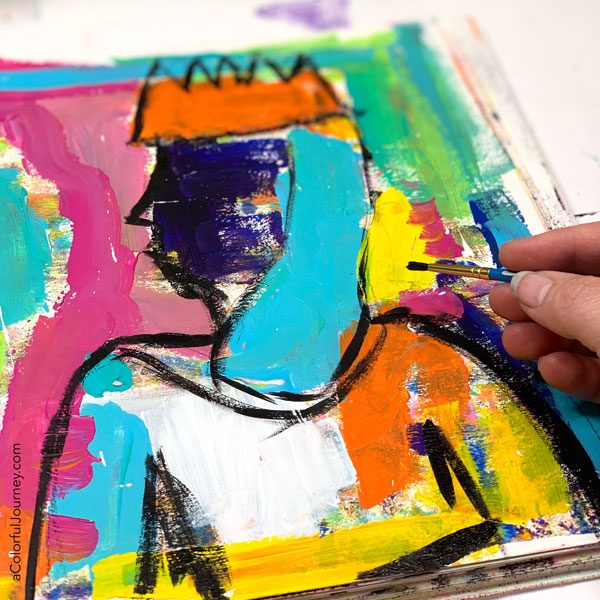
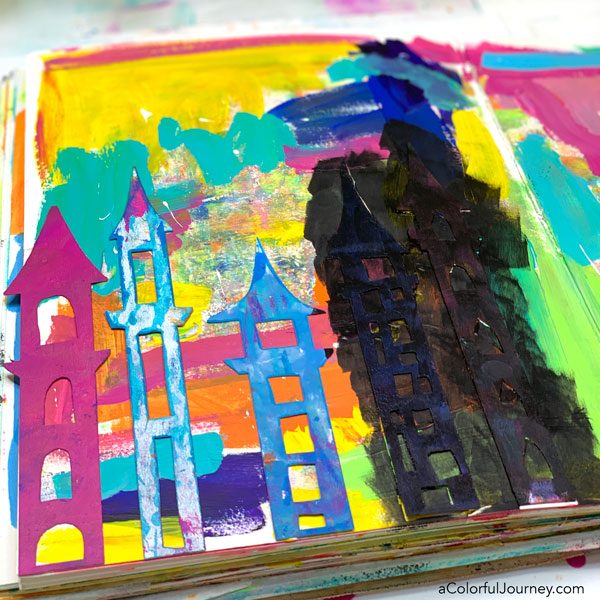
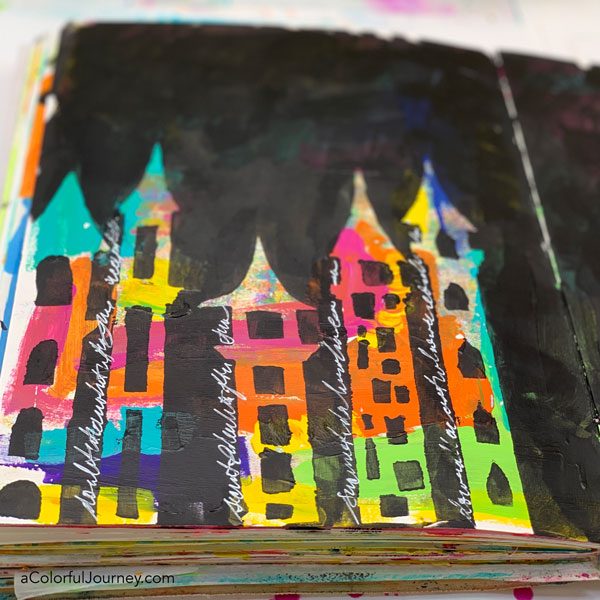
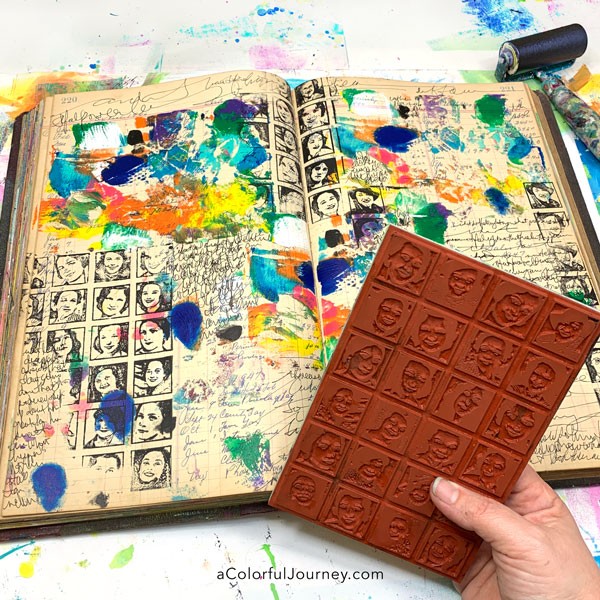
Stamping with paint allows you to have strong dark lines even when using a large or detailed stamp, like this one from Darkroom Door. The tricky part is getting the paint evenly on the stamp. That’s where the gel plate comes in handy as the ink pad. Just brayer the paint on the plate, and use it just like an ink pad.
If you’ve never stamped with paint perhaps you’re worried about cleaning the stamps. In the video, I share the easy way to get them clean.
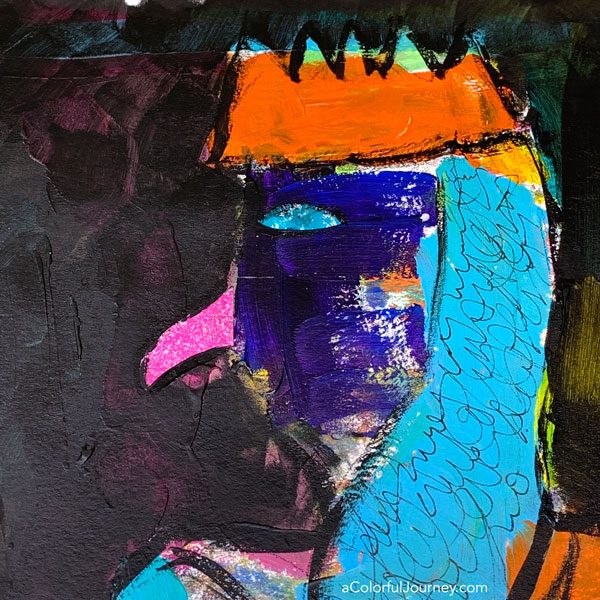
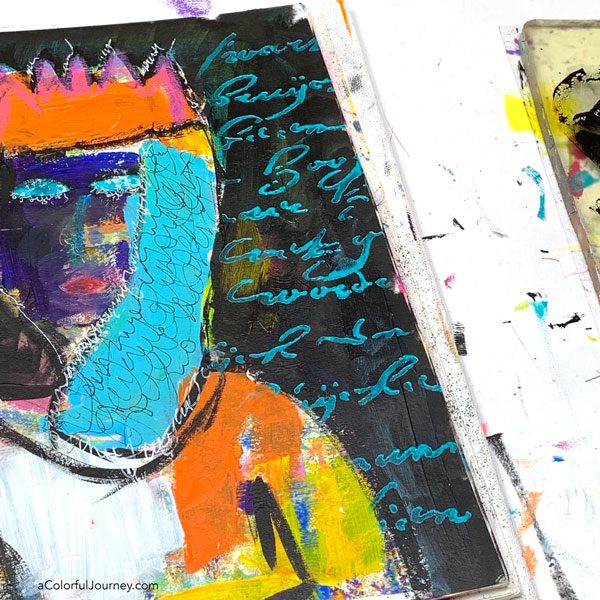
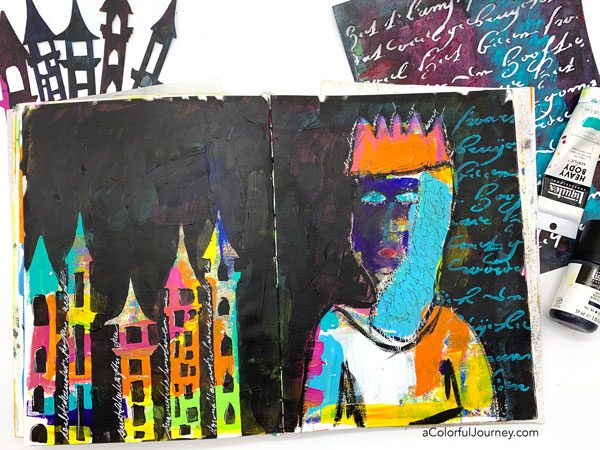
This art journal page was all about my gratitude for my great aunt. A fiesty and fiercely independent woman who in 98 years experienced a great deal. All her steps forward as a career woman back when then helped make it easier for all women today. Thank you to each and every woman who paved the way!
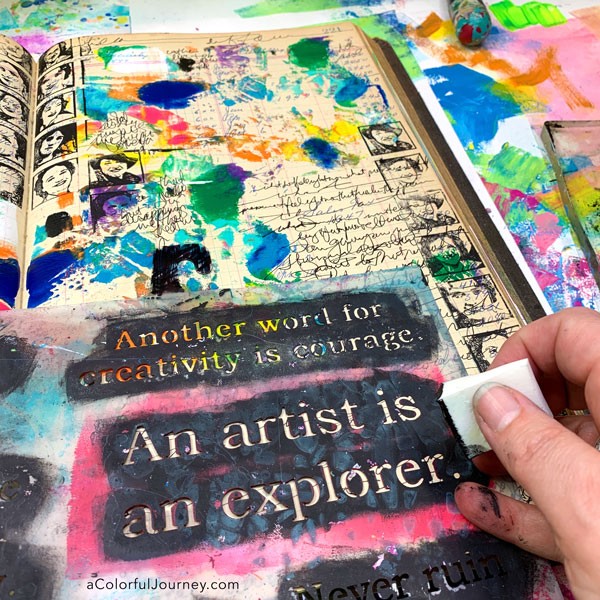
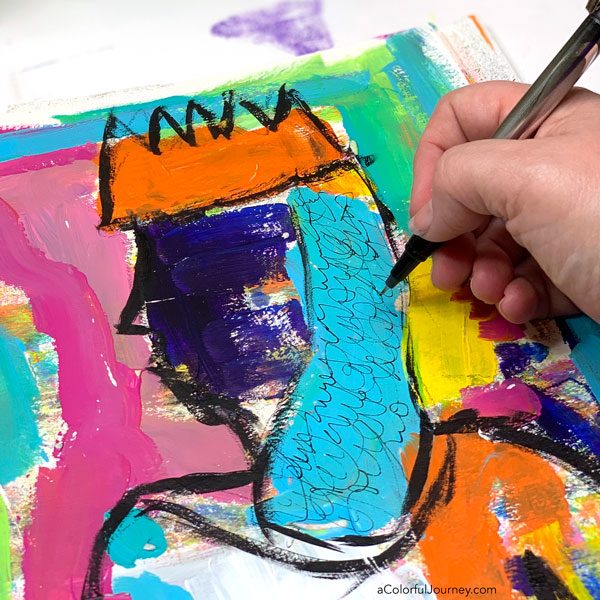
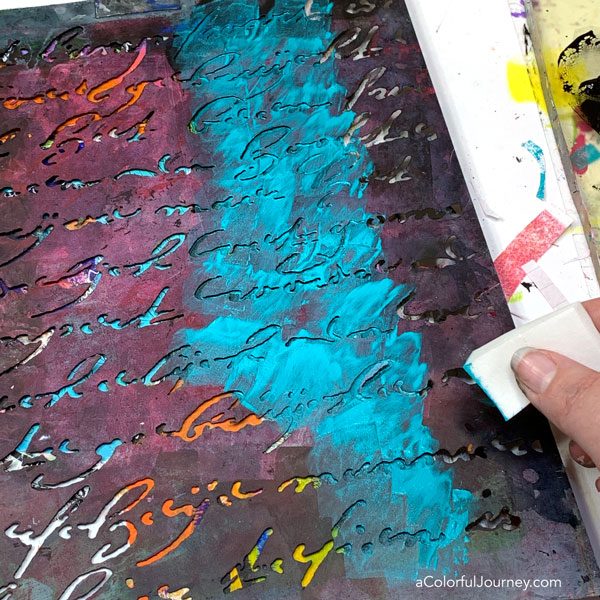
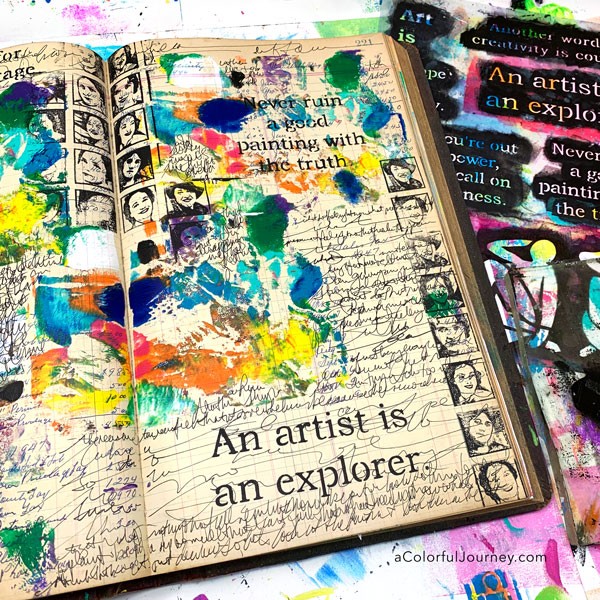
The arts were always near and dear to my great aunt. She embraced creativity throughout her life so I stenciled these quotes from my Conversations with Matisse stencil. This brought back memories of a very Matisse inspired painting in her dining room that she picked up in Yugoslavia back when it was called Yugoslavia.
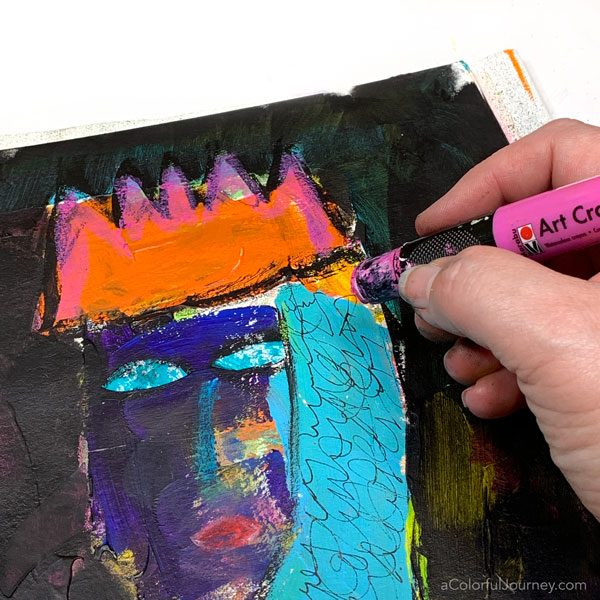
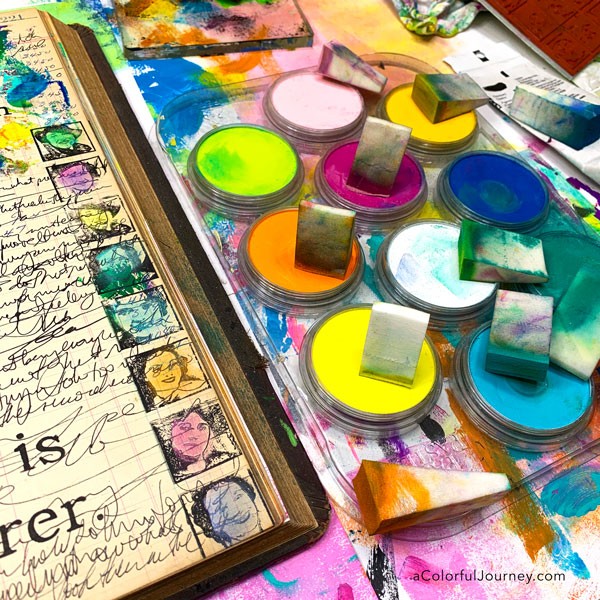
This was a colorful woman who inspired this page, so I had to get the rainbow on the stamped images. Using PanPastels, loose color was added to the page.
Did I seal the PanPastels? Nope. If I’m adding just a touch of them here or there I don’t take the time to seal that little bit. When I do seal them, I use a gel plate to do that too. I’ve a tutorial here showing you how.
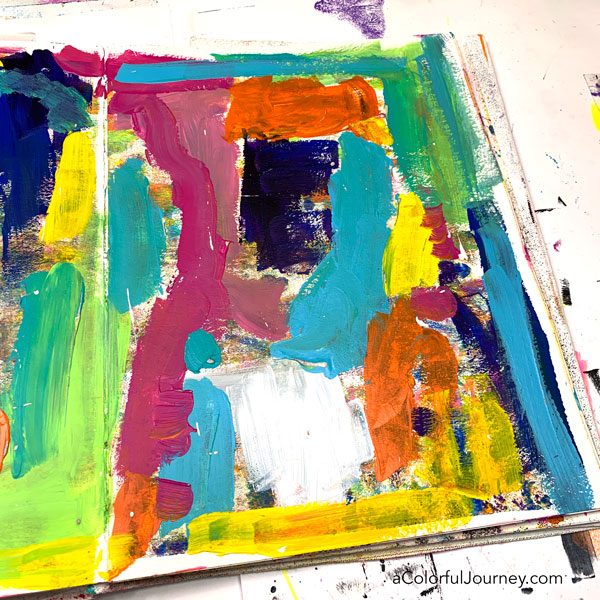
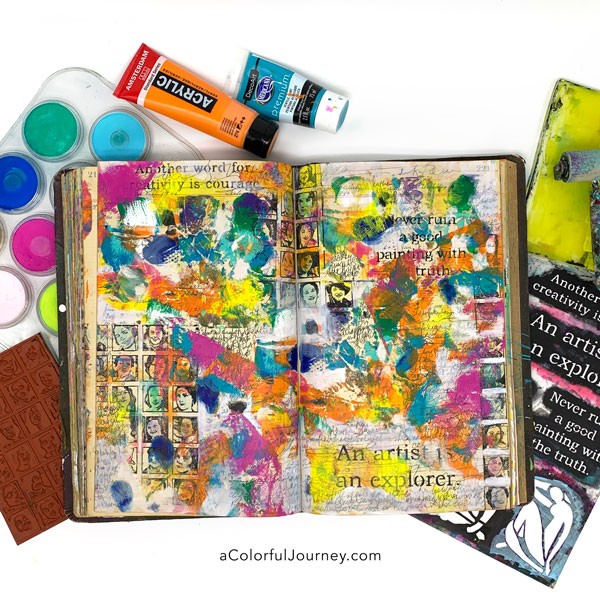
More layers of color were added to the page with the gel plate. Just parts of the plate were used, after all, you have the freedom to use some or all of a plate.
If you’re new to gel printing or have ever felt frustrated with your gel prints then you might want to take a look at my workshops. I’ve got several that go deep into why the gel plate does what it does. This means you can fully understand your gel plate and use that knowledge to create the kinds of prints that bring you joy.
After all, the best thing about art supplies is the fun you can have using them!
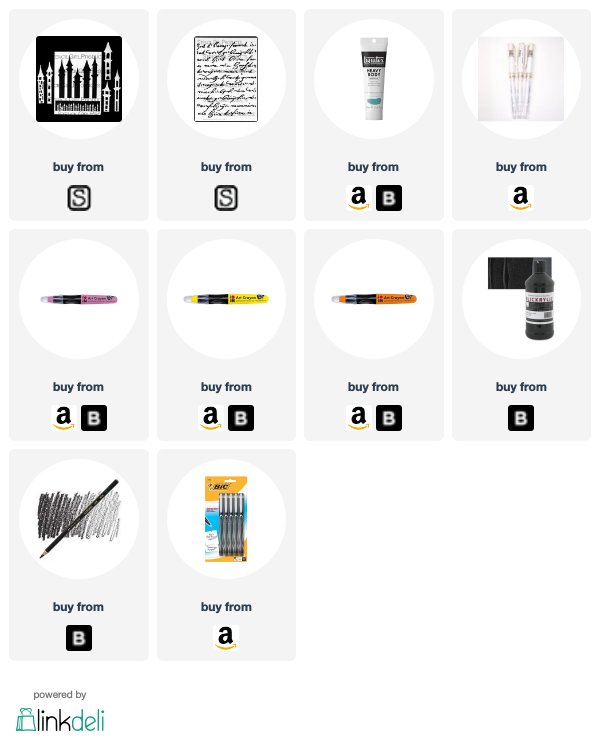
Here are the supplies used. Some of these links are affiliate links which means I get a small percentage. For example, I’m an Amazon Associate & I earn from qualifying purchases. It doesn’t cost you anything extra and you get a really good feeling knowing that you are helping keep the free tutorials coming!