
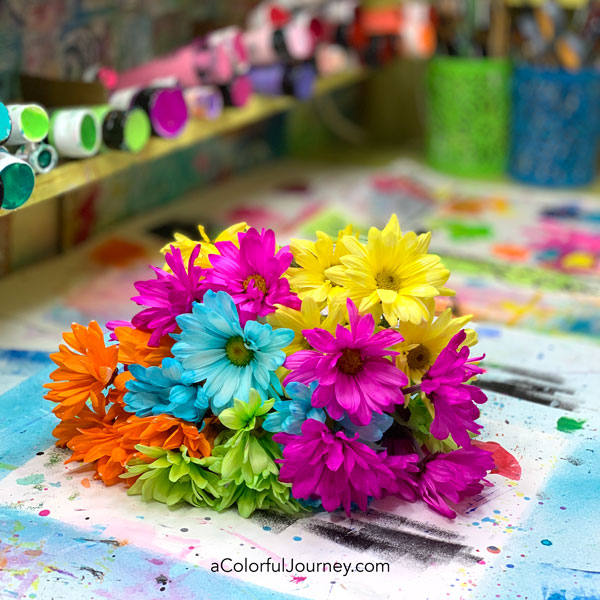
Botanical gel printing captures all the delicate details of flowers. Even on bouquets that are on their last leg wilting and with petals falling off, like this one of crazy daisies.
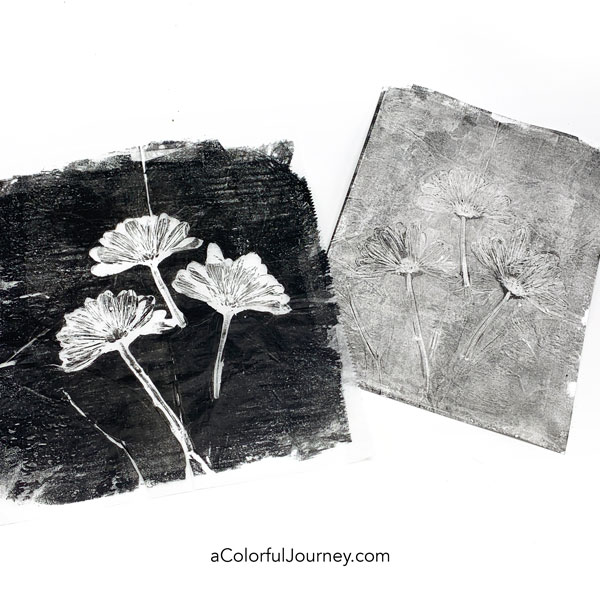
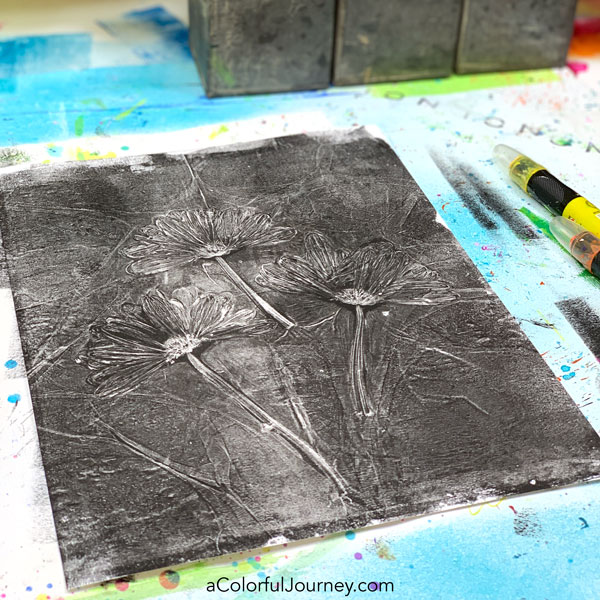
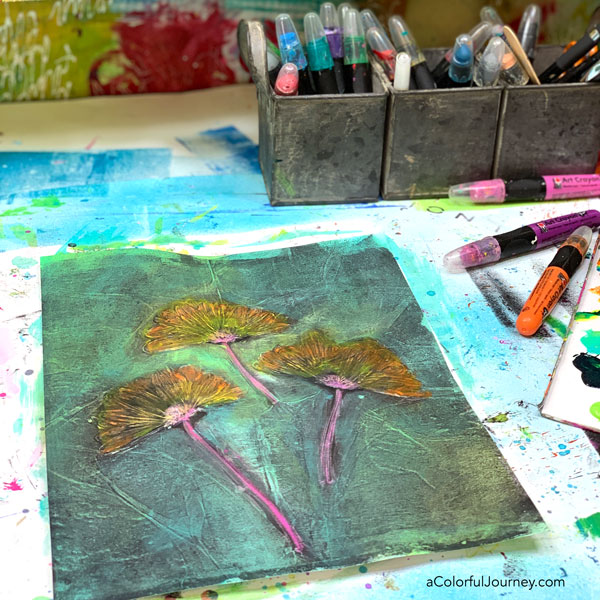
The prints created are gorgeously black and white but I couldn’t leave them without color. Keep reading and you’ll see how adding color created an old world fesco look.
You start by putting Golden Open paint on the gel plate and then the flowers. Open paint works a little differently than regular acrylics because it stays wet, or open longer. Hence the name.
Then place the flowers on top of the paint and press them down.
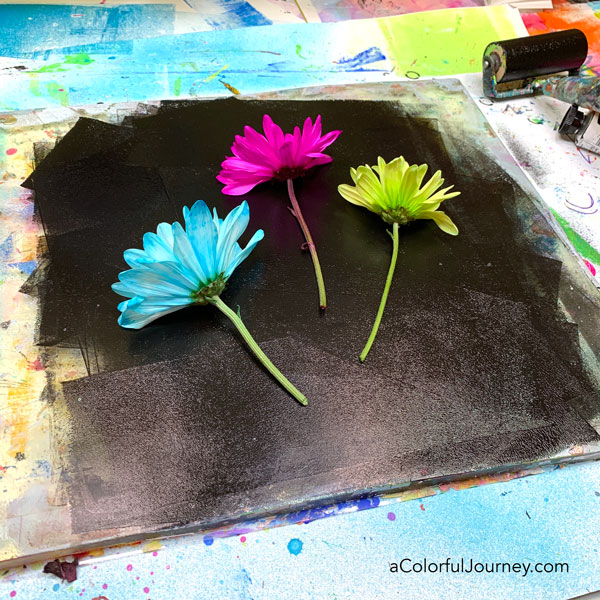
In the video, you’ll see 2 ways to press them down. One using only fingers and one using deli paper. Both work, it’s just a matter of which one you prefer.
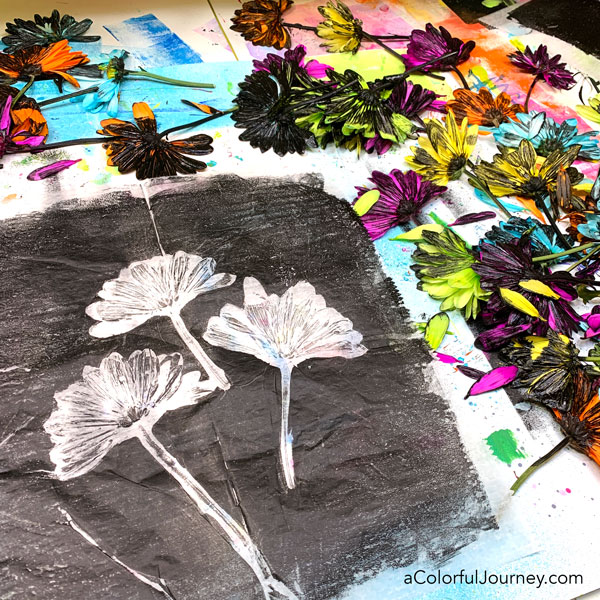
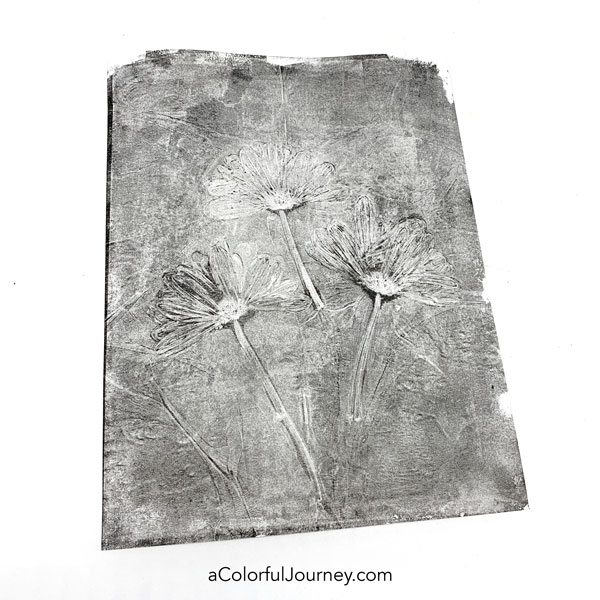
The first print pulls most of the paint off the gel plate. But not all of it- there’s an amazing ghost print to be had.
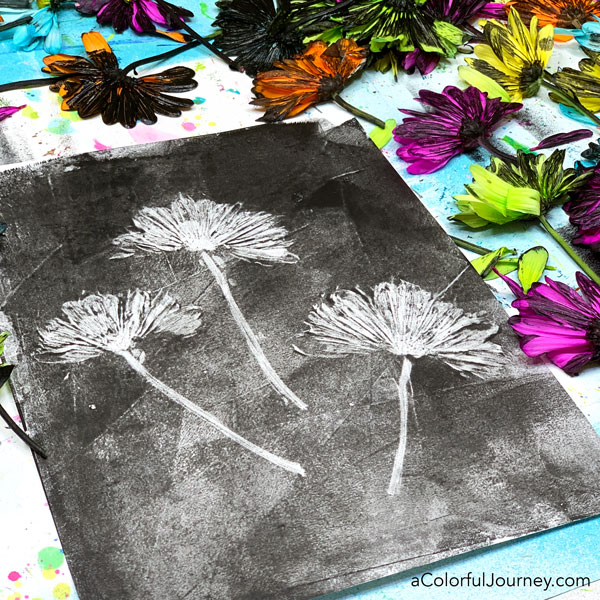
It looks like there isn’t much here but there is more than you might realize. One of the ways gel plates are magical.
All that detail came up on this print. Even with so little paint on there, the gel plate can capture the fine details.
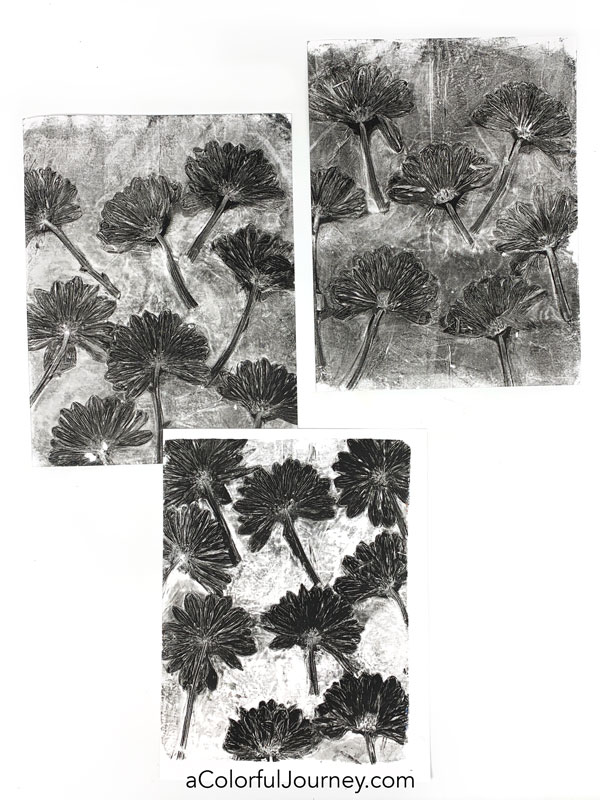
There was a whole bouquet of flowers and I made prints with them all for 2 reasons. First, it was fun! Second, there were things I wanted to have a deeper understanding of so I tested out several ideas.
What I figured out about which factors created the look that made me happiest, I’ve put into a bonus video inside my workshop, Gel Printing FUNDamentals. Below are some of the prints from that video.
Gel Printing FUNdamentals is all about understanding the principles of what’s happening on a gel plate so you can guide and steer your prints in the direction that you love.
If you’re already a member, just log in and it’s waiting for you because once you’re a member, you’re always a member and get access to all new content I add.
If you’re new to Gel Printing FUNdamentals and you’d like to have gel printing techniques and concepts explained to you step-by-step, then you can find out more about the workshop here.
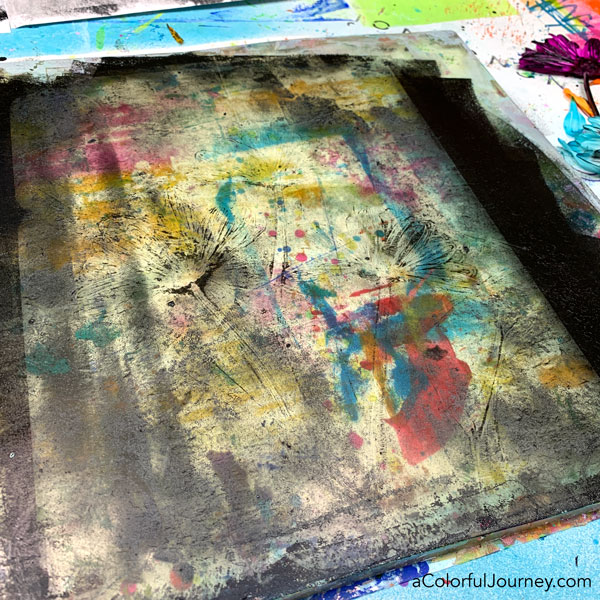
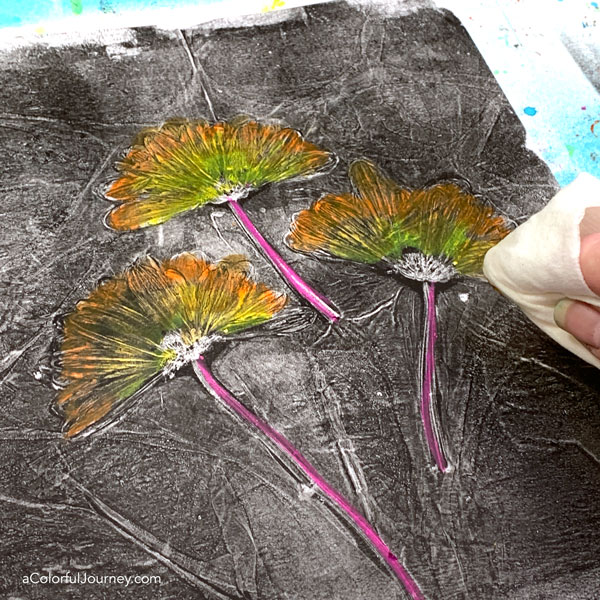
As much as I loved these in black and white, I also wanted to add some color to them.
Art Crayons are water reactive and blend beautifully. Just a touch of water on the paper towel makes it easy to blend the colors.
The background was done by adding paint and water then wiping it off. By using blue and green it ended up with a bit of an aged copper patina vibe.
Next time you’ve got flowers around, or even blooming weeds from your yard, give botanical gel printing a try! And if you’d like to go deeper with gel printing techniques, check out Gel Printing FUNdamentals.
Here are the supplies used. Some of these links are affiliate links which means I get a small percentage. For example, I’m an Amazon Associate & I earn from qualifying purchases. It doesn’t cost you anything extra and you get a really good feeling knowing that you are helping keep the free tutorials coming!

Yes – I did enjoy watching this video! I have a Gingko tree in my yard, with triangular primitive leaves. I will try this approach with some of those. And of corse, anything can replace the flowers, any shapes or flat items, like a stencil as you have taught. I enjoy most of your videos, and always LEARN!
Thanks for your time –
Love this piece. I can’t wait to try it with my gelli plate. Thanks!
Awesome! I’m so inspired right now!!!!
It is amazing how you keep coming up with new ideas!
Thanks
This was so much fun to watch.
Loved this video. I’m wondering what is the difference between paint and
Gouache?
Love it! What kind of paper did you use that’s so forgiving of the liquid?
love this video! can’t wait to try it when we have spring and summer in Northern Minnesota.