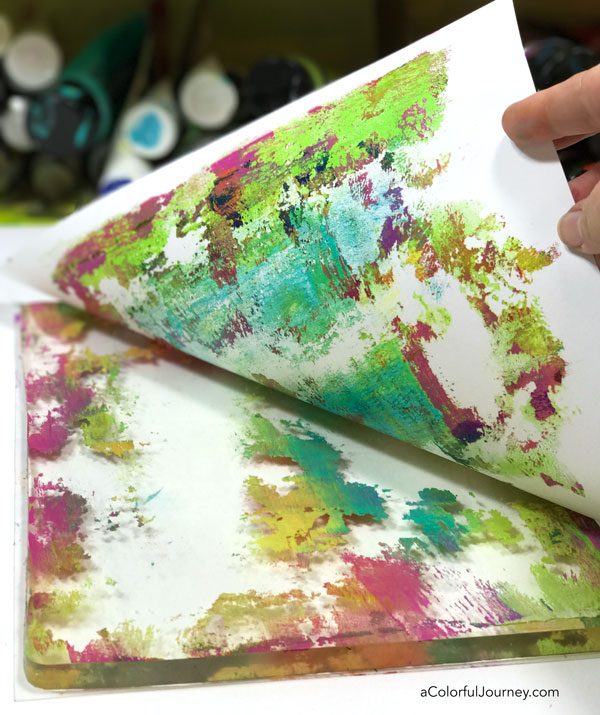
“You make it look so easy.” Gel printing looks like you just roll on some paint and effortlessly you have an amazingly colorful print. But there’s actaully a lot of thought that goes into it. It’s not just random luck getting great prints. There are principles, what I can the FUNdamentals, that guide the decision making process.
Rolling the brayer isn’t the tough part, it’s deciding how much to roll it to create the look you want. Adding paint isn’t the hard part, it’s knowing which color and where to use it that makes a difference. Once you understand the FUNdamentals, then a whole new world of printing opens up to you! No more guessing and hoping for a great print.
“The color wheel and how to use the brayer and not mix paint immediately helped me improve right away.” -Marjorie S.
Once you understand why your gel plate does what it does, you’ll know what to do to create the looks you want. Want to avoid mud while using the entire rainbow? You’ll know how after Gel Printing FUNdamentals. Want to make a complete print in one single pull? You’ll know that and a lot more! But most of all, you’ll be comfortable using your plate getting prints you love.
“This class is giving me a much needed confidence boost when it comes to my art.” -Janet K.
Gel Printing FUNdamentals is a self paced on-line workshop that takes you through the whys and hows of using a gel plate. Throughout our 15 lessons together, you’ll see step-by-step how to use the FUNdamentals with techniques using trash, a common kitchen supply, fibers, pencils, cosmetic sponges, stencils, rubber stamps and more!
“This was an amazing class. I learned so much! Your informal and friendly teaching style was perfect and I absolutely LOVED that you did not waste my time babbling on and on by repeating useless stuff. (I’ve watched a lot of videos and probably seen it all). I will absolutely purchase more classes from you in the future because they’re packed with info and I know I’ll get more than my money’s worth. Thanks Carolyn!” -Maggie Hanus
You’ll get a technique video in every lesson, plus bonuses, like recorded live streams with a very special guest, Dave the Husband. He joined me live and you can see how he goes from being very hesitant to confident as he makes prints. He doesn’t make gel prints often so he is the ultimate beginner.
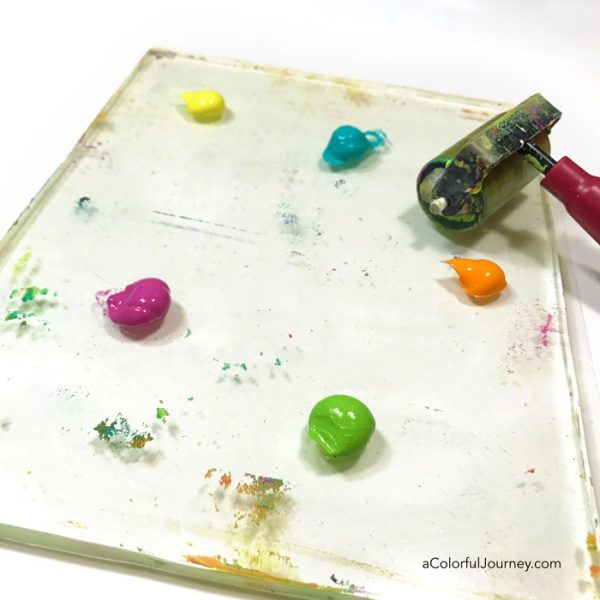
Life’s busy. This is a self paced workshop and each carefully edited video lesson is 10-20 minutes long so you can watch and then jump into the play. With forever access, you can work at whatever pace fits your schedule. Once you’re registered you have access to all the lessons.
Plus, the videos are all downloadable so you can watch them off line or stream them. It’s all about you getting the workshop the way that best fits you.
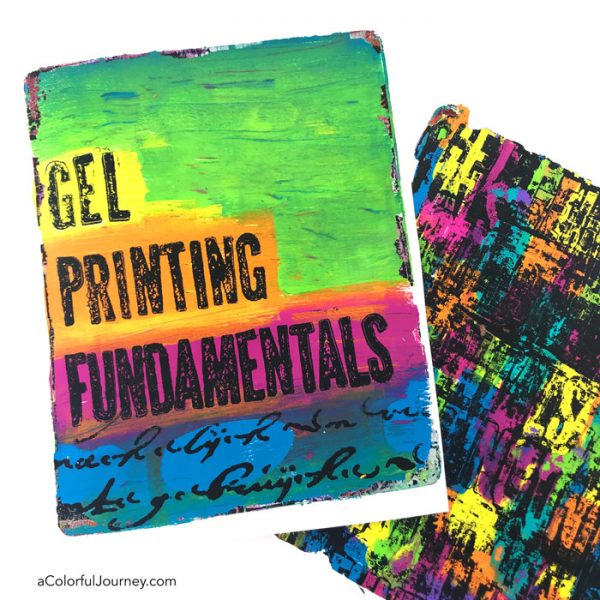
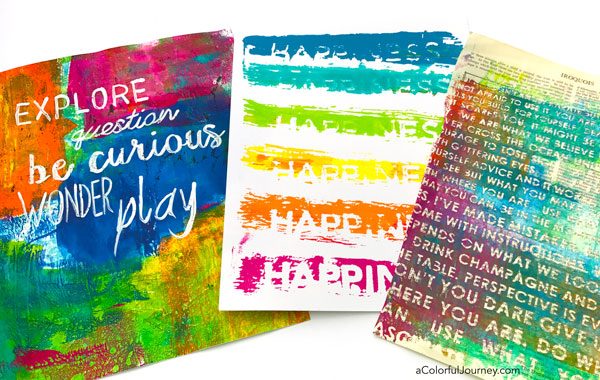
The thought of having to use my own handwriting makes me very very uncomfortable which is what led me to find a shortcut by applying one of the FUNdamentals. Even though I don’t have pretty handwriting, I could hand write the words on the print below on the left. As long as I use this trick, I don’t mind writing on prints at all!
Ever made a print you didn’t like? These kinds of prints happen to everyone including me and some of my favorite prints started out avert your eyes ugly. Truly ugly but they didn’t stay that way because of the FUNdamentals. That understanding guides the process of turning the blah, ho-hum, ugly prints into ones you’re proud of! That’s the power of understanding.
What Students Are Saying About Gel Printing FUNdamentals
- “If anyone, I repeat anyone, is wavering about whether to take Carolyn Dube’s class please stop wavering and just do it. You will not be disappointed. She is a fantastic teacher who has to be one of the most encouraging teachers I have ever had the pleasure of taking a class from. It is worth every minute, every laugh and every penny!” -Jeanne Brennan
- “Wow, Wow, Wow Carolyn! I’ve been gel printing for a while but you unleashed the wild child in me!” – Gail Brule
- “I teach gel printing. Your strategies pushed me farther.”- Jan Paron
What’s included in the self paced Gel Printing FUNdamentals
- 15 lessons plus all the getting started videos waiting for you now in the classroom! See the list of them below.
- Plus the botanical bonus video!
- recordings of the livestreams just for the workshop participants with special guest, Dave the husband making prints.
- downloadable videos (and can be downloaded on mobile devices too)
- lifetime access to the class
- classroom where you can share your prints and I’ll be there answering your questions
- 30 day money back guarantee. Why do I offer this? Because I want you to have the workshop that is right for you!
$99
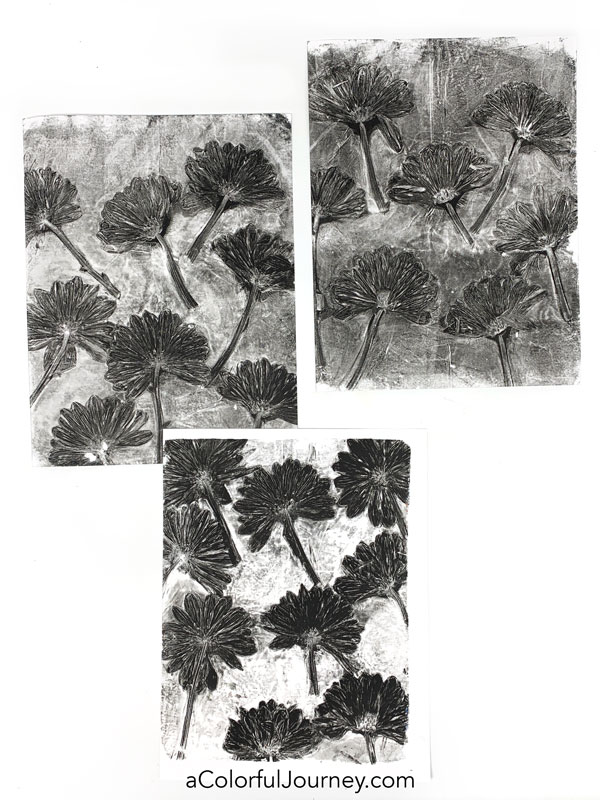
Also included for a limited time is the bonus lesson that shows the tricks and shortcuts to making detailed gel prints with flowers. And doing it in just one single pull!
Included In the Workshop
The Getting Started Videos:
- Intro to Printing
- Finding the Right Gel Plate & Paper for You
- Brayer Basics
- Choosing Paints
- Cleaning and Storing Your Plate
Lessons:
- Avoiding Mud
- Let It Ride
- Textures
- Roll with It
- Being Clingy
- Through Thick and Thin
- A Mask-arade Party
- Stencil Sandwiches
- Stamped in the Tower
- Dry and Sticky
- Painted Words
- Embracing Words
- Rainbow Stamping
- Striking Out
- Adding to Ho Hum Layers
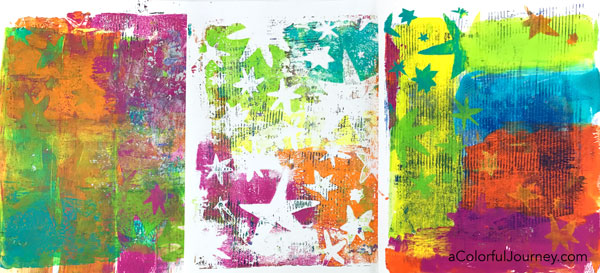
What are the basic supplies that you need? In the getting started videos in the classroom, I go in detail about the sizes and types of products to guide you to finding the supplies that give you the looks you want in your prints.
- Gel plates, I use the Gel Press Plates because they have the best squish and have held up very well to all my play over the years. I like to use 2 side by side for several techniques. This allows me to use paint in different ways and not waste a thing. The plates can be the same size or different sizes. You don’t have to have 2, instead you can simply use half of 1 plate for the first part and the other half of your plate for the second part of the technique.
- A soft rubber brayer
- Paint– any acrylic paint works. In the getting started videos, I go into detail about the different kinds of paints for printing
- Paper– nothing fancy, it can be copy paper, old scrapbook paper, cardstock, junkmail, just about any paper will work. The only type I stay away from is heavily coated papers like inkjet photo paper.
What else will I be using? I am a big believer in use what you have on hand and substituting with what you like. In the classroom is a detailed list of every little thing I am using, but you don’t need to have all of that. If you have a gel plate, a brayer, paint, and paper you can start printing.
Are you ready to really understand your gel plate and make amazing gel prints? Then jump on in to the workshop.
$99
