Welcome! I’m Carolyn Dube – This colorful journey is all about the freedom of play!
Search My Blog
Search by Category
The Fine Print
Some of the links on this blog are affiliate links and I receive a small percentage. It doesn't cost you anything extra and helps keep all the free tutorials and videos coming! It's a win-win!
The website is copyright Carolyn Dube, and that is kinda common sense since this is my site.
As an Amazon Associate I earn from qualifying purchases.
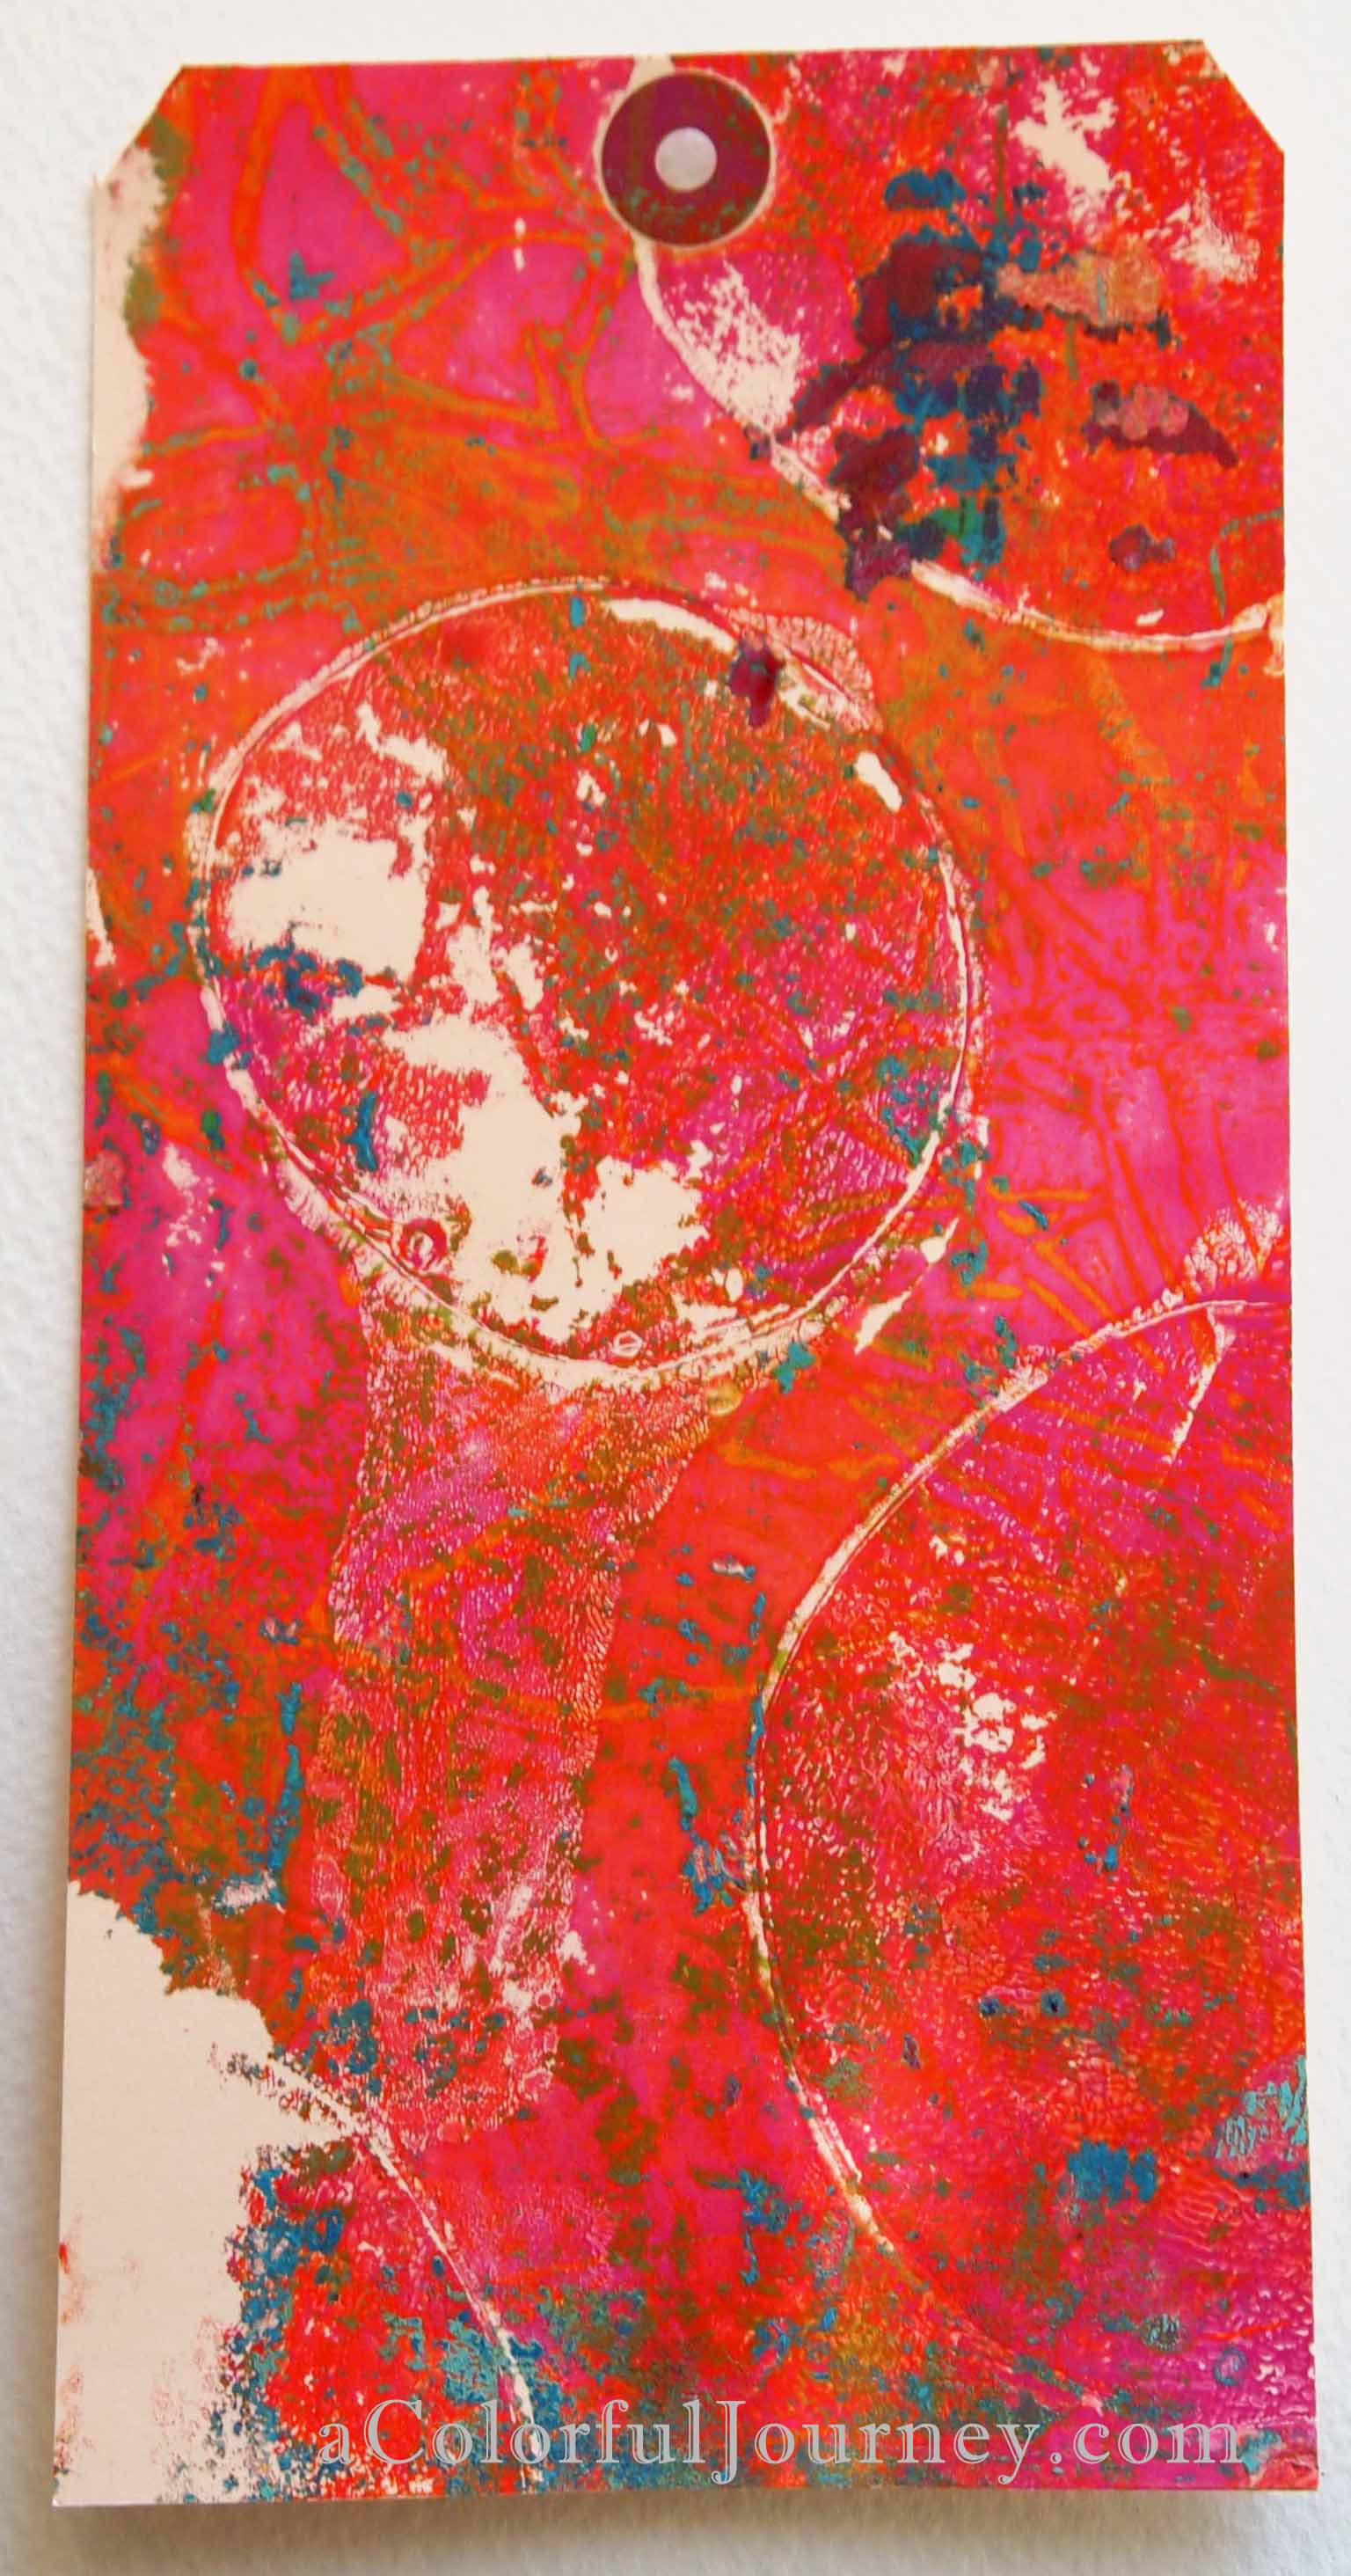
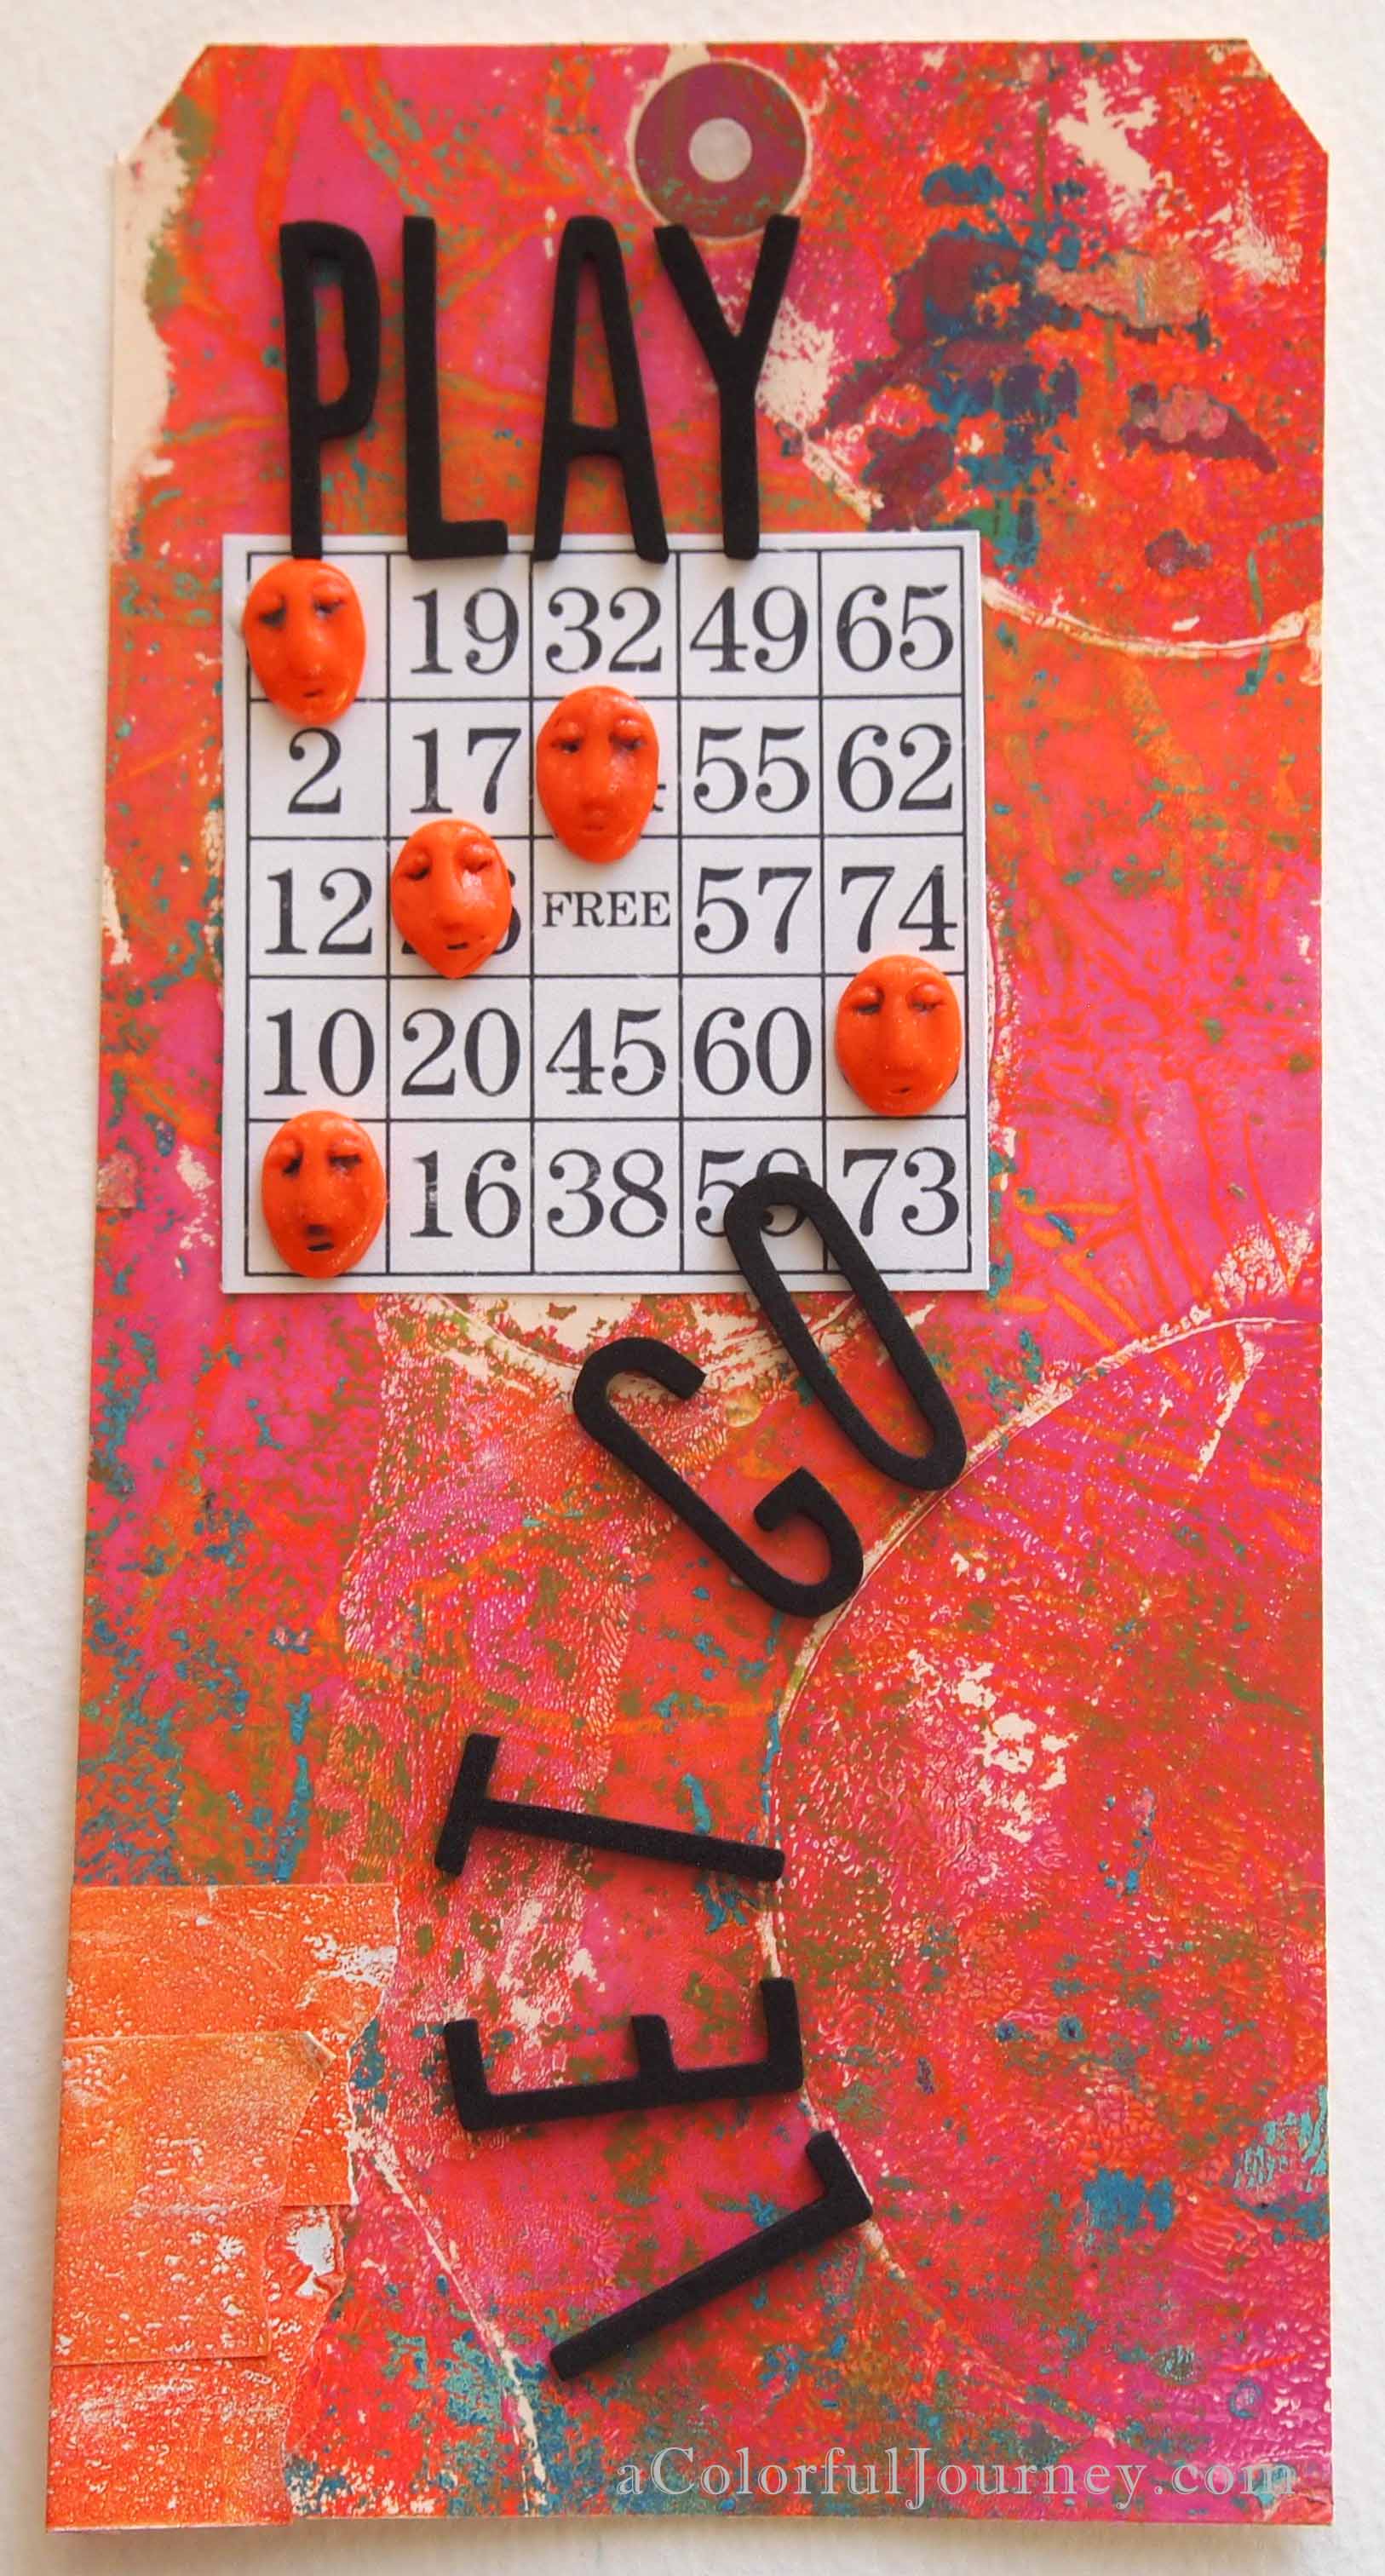
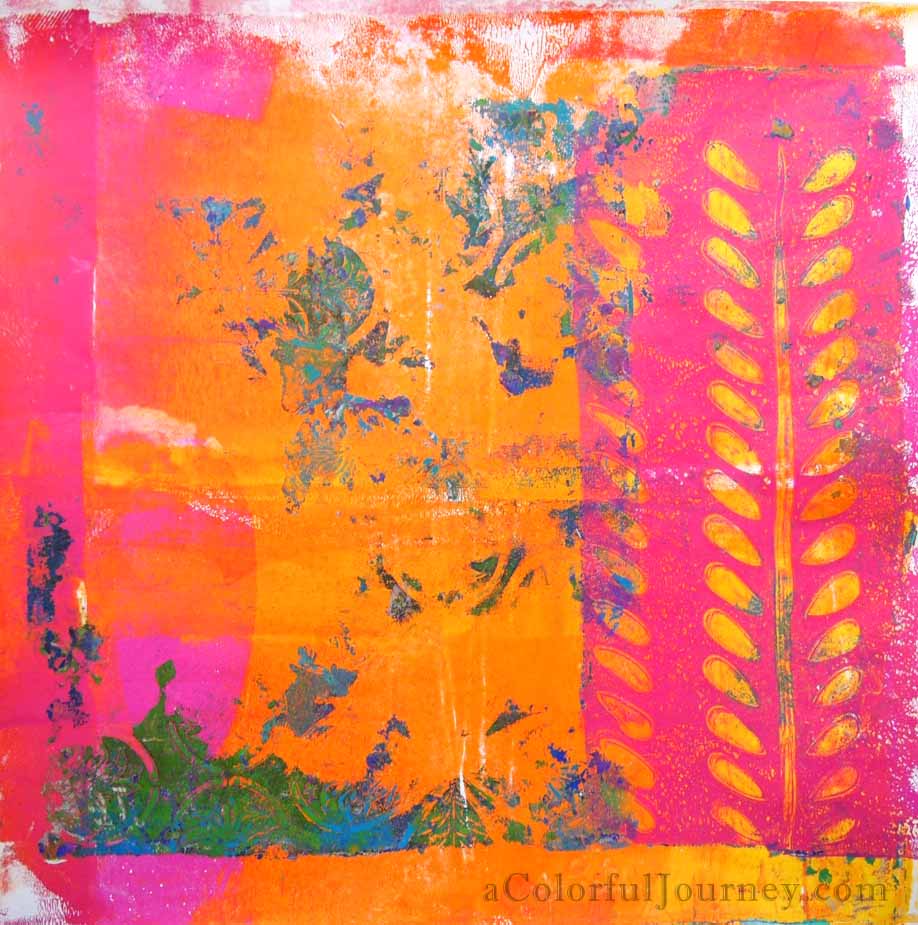
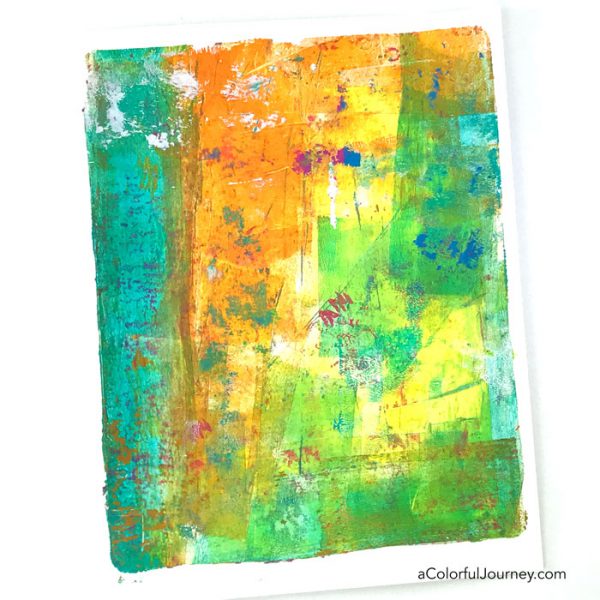
I was not in my right mind. Really. I was in my left brain, the logical and analytical brain. I wanted to be in my right brain, the creative and intuitive brain. How was I going to make that big leap into my right brain? Gelli Plate to the rescue!
Squirting paint on the Gelli Plate and tossing on stencils, ripped paper and anything else within reach takes me to a happy place, my right brain. When I lifted this tag up I just stared at it. It begged to be made into something. Yes, the tag talked to me and I answered with this!
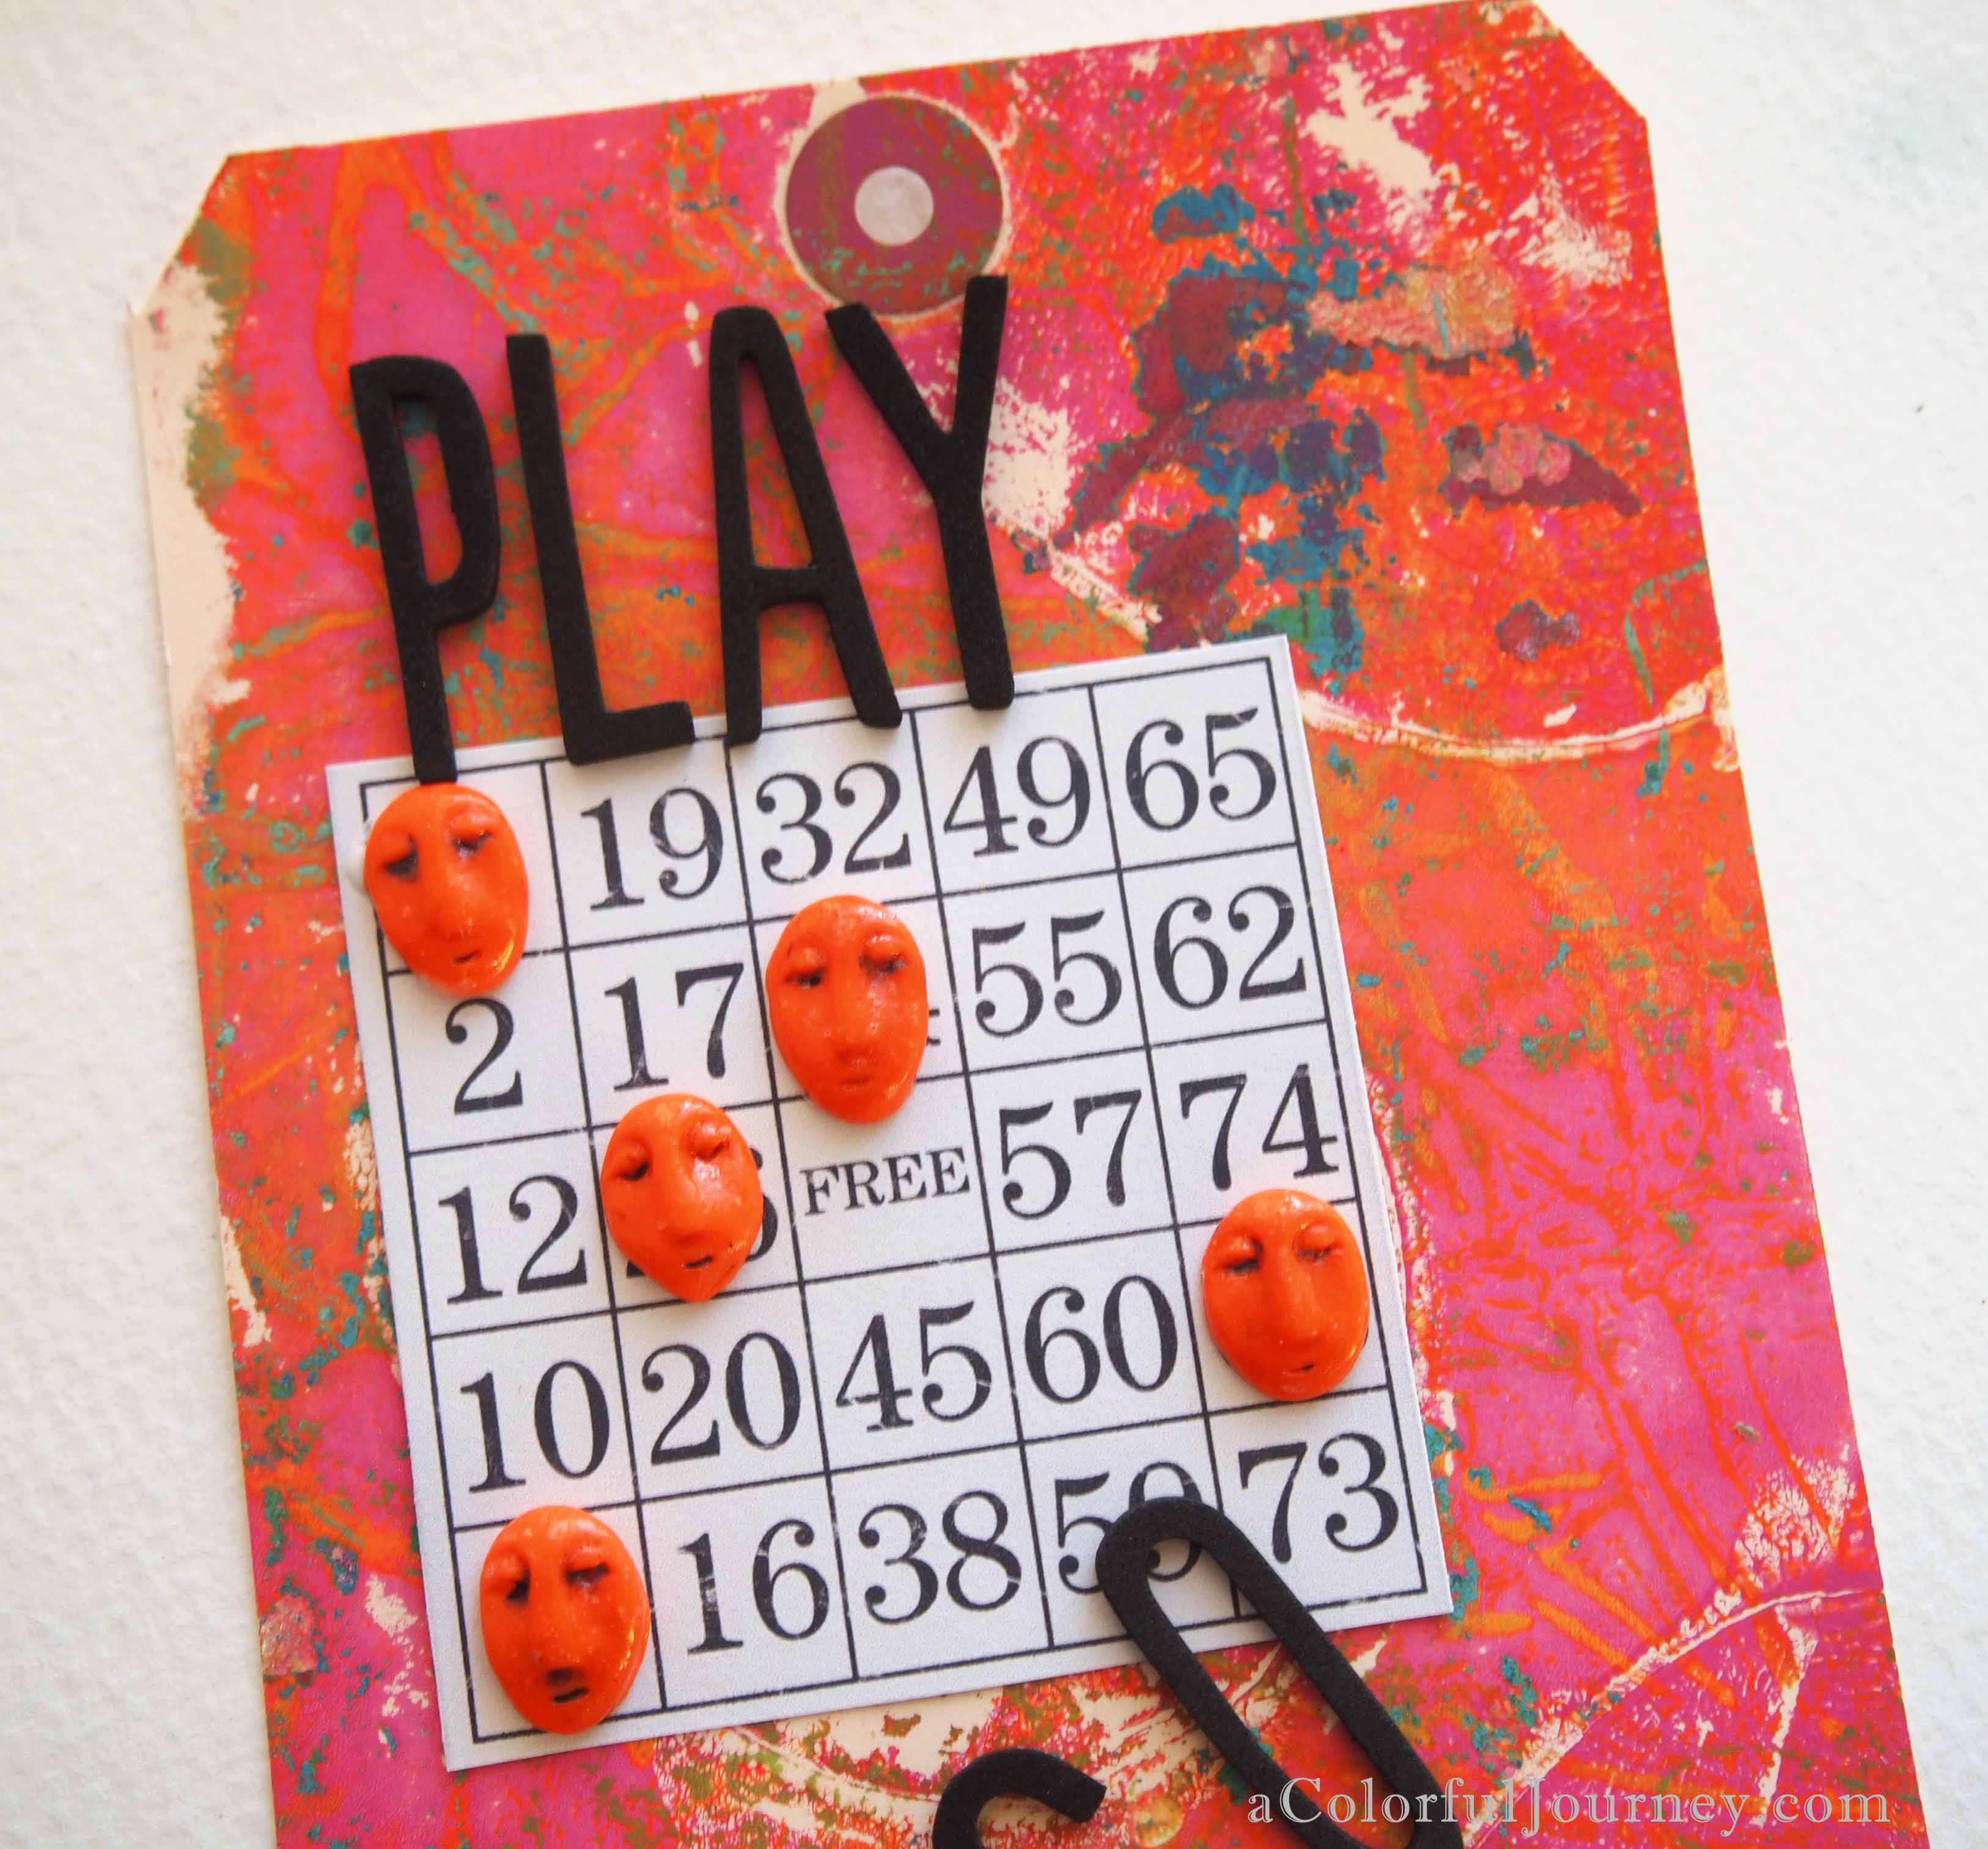
I was loosening up and my playful side showed up! I grabbed a little bingo card, some foam letters and polymer clay faces for some fun. The faces we made while taking Judy Shea’s workshop, Buttons n’Bellisments. I haven’t messed with my clay in so very long – thank you Judy for teaching & motivating me!
Thank you to all the people who have signed up to join me in my right brain in my newest Colorful Workshop: Gelli Printing. Join us! You can find all the details here.
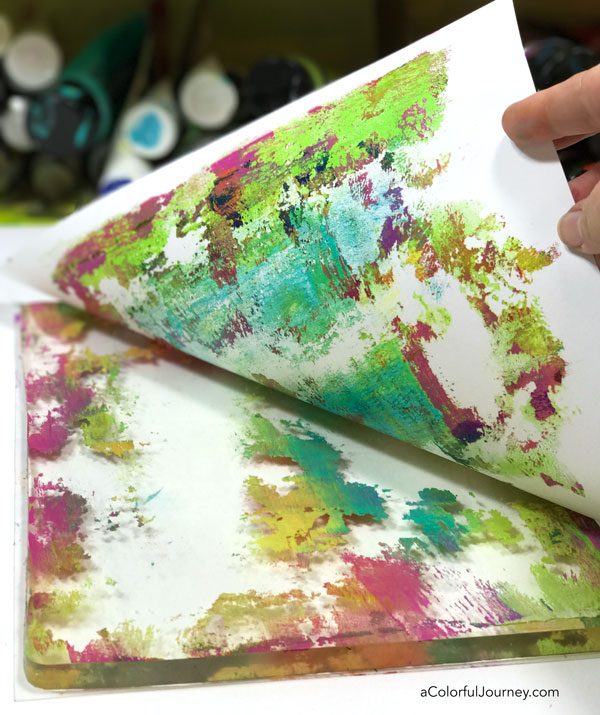
Are amazing gel prints random guess work? Nope. But it can feel that way if you don’t know the FUNdamental principles. Do you know the whys behind your final prints? Do you know how to replicate a gorgeous print that you’ve made? Once you know the FUNdamentals, you will!
This 3 week on-line workshop is for anyone who wants to know why their prints are the way they are, new to printing or experienced printers alike.
Color is a huge part of making prints, especially avoiding mud. But there are ways to use the entire rainbow, all at once, and not make mud. You bet that is covered in the workshop!
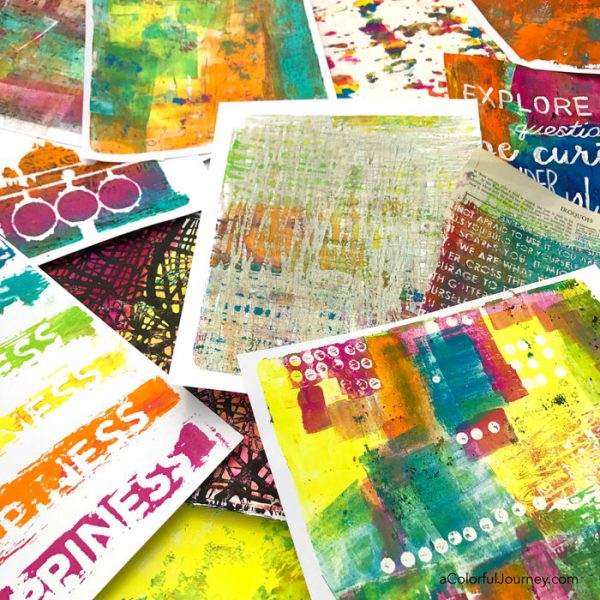
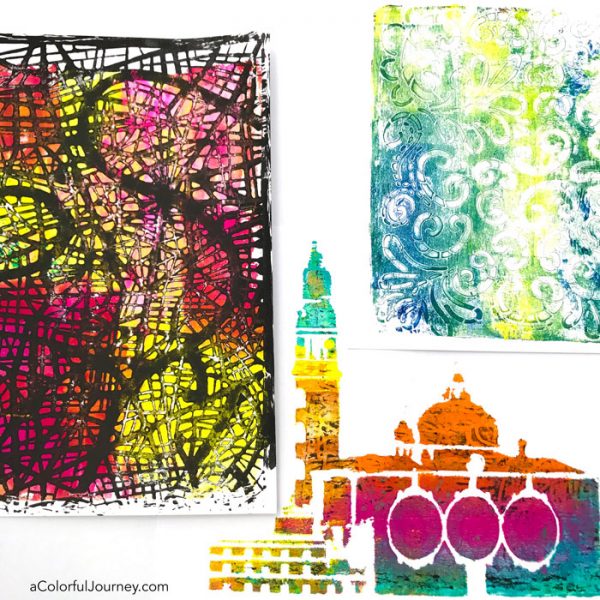
Throughout our 15 lessons together, you’ll see step-by-step how I use the FUNdamentals while printing with trash, a common kitchen supply, fibers, pencils, cosmetic sponges, stencils, rubber stamps and more!
But what about all the prints that aren’t home run amazing prints? I make blah prints all the time. You’ll get to see how to build up layers on those prints and most importantly, find out the why behind the choices that I do so you can apply it to your printmaking!
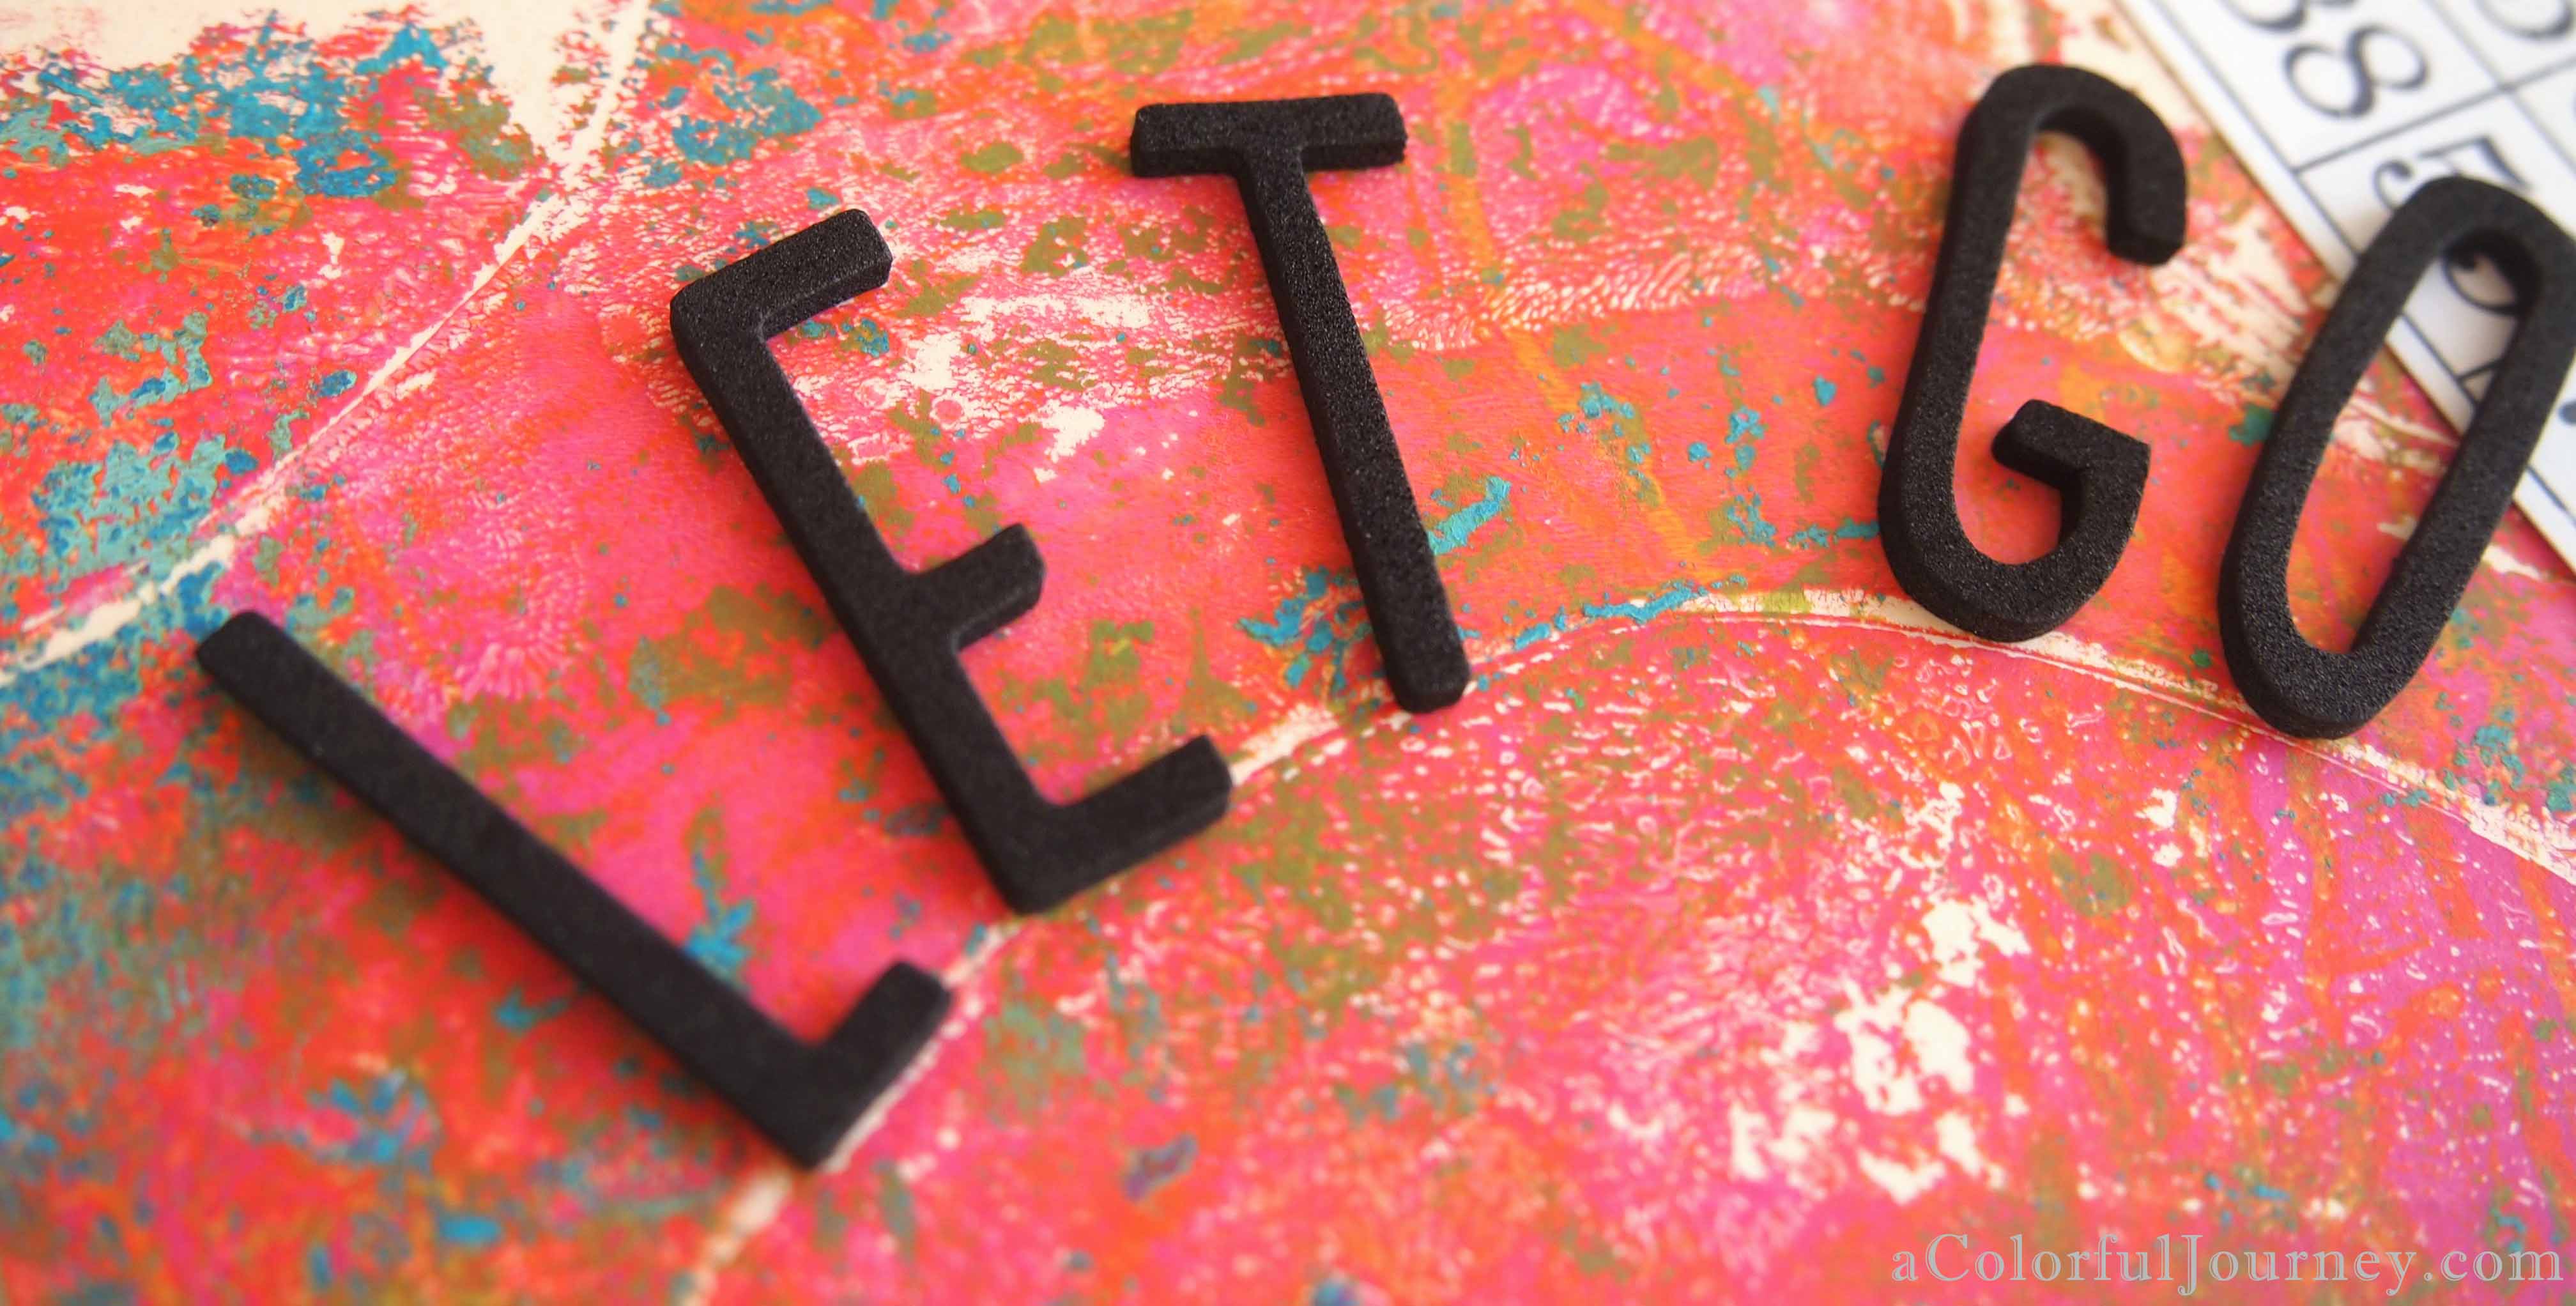
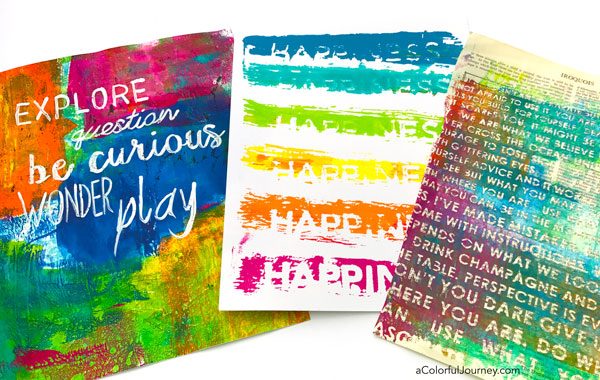
Words are one of my favorite elements to use in my art…but I don’t like my handwriting. Creating words on a gel plate lets me go right around this!
Life’s busy. With a limited amount of time to be creative, if you want to skip the trial and error and get right to the fun of printing, then get ready to play!Each video lesson is 10-20 minutes long so you can watch and get to the play.
If you’ve ever felt like you’re in a rut making the same kinds of prints and struggling to find new ways to use the gel plate, the 15 different lessons can help you out. They are all downloadable with forever access so you watch them when it fits your schedule and as many times as you want!
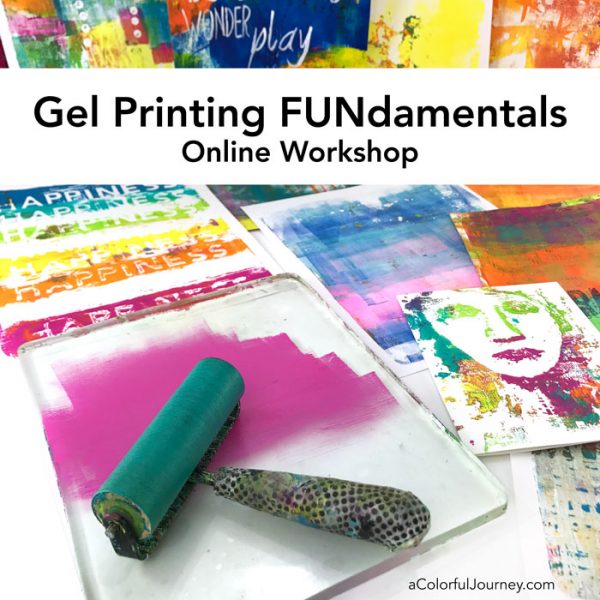
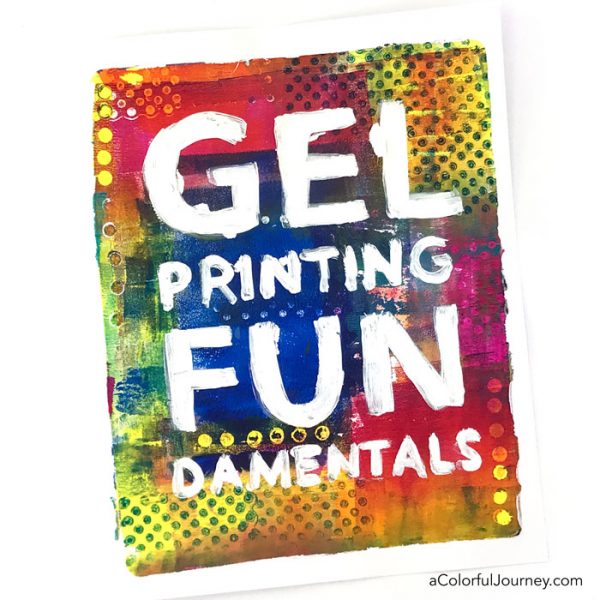
Gel Printing FUNdamentals
15 lessons plus all the getting started videos waiting for you now in the classroom!
recordings of the Facebook live streams just for the workshop participants with special guest, Dave the husband making prints.
downloadable videos (and can be downloaded on mobile devices too)
lifetime access to the class
optional private Facebook group and classroom where I’ll be there answering your questions
30 day money back guarantee. Why do I offer this? Because I want you to have the workshop that is right for you!
What Students Are Saying About Gel Printing FUNdamentals
Wow, wow, wow Carolyn! I’ve been gel printing for a while but you unleashed the wild child in me! – Gail Brule
I teach gel printing. Your strategies pushed me farther.- Jan Paron
I have completed the course. And It was money well spent. The color wheel and how to use the brayer and not mix paint immediately helped me improve right away. Coaxing Dave (and us) to look at what we like and don’t like was also very helpful. My play was better every day, but it really exploded into lots of ooo’s and aaah’s with one of your last lessons where you worked fast and just kept layering. I have had the most fun yet, trying to follow your example of ‘add another layer’. You are an excellent teacher and really know your stuff. – Marjorie
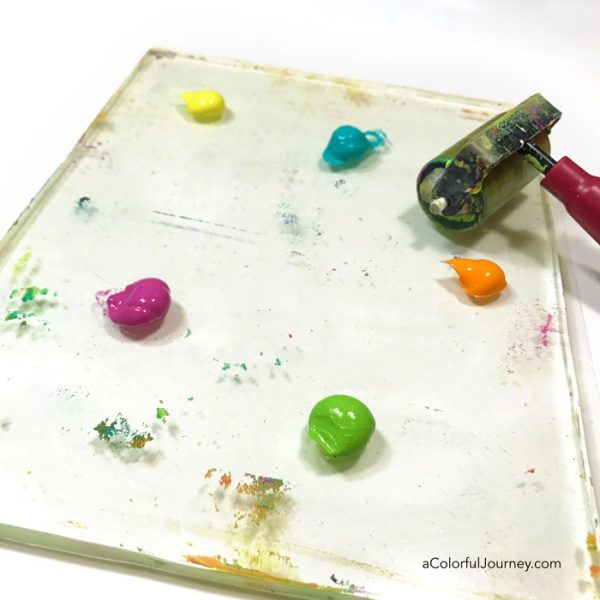
What are the basic supplies that you need? In the getting started videos in the classroom, I go in detail about the sizes and types of products to guide you to finding the supplies that give you the looks you want in your prints.
Gel plates, I use the Gel Press Plates because they have the best squish and have held up very well to all my play over the years. I like to use 2 side by side for several techniques. This allows me to use paint in different ways and not waste a thing. The plates can be the same size or different sizes. You don’t have to have 2, instead you can simply use half of 1 plate for the first part and the other half for the second part of the technique.
Paint– any acrylic paint works. In the getting started videos, I go into detail about the different kinds of paints for printing
Paper
What else will I be using? I am a big believer in use what you have and substituting with what you like. In the classroom is a detailed list of every little thing I am using, but you don’t need to have all of that.
We’ll be using things from the kitchen, from the trash, rubber stamps, StencilGirl stencils, and more.
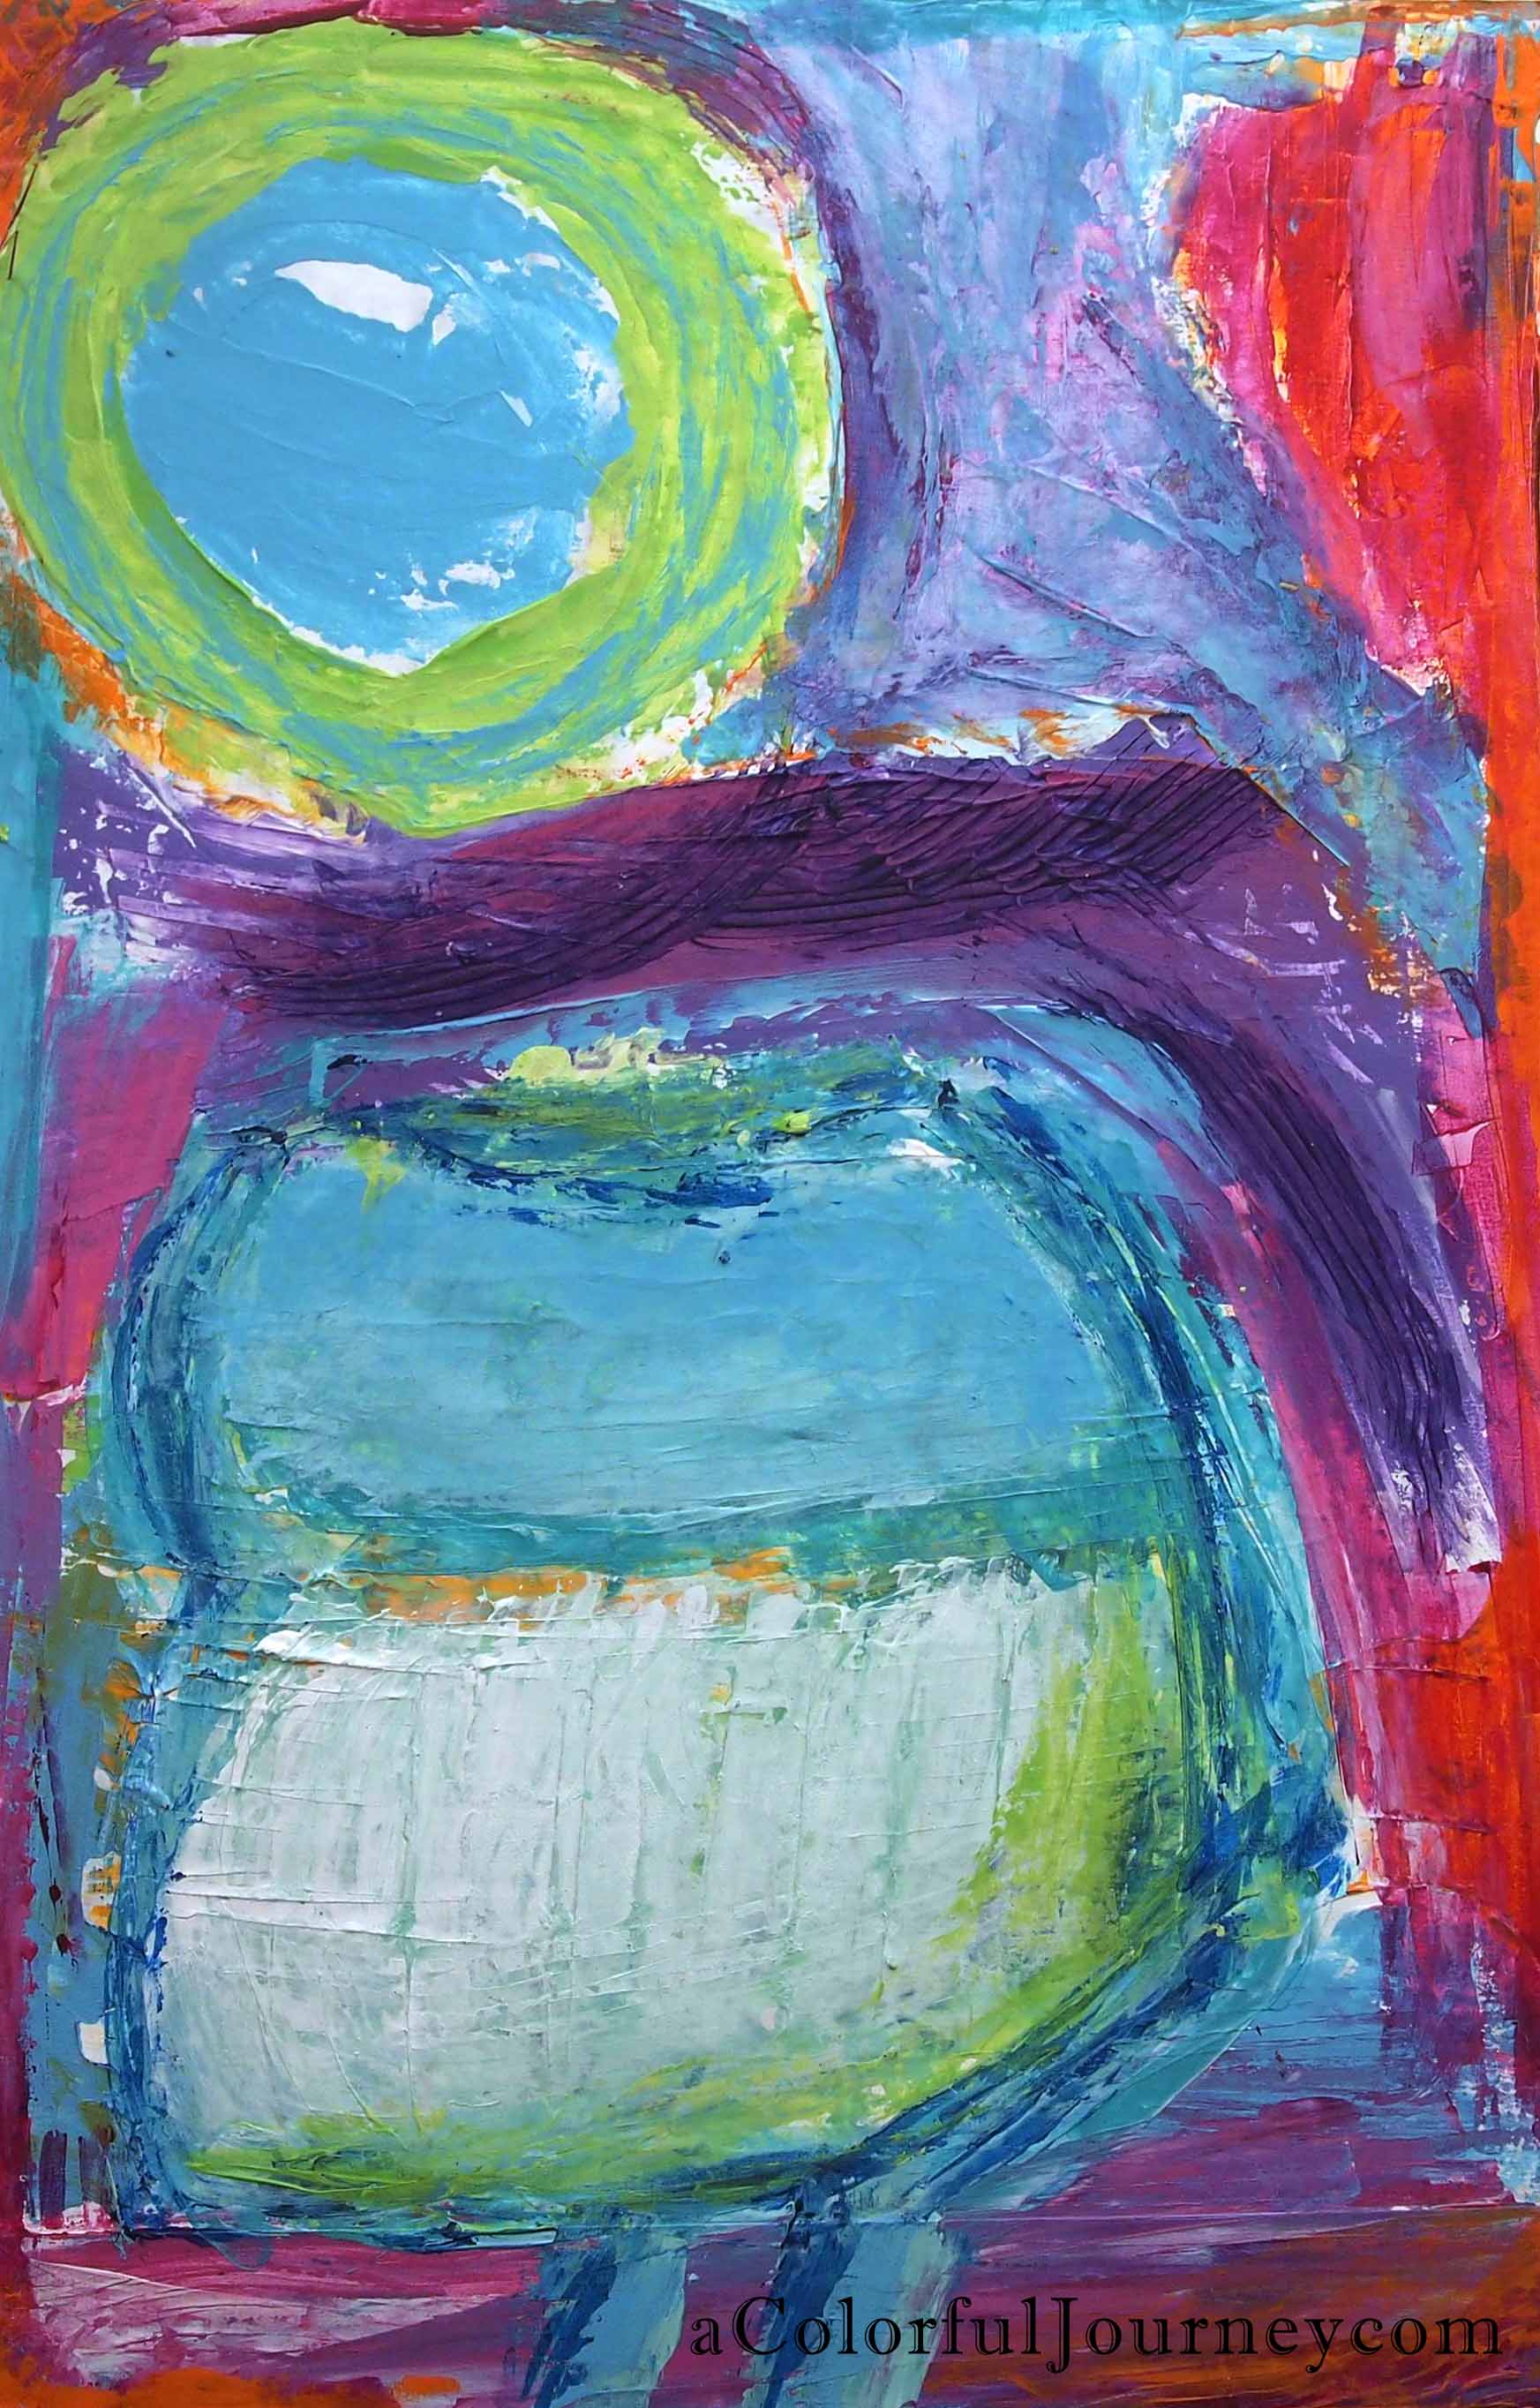
Just playing around with my new Catalyst blades on scrap cardboard. No pressure. Just random marks. Maybe it will end up in an art journal? No idea where it would end up.
I came back later that night and my great grandma appeared to me. Not a ghost, but in the painting. I remember her apron, she was amazing in the kitchen and a traditional very hug-able grandma frame.
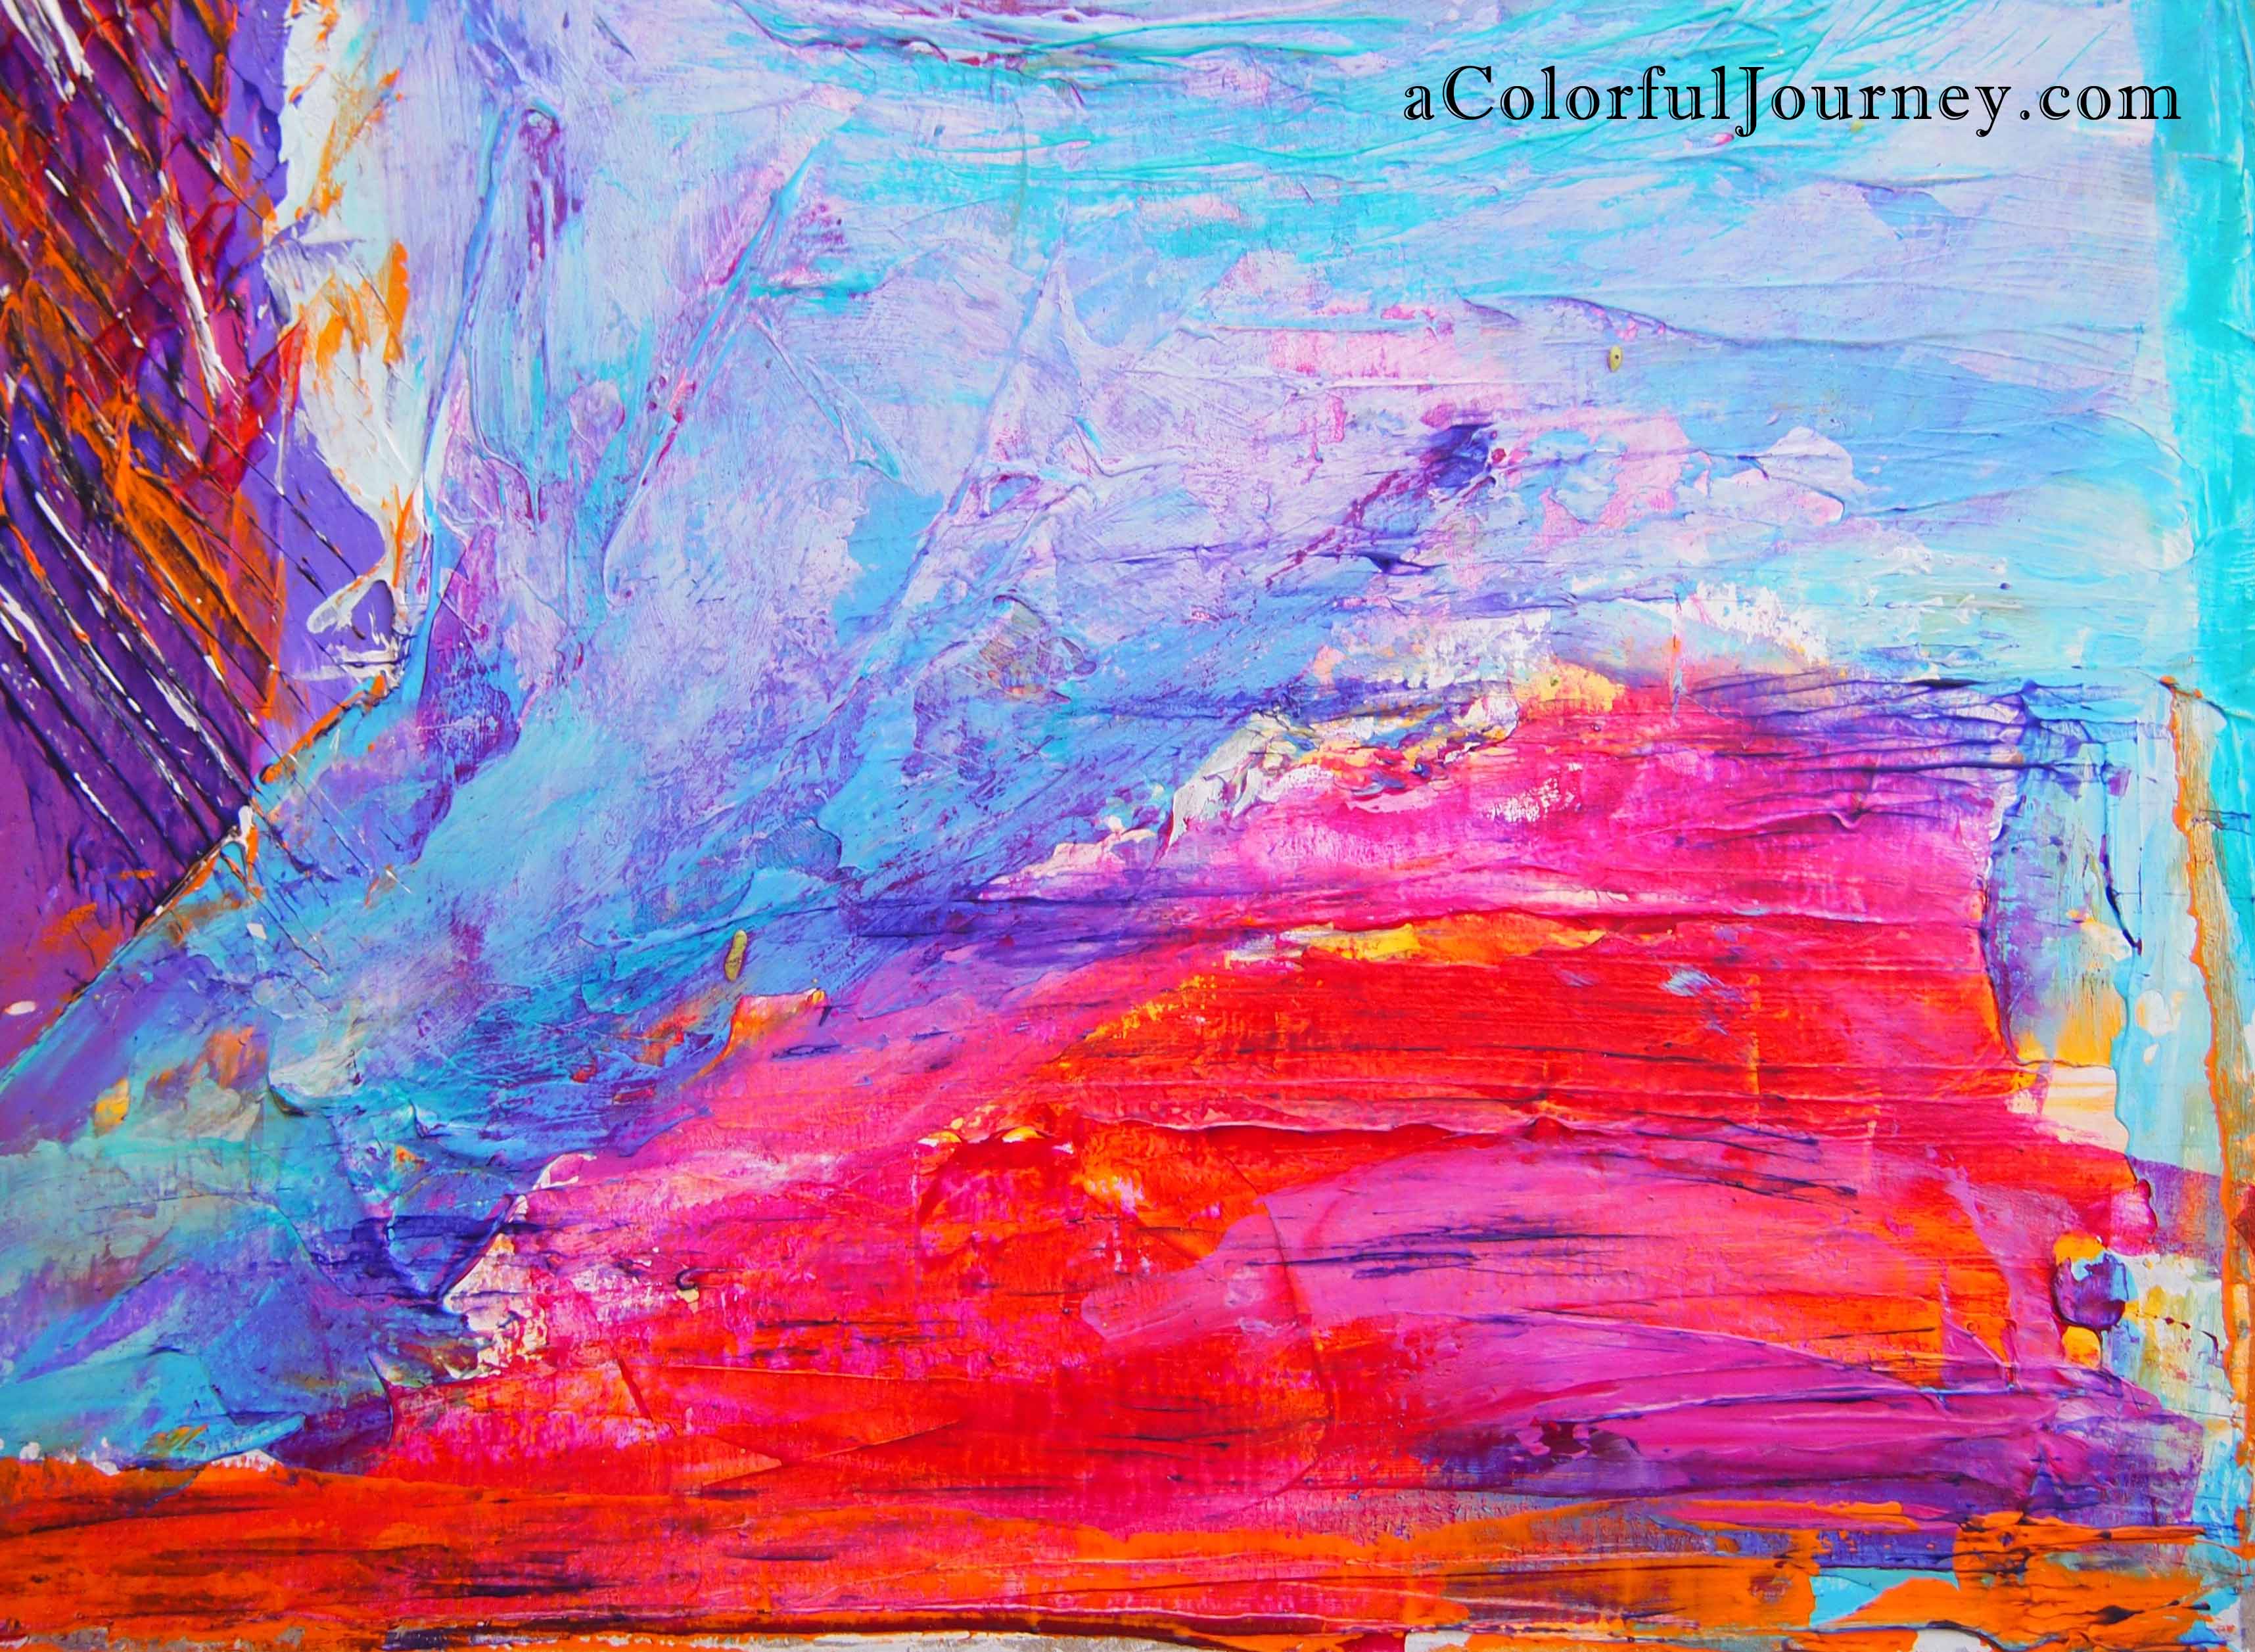
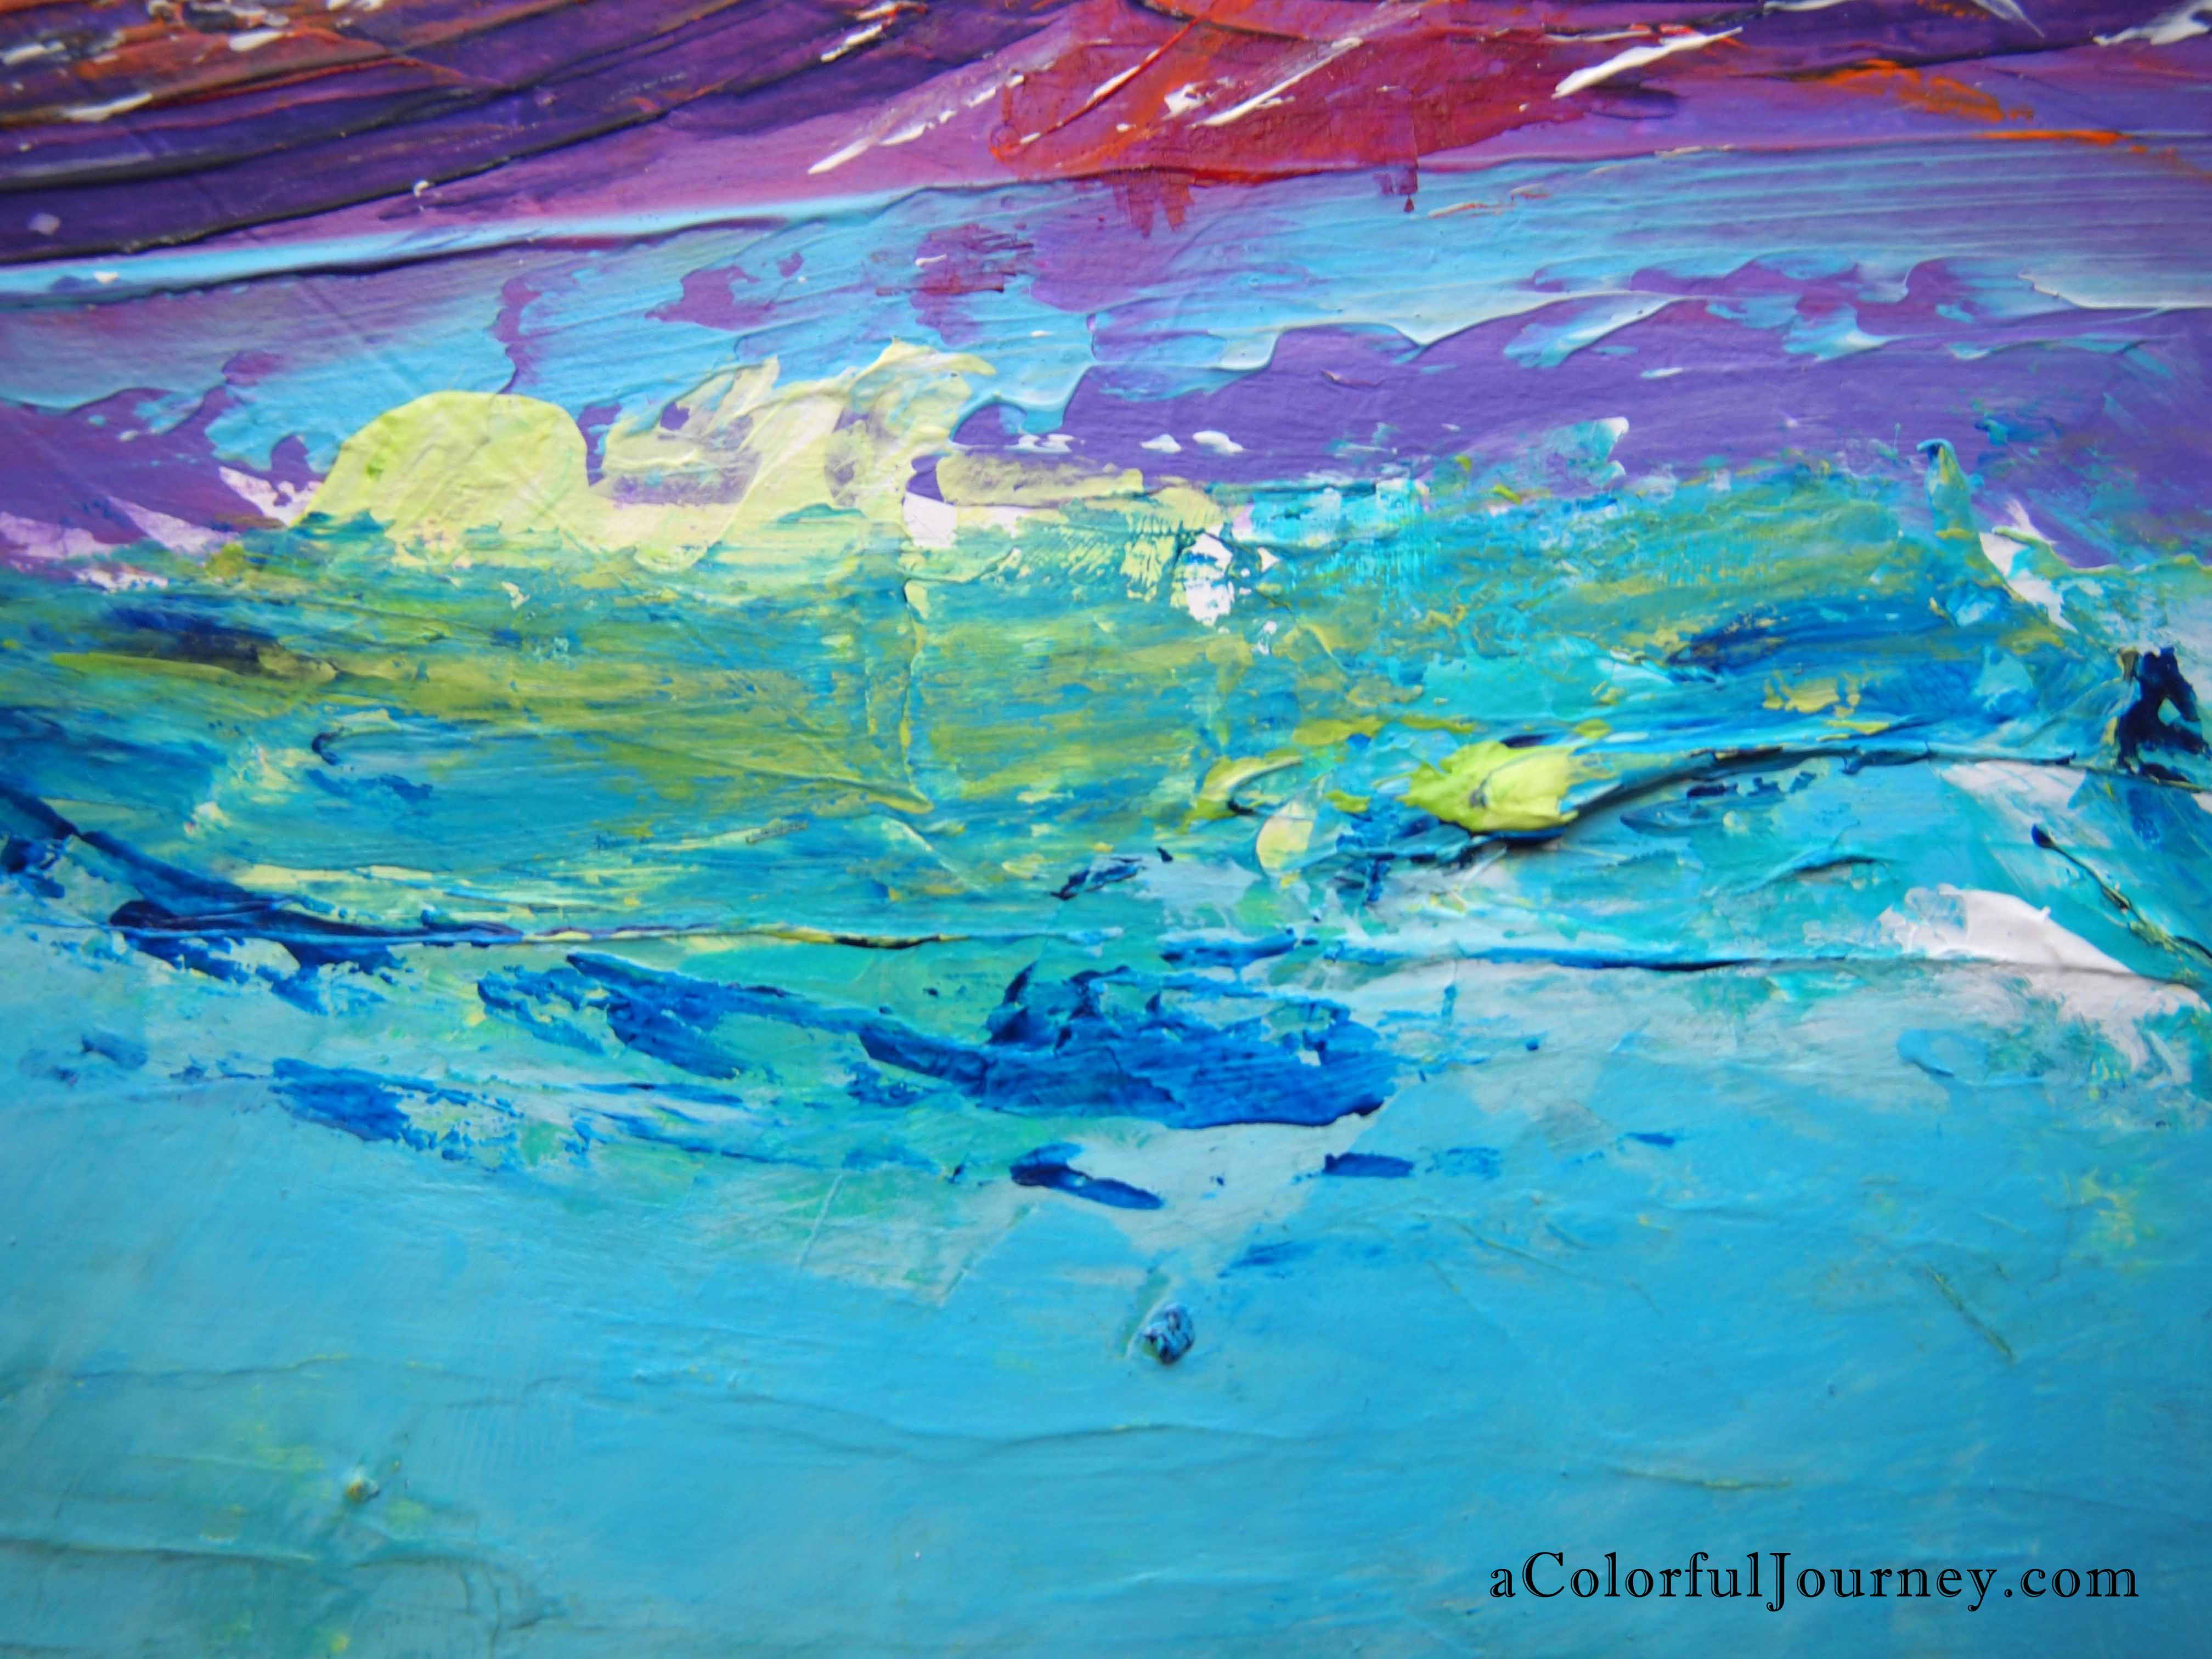
I added all sorts of colors and layers with Catalyst blades. The big strokes made the main color areas. It wasn’t looking complete in any way to me. It needed more but what? I wanted to add little subtle hints and streaks of color. At this point I turned on the video camera- wish I had it running for the whole painting. Next time I will remember…
Here’s a video showing how I added the subtle layers of color.
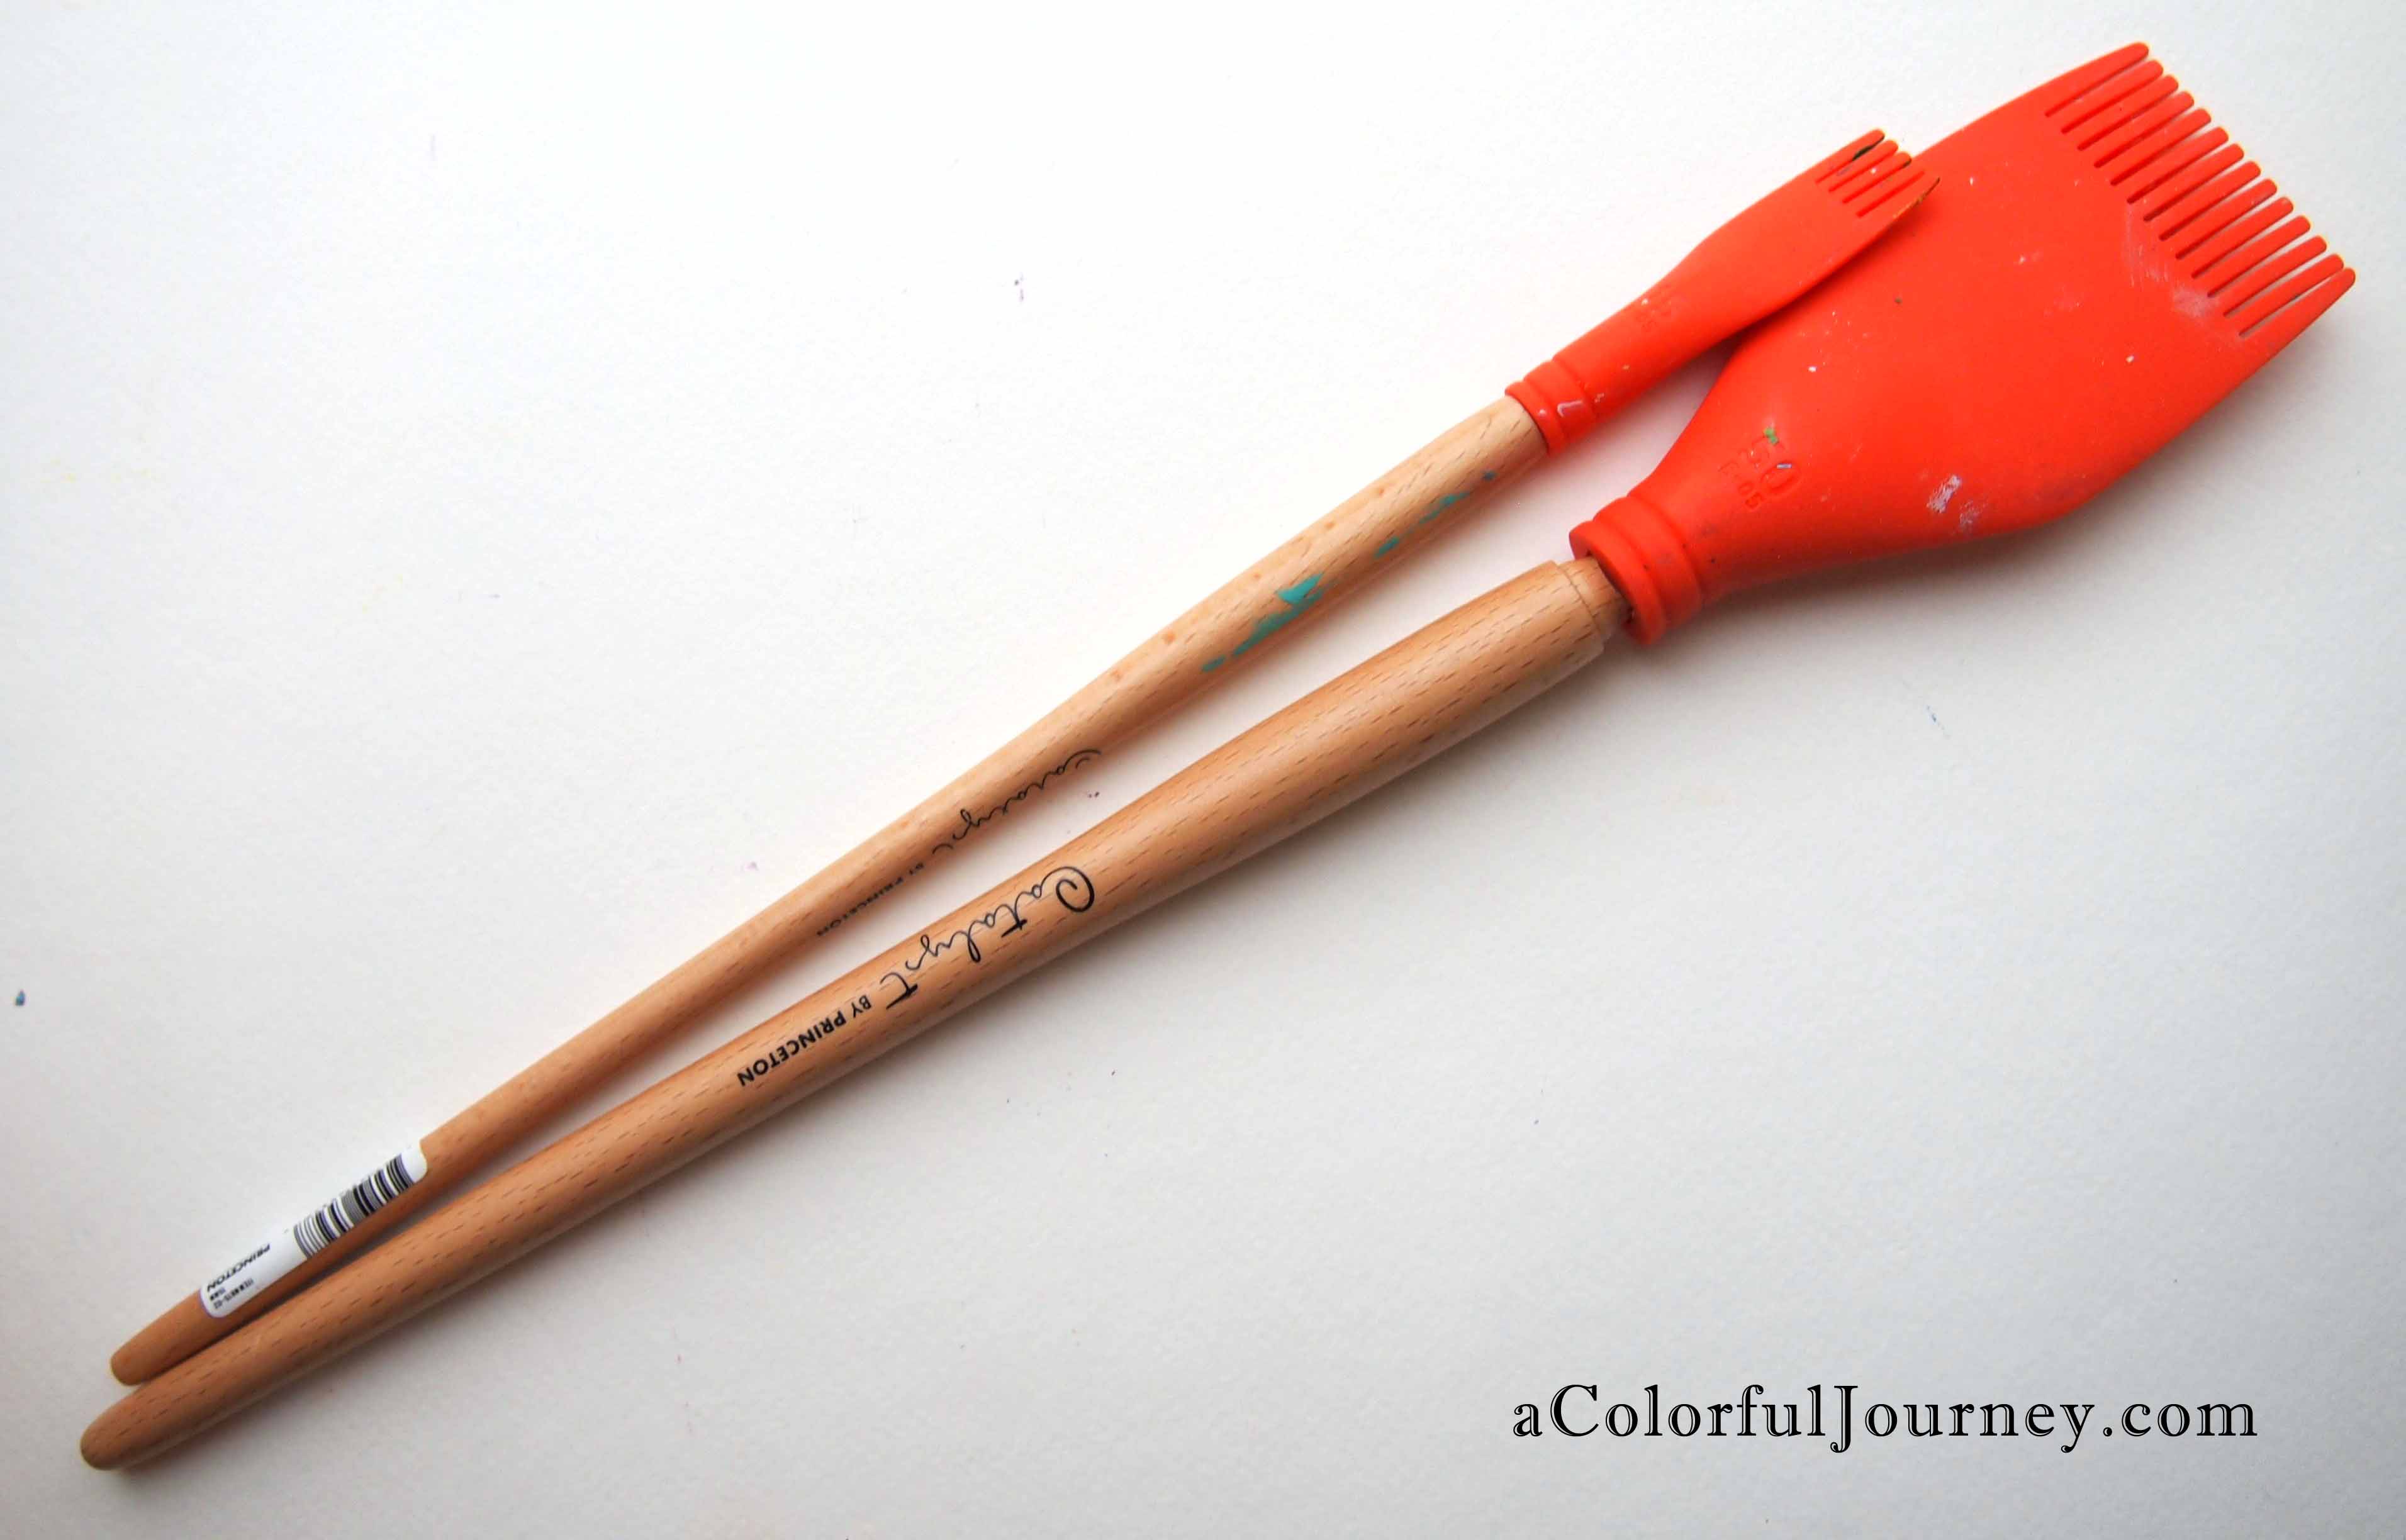
5 Reasons I love this tool!
1. It is the first time I have been able to add hints of color consistently to create those painterly layers. Whenever I do the same type of thing with a brush, I end up adding lots of color from the brush. The blades are precision coloring layering tools for me.
2. I don’t waste any paint. The paint goes directly from the tube to the blade- none on the palette. None wasted in the bristles of a brush.
3. No clean up. I just wipe off any excess paint- usually on a random journal page. Dried paint does not stick to these. That means no more ruined tools because I’ve left a paintbrush or two loaded with paint for hours because of a friend in crisis phone call, the smoke detector going off when the kids were cooking, the sudden realization that I was supposed to at an appointment 10 minutes ago, you know, life.
4. Finally, a good tool to spread on gel medium that won’t be ruined. I don’t want to admit how many brushes have been sacrificed to the gel medium. About the only time use the handle is when I am dipping it into jars of gel medium. Removable handles are so handy!
5. I use my fingers less in the paint because the blades are so flexible. If I can learn to keep my fingers clean maybe I will get a manicure one of these days!
This website uses cookies to improve your experience while you navigate through the website. Out of these cookies, the cookies that are categorized as necessary are stored on your browser as they are essential for the working of basic functionalities of the website. We also use third-party cookies that help us analyze and understand how you use this website. These cookies will be stored in your browser only with your consent. You also have the option to opt-out of these cookies. But opting out of some of these cookies may have an effect on your browsing experience.
Necessary cookies are absolutely essential for the website to function properly. This category only includes cookies that ensures basic functionalities and security features of the website. These cookies do not store any personal information.
Any cookies that may not be particularly necessary for the website to function and is used specifically to collect user personal data via analytics, ads, other embedded contents are termed as non-necessary cookies. It is mandatory to procure user consent prior to running these cookies on your website.