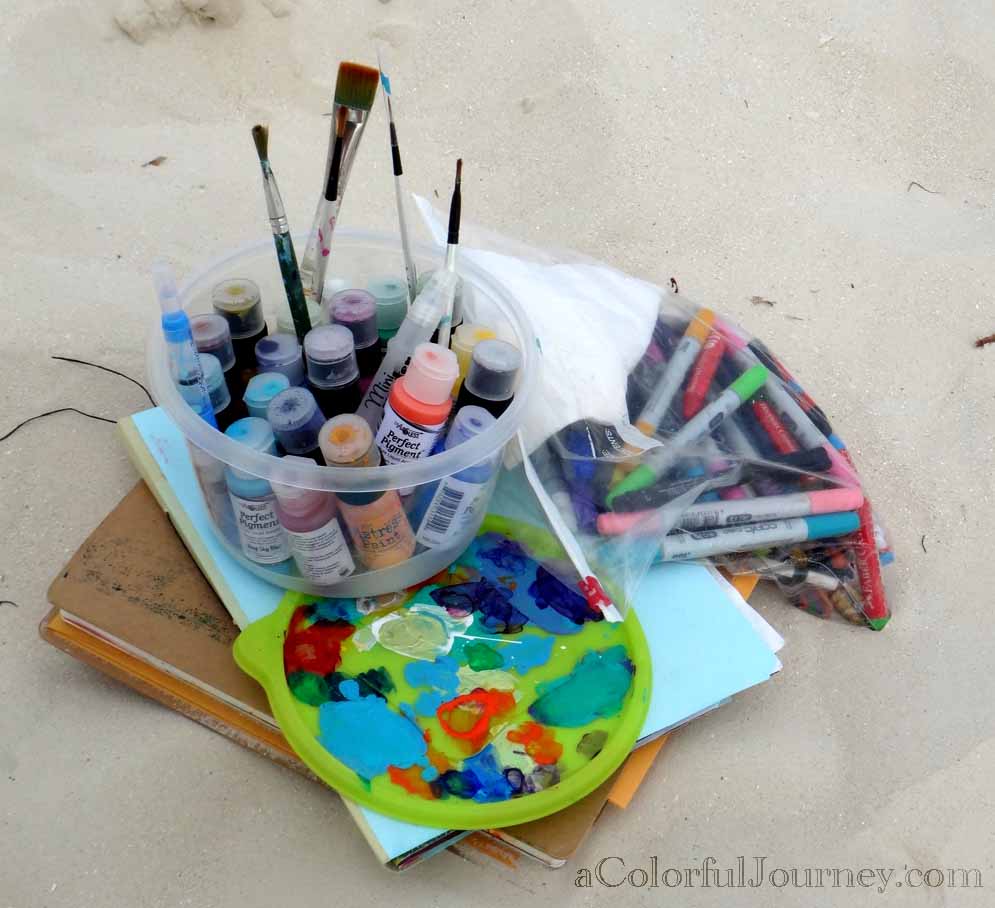
Vacation is about relaxing and I have to have some kind of art journaling thing with me to fully enjoy the beach. When I found this plastic storage container at the grocery I bought it! Cheap and functional. I felt quite brilliant when I wondered, what if I used the lid as my paint palette?
Worked perfectly! The lid made a great paint palette! Small bottles of paint stayed upright and the bag of markers, pencils, and beeswax crayons worked well in a big plastic bag. The tub also offered a bit of extra insurance with the spilling of paint during travel since it went into checked luggage. Throw in 2 art journals and my travel art kit was complete!
What do I do with a travel art journaling kit? I play!
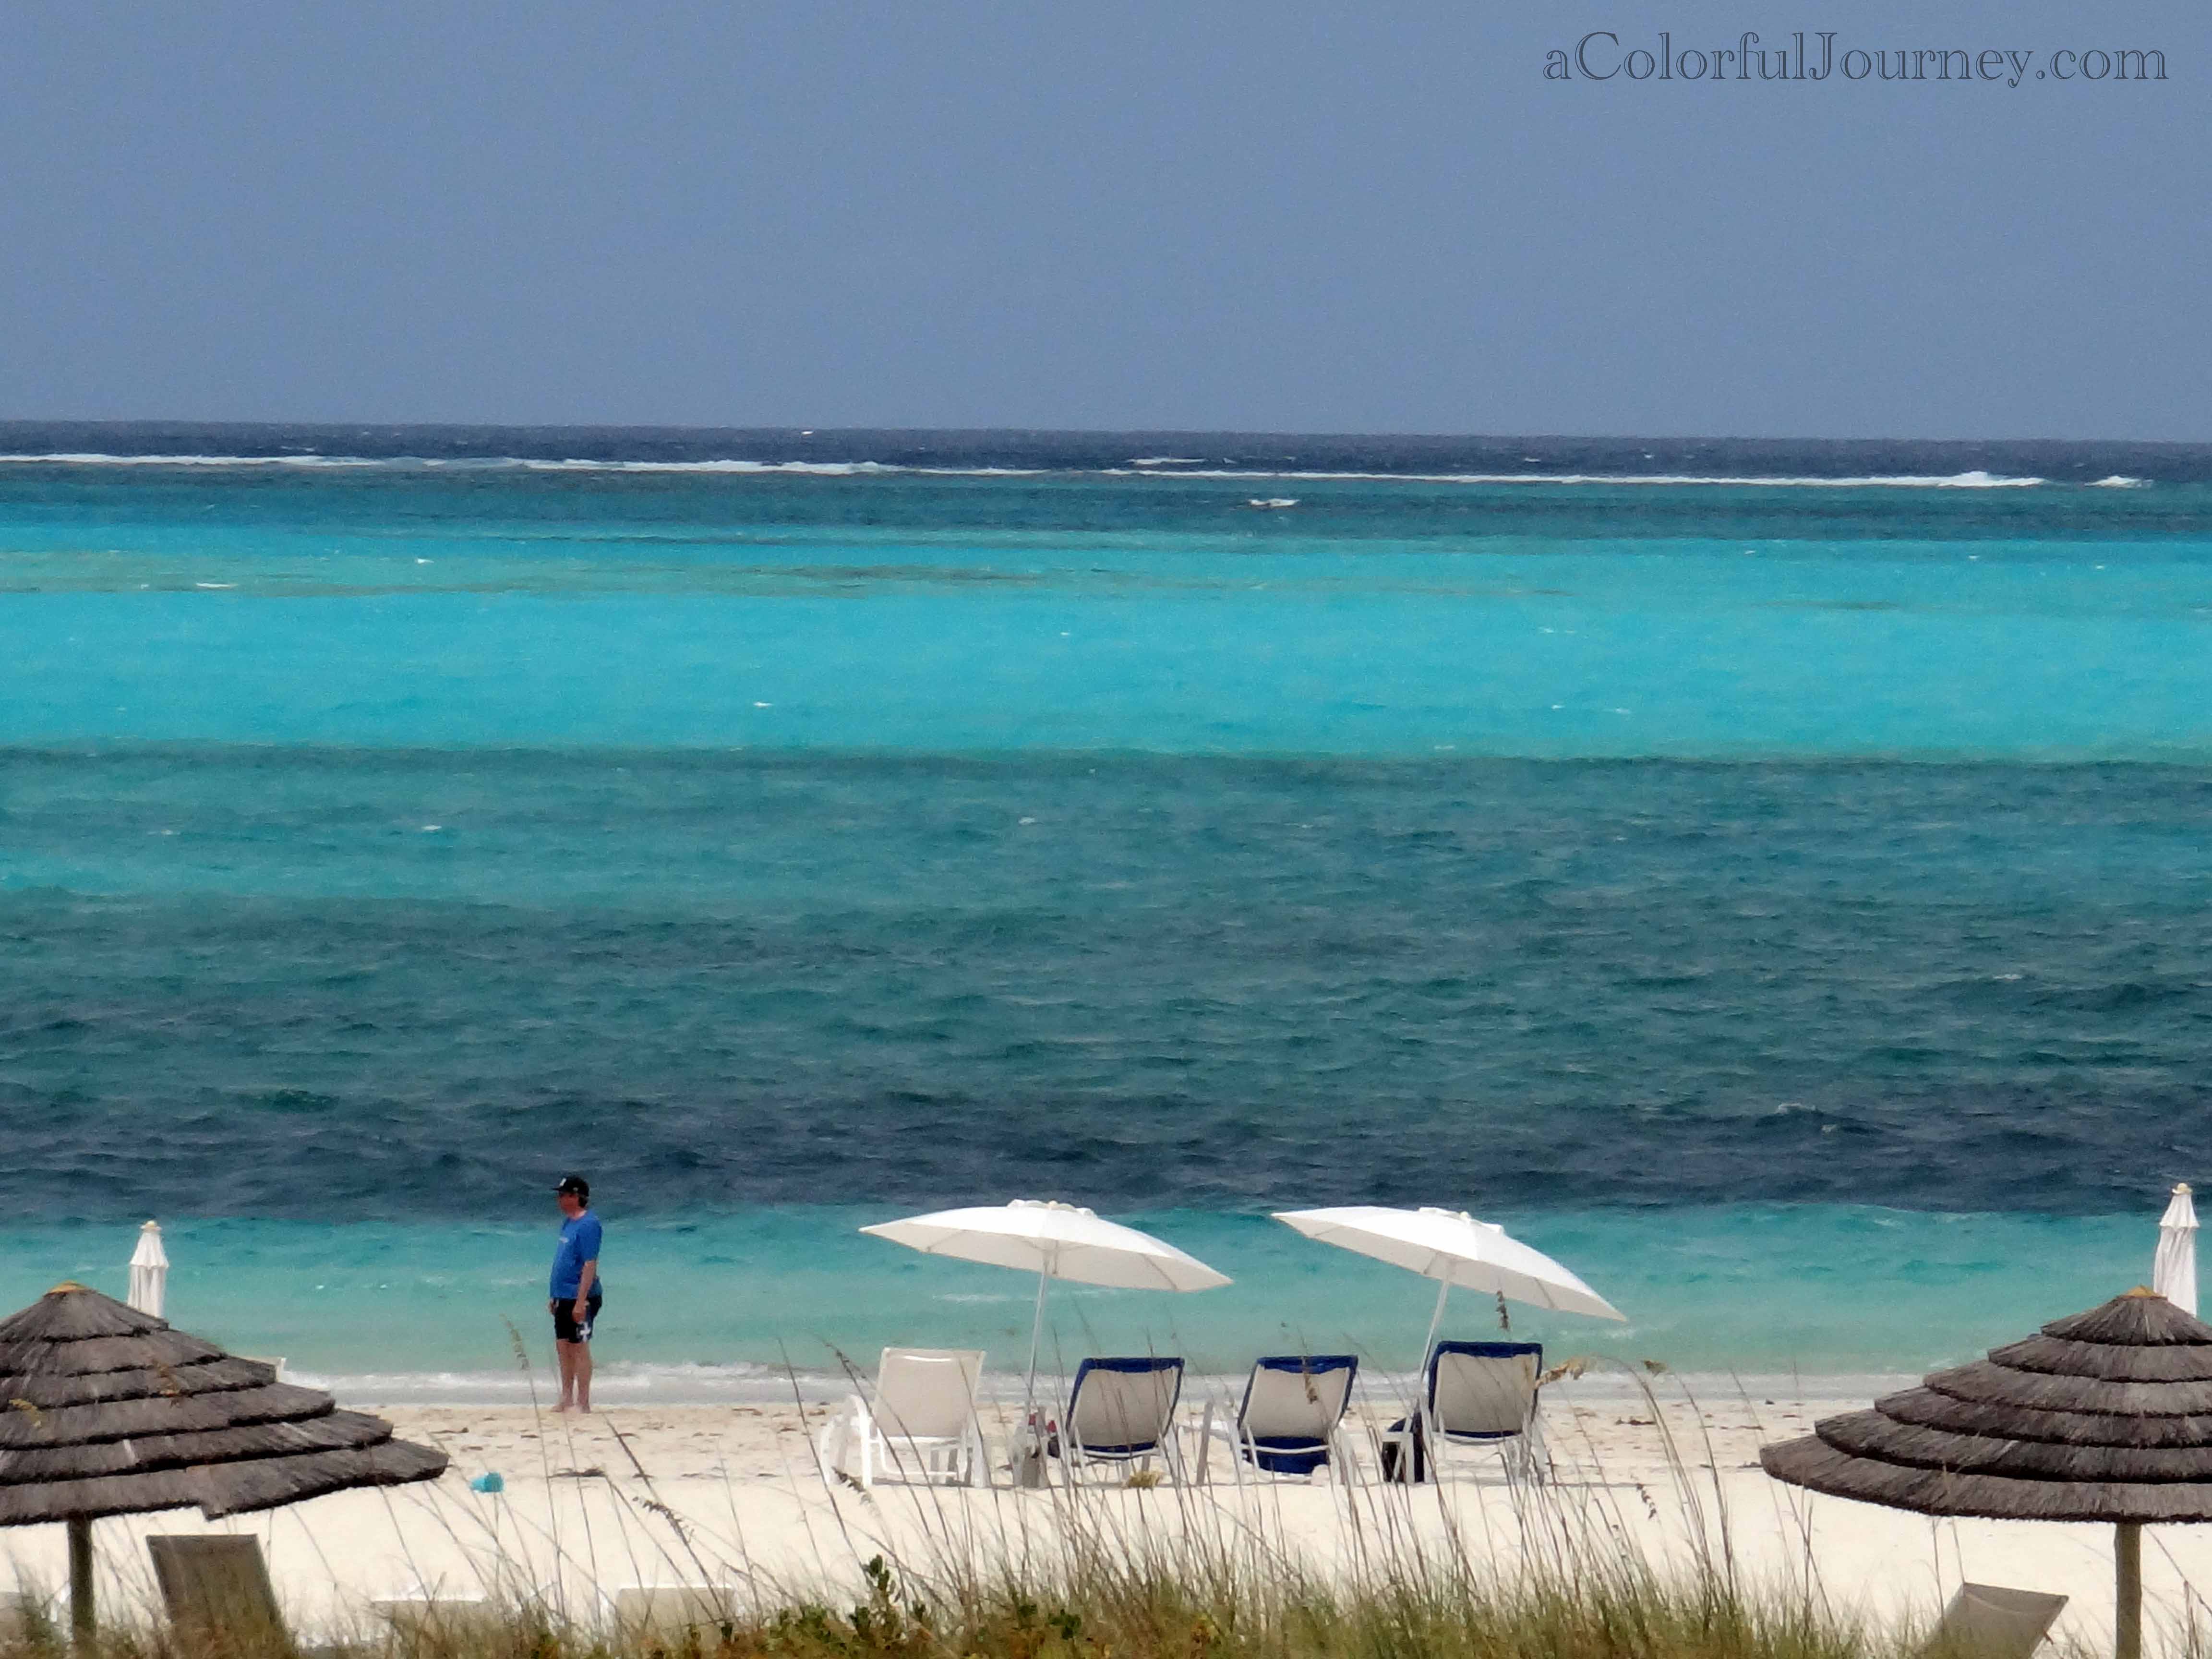
This is the view of the water that inspired me. Guess it is pretty obvious where the whole idea of waves of color came from…

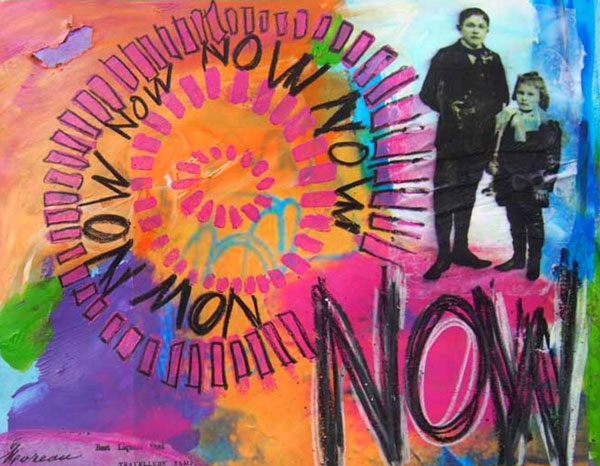
I sat on the beach flipping through my Dylusions journal until I found a page that called to me. The page I used to catch the excess ink from Jessica Sporn’s stencil at StencilGirl Products was the one that called out to me, “What if you use this page?”
What if I drew waves on it? Waves and doors aren’t what I usually put together, but hey, what if! I drew the waves onto the page with Copic Markers![]() .
.
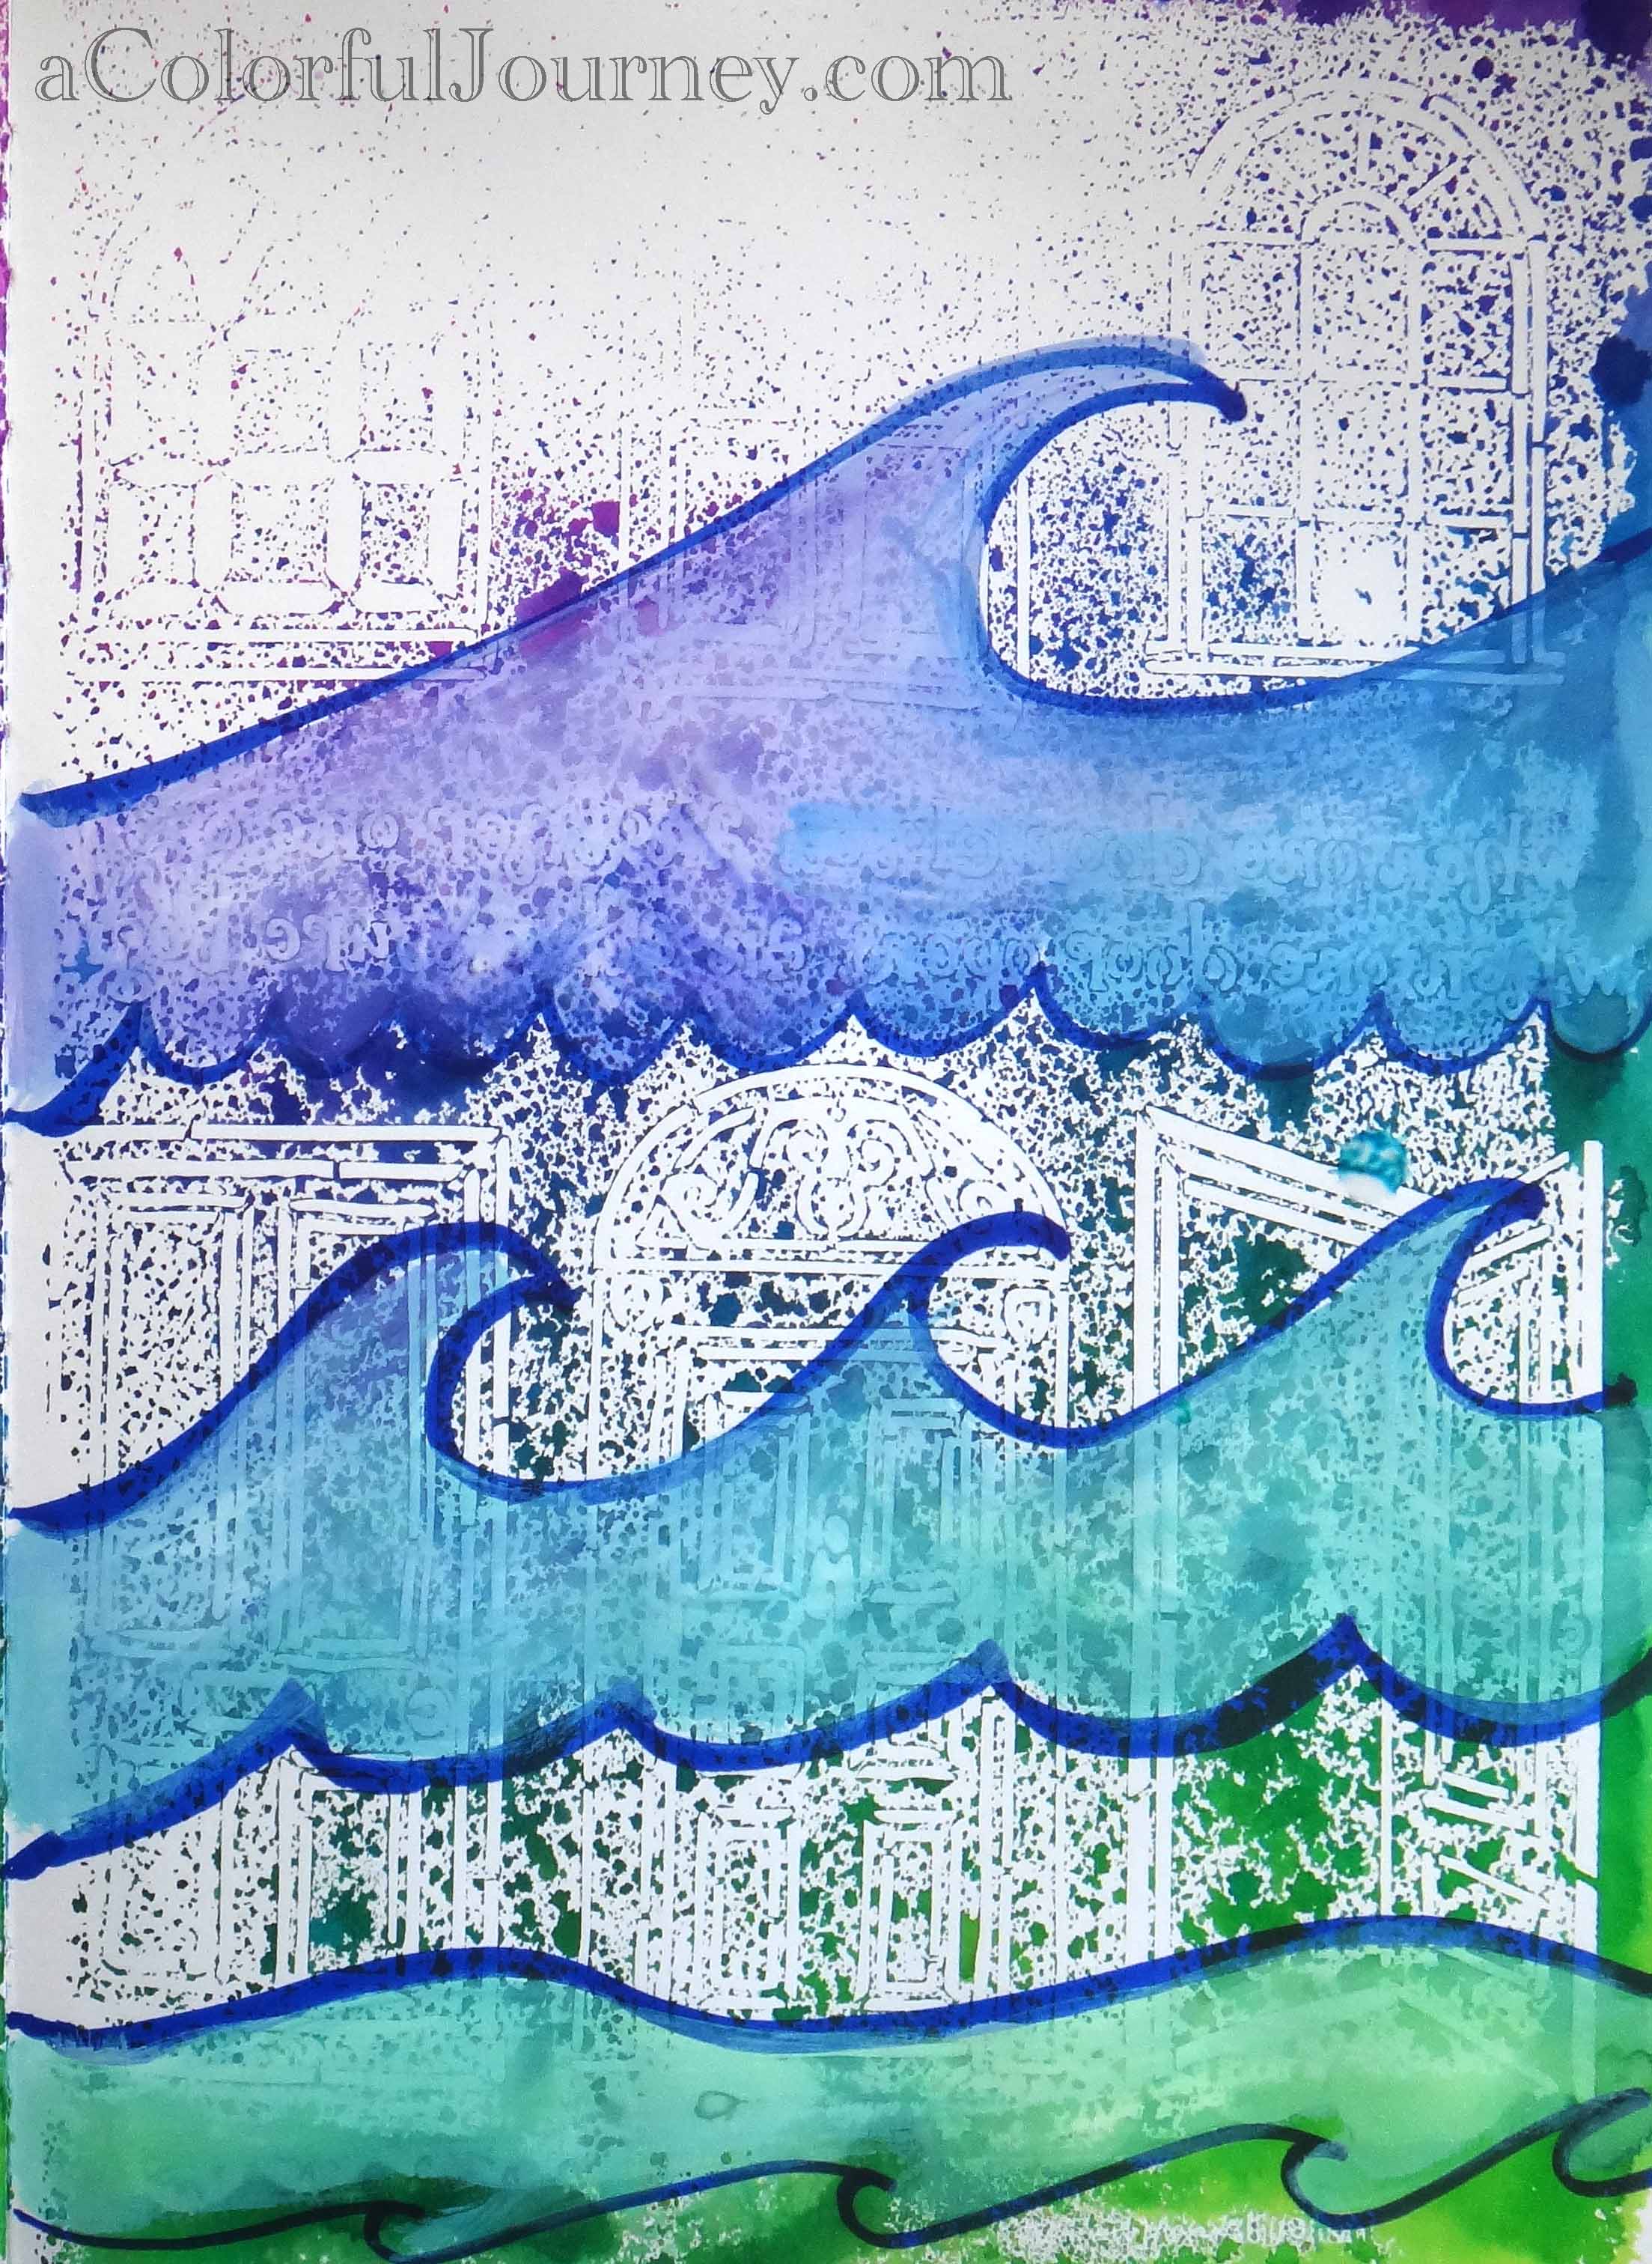
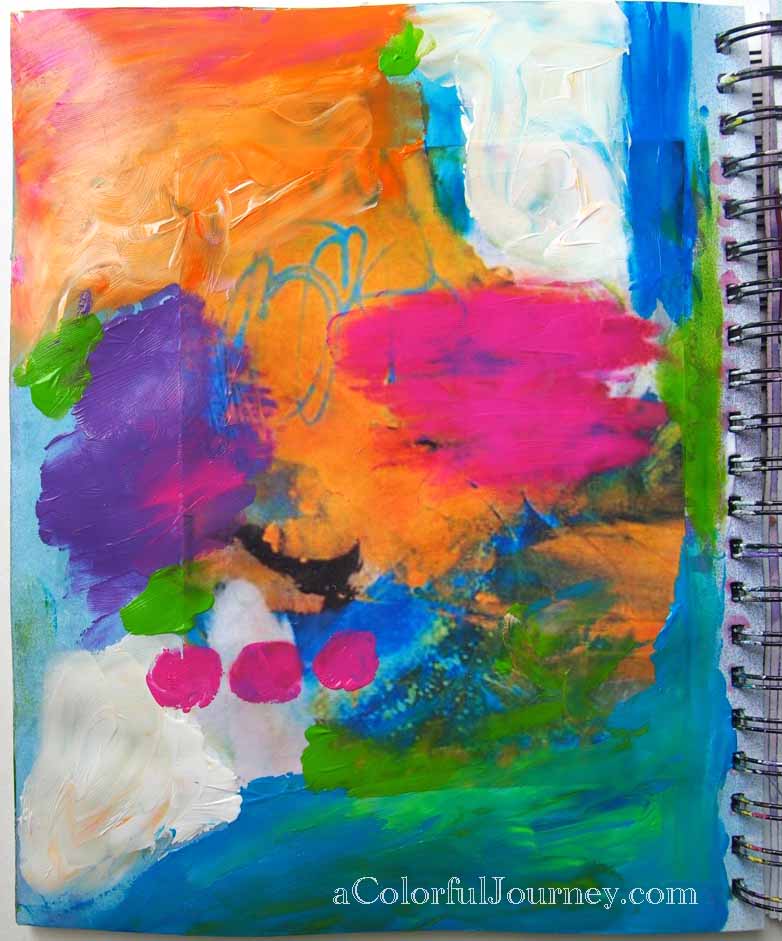
What if I used paint over the dried Dylusions spray ink?
Well, you can see what happened! I loved the way it turned out!
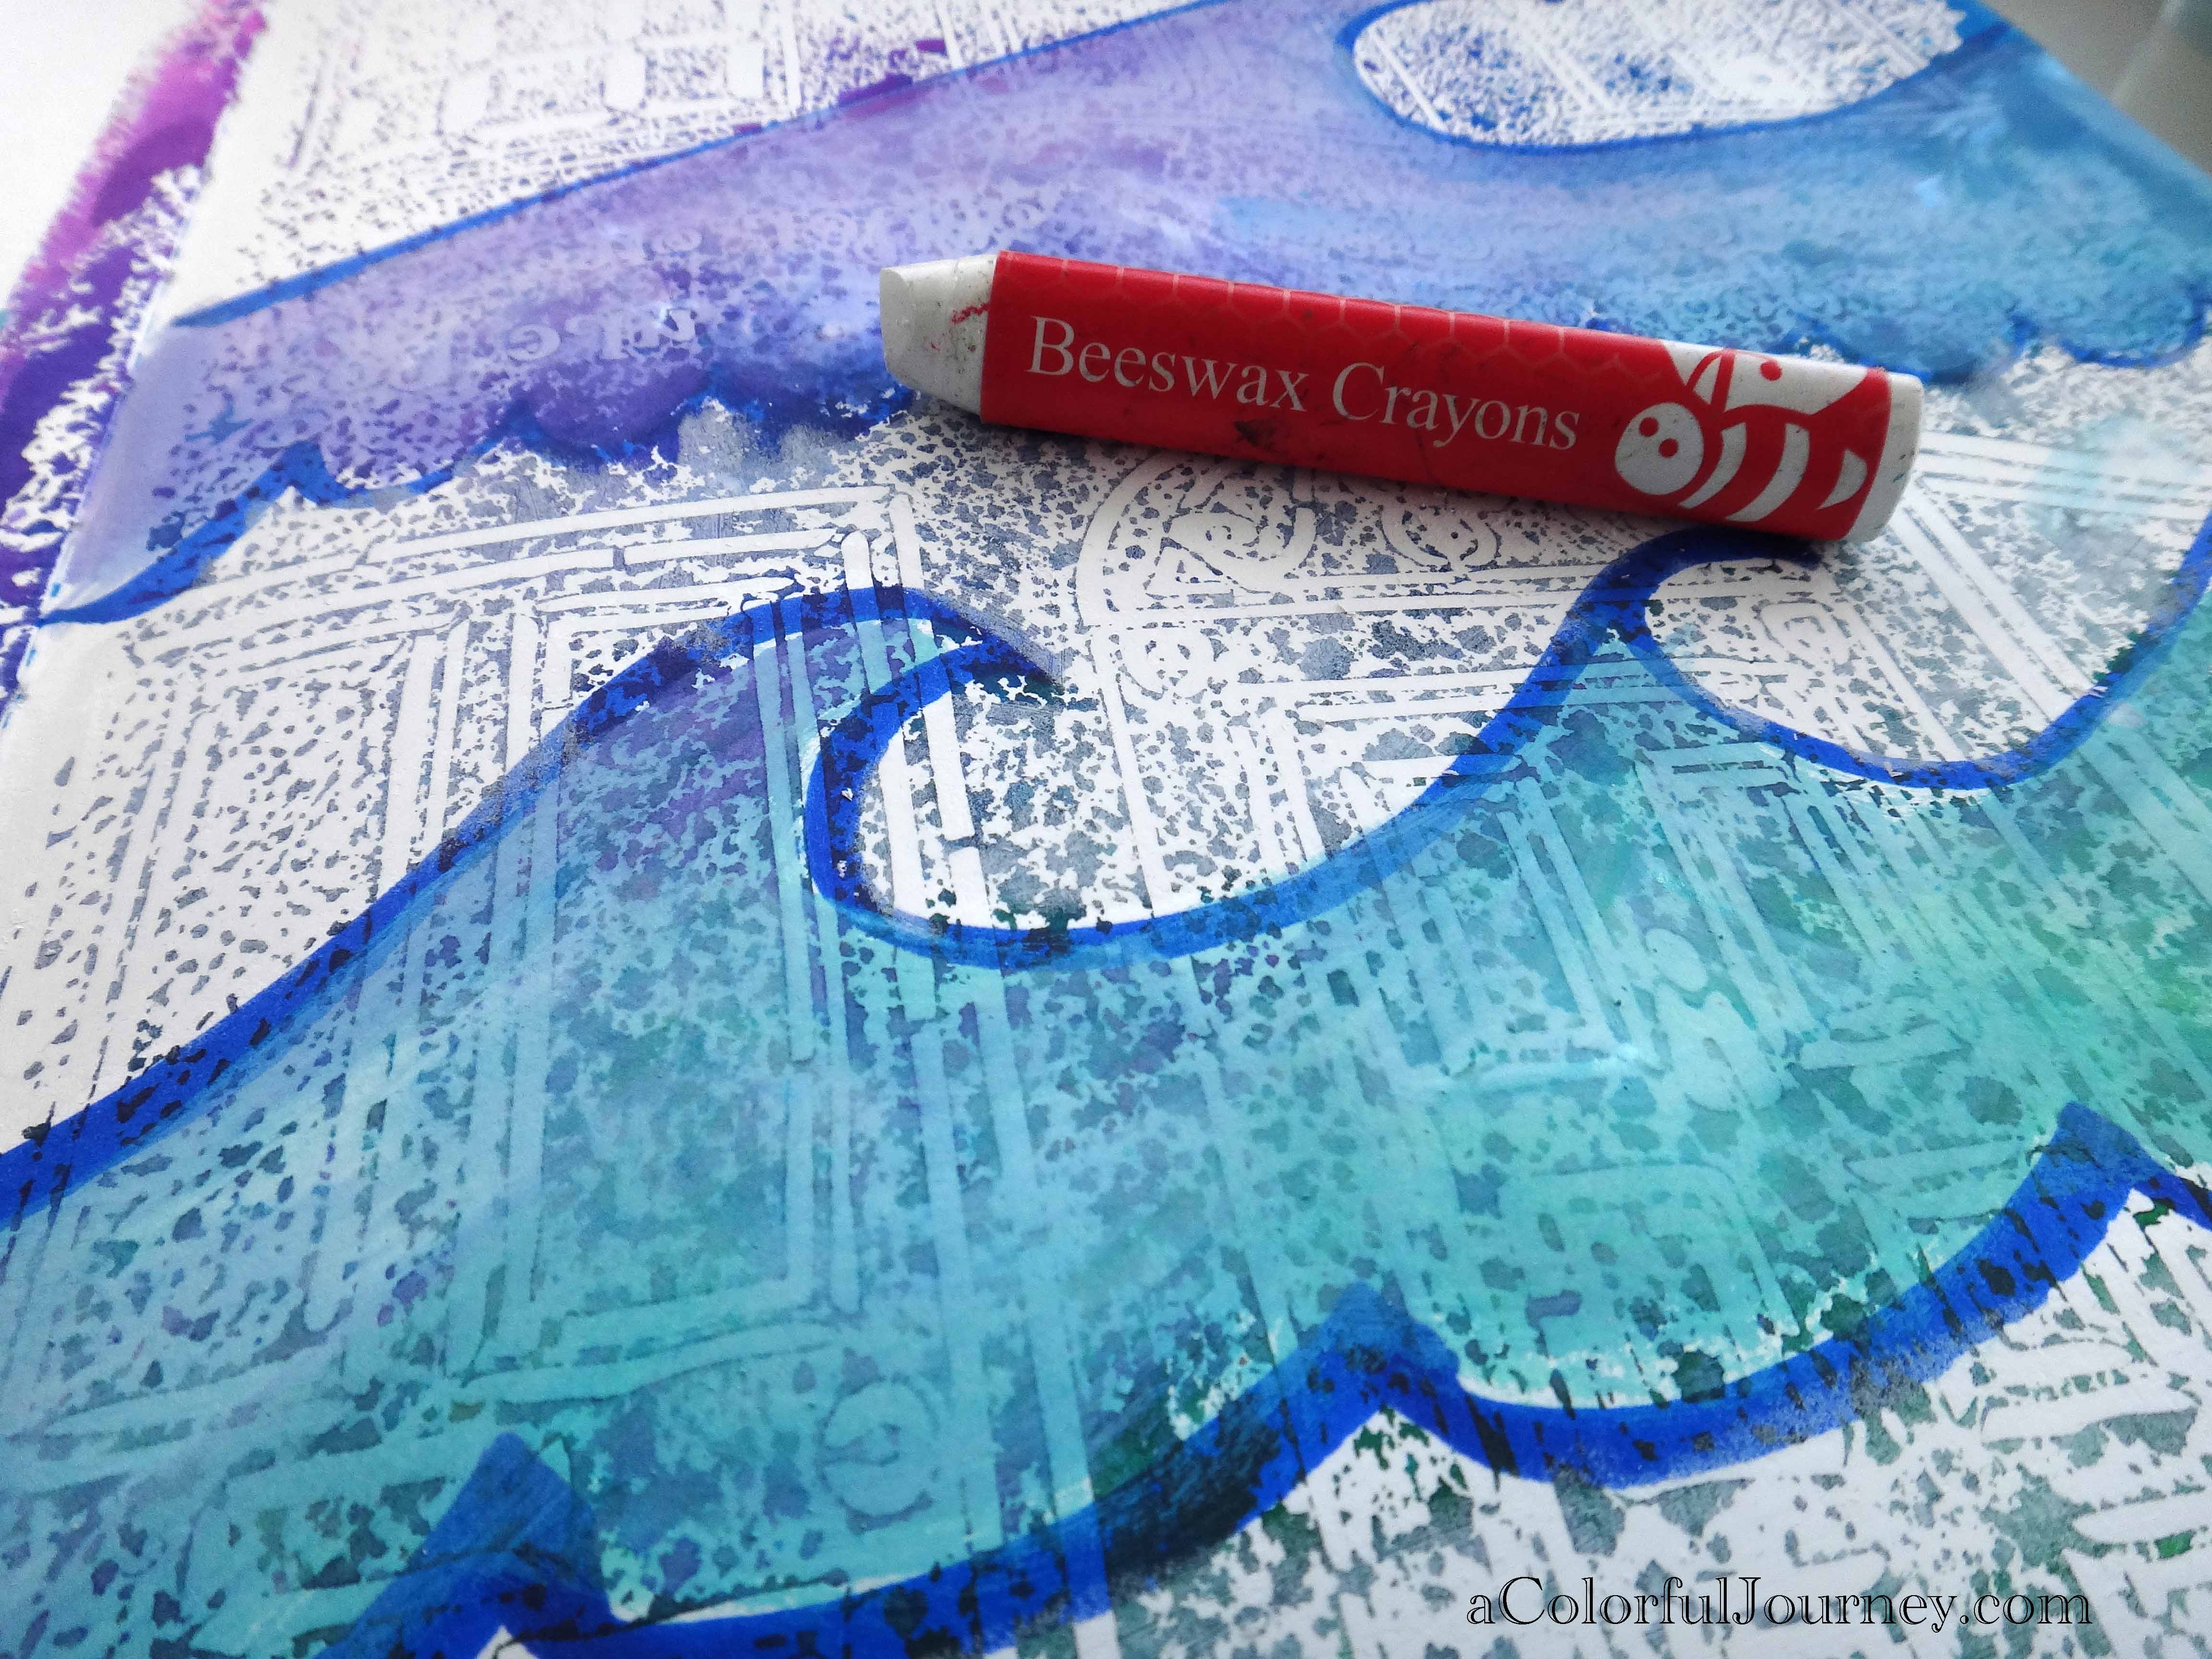
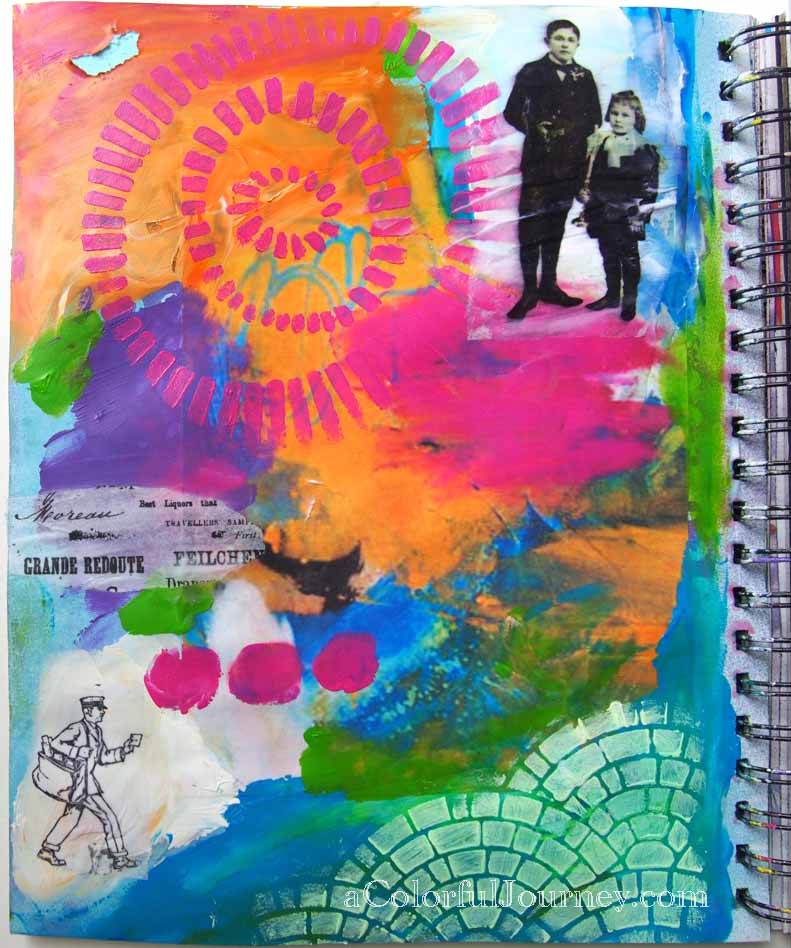
What if I used my new beeswax crayons to soften the edges of the marker? I hadn’t used them so I didn’t know what they would look like…It added a creamy softness. So happy since they are one of the least expensive supplies ever!
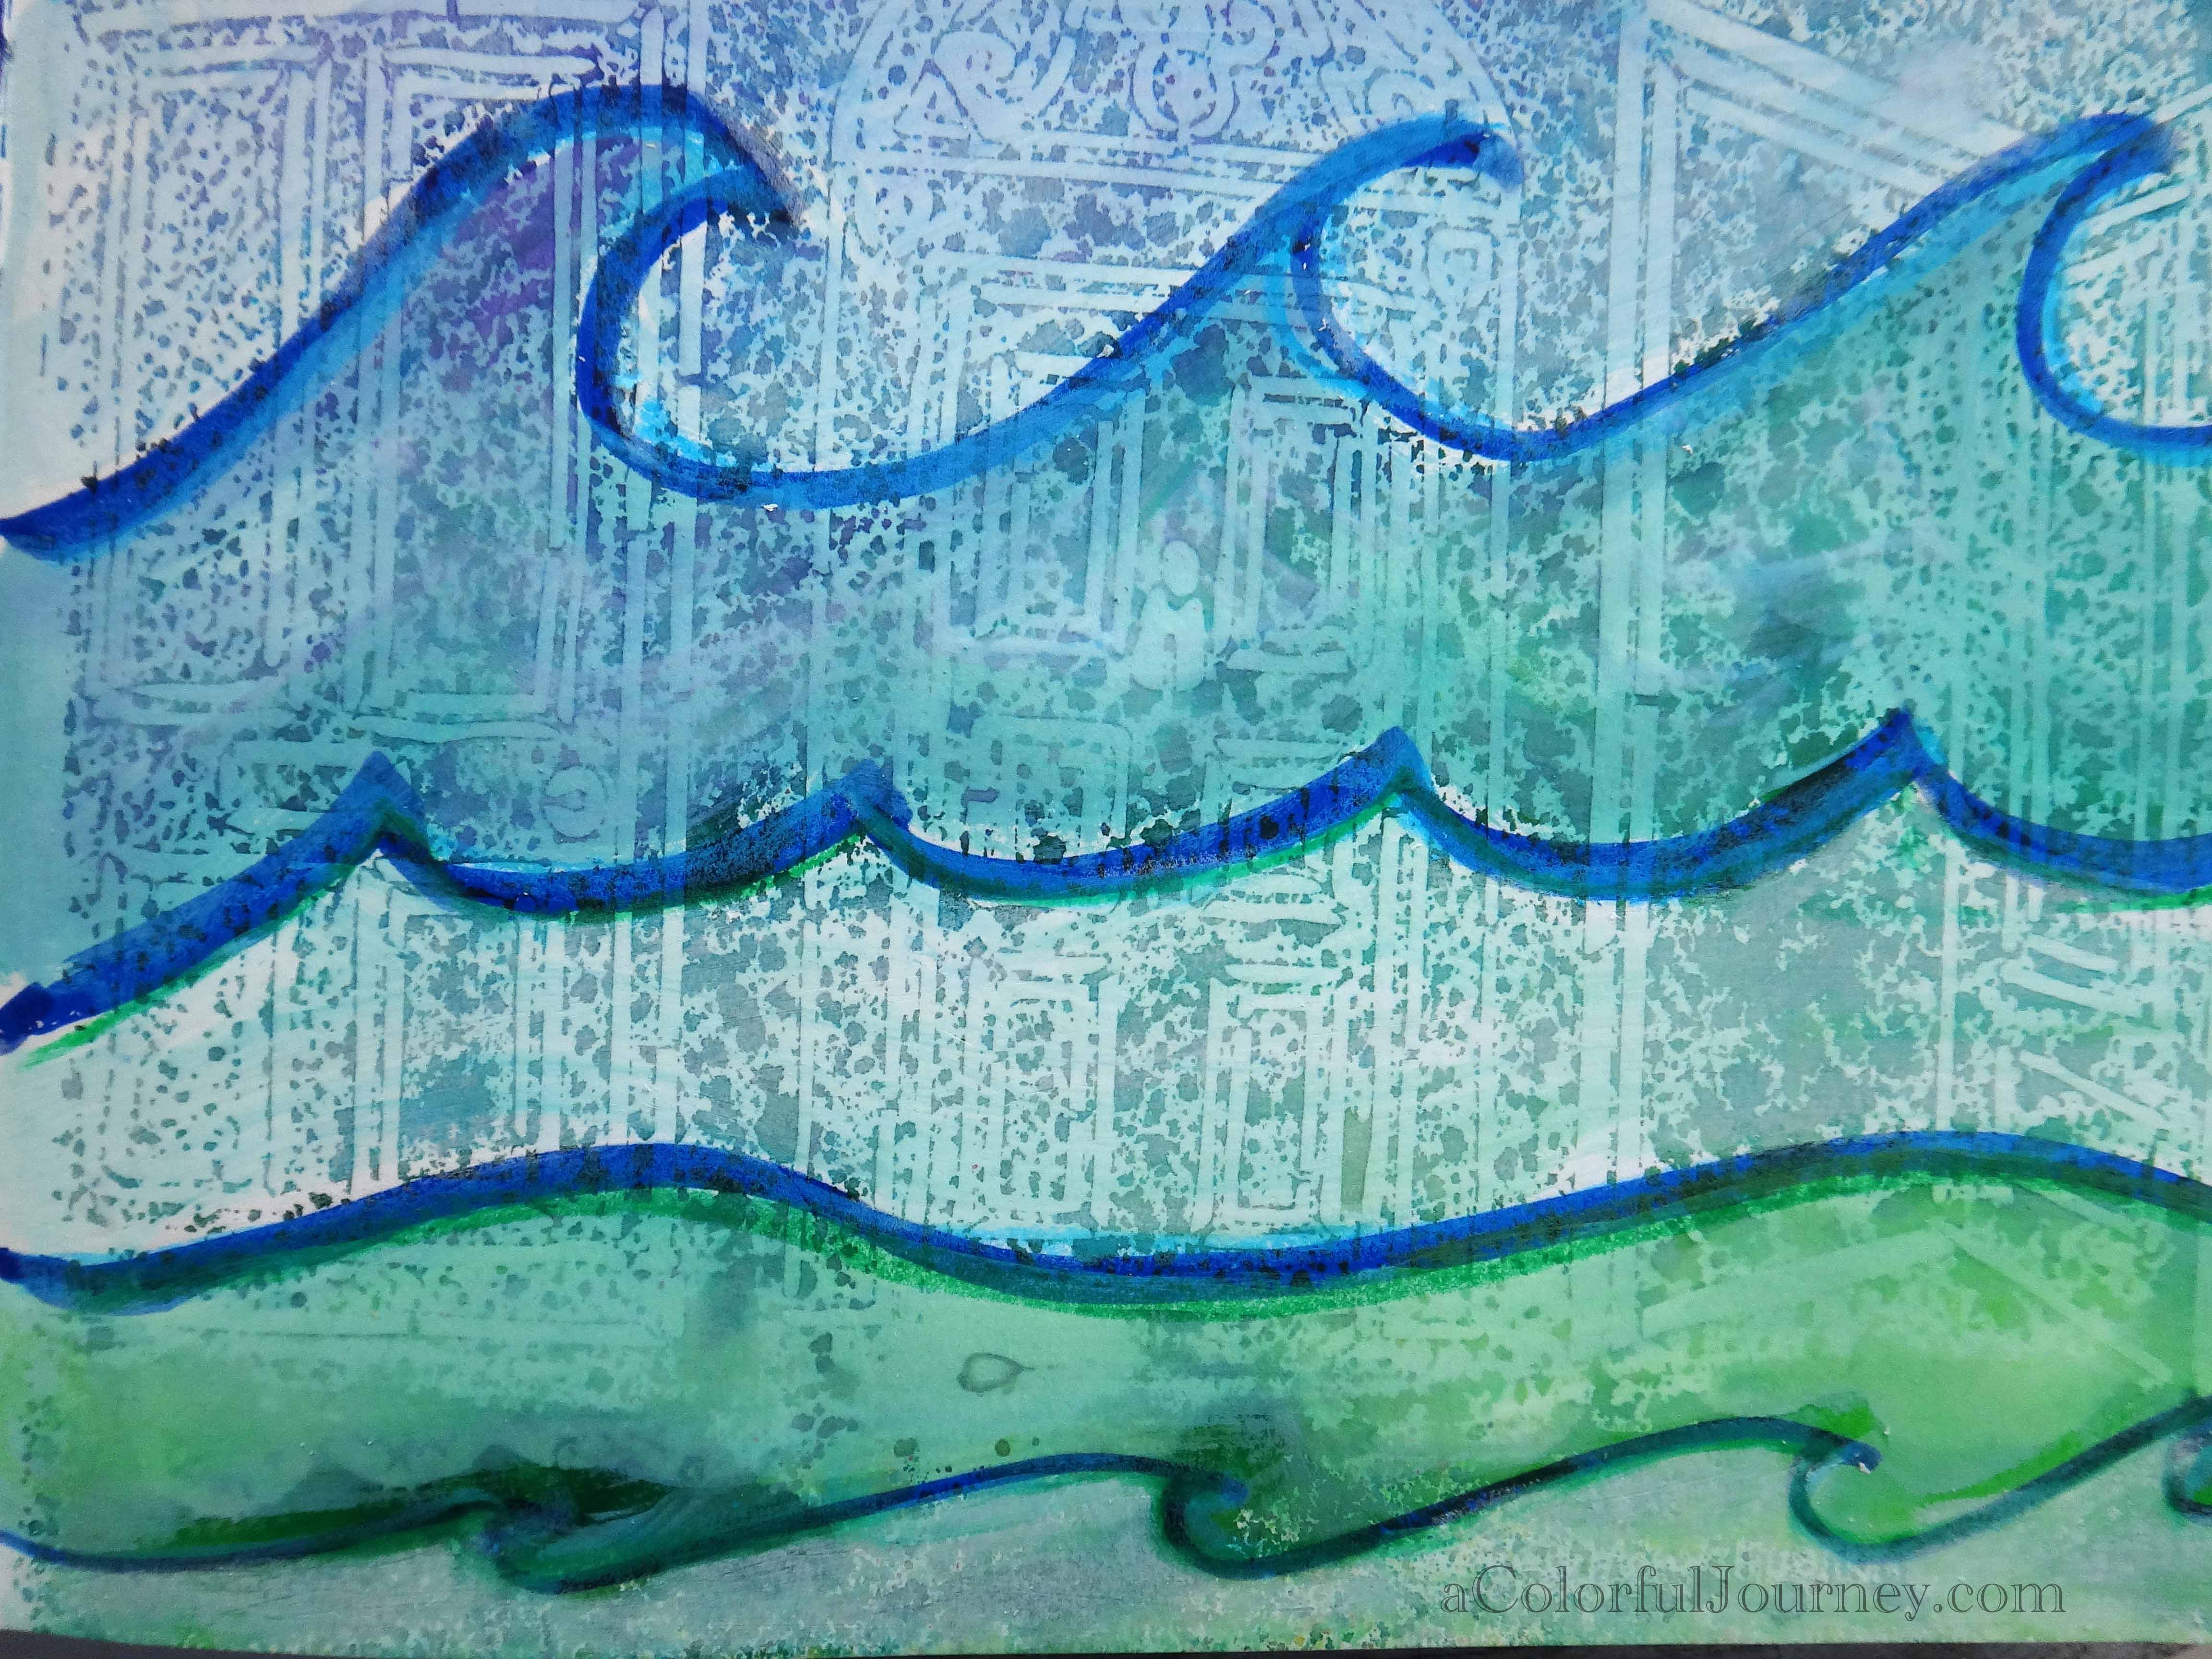
What if I just used white paint? I got a different look between the waves of color.
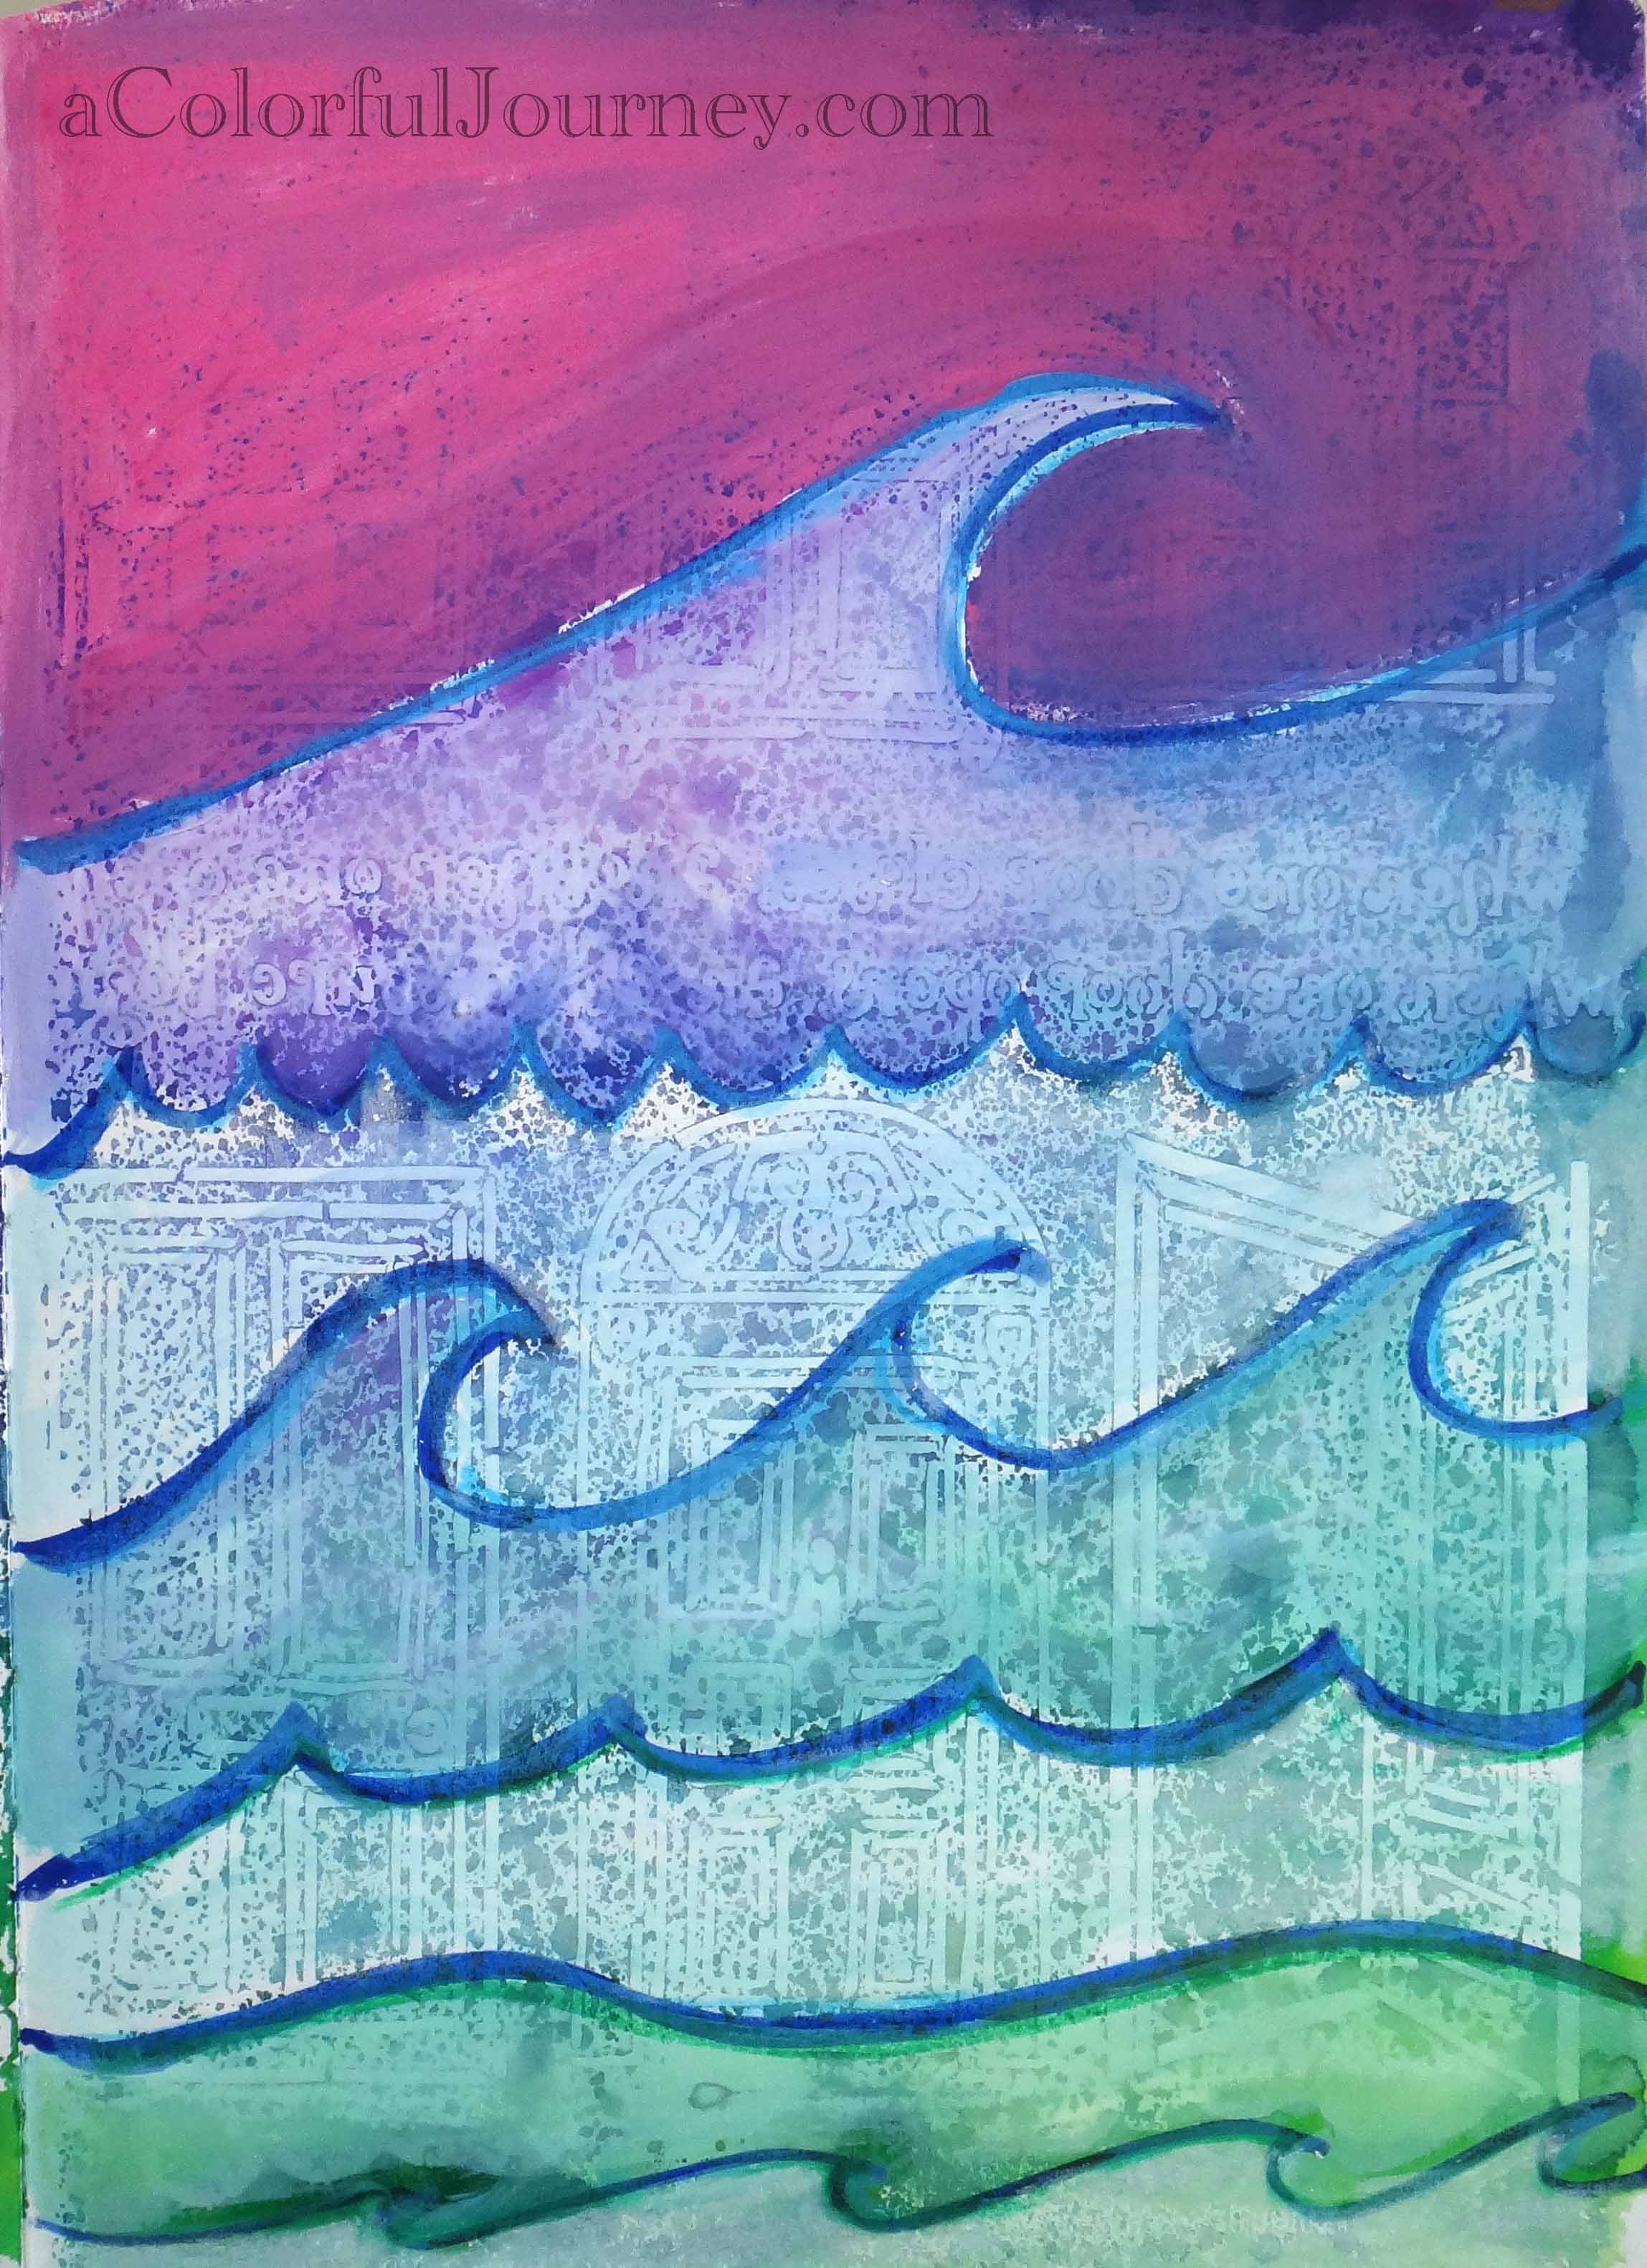
What if I made the sky a bright crazy color? The only way to know was to try it and glad I did!
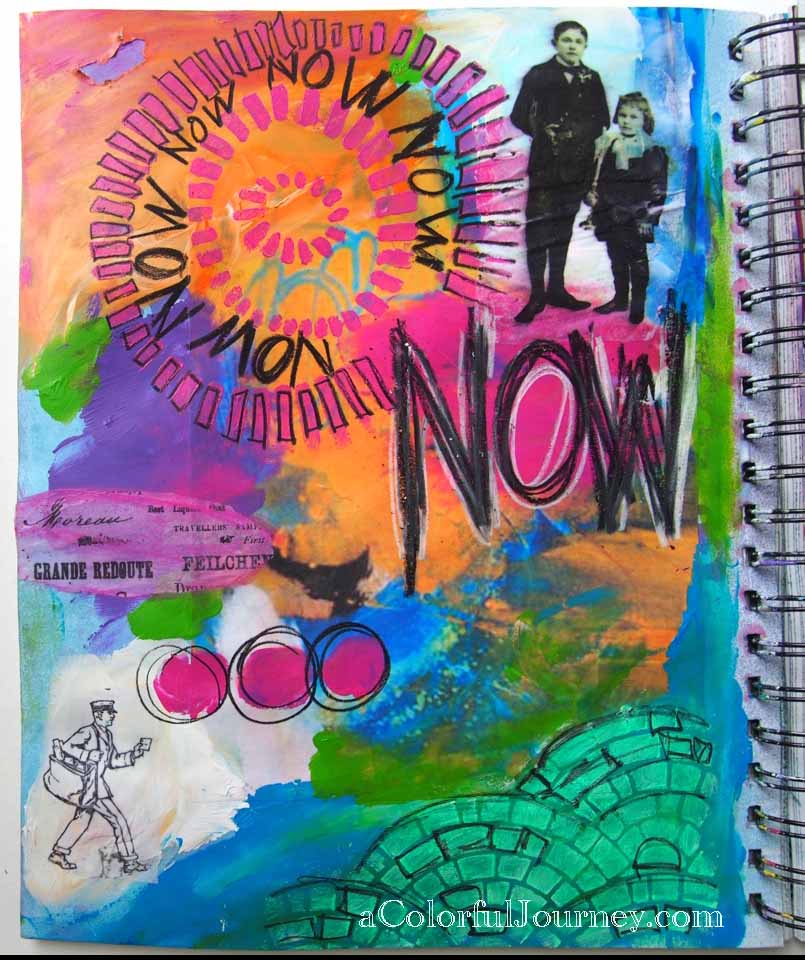
This page is not finished but it doesn’t have to be finished right now! It is waiting for me in my art journal for when I am ready to play again. I’m thinking about using it as an excuse to go back to the beach…
So now you know how I play on vacation! How do you play when you relax?
Had a chance to Gelli print lately? July’s Colorful Gelli Print Party is going strong and full of inspiration!
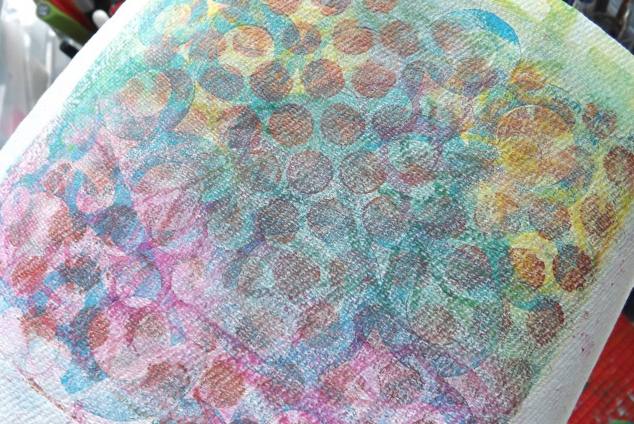
You’ll find great ideas like Mary Anne’s paper towel Gelli printing! Check it out!
Linking up with Creative Every Day, Make It Monday, Inspire Me Monday, Be Inspired, and Create Daily.