Welcome! I’m Carolyn Dube – This colorful journey is all about the freedom of play!
Search My Blog
Search by Category
The Fine Print
Some of the links on this blog are affiliate links and I receive a small percentage. It doesn't cost you anything extra and helps keep all the free tutorials and videos coming! It's a win-win!
The website is copyright Carolyn Dube, and that is kinda common sense since this is my site.
As an Amazon Associate I earn from qualifying purchases.
During a recent conversation there was a word a friend kept using to describe PanPastels. Intimidating. She had seen some amazing fine art created with them and felt incredibly intimidated because she was not a fine artist.
Well, I am not a fine artist. I am an Oops artist. That means I can just grab things and see what happens. It is rather freeing to be an Oops artist because there are no rules and most of all there are no mistakes, just Outstanding Opportunities Presenting Suddenly.
I captured some of my Oops arting with PanPastels on video including how I seal the early layers and then build up color with just one stencil and a few PanPastels.
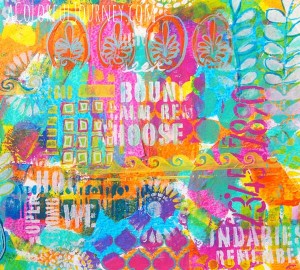
Sometimes out of chaos comes something good. And there was plenty of chaos happening in this art journal from the very beginning. It was a mess. I had no plan which was very clear as visual overload hit in the middle! But out of that chaos emerged a story.
Want to see more of my videos (and an Oops or 2 or 3)? There are over 200 on YouTube and you can find them all here.
I started with a random clean up page from my art journal. What a mess of a start! And when I added the entire rainbow it was…well chaos, but a happy chaos.
And yes…there is an Oops in the video, but you probably guessed that if it is one of my videos.
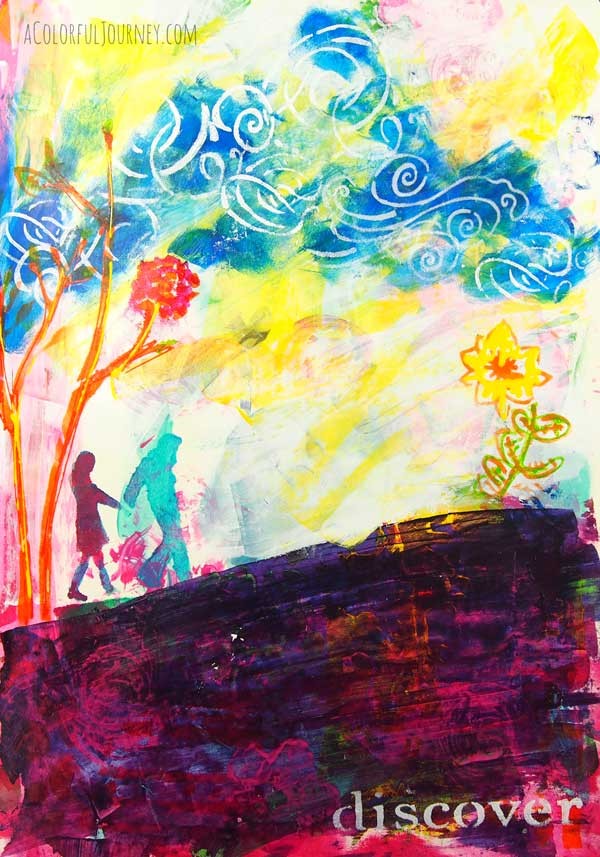
One of my favorite things when I create is to have a story revealed to me. But the story doesn’t always reveal itself fully until later. While looking at this as I was writing this blog post, I kept noticing the pink behind the people. Should I have put white more carefully around him?
No. I realized that was a touch of the hidden chaos that they are walking through that the rest of the world cannot see. A reminder to me of all the people who have battles that can’t be seen.
So excited to be teaching at Artiscape this year! If you’ve never been to Artiscape it is a treat! Not only are there workshops but other fun events too! The Outsider Art Fair, a Mad Hatter Tea, an Artist’s Marketplace, a Friday night kick off dinner with amazing artists lined up to demo and amaze, and more!
I’m teaching 2 Artiscape workshops, Magically Marbled Papers (April 10) and Stenciling Demystified (April 11). One of my favorite things about a day of artful play with friends is that look on their face when they let themselves be free, as they see where the play takes them!
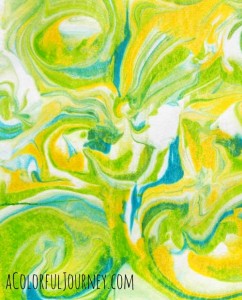
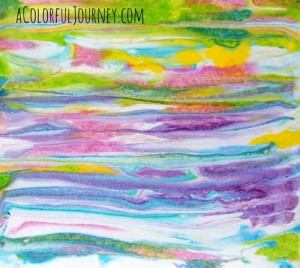
In Magically Marbled Papers I’ll share with you paper marbling techniques that create stunning marbled papers with veins of shimmering gold enveloped inside swirls of color. The level of detail that can be achieved is both magical and quick. No waiting… absolutely no precision… just FUN! All by using easy to find supplies. Be prepared to be addicted to watching the colors mingle. I know I am!
For Magically Marbled Papers you need to bring…only an apron. I know what a pain it is to hunt for the “right”supply, the time to pack it all up, and unpack it so I have taken care of all of that for you!
There’s more than one way to use a stencil! Get comfortable with stenciling, then let yourself go wild playing in Stenciling Demystified! You only need to bring 5-6 colors of any kind of acrylic paint including white…and an apron. I will be bringing everything else including a huge stash of StencilGirl stencils for you to experiment and play with as I share techniques with you in this fast paced workshop of play.
You’ll walk out the knowing how to get a wide variety of looks from any stencil! As with all my workshops, there is a full color PDF, so once you are back home you can dive right in and continue playing!
I am super excited to be catching up in person with people I’ve met through the blog – hope to see you there!
This website uses cookies to improve your experience while you navigate through the website. Out of these cookies, the cookies that are categorized as necessary are stored on your browser as they are essential for the working of basic functionalities of the website. We also use third-party cookies that help us analyze and understand how you use this website. These cookies will be stored in your browser only with your consent. You also have the option to opt-out of these cookies. But opting out of some of these cookies may have an effect on your browsing experience.
Necessary cookies are absolutely essential for the website to function properly. This category only includes cookies that ensures basic functionalities and security features of the website. These cookies do not store any personal information.
Any cookies that may not be particularly necessary for the website to function and is used specifically to collect user personal data via analytics, ads, other embedded contents are termed as non-necessary cookies. It is mandatory to procure user consent prior to running these cookies on your website.

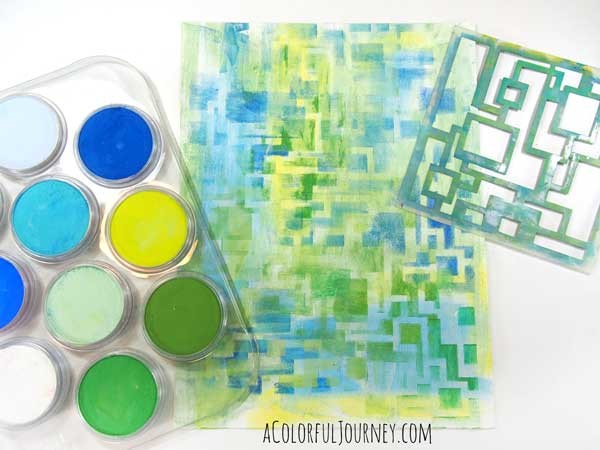 During a recent conversation there was a word a friend kept using to describe PanPastels. Intimidating. She had seen some amazing fine art created with them and felt incredibly intimidated because she was not a fine artist.
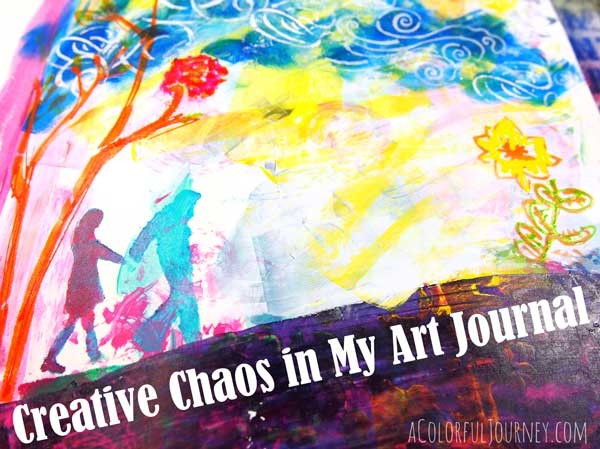 Sometimes out of chaos comes something good. And there was plenty of chaos happening in this art journal from the very beginning. It was a mess. I had no plan which was very clear as visual overload hit in the middle! But out of that chaos emerged a story.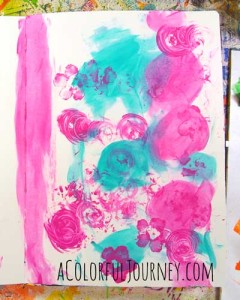
 So excited to be teaching at Artiscape this year! If you’ve never been to Artiscape it is a treat! Not only are there workshops but other fun events too! The Outsider Art Fair, a Mad Hatter Tea, an Artist’s Marketplace, a Friday night kick off dinner with amazing artists lined up to demo and amaze, and more!