Welcome! I’m Carolyn Dube – This colorful journey is all about the freedom of play!
Search My Blog
Search by Category
The Fine Print
Some of the links on this blog are affiliate links and I receive a small percentage. It doesn't cost you anything extra and helps keep all the free tutorials and videos coming! It's a win-win!
The website is copyright Carolyn Dube, and that is kinda common sense since this is my site.
As an Amazon Associate I earn from qualifying purchases.
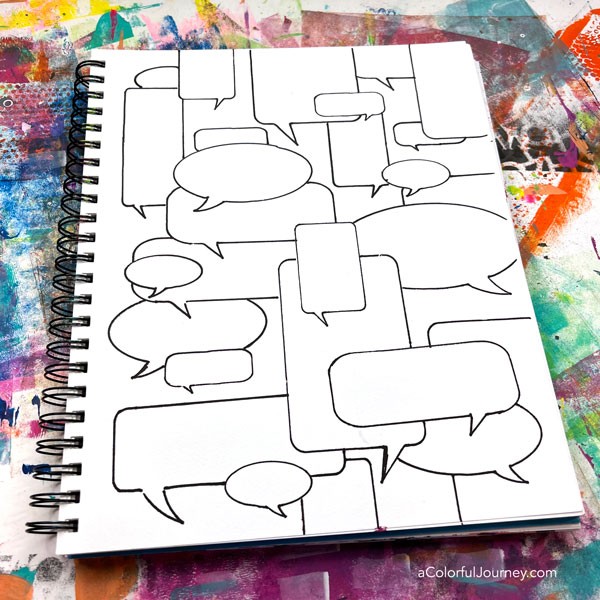
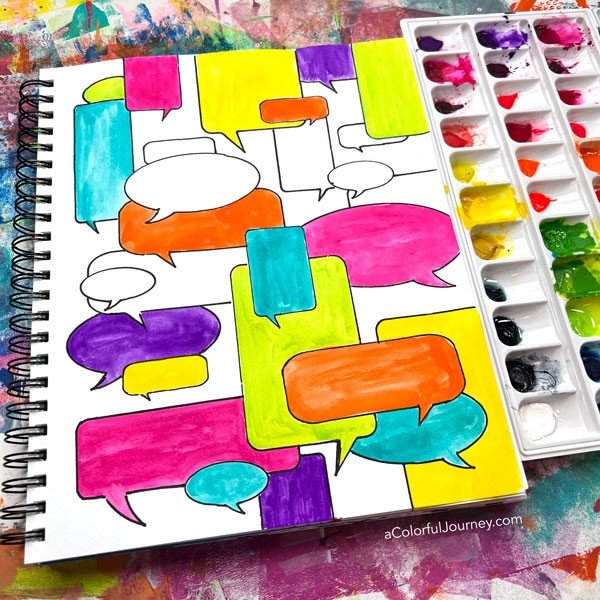
This is a quick and easy way to create the layered look of stacked speech bubbles. The trick is the first layer, and after that, it’s just filling in the space! The stencil I’m using is Speech Bubbles that I designed for StencilGirl Products, and yup, you get the masks (the cutout areas of the speech bubbles) with that set too!
Colors are added randomly and not randomly. The first colors are randomly placed, then as I add more, I’m consciously making sure that a color isn’t next to itself.
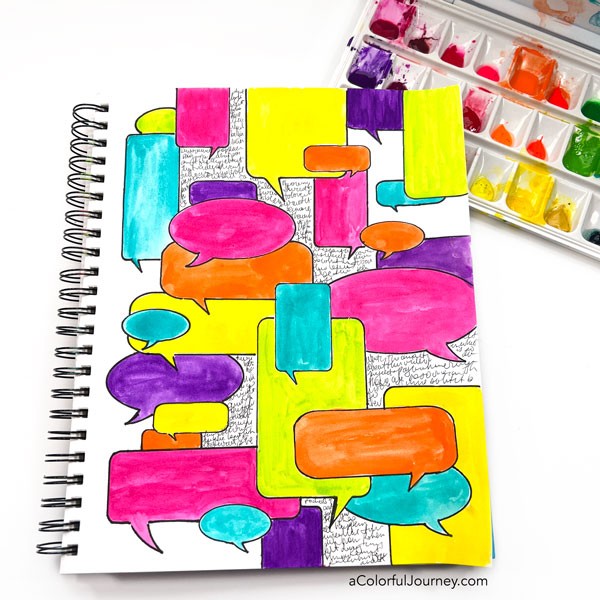
The plan for this colorful conversation was to have the words inside the speech bubbles, but plans change. Why? Because there was a different message or meaning that revealed itself during the play. In the video, I share why I chose to put the words in the white space.
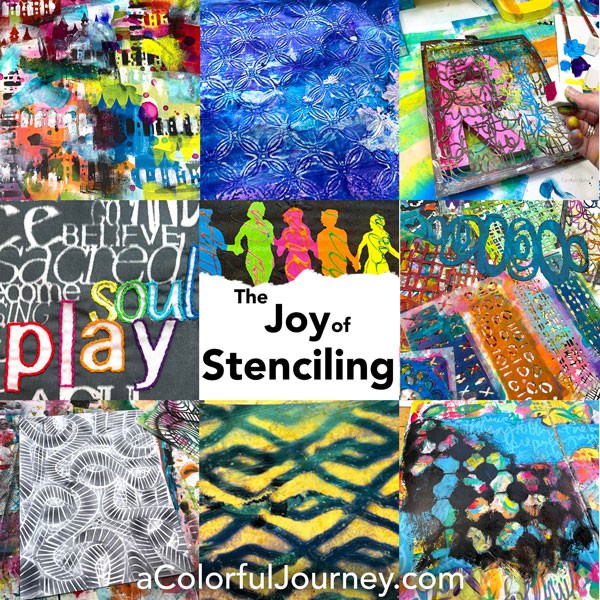
This is just one way to use a stencil, there are a gaboodle of other ways you can use them. If you’re looking to go in depth on stencils, check out The Joy of Stenciling.
Here are the supplies used. Some of these links may be affiliate links which means I get a small percentage and it doesn’t cost you anything extra! And you get a really good feeling knowing that you are helping keep the free tutorials coming!
*****The yellow watercolor that I used has been discontinued- it was QoR hansa yellow medium. The bright purple that I used is one of the colors in the set of neon paints listed below. All other colors are individually listed below.*****
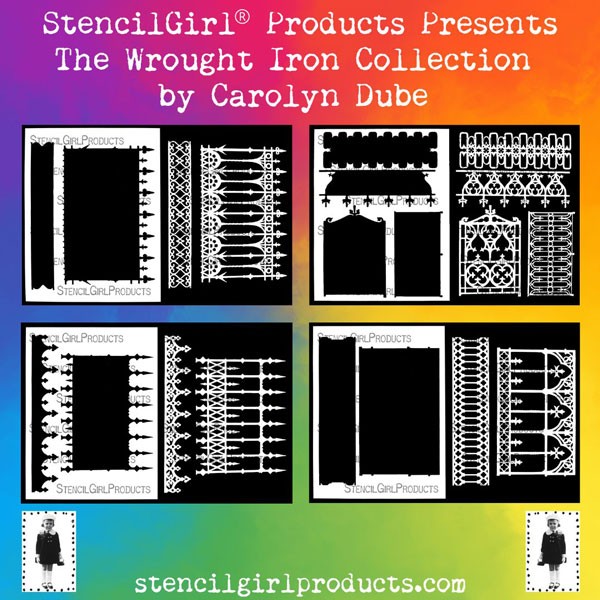
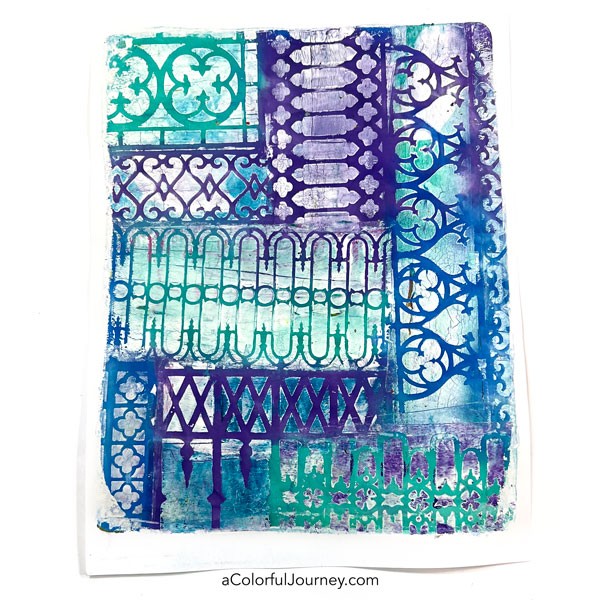
What happens when I see incredible wrought iron while in Savannah, Georgia? I get the urge to grab a gel plate and make prints right there! The curves in the ironwork, the details mounted on those windows, it all just screamed gel print with me!
But there are some impracticalities with this. First, I don’t own the historic houses, so it would be illegal. Two, it’s impractical. Storing wrought iron or getting up to the second floor to do it is fraught with challenges.
There is a much more practical way to get wrought iron patterns onto a gel plate -with stencils! That’s what led to my my latest collection, Wrought Iron, at StencilGirl Products.
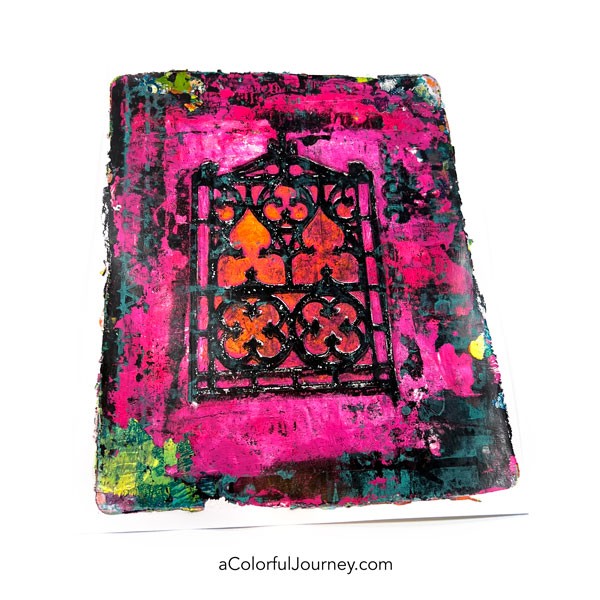
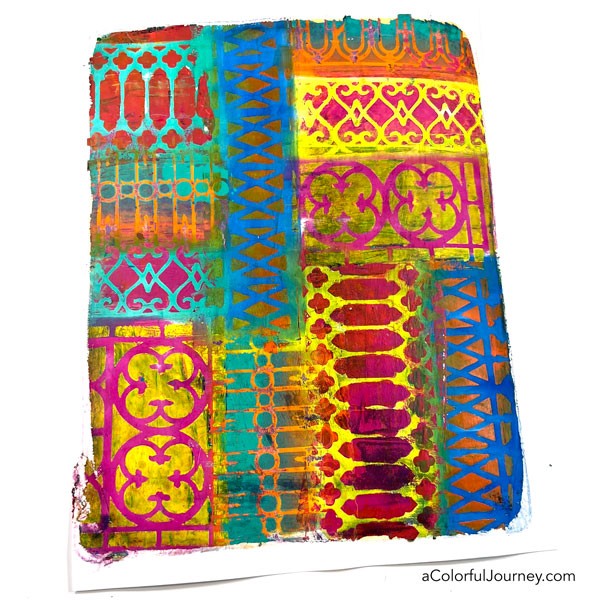
These stencils were inspired by gel printing, but like all stencils, they can be used with any art supply or medium. As you’ll see in the examples below, I’m partial to using bits and pieces to combine them to create new looks, but before you scroll down to those prints, here’s a gel print where I used the entire image.
The mystery surrounding the incredible wrought iron work of Savannah drew me in. According to the tour guide, wrought iron is a lost art because our modern day skills and technology cannot duplicate the quality and craftsmanship of the 1700 and 1800s. For this reason, these stencils symbolize the mysterious parts of the creative process.
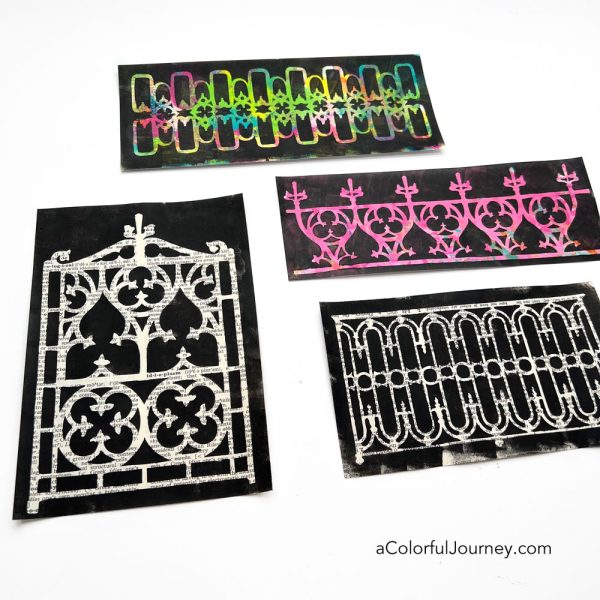
There’s also a touch of mystery when you’re using pieces and parts of the Wrought Iron stencils. Building up the layers makes it nearly impossible to tell the exact order of how the layers were built.
Are these stencils or are they masks? Does it have to do with the positive and negative space? Is a mask the reverse of the stencil? Are all masks stencils but not all stencils are masks?
For a stencil like Wrought Iron, it isn’t a clear and simple answer. Rather than get into a lengthy discussion, just know that’s why I will interchangeably use both mask and stencil to describe these.
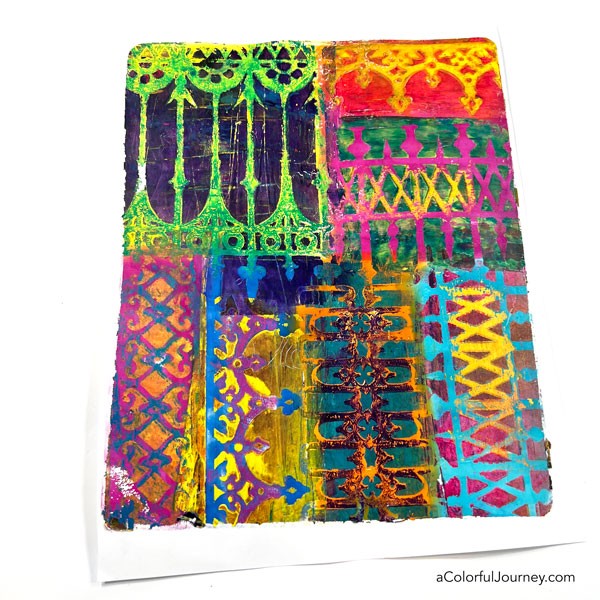
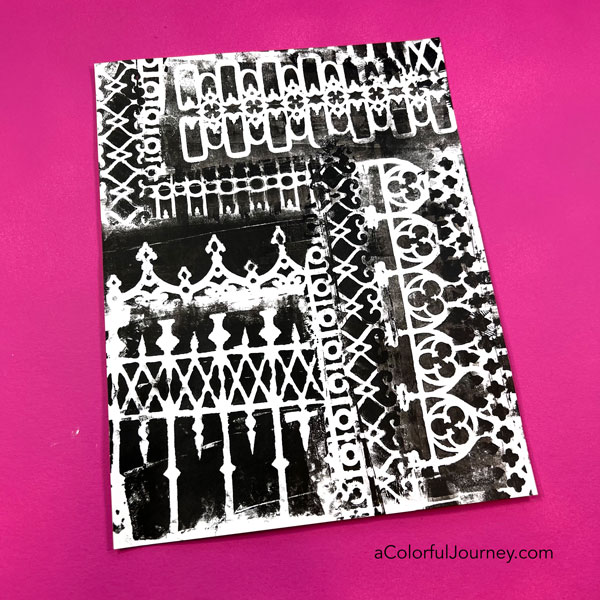
The black and white collage style print that I made in the video (at the top of this blog post) shows you how to grab pieces and parts. You have a myriad of ways to combine the various elements in the Wrought Iron stencils to create papers, prints, and patterns that are uniquely yours.
Whatever papers or surfaces you’ve got around, give it a try with Wrought Iron! I was surprised how smitten I was with the vintage look of black paint on book text. After all, I am usually a rainbow kind of gal.
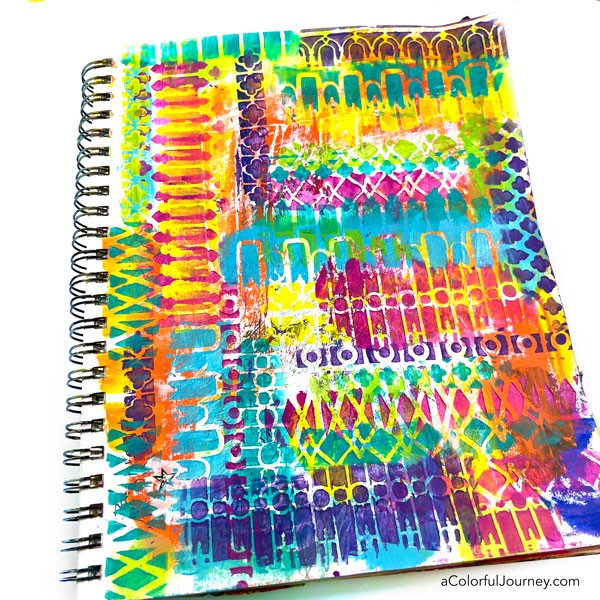
You don’t have to use a gel plate to layer these stencils. This start to an art journal page was done with acrylic paint and cosmetic sponges. Any way you like to stencil, you can stencil with these.
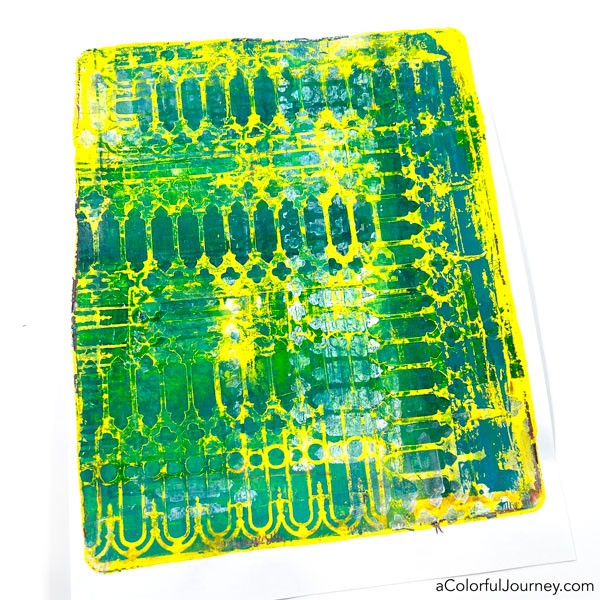
By changing up your colors, you get different looks. On the earlier gel prints, I used the entire rainbow. But here I used just a few colors.
Along with colors, you can vary the number of stencils used. In the yellow print, I primarily used just two of the Wrought Iron stencils. There are an infinite number of possible ways you can combine these patterns! True, I haven’t counted to infinity, but for all practical purposes, there’s no limit!
Is this everything you can do with the Wrought Iron collection? Absolutely not! The sky is the limit and I’ve got so many more ideas and tutorials in the pipeline for you with these stencils, so be sure to get signed up for my weekly newsletter to be in the know! Not only will you get a new free download each week, but you’ll also get creative encouragement and inspiration too!
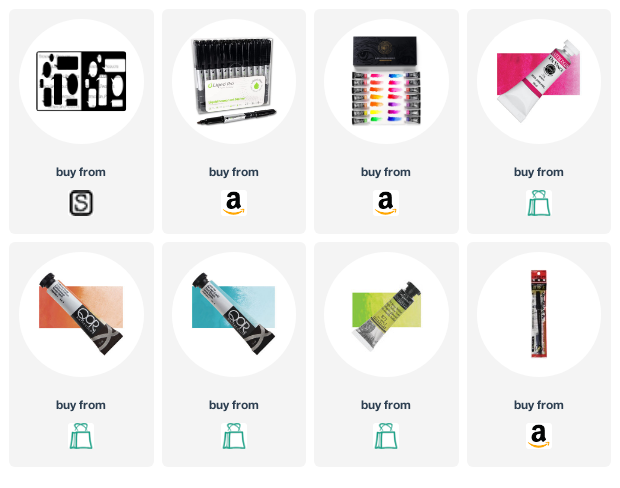
Supplies
Here are the supplies used for the prints in the video. Some of these links may be affiliate links which means I get a small percentage and it doesn’t cost you anything extra! And you get a really good feeling knowing that you are helping keep the free tutorials coming!
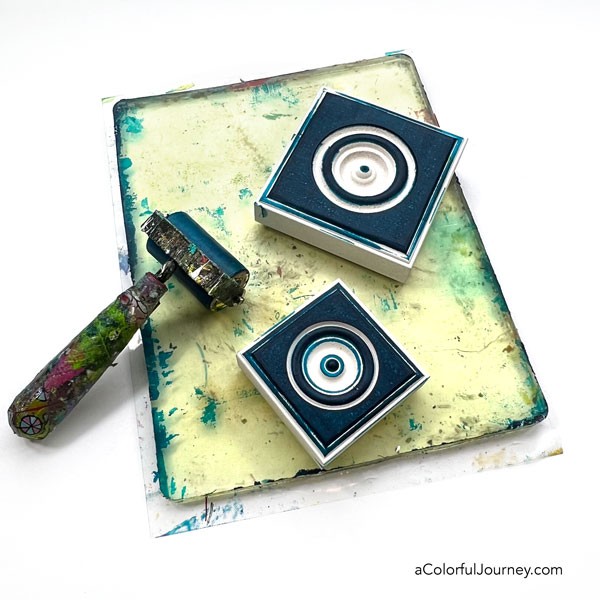
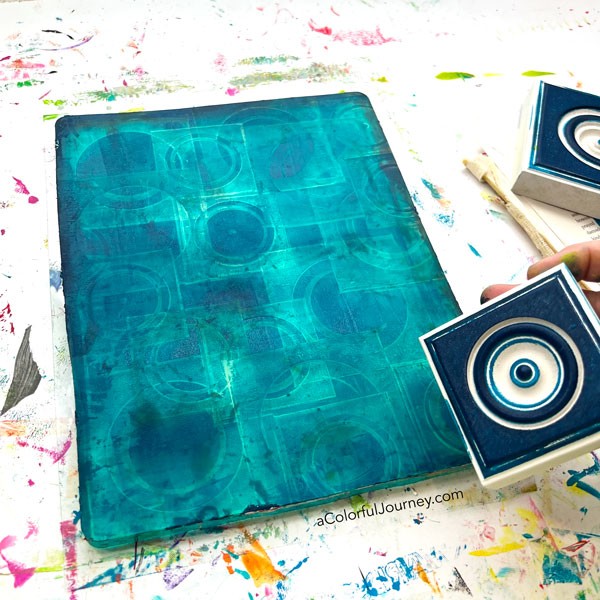
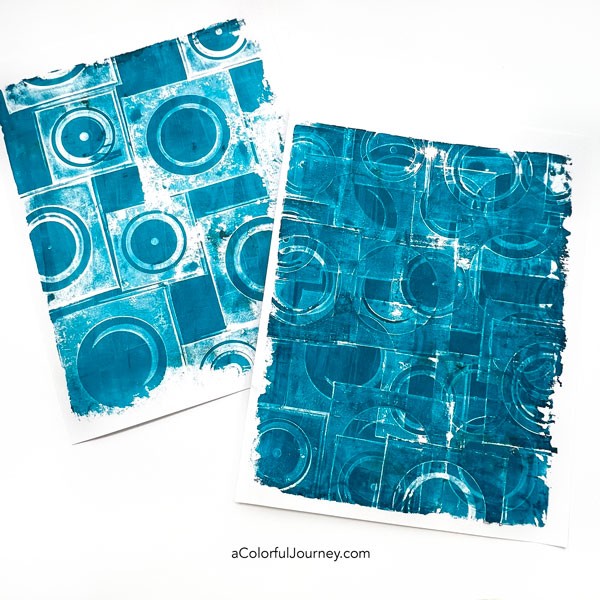
Yup, I’ve been trolling the hardware store for printing goodies again! The moment I saw these shapes I knew I had to try them on a Gel Press plate! I was blown away by the prints these made and with just one layer!
What are these pieces of wood that I’m using called? No idea, I just grabbed them from the shelf and raced home to play with them! They are found in the molding and trim section and only could a couple of bucks.
***Update – Shout out to Marilee and Sharyl for letting me know they are called corner blocks!***
Use the wood shapes just like stamps. As a bonus these are ones you don’t have to clean and they are a whole lot cheaper than actual rubber stamps!
When you use a thin layer of paint, it means there is less likelihood of getting a ghost pull. That’s what happened on both of the prints in this video.
One of the joys of gel printing is that you have the freedom to make the prints you want in the style you want! There is something that I love about each of these, so I’m going to be making more of both! This is just the tip of the iceberg of prints you can make on a gel plate!
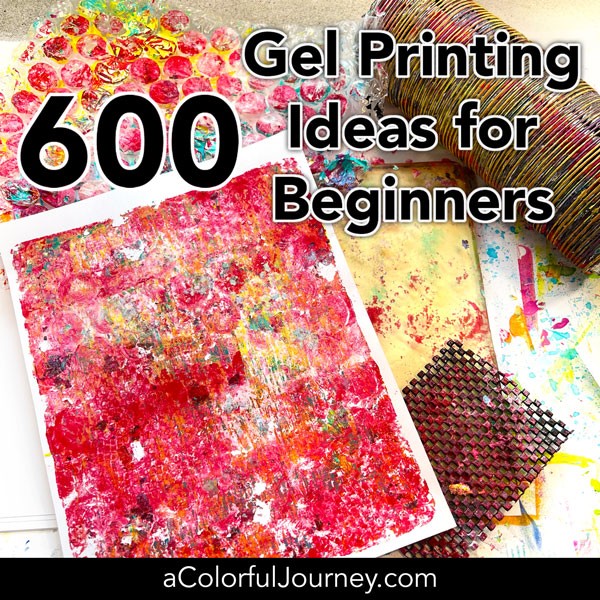
If you’re getting started gel printing and want some ideas for making prints, I’ve got 600 of them for you in a video! And a printable reference guide for you too! Just use this link to let me know the email you want it sent to and the computer elves will take care of the rest!
Here are the supplies used. Some of these links may be affiliate links which means I get a small percentage and it doesn’t cost you anything extra! And you get a really good feeling knowing that you are helping keep the free tutorials coming!
***On the paper link, make sure it’s the 90lb white cardstock- the Amazon link is being persnickety for some reason!***
This website uses cookies to improve your experience while you navigate through the website. Out of these cookies, the cookies that are categorized as necessary are stored on your browser as they are essential for the working of basic functionalities of the website. We also use third-party cookies that help us analyze and understand how you use this website. These cookies will be stored in your browser only with your consent. You also have the option to opt-out of these cookies. But opting out of some of these cookies may have an effect on your browsing experience.
Necessary cookies are absolutely essential for the website to function properly. This category only includes cookies that ensures basic functionalities and security features of the website. These cookies do not store any personal information.
Any cookies that may not be particularly necessary for the website to function and is used specifically to collect user personal data via analytics, ads, other embedded contents are termed as non-necessary cookies. It is mandatory to procure user consent prior to running these cookies on your website.