
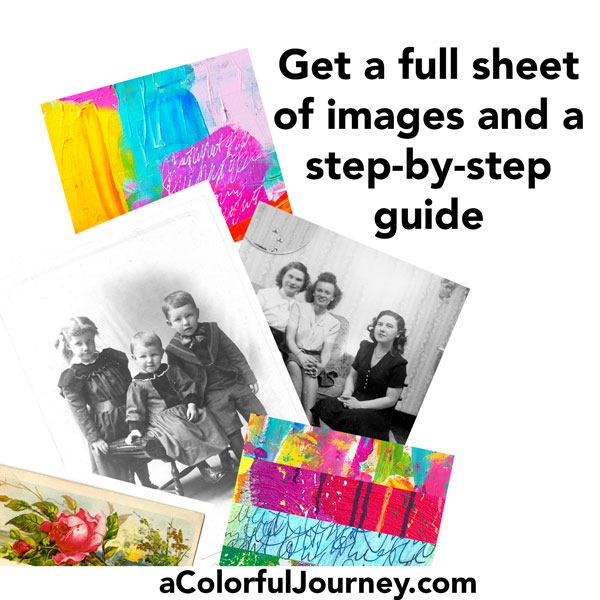
What if you could transfer a pattern, design, or image onto a stretched canvas and then paint on top of it? You can with InkAid! As part of the process, you’ll see how to seal an image transfer and give it a matte look.
The InkAid process is used to transfer the image onto the stretched canvas. If this is your first time doing an InkAid image transfer, you might have some questions about so I’ve made a video guiding you through the entire process of making your first InkAid transfer step-by-step. There’s also a free downloadable guide there as well.
To seal or not to seal, that is the question.
Do you have to seal your image transfer? Nope, it’s personal preference. The big benefit of sealing it is that you can add layers of paint on top of it without anything smearing. In the video, I show you the difference sealing makes so that you can decide if you want to seal it.
If you choose to seal it with gel medium, the two key things are to use as little pressure as possible and to take as few “swipes” at it as possible. Using pressure or working it over and over will lead to some smearing.
How a transfer behaves if it’s sealed or not sealed
If it’s sealed, then you can add paint or watercolor or other mediums on top without any smearing. If it’s not sealed, then it can smear the image. On unsealed image transfers, if you use as few brushstrokes as possible and very light pressure you can do it somewhat without any smears. The video shows this better than my words express it.
Sealing it will make it matte.
There is a bit of shine to the image transfer once it’s dry. If you want a matte look, then seal it with a very thin layer of matte gel medium. That is my go-to way of doing it but it’s not the only way. You can also use a matte spray sealer. The key is for whatever you’re using to be matte. They both do the job, so it’s personal preference. The drawback to me of the spray is the odor and that I have to do it outdoors.
This canvas was sealed, so once the gel medium was dry, it was time to add some color! Having the image transfer on there made it almost like a paint by number- all I did was fill in the open spaces. Okay, technically not a paint by number since there were no numbers, but you get the idea.
Thinking about doing an InkAid image transfer? I’ve got a step-by-step printable guide as well as images for you use and it will get you signed up for my weekly newsletter, that has a new printable in it each week!
Want to see more image transfer ideas, then check out all my videos about InkAid here.
Supplies
Some of these links may be affiliate links which means I get a small percentage and it doesn’t cost you anything extra! And you get a really good feeling knowing that you are helping keep the free tutorials coming!

Thank you so much for years of wonderful instruction. You are so generous with your talent and time, I finally want to tell you how much I appreciate all your effort.
Sincerely,
Denise
Great tutorial, Car0lyn. Thank you for sharing this. And, for the link to the step by step process