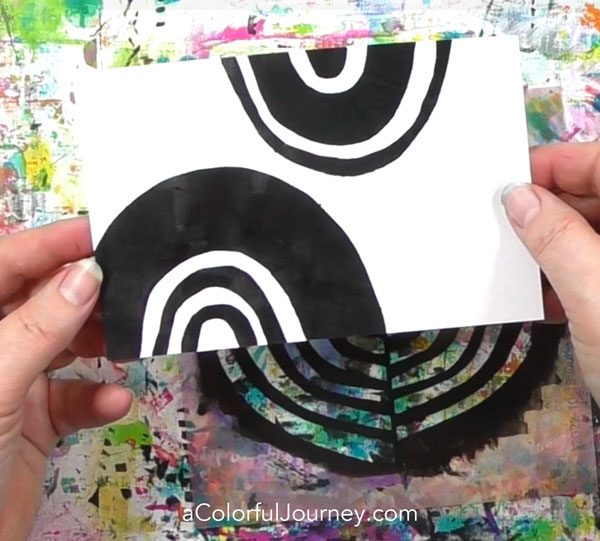
There’s a secret to the Reflecting Rainbows stencil. Each half is a mask for the other half with just a flip of the stencil. How does that work? It’s easier to see than read, so in the video, I’m sharing how I build a rainbow. Plus, there’s something that took me surprise about that stencil! And in there you’ll also all the other stencils I’ve just released at StencilGirlProducts!
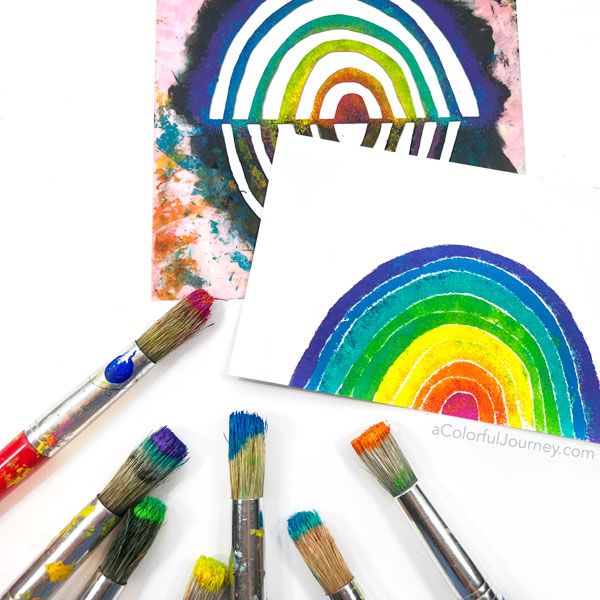
You can start with either side of the Reflecting Rainbows stencil and use any color combination you want. Here is a break down of the colors that I used.
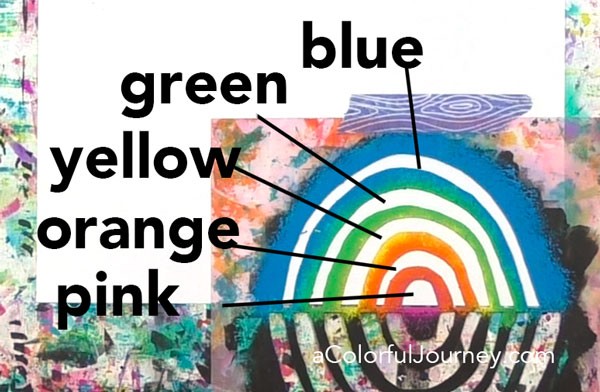
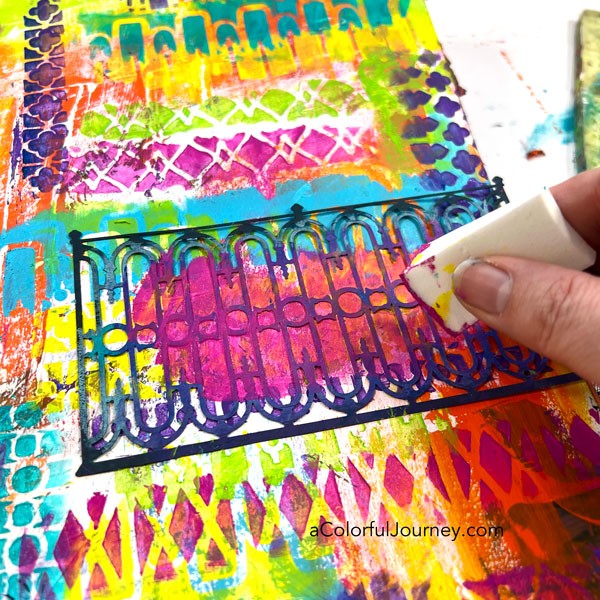
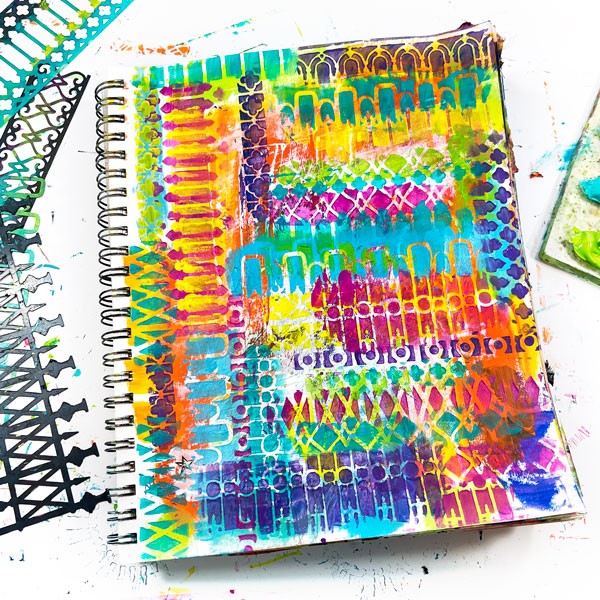
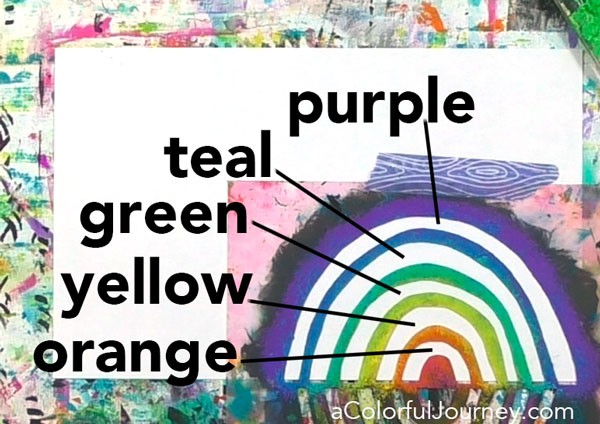
After putting the color on the first layer, flip the stencil. Then position the stencil so that it masks off, or covers, the paint you just added. Now you’re ready to add the second layer of colors.
Here’s what I used for the second layer, and again, you can use any colors that call to you! Have fun trying it with just 2, 3, or 4 colors!
You’ve got the freedom and flexibility to do a two layer rainbow or a single layer but it can also create something else.
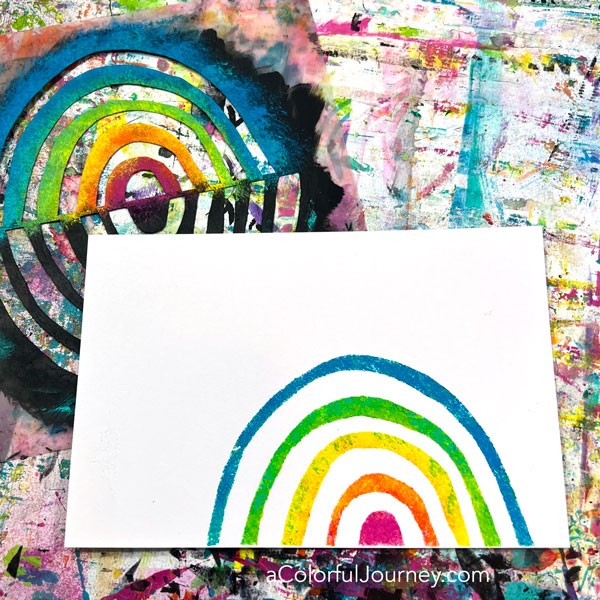
Abstract rainbows. By tucking the paper above and below the various arcs on the stencil, you can change the width of a bow and the number of bows to create your own abstract rainbow! This opens up even more options for how to use this stencil!
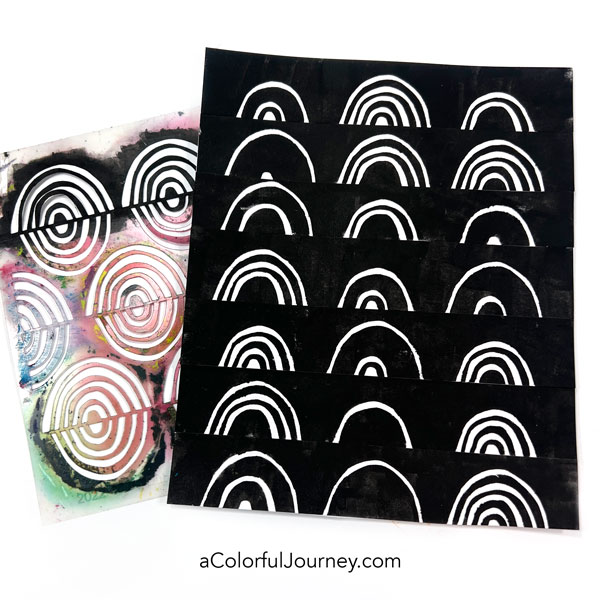
The Rows of Reflecting Rainbows stencil can be used in a similar way. Below is is a collection of different configurations I did on the end of index cards. Once the paint was dry, they were cut into strips and glued together.
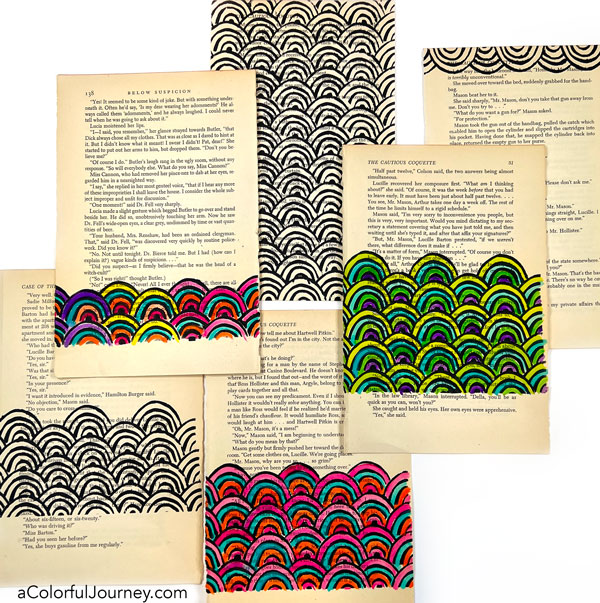
The scallop pattern variations below were all created using the Row of Reflecting Rainbows stencil and I’ll have video out soon sharing how to easily make these. If you’re already signed up for my newsletter, you’ll be in the know when the video is released. Not signed up yet? It’s easy peasy to get the weekly encouragement and there’s a free download in every newsletter.
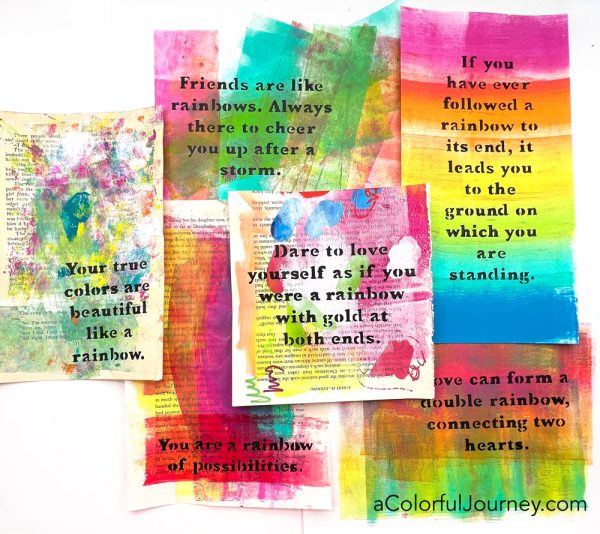
Rainbow Quotes is full of my favorite rainbow quotes, well, one is a song lyric. Thank you Cyndi Lauper!
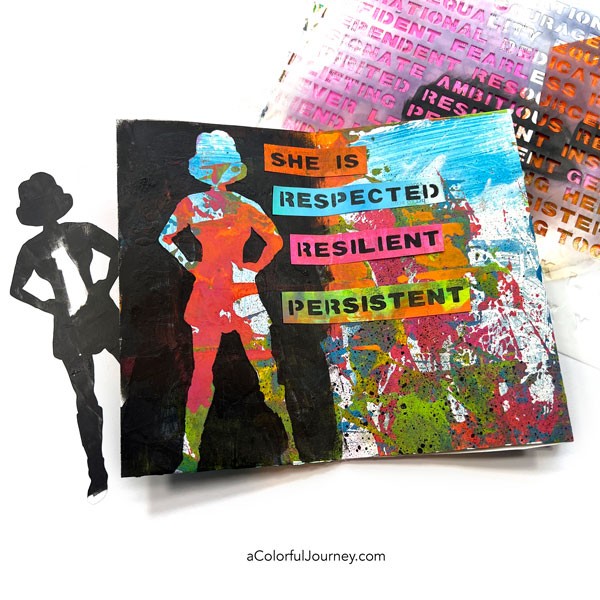
Strong Women includes the stencil and the three masks. The first silhouette represent the limitless imagination of childhood.

The second represents adulthood and putting on your cape and getting done everything that has to be done.
The third symbolizes the wise woman with her standing there with confidence, owning the wisdom she has earned through experience.
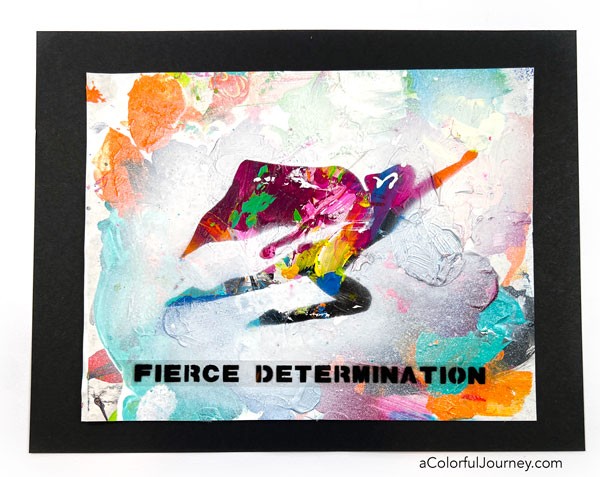
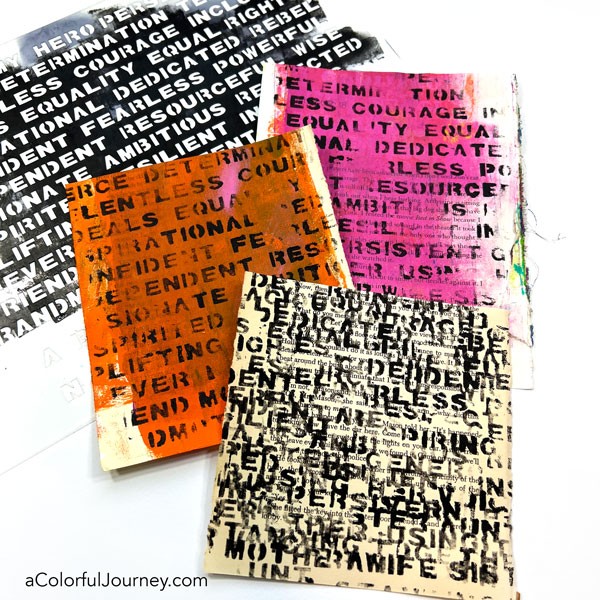
Heroic Words celebrates strong women. At the bottom of the stencil there is a matching alphabet so if you’d like to add a letter or two to a word (say turn hero into heroes) you can easily do that.
Not only do these make great words to add, like on the play above, but it also makes quick backgrounds by just using parts of the words or overlapping words.
You can find these, and all of my stencils at StencilGirlProducts.com.
This is all just the tip of the iceberg for how you can use stencils. If you’re ready to dive deeper then check out my workshop, The Joy of Stenciling.
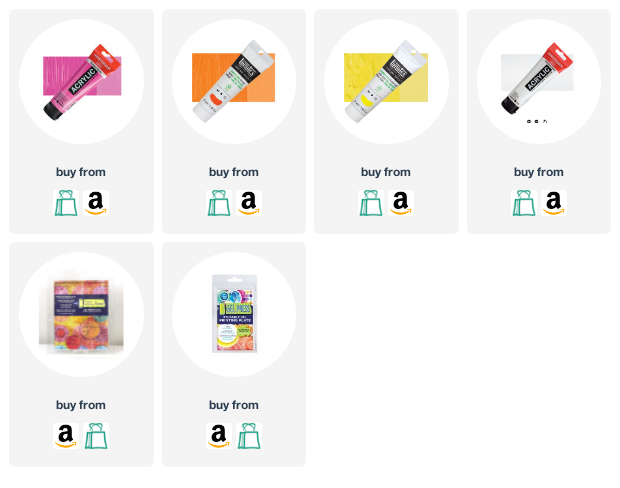
Paint Used to Make the Rainbow
Some of these links may be affiliate links which means I get a small percentage and it doesn’t cost you anything extra! And you get a really good feeling knowing that you are helping keep the free tutorials coming!
The orange I used is mixture of two Amsterdam colors: the orange and yellow below.