≡ Menu

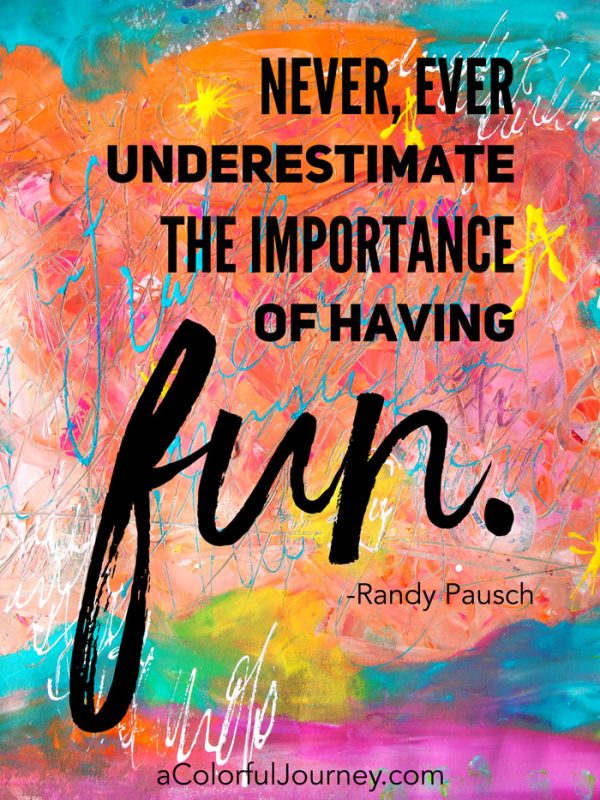
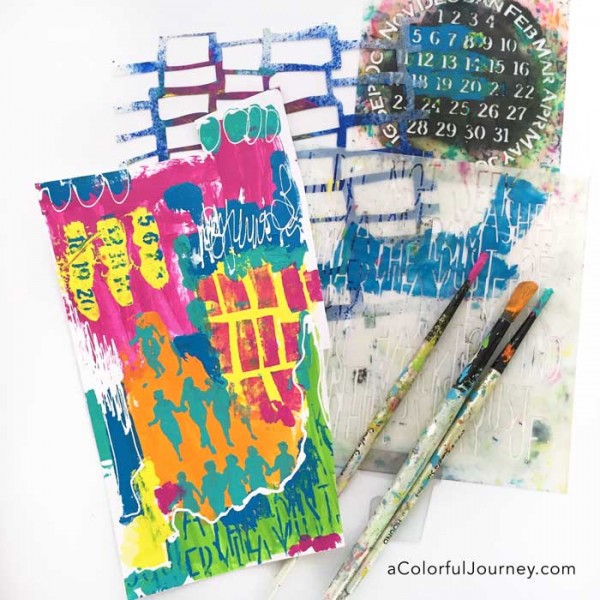
O.O.P.S.!  I put way too much paint on my palette for my last project.  Not a mistake.  Not a fail.  It won’t be wasted because it is just an Outstanding Opportunity Presenting Suddenly for more play with stencils!

I even turned this one into a free Spark of Art-spiration…so you can play too!  You can have it sent to your inbox- just use the button at the end of this post.  If you are already signed up…this spark came to in the last newsletter- so you already have it ready to go!

Watch Stencil Play With Leftover Paints on YouTube.

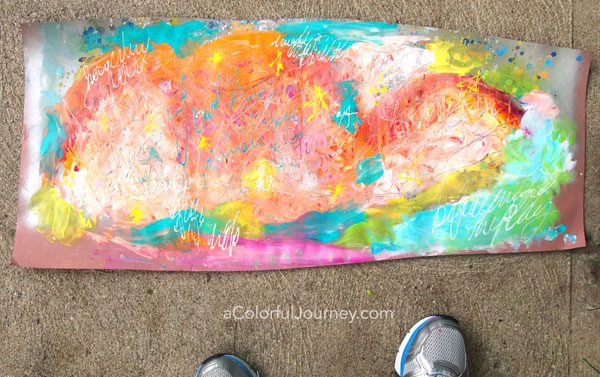
Twist my arm to force me to play.  I grabbed a scrap of paper nearby and started randomly using up that paint.

stencling-with-wet-paint-carolyn-dube-2

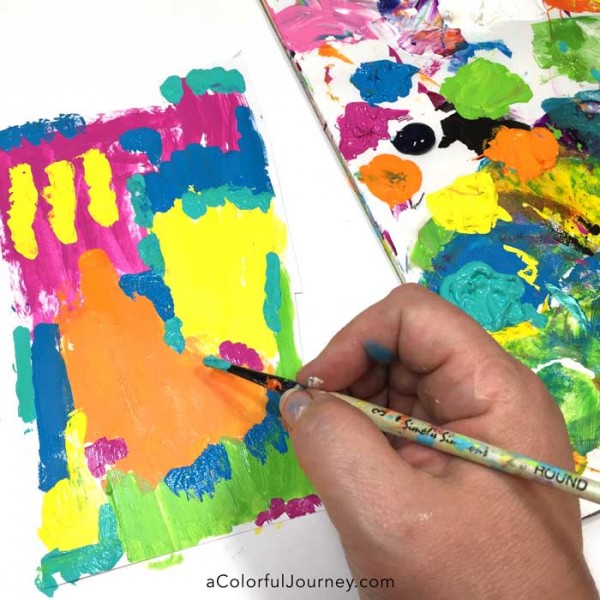
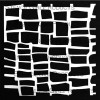
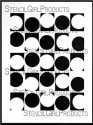
Brick and Mortar by Mary Beth Shaw was calling to me. Since I’m using up paint, I was very generous with how much paint I used.  That increased the risk of paint running under the stencil and that is just what I wanted for this imperfect and messy play.

stencling-with-wet-paint-carolyn-dube-4

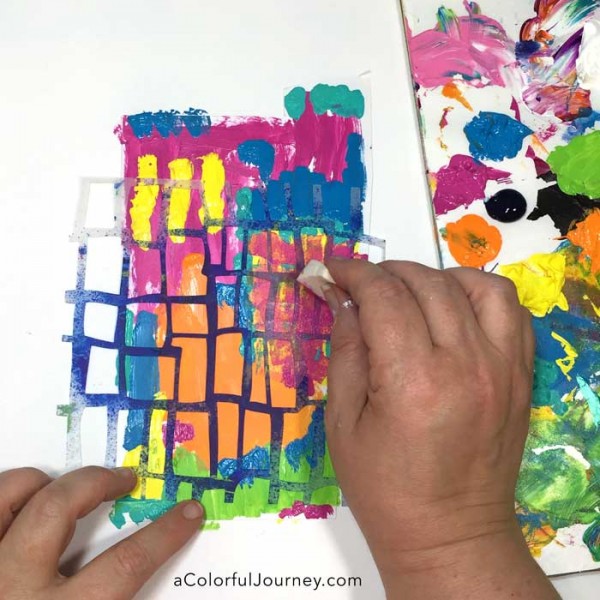
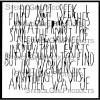
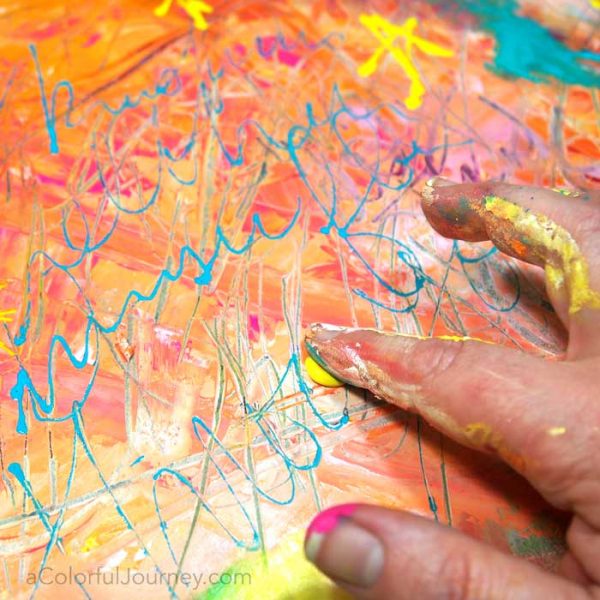
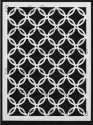
I wanted fine lines of blue on the green so my Picasso’s Words stencil did just the trick.  One thing I love about stenciling is that you can work around irregular shapes quickly.  I could see where the green was so I only added the blue there.

In the video, you can see how this works with both a clean and a dirty stencil.  Shockingly, I actually had a clean stencil which doesn’t happen very often!

stencling-with-wet-paint-carolyn-dube-5

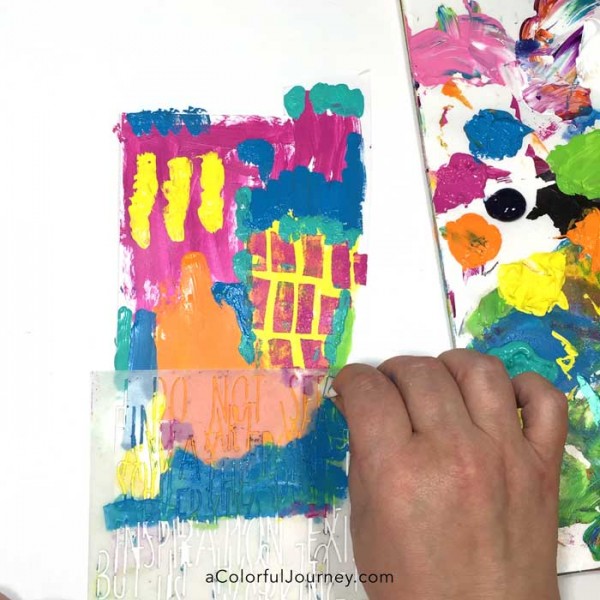
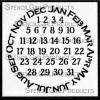
Those messy numbers were courtesy of using my Never Ending Calendar stencil on very wet paint.  You can actually see the suction of the super wet paint as I pull the stencil up in the video.

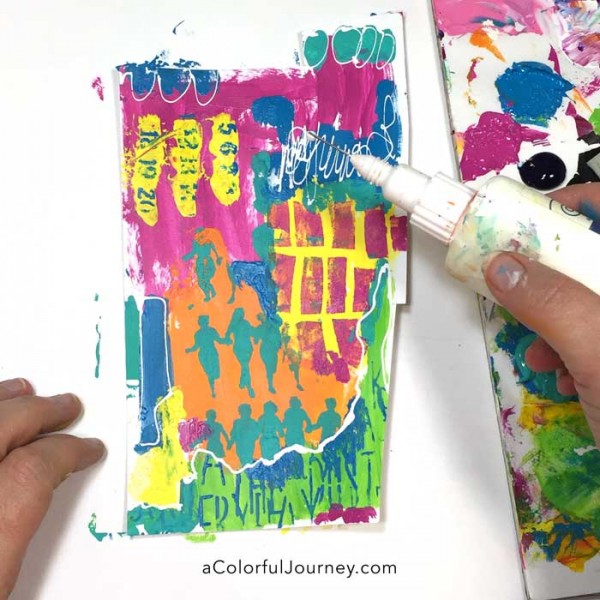
Since I refused to wait for anything to dry or use a heat gun to dry it, out came the fineliner for some writing.  If you’re new to fineliners, I have a video here that explains them in depth.

stencling-with-wet-paint-carolyn-dube-3

Would you like to add some pattern to this? I’ve turned the first stage of painting into a free downloadable Spark for you.  You can get it delivered to you here.

Yes, I want the free download!

Here are the supplies I used. Some of these links are affiliate links which means I get a small percentage. It doesn’t cost you anything extra and you are helping me keep this blog and my videos ad free! Thank you- I don’t like ads any more than you do!

{ 1 comment }
randy-pausch-quote-carolyn-dube-art

At a recent family gathering, I was asked what was the purpose of making art.  My answer, “Because it is fun.”  And that was enough of a reason for me.  You can guess that it wasn’t enough for him so I asked him why he played golf.  His answer, “Because he enjoyed it.”

At that moment, a light bulb went on for him.  He didn’t understand why color and paint was such fun for me but he could respect that it being fun was a valid reason for why I did it.

And fun was what I had as I smeared color all around an oversized piece of wonky paper.  It was my happy place filled with the excitement and mystery of seeing what would happen as I added layers.  When I had the impulse to add a star, I did that.  When I had the impulse to scribble write, I did that.  When I had the impulse to add hot pink, I did that.

smearing-paint-just-to-see-the-colors-move-carolyn-dube

Just as golf helps him relax and recharge, painting does that for me.  Especially finger painting.  The fact that it brings me happiness is more than enough reason for me to paint.

Whatever the reason is that you create, it is a valid reason because every reason is a valid reason.

smearing-paint-just-to-see-the-colors-move-carolyn-dube-2
{ 5 comments }
How to gel print right on the wall by Carolyn Dube

Time for a little home renovation, mixed media style.  I bought 5 gallons of house paint in the colors of the rainbow, grabbed a Gel Press monoprinting plate and started printing right on the walls.  Yes, I did it directly on the wall.  Slapping it right against the wall makes the most wonderful thwap sound!

Shockingly, there is an OOPS when I am printing at 2:12 minutes into this.  And I love that OOPS!

Watch How I gel printed on the wall on YouTube.

If you’re new to gel printing, I created a getting started video here and downloadable guide so you can have it right next to you as you’re printing.

Under that white paint, is the ivy lattice wallpaper from 20 years ago that has been starting to peel off at the edges in this guest bathroom.  But I never wanted to deal with it until I began to wonder if I could gel print directly on a wall.  Suddenly, I this bathroom redo I had been putting off became top priority.

So why didn’t I peel it all off before doing this?  That pesky prep work isn’t nearly as much fun as slapping a gel plate right on the wall so I just left the old wall paper up there and painted right over it. I have an idea for how I am going to deal with the peeling edges mixed media style in upcoming layers.

How to gel print right on the wall by Carolyn Dube

With gallon paint cans, it was easy to dip the brayer right in the color and get it on to the gel plate!  When I bought the paint, the woman next to me asked how many rooms I was painting with all these bright colors of Valspar paint.  The look on her face when I said all 5 were for the same room was priceless!

How to gel print right on the wall by Carolyn Dube

Here’s the wall with layer #1 on it.  Completely imperfect, just like one of my art journal pages.  This is an ongoing project that will have layer after layer added to it, just like an art journal page.

***Update- what became of the bathroom? Click here for the video and update***

How to gel print right on the wall by Carolyn Dube

Here are the supplies I used. Some of these links are affiliate links which means I get a small percentage. It doesn’t cost you anything extra and you are helping me keep this blog and my videos ad free! Thank you- I don’t like ads any more than you do!  The house paint is Valspar from the hardware store.


{ 30 comments }