Welcome! I’m Carolyn Dube – This colorful journey is all about the freedom of play!
Search My Blog
Search by Category
The Fine Print
Some of the links on this blog are affiliate links and I receive a small percentage. It doesn't cost you anything extra and helps keep all the free tutorials and videos coming! It's a win-win!
The website is copyright Carolyn Dube, and that is kinda common sense since this is my site.
As an Amazon Associate I earn from qualifying purchases.
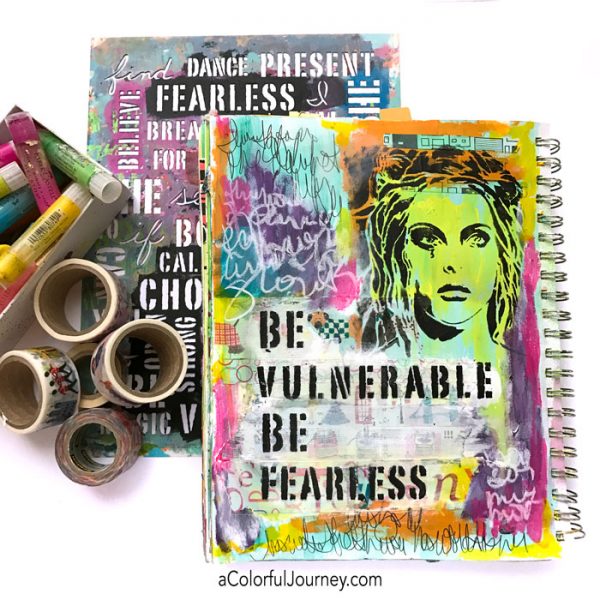
How do I make decisions when art journaling? Is it a scientific formula based on sound principles of physics and chemistry? Nope. It’s based on the theory of O.O.P.S., Outstanding Opportunities Presenting Suddenly.
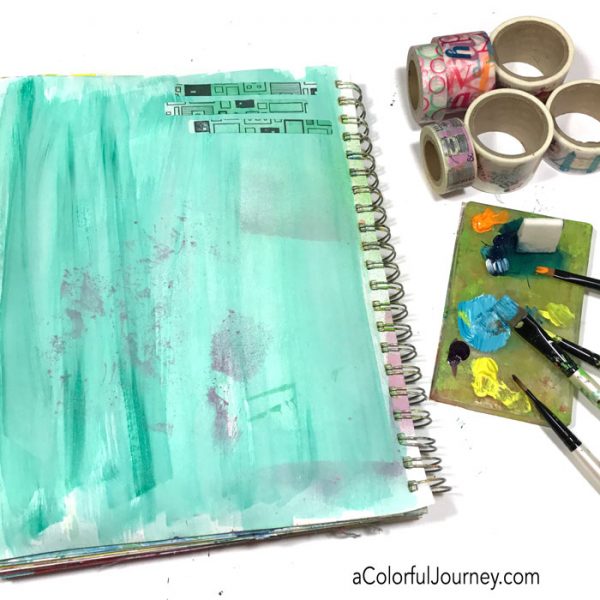
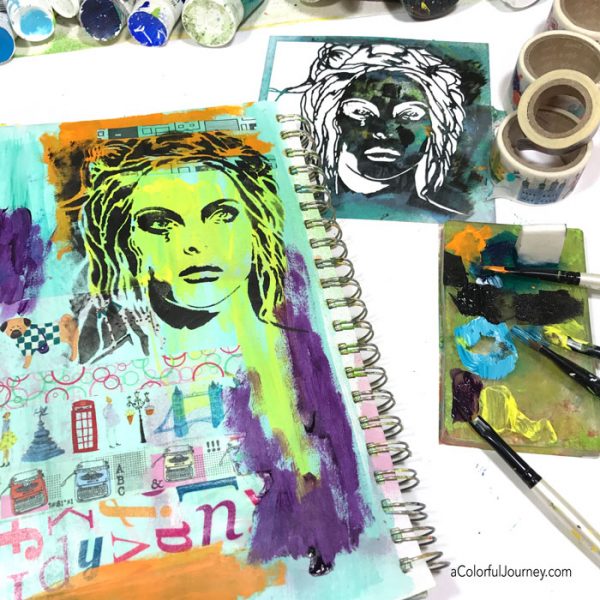
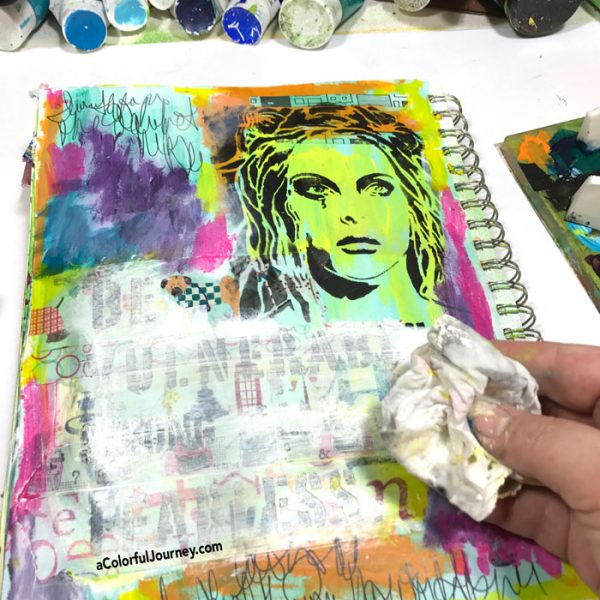
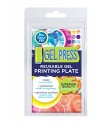
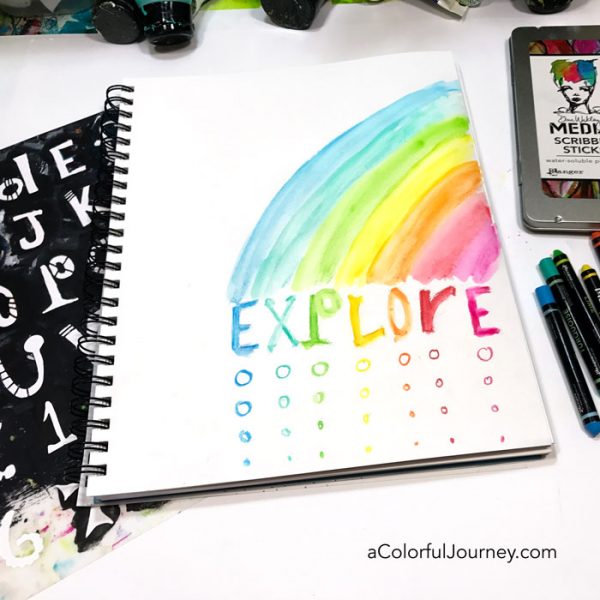
The background began as this aqua colored, very blah page in dire need to more color. Lots more color. Leftover paints on my palette (which was a Gel Press Plate) and the determination to use some of my hoarded washi tapes got the rainbow started.
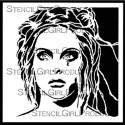
Strips of washi tape, randomly selected filled in the bottom, leaving just the perfect space for her to be stenciled.
O.O.P.S! I stenciled the words I wanted (with Uplifting Words) to match what was on my mind but it just wasn’t quite right, but every O.O.P.S. is an Outstanding Opportunity Presenting Suddenly. No idea what the opportunity was in that moment, so I stepped away from it and went on to adding more color with Gelatos.
A bit of white paint and a baby wipe was just what was needed. Baby wipes are the duct tape of art journaling!
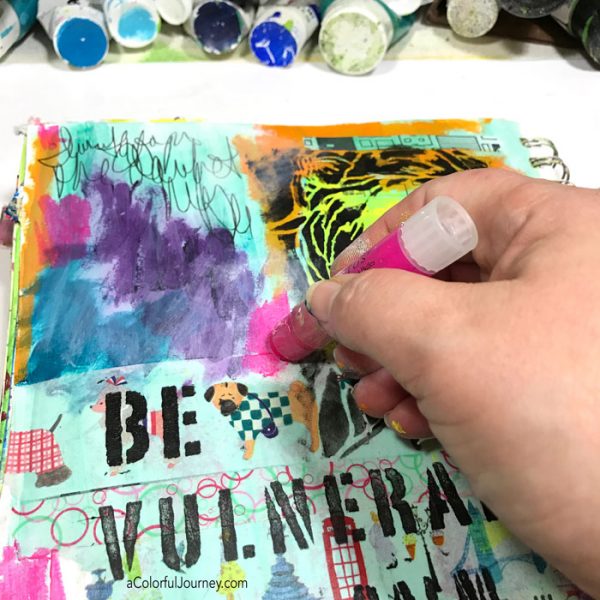
It was easy to restencil the words. But this time, I changed it up a bit using slightly different words and it captured the feelings far better than the first time.
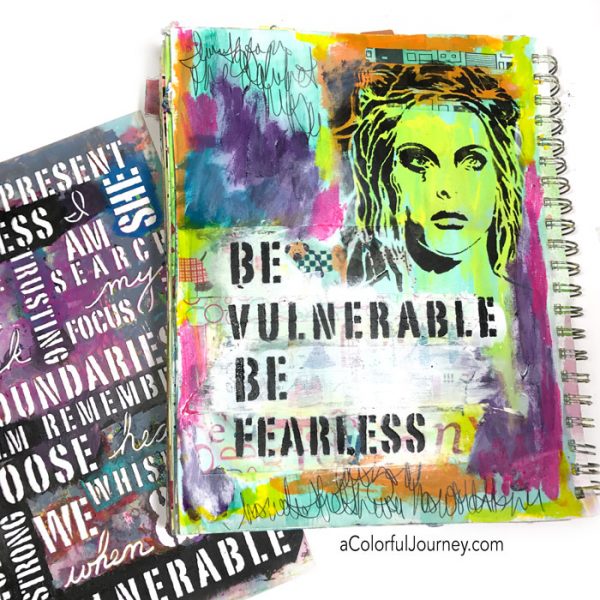
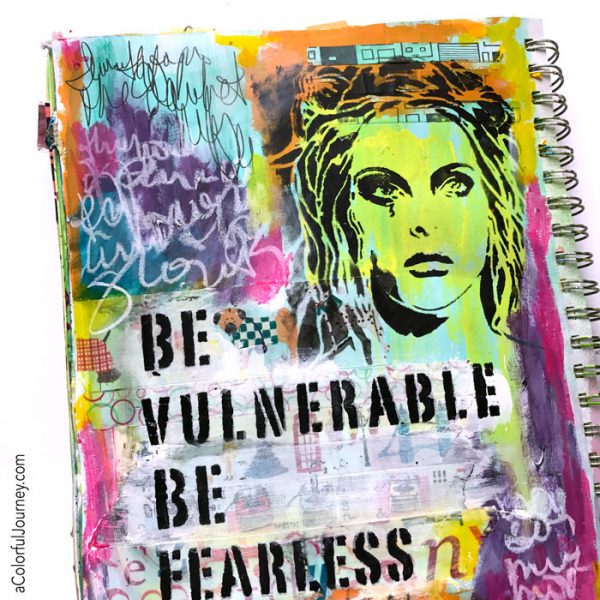
The final step was getting some journaling on there to capture my thoughts. And with the shade of her skin, you better believe there was scribble journaling about Wicked in there!
Here are the supplies I used. Some of these links are affiliate links which means I get a small percentage. It doesn’t cost you anything extra and it helps keep the free tutorials coming!
How do I find the meaning in my art journaling? It isn’t always logical. That random “t” on the bottom of the page would lead me to Marilyn Monroe when I expected to use a Henri Matisse quote. Along the way for bonus fun, I was able to annoy that logical left brain of mine and that makes everything even more fun!
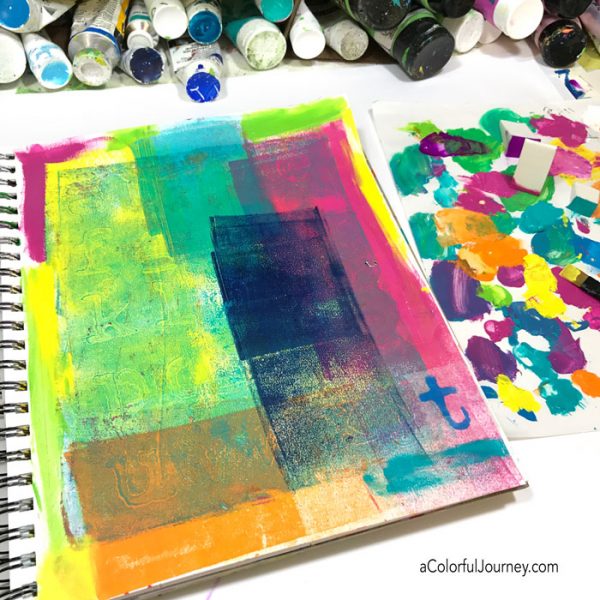
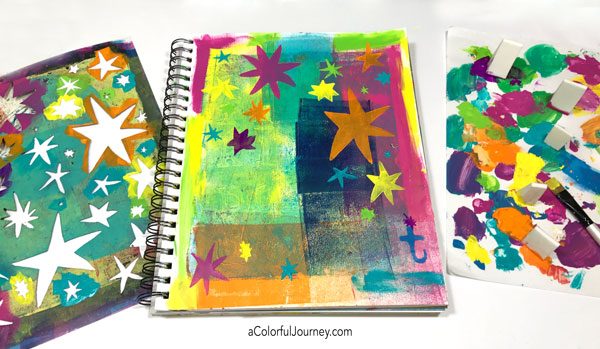
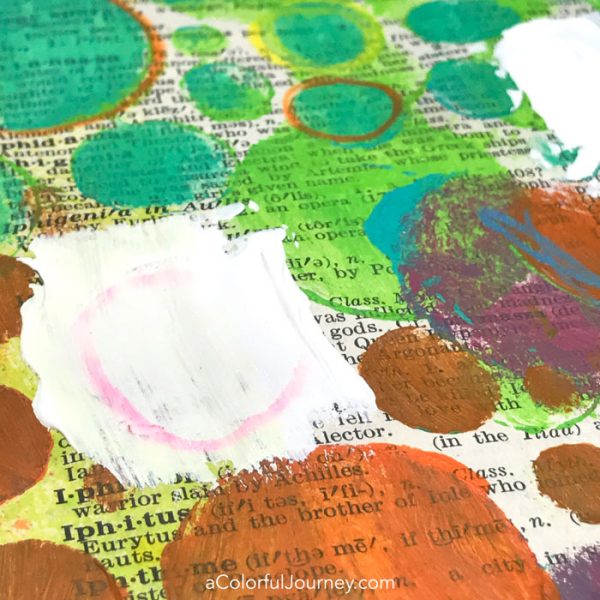
Backgrounds are often the result of cleaning up my supplies. This page came about when I was gel printing and instead of using a scrap of paper to clean the brayer off or take the last ghost pull, I did it directly into my journal.
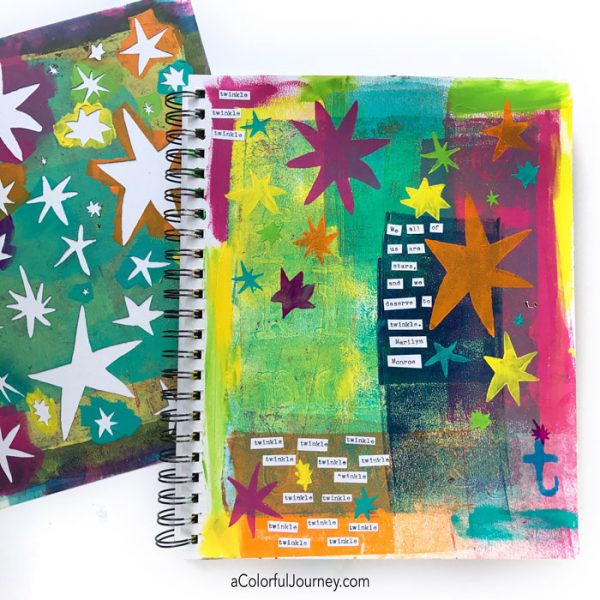
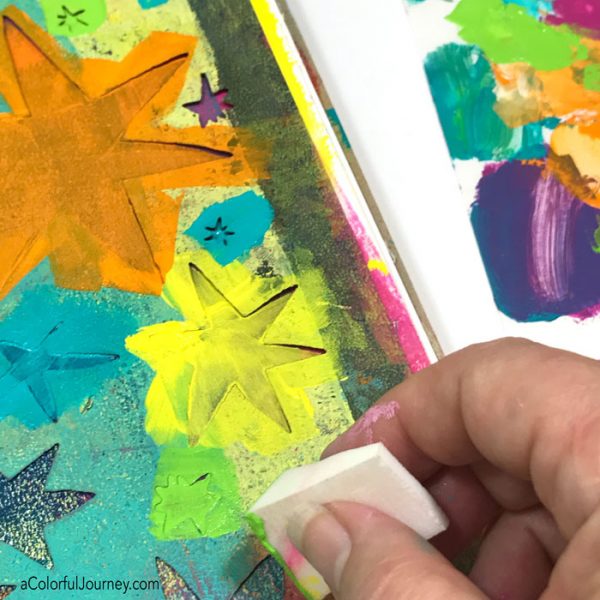
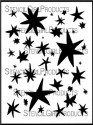
As I stenciled Stars Inspired by Matisse on the page with the rainbow, the logical left part of my brain had a bit of fit. I was using lots of paint and not being very careful about it.
Logical leftie was sure it was going to be a runny mess. But since I was using heavy body paints, which are wonderfully opaque and help colors pop on a background, it turned out just fine.
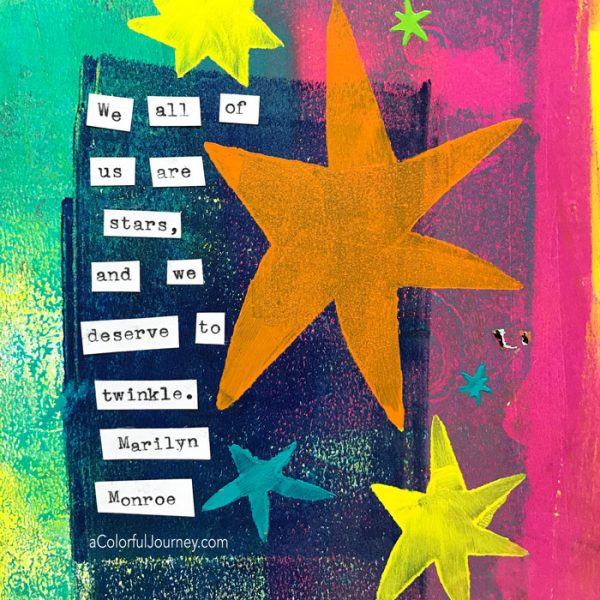
That random “t” at the bottom along with stars had me singing Twinkle Twinkle Little Star as I looked for just the right quote to put on here. I expected it would be a Matisse quote, but nope.
It was Marilyn Monroe’s, “We all of use are stars, and we deserve to twinkle.”
If some twinkle is good, then more is better, so I added the word twinkle all over the bottom and a few at the very top. Marilyn is right, we all do deserve to twinkle!
Here are the supplies I used. Some of these links are affiliate links which means I get a small percentage. It doesn’t cost you anything extra and it helps keep the free tutorials coming!
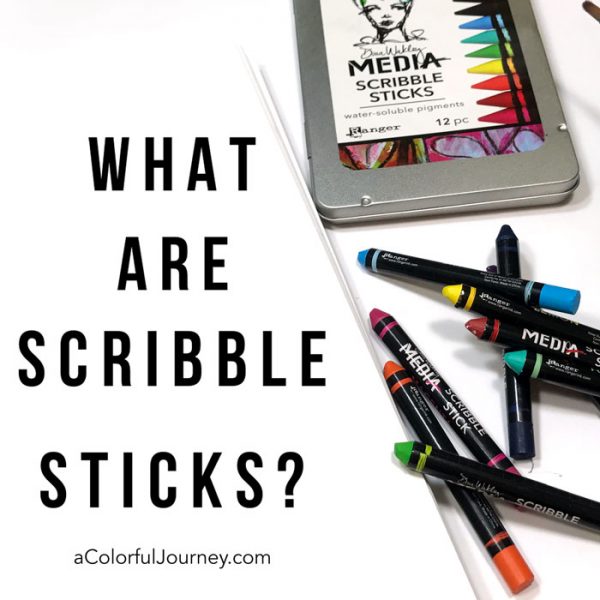
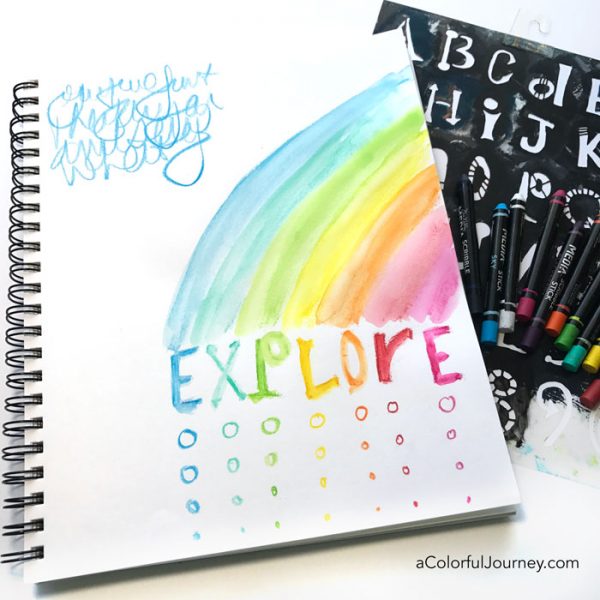
What are Scribble Sticks? Inquiring minds want to know! Are they like a crayon or a colored pencil or a watercolor or an oil pastel? Will they work on dark colors? Will they react to water? Will they bleed through paint? This is what I set out to learn as I played around with Scribble Sticks in my art journal.
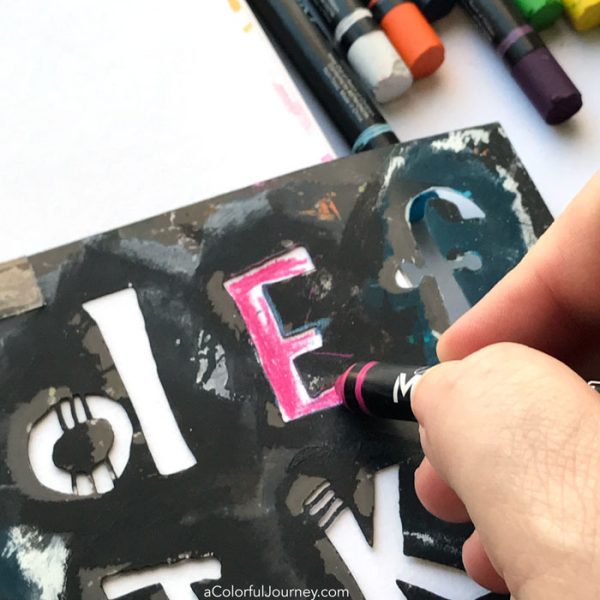
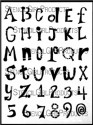
Can they work with stencils? Yes indeed they can! There is a trick to making sure words are lined up on the edge, start at the end and work backwards, as I did here with my Ransom Alphabet stencil.
The color reacts to water so a cup of plain water and brush easily turned what looked like colored pencil into vibrant watercolors, even on a regular art journal page. No gesso involved. The Scribble Sticks also could do a crisp lines and details.
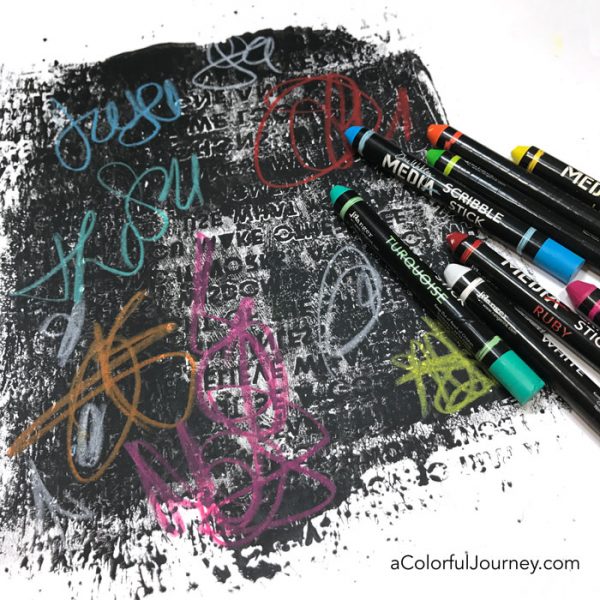
What about over dark colors? This clean up print from gel printing with my Wall of Words stencil was just the right scrap to test this out. All the colors stood out on black, including white. Something white that writes over paint…be still my heart. But this paint was very matte, would these write on a glossier paint?
So I had to try that out on another gel printing scrap. They wrote just as well on the slicker, more glossy paint. But what about bleeding? A thick coat of white paint was added on top of some of the colors. The pink bled through big time but the other colors not much.
All the white space on this art journal page couldn’t stay totally white. A touch of scribble journaling finished it off. Since Scribble Sticks don’t smear unless wet, my hand did not smear what I had written, which a great feature for art journalers!
Here’s what I learned from my play with Scribble Sticks:
They write easily over paint.
All the colors write over black, including white.
They react quickly and completely with water to be a vibrant watercolor.
They write like a colored pencil and won’t smear if you keep them dry.
Some of the colors bleed through paint.
They work nicely with stencils.
Here are the supplies I used. Some of these links are affiliate links which means I get a small percentage. It doesn’t cost you anything extra and it helps keep the free tutorials coming!
This website uses cookies to improve your experience while you navigate through the website. Out of these cookies, the cookies that are categorized as necessary are stored on your browser as they are essential for the working of basic functionalities of the website. We also use third-party cookies that help us analyze and understand how you use this website. These cookies will be stored in your browser only with your consent. You also have the option to opt-out of these cookies. But opting out of some of these cookies may have an effect on your browsing experience.
Necessary cookies are absolutely essential for the website to function properly. This category only includes cookies that ensures basic functionalities and security features of the website. These cookies do not store any personal information.
Any cookies that may not be particularly necessary for the website to function and is used specifically to collect user personal data via analytics, ads, other embedded contents are termed as non-necessary cookies. It is mandatory to procure user consent prior to running these cookies on your website.