≡ Menu

There were so many OOPSies on this page that started by randomly collaging scraps...the rubber stamping OOPS, the ugly pink OOPS, and more! Video by Carolyn Dube
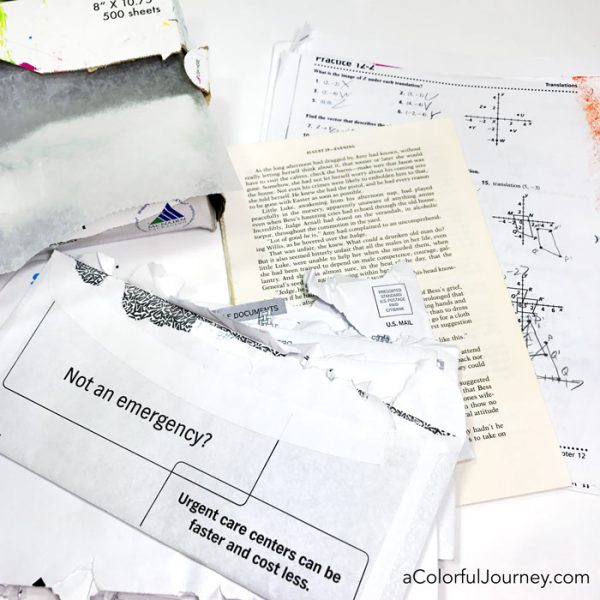
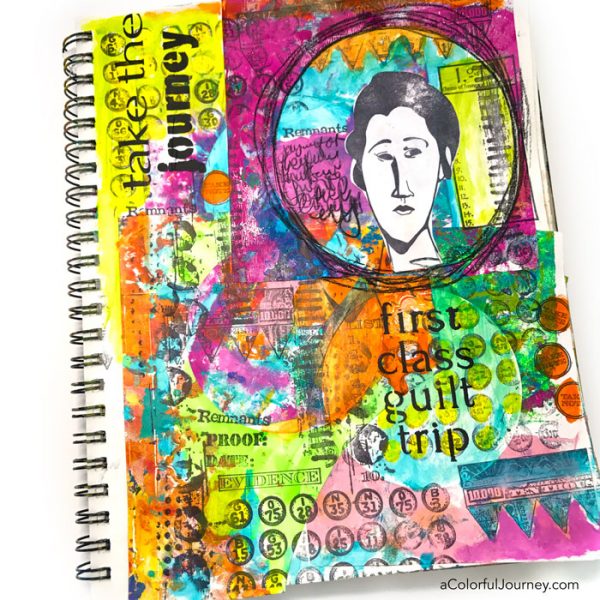
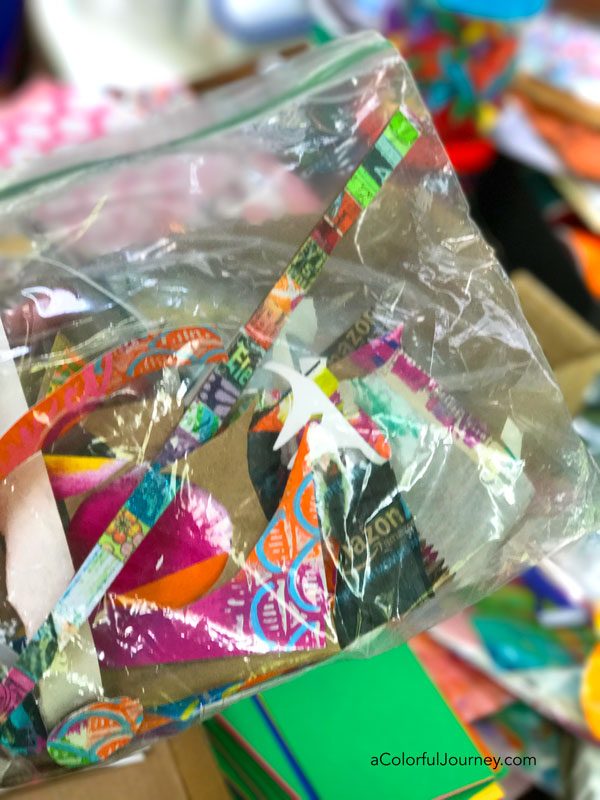
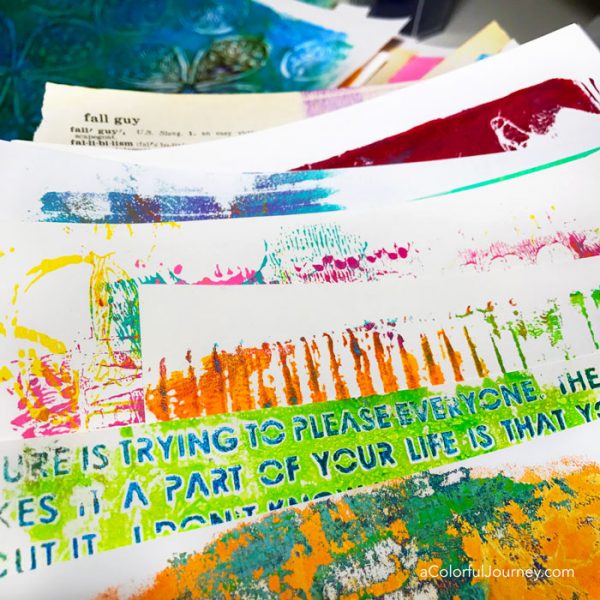
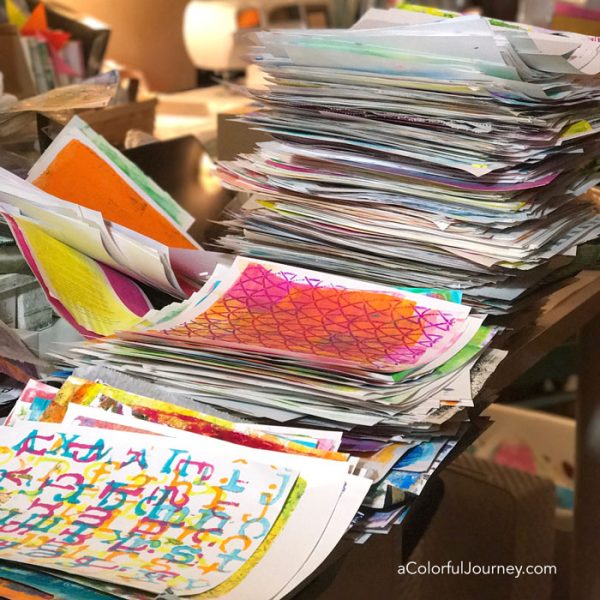
Treasures were used to create this art journal page.  Were these expensive treasures?  Nope. Would they be considered trash by many? Yes!  These treasures were a bag of scraps of paper that I had been saving in my studio for a very long time that I decided was time to use them or lose them courtesy of the recent studio purge from my last post.

In the video, you’ll see this bag of treasure then my rubber stamping OOPS and then the pink paint OOPS.  Plenty of OOPSies in this one!  But all those Outstanding Opportunities Presenting Suddenly turned out to be just what I needed for the page…especially the pink rectangle I detested!

Watch The Ugly Pink Rectangle OOPS in my Art Journal on YouTube.

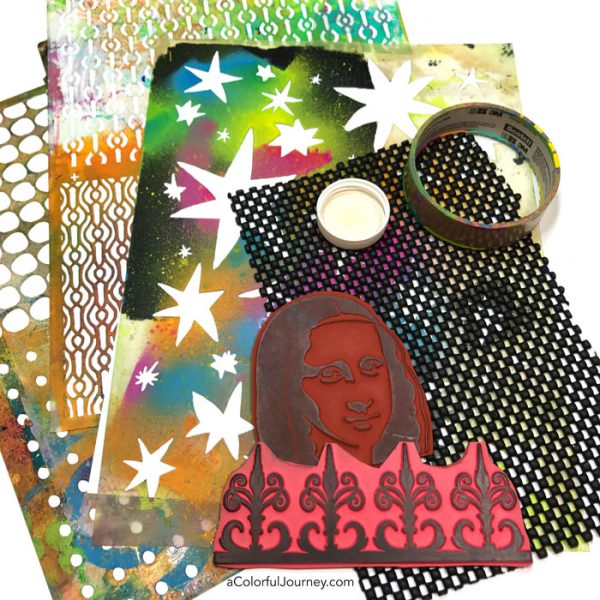
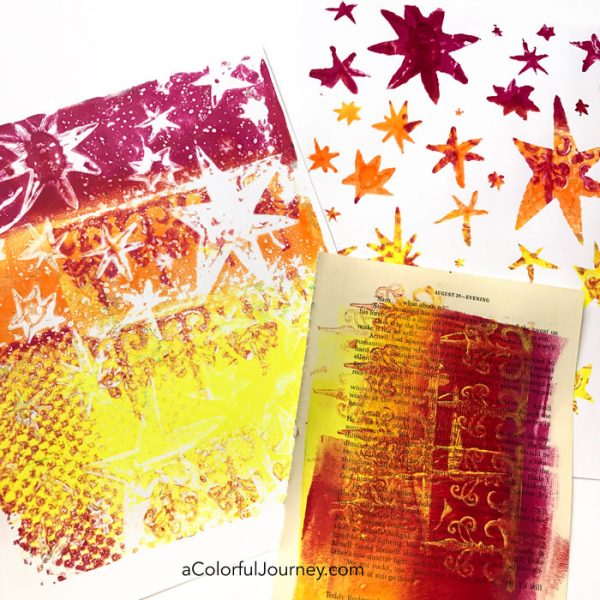
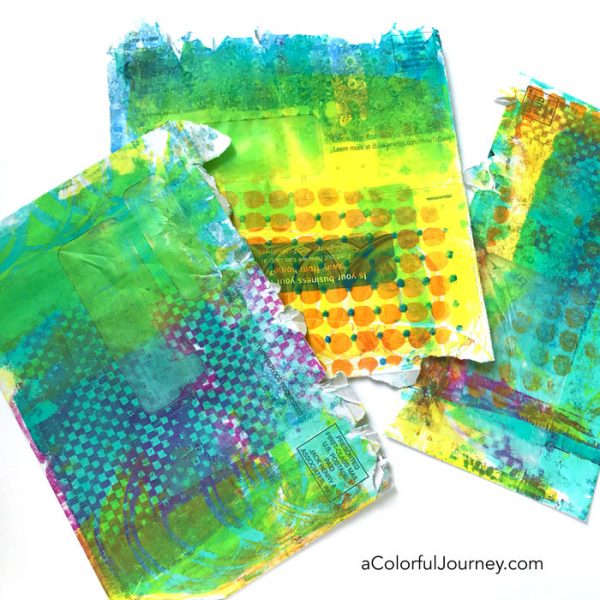
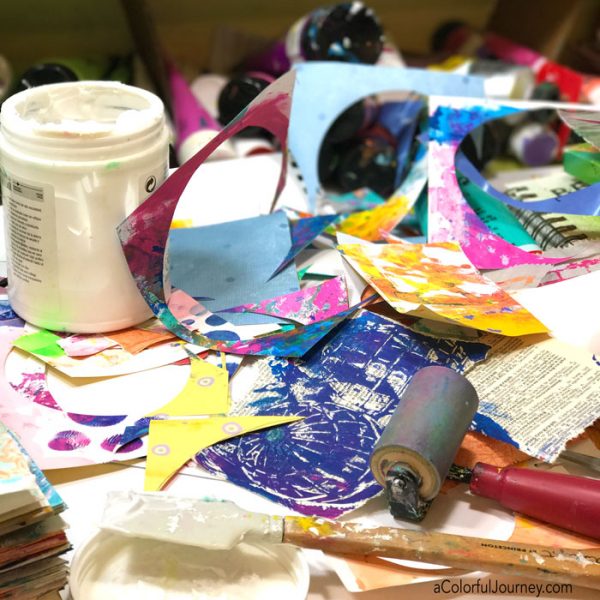
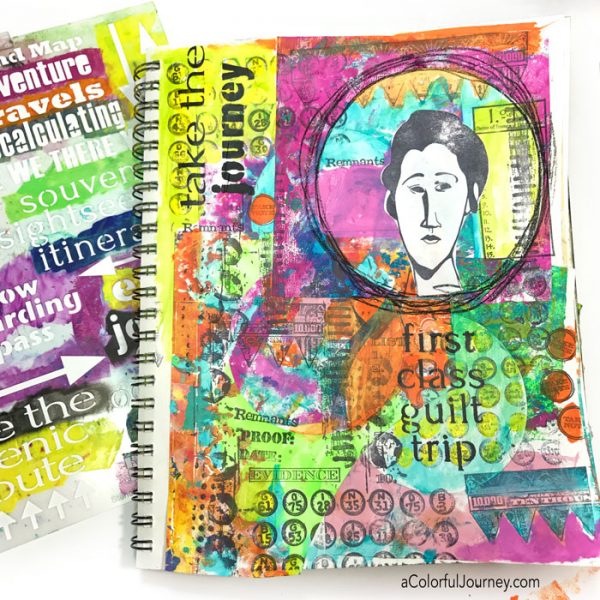
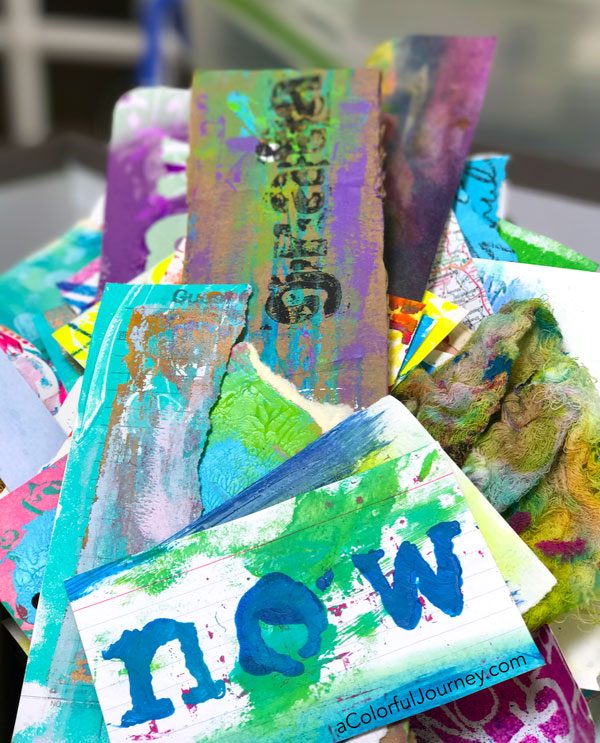
Doesn’t this all look like treasure? These scraps of gel prints from die cutting, a favorite stenciled image on book text, and more!  No idea why a bag of this looked like trash to my husband.

There were so many OOPSies on this page that started by randomly collaging scraps...the rubber stamping OOPS, the ugly pink OOPS, and more! Video by Carolyn Dube

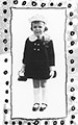
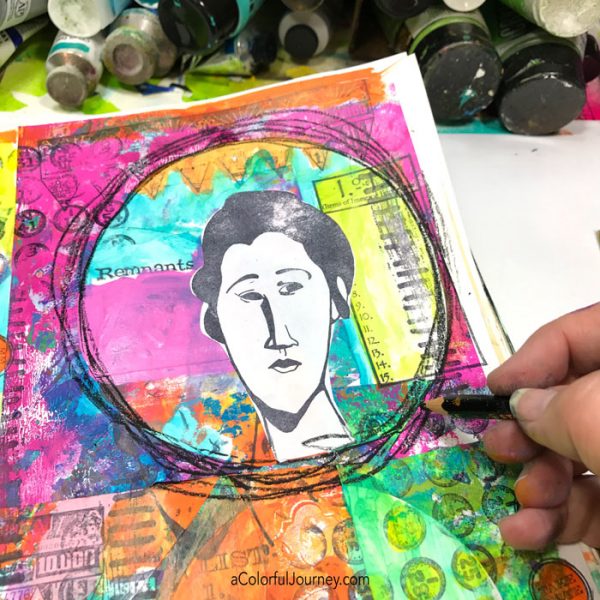
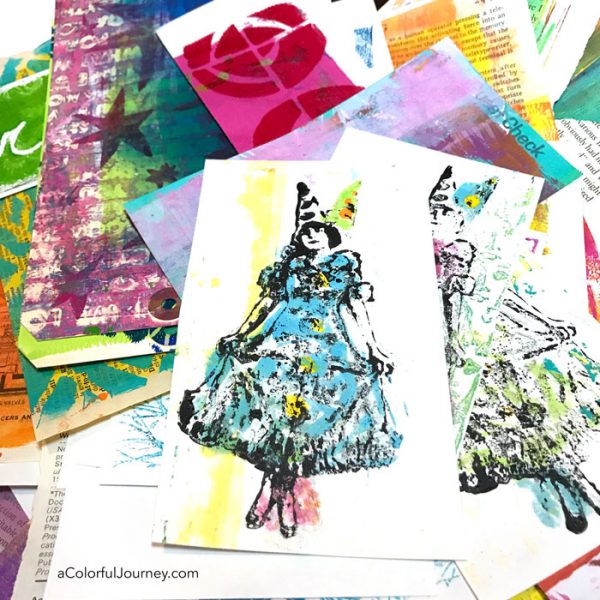
In case you didn’t know…crisp and clear rubber stamping is tough on an uneven surface, like this art journal page of glued down scraps.  I thought at least a little more of her would show up but no.  OOPS.  Instead of being a sophisticated woman…she is wearing 3D glasses and has a goatee.

You’re probably wondering which companies make all these rubber stamps that I used.  Me too.  I have no idea since they are all unmounted red rubber with no names on them.    If anyone knows who they belong to I will happily update this.

There were so many OOPSies on this page that started by randomly collaging scraps...the rubber stamping OOPS, the ugly pink OOPS, and more! Video by Carolyn Dube

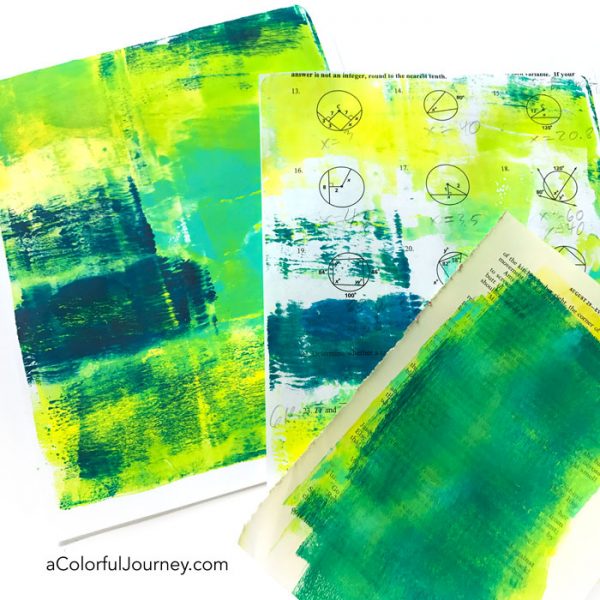
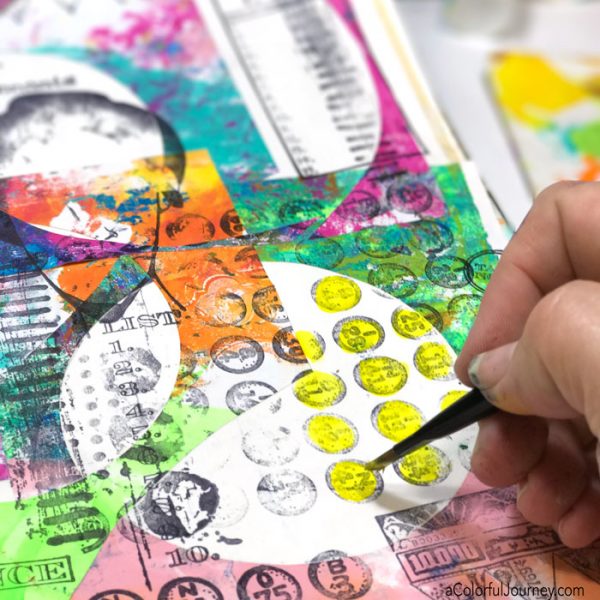
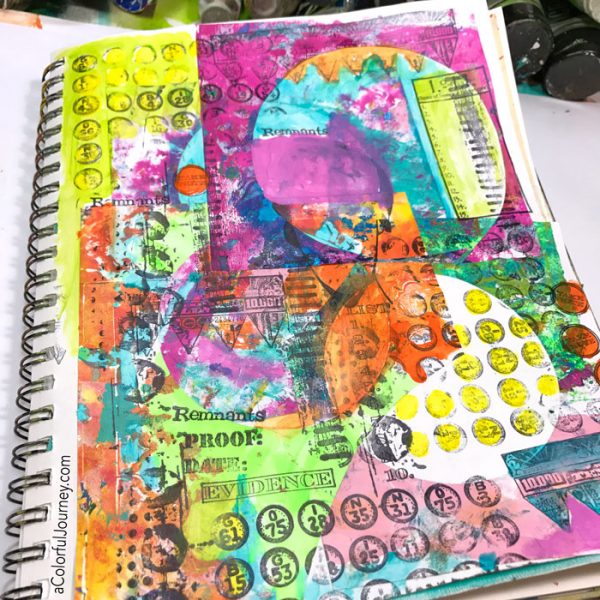
As if this didn’t already have enough color going on..paint time! Loved almost every single color.

There were so many OOPSies on this page that started by randomly collaging scraps...the rubber stamping OOPS, the ugly pink OOPS, and more! Video by Carolyn Dube

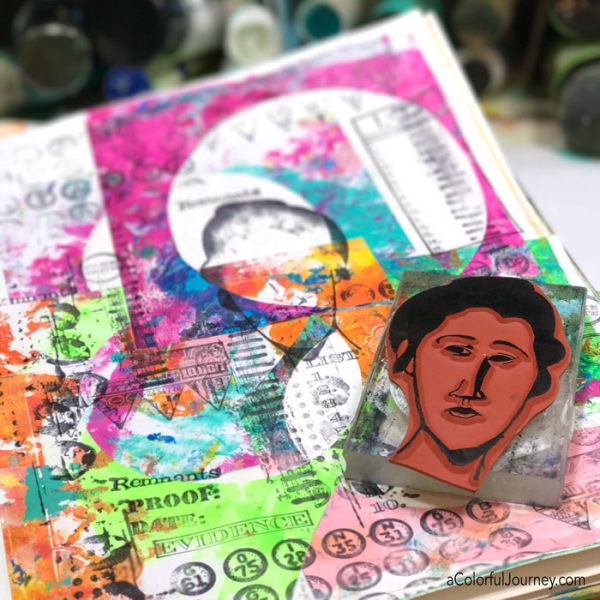
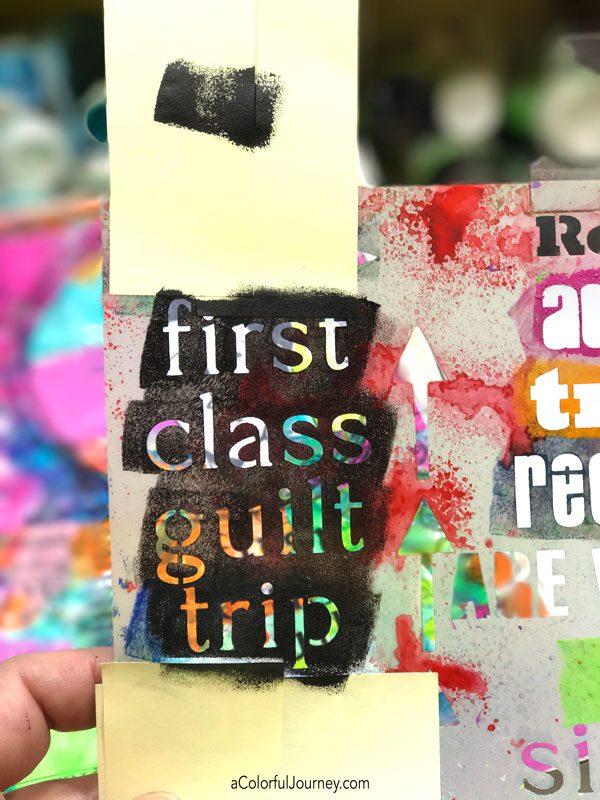
And here is that pink rectangle that I did not like.  At all.  OOPS.  But I trusted the OOPS and in the end it did not disappoint.  It was in just the perfect spot.

There were so many OOPSies on this page that started by randomly collaging scraps...the rubber stamping OOPS, the ugly pink OOPS, and more! Video by Carolyn Dube

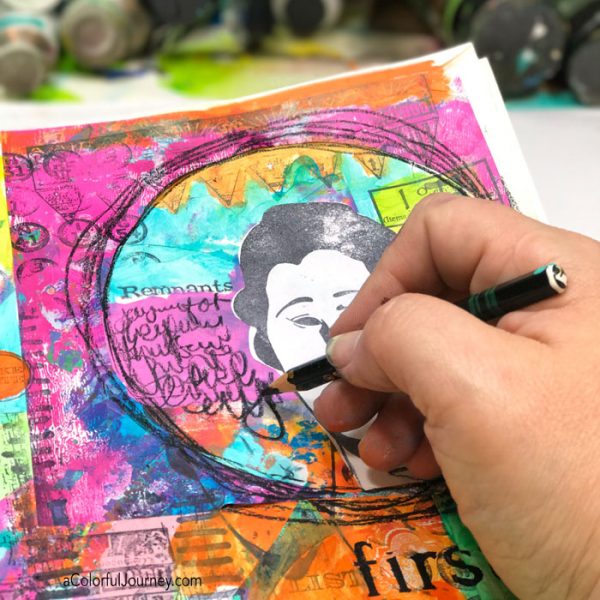
If it was nearly impossible to get a good image of her stamped directly in the journal, then there had to be a better way.   She was stamped on scrap paper and just glued in place.  I stamped her 3 times and cut them out but only used one…and now you know how the treasure builds up in the studio.

There were so many OOPSies on this page that started by randomly collaging scraps...the rubber stamping OOPS, the ugly pink OOPS, and more! Video by Carolyn Dube

Using the ever handy Post It notes, I created a quick mask to add some words to this page that poke a little bit of fun at what flashed through my head as I started collaging with the hoarded scraps, guilt over not having not made time to use my these treasures sooner.

I used a very fluid paint for stenciling so that meant if I wanted to get a crisp image, I had to dab the cosmetic sponge off several times to be sure it wasn’t juicy.

There were so many OOPSies on this page that started by randomly collaging scraps...the rubber stamping OOPS, the ugly pink OOPS, and more! Video by Carolyn Dube

Now that I captured the guilt, I also wanted to honor the fun part of it, the journey of the play.  After all, I could have stopped at any point, but instead I chose to take the journey and see where it led!

There were so many OOPSies on this page that started by randomly collaging scraps...the rubber stamping OOPS, the ugly pink OOPS, and more! Video by Carolyn Dube

One last thing was needed on this page…some scribble journaling.  That ugly pink rectangle was just the place for it.

There were so many OOPSies on this page that started by randomly collaging scraps...the rubber stamping OOPS, the ugly pink OOPS, and more! Video by Carolyn Dube

What an adventure these scraps of paper took me on from the guilt to the rainbow to the OOPSies but most of all, the fun of play!

There were so many OOPSies on this page that started by randomly collaging scraps...the rubber stamping OOPS, the ugly pink OOPS, and more! Video by Carolyn Dube
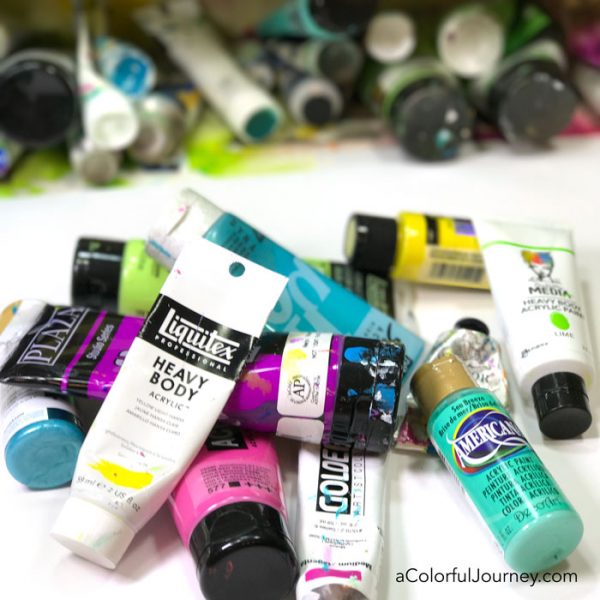
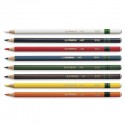
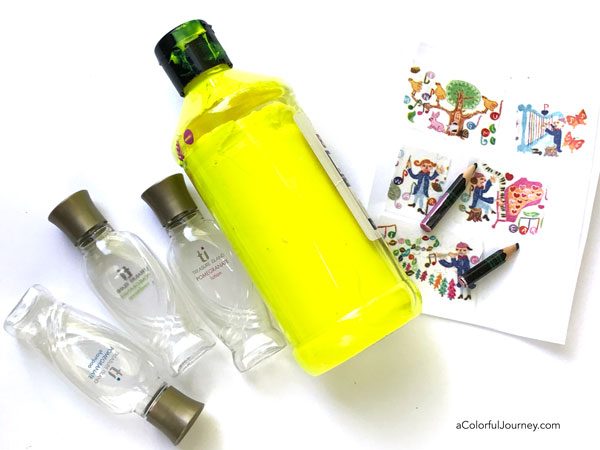
Here are the supplies I used. Some of these links are affiliate links which means I get a small percentage. It doesn’t cost you anything extra and it helps keep the free tutorials coming!


{ 3 comments }
The process of purging my art studio, getting rid of unused supplies, and finding a few messages along the way by Carolyn Dube

Ever spend an entire afternoon searching for that one thing you know you have but can’t seem to find?  After spending an embarrassingly long time looking I had to laugh at myself. This is why I prefer to use what is within arms reach, there is no search and rescue team needed for that!

It was time to purge the studio yet again, but this time, I went at it ruthlessly and with a sense of humor because some it was a bit ridiculous.  The goal was to to clear things out so that if I looked in a drawer or a cabinet, I could see exactly what was in there. Time has proven over and over that if I can’t see it, I won’t remember to use it.

You bet my inner art supply hoarder was in a panic!
The process of purging my art studio, getting rid of unused supplies, and finding a few messages along the way by Carolyn Dube

Even if I thought it was great, if I hadn’t started to use it after say 10 years, then I needed to let it go.  This flyer from an art exhibit in 2004 has such potential…but if I haven’t made the time to use it in 13 years then I need to face the reality, I probably won’t ever use it.

What about all the Ziploc bags of project remnants and paper scraps that I just had to save?  But wait…there’s more…

The process of purging my art studio, getting rid of unused supplies, and finding a few messages along the way by Carolyn Dube

10+ year old shampoo bottles from vacation because I liked their shape…the remnants of Stabilo pencils because they might come in handy… scraps of washi tape saved on freezer paper because who wants to waste that sacred washi tape…paint that had been forgotten and totally solidified in the bottle…did I really need to save all this for eons?

The process of purging my art studio, getting rid of unused supplies, and finding a few messages along the way by Carolyn Dube

Okay, even my inner hoarder admitted this was a bit ridiculous to be holding on to these types of things for decades.  How do I know decades?  Well, if I date the piles off my messes the way an archeologist does, I know that the hotel shampoo bottles are from a vacation taken in 2005.  So anything from that layer of the cabinet was potentially just as old.

Then there were the papers.  Oh, was there paper.  Stacks of colorful  papers stamped, stenciled, and of course gel printed.

The process of purging my art studio, getting rid of unused supplies, and finding a few messages along the way by Carolyn Dube

Then there were the papers from scrapbooking kit clubs, stacks of bargain paper that were just too good of a deal to pass up…when my now college age daughter was 5.  These were the papers I hadn’t touched in eons.  At least my inner hoarder was perfectly fine getting rid of the brown papers.

The process of purging my art studio, getting rid of unused supplies, and finding a few messages along the way by Carolyn Dube

As papers were sorted into stacks, occasionally I noticed words peeking out, like messages from the mess and the muse.  The dictionary paper had fall guy on it…then the first line of a gel print stood out to me…trying to please everyone.  Well, that isn’t subtle reminder of a lesson I need to relearn every now and then is it!

The process of purging my art studio, getting rid of unused supplies, and finding a few messages along the way by Carolyn Dube

A game card I found said, “Take your normal turn.”  If the muse wanted me to get anything other than a laugh out of it, she had best be less cryptic.

The process of purging my art studio, getting rid of unused supplies, and finding a few messages along the way by Carolyn Dube

The muse also kept encouraging me to continue sorting and purging…it was surprisingly emotional to purge this much stuff.

The process of purging my art studio, getting rid of unused supplies, and finding a few messages along the way by Carolyn Dube

There were also reminders that this was the right time to do the purge…at least that is my interpretation of the NOW.

The process of purging my art studio, getting rid of unused supplies, and finding a few messages along the way by Carolyn Dube

Then there were the gel prints that were all over the studio in different drawers.  This part of the purge brought me the most joy, just running my hands over them made me happy.  And I kept every one of these.  My inner hoarder won that battle!  They were sorted so I can now quickly find the ones I want when I want them.

The process of purging my art studio, getting rid of unused supplies, and finding a few messages along the way by Carolyn Dube

So what did I do with all the treasures I was purging?  I loaded up the van and donated them!

The process of purging my art studio, getting rid of unused supplies, and finding a few messages along the way by Carolyn Dube

You can image the panic my inner hoarder was going through having this all head out the door but knowing that they were going to support creativity in others soothed the stress exceptionally well.  The new home for all the treasures was a thrift store for art supplies in Cincinnati, Ohio called Indigo Hippo.

The process of purging my art studio, getting rid of unused supplies, and finding a few messages along the way by Carolyn Dube

They are a pay what you can store and also do community outreach with art events so art supplies are available for anyone who wants it.

The process of purging my art studio, getting rid of unused supplies, and finding a few messages along the way by Carolyn Dube

The store is mixed media playground.  They have everything from dress patterns to fabric swatch books to papers to beads to paints (Golden included) to wood scraps to bits and baubles.

The process of purging my art studio, getting rid of unused supplies, and finding a few messages along the way by Carolyn Dube

I hope every city has a store like this because more creativity in the world can only make it better!

The process of purging my art studio, getting rid of unused supplies, and finding a few messages along the way by Carolyn Dube

Even the outside of the building shouted creativity!

The process of purging my art studio, getting rid of unused supplies, and finding a few messages along the way by Carolyn Dube

I would love to say that getting all these treasures on their way to a new home meant the studio looked empty.  It looks just like it did before except when I open a drawer or cabinet, I can see what is in there.  So now I can see what I have and spend more time playing and less time looking for hidden supplies!

{ 40 comments }

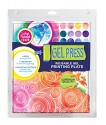
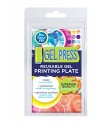
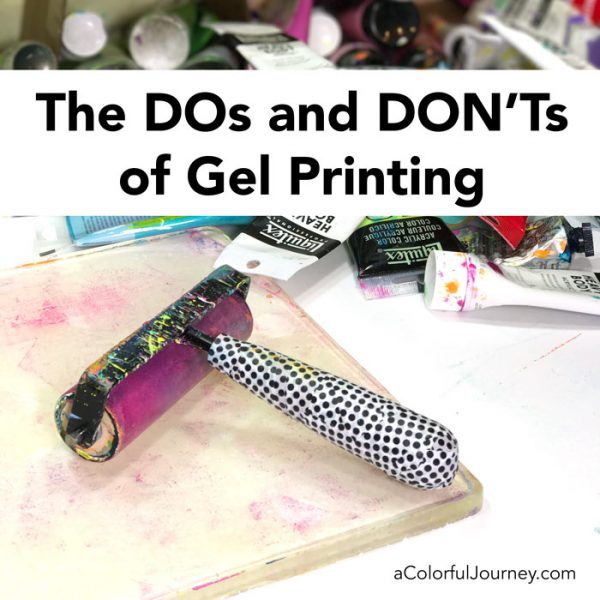
What are the dos and don’ts for gel printing?  The most important is Do have fun and Don’t worry about doing it the “right” way because there is no right way…just the way you enjoy!   Do use a gel plate with the squish factor, like the Gel Press plates.   Don’t use a hard plate, they don’t release the paint nearly as well.

Watch The Dos and Don’ts of Gel Printing on Youtube.

Do use any acrylic paint.  Don’t worry if the paint is the correct type for gel printing. All acrylic paints work on it!

Do get your favorite colors, even if they are different brands of paint.  Don’t worry, paint doesn’t have cooties and the different brands can all play nicely together.

The DOs and DON'Ts of Gel Printing video by Carolyn Dube

Do grab whatever papers you have around.  Junk mail, white paper, cardstock, geometry homework, old scrapbook paper, book pages, the phone book, whatever you have!

Don’t use heavily coated papers (like print at home glossy photo paper) since the coating might leave a residue on the plate and fragile extra vintage crumbling papers because well…they just crumble fall apart when you print with them.

The DOs and DON'Ts of Gel Printing video by Carolyn Dube

Do look through your house and your stash of supplies to find things to add texture and pattern. Shelf liner, caps, bottles, cardboard from a finished roll of masking tape, stencils, rubber stamps- anything can become texture or pattern!

Don’t overlook anything.  You might be surprised what fun textures you can create with everyday items…like pasta. Yes, I used dried pasta and of course, there’s a video of it.

The DOs and DON'Ts of Gel Printing video by Carolyn Dube

Do make some ghost prints.  Don’t be afraid, ghost prints are not the paranormal, they are they 2nd or so 3rd pulls that have less paint on them and a softer look (hence the ghost name) than the very first pull.

Do have fun and go a little wild and crazy with that paint! Don’t be afraid to take a risk…after all it’s just paint and paper.  It’s not like we are walking a tightrope 50 feet in the air without a net.

The DOs and DON'Ts of Gel Printing video by Carolyn Dube

Do put the amount of paint on the plate that you like.   Don’t worry if it is the right amount.  Let yourself experiment and find the amounts that feel best to you. Some people like thin precise layers of paint on the plate.  I prefer to put a river of color on the plate.  No wrong amount, it just gives you different looks.

Do make sure you have good contact between the paper and the paint when using a stencil especially if using cardstock.  The thicker the paper the more you need make sure you have that paper paint contact.   Don’t forget to take a pull of the paint from under the stencil. There is magic under there.

The DOs and DON'Ts of Gel Printing video by Carolyn Dube

Do let the layers build up.  Don’t worry if you don’t like one layer – just add another layer on top of it.

Do make lots of prints that way you will have lots of opportunities to create prints you love.  Don’t worry if every print isn’t magical on the first pull.  You can always print right on top of those prints.  So often the print I thought was yuck in the beginning becomes my favorite after a few more layers.

The DOs and DON'Ts of Gel Printing video by Carolyn Dube

Do clean it if it brings you joy to clean it.  My plates frequently have dried paint on them because cleaning does not bring me joy.

Don’t clean it if it does not bring you joy to clean it.  I rarely ever clean my plates.  They don’t look factory perfect, but they don’t have to look that way to make magical prints.

Gel Printing Resources

Gel printing videos on YouTube

Getting Started Gel Printing Guide (There’s a downloadable getting started guide available here)


Gel Printing Workshops I offer both in person and online workshops.  The most up to date list and workshops can be found here.

Gel Printing Supplies 

Some of my favorite gel printing play

{ 34 comments }