

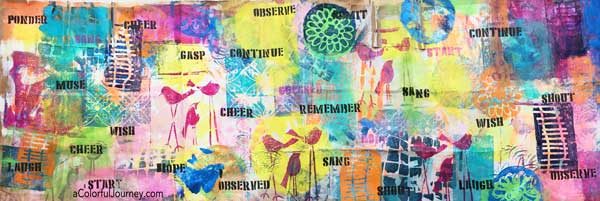
How big of a print can you make with a little gel plate? As big as the paper (or whatever you are printing on)! This almost 4 foot long print was made with the 3×5, the 6×6, and the 4″ round Gel Press printing plates!
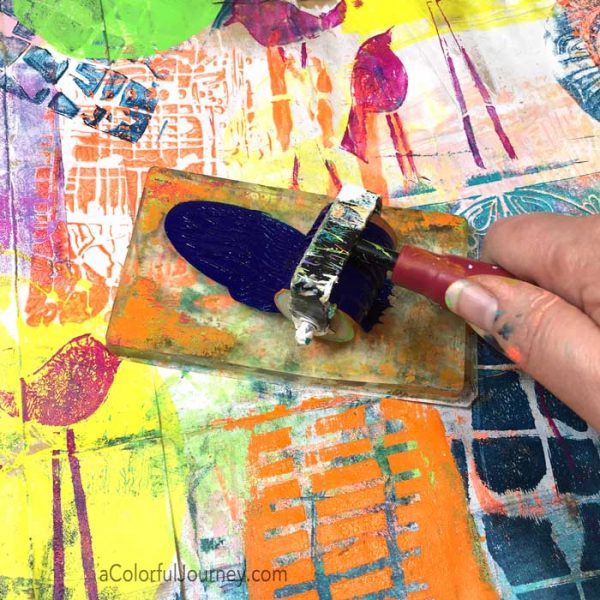
Just printing over and over on the paper with the 3 small gel plates, this jumbo print was created! Cleaning the brayer off directly onto the paper added to the layers of color.
Here are the steps to make prints. (If you are getting started gel printing have all sorts of free resources here.)
Step 1
Put any acrylic paint on the gel plate.
The paper I started with was a paper grocery bag to create this jumbo 4 foot long patterned paper. This isn’t my first time paper bag and gel printing – you can see a video of the process here.
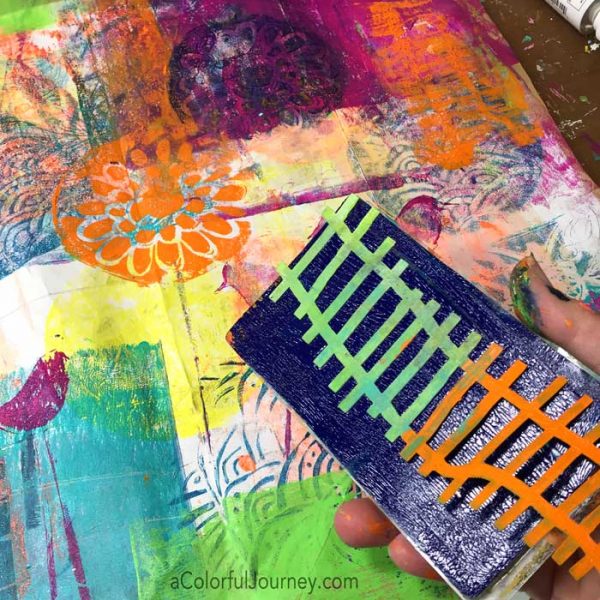
Step 2
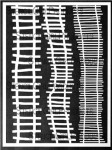
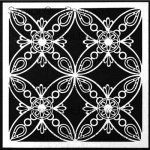
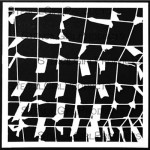
Put a stencil on the paint. Here I am using my Ladders stencil from StencilGirl.
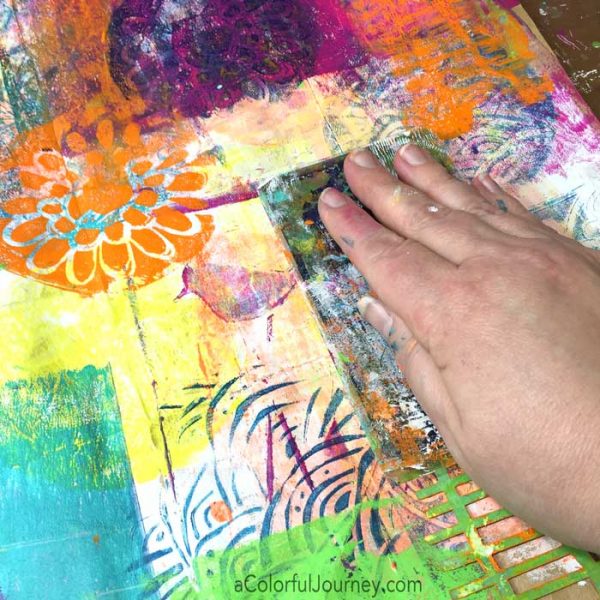
Step 3
Plop it onto the paper bag. You can do it gently and carefully, but I enjoy the fun of plopping it!
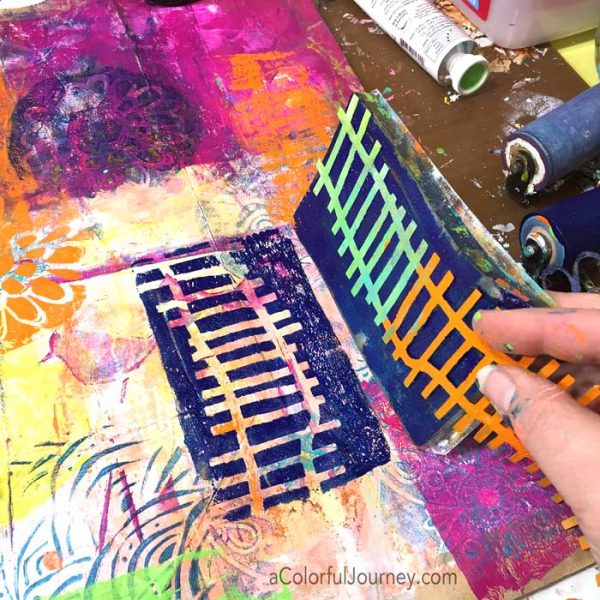
Step 4
Lift up the gel plate and stencil to reveal the print. There is still lots of paint on this one so it can make more prints without adding any more paint. Repeat as many times as you wish until the layers and colors make you happy!
Step 5
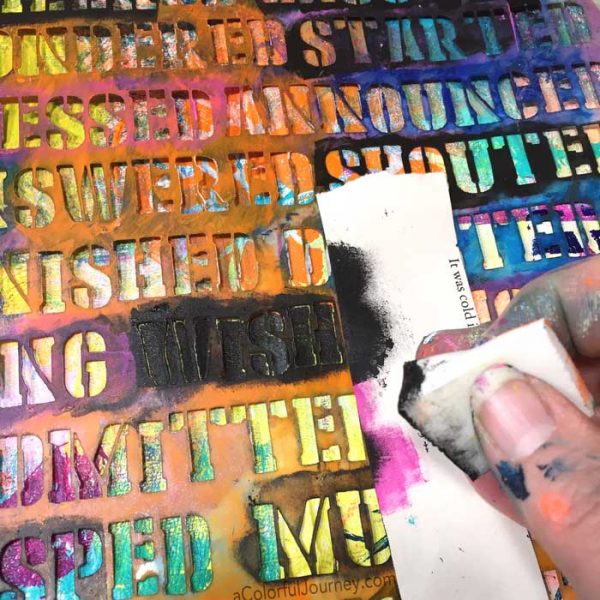
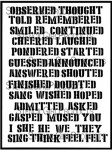
Stencil on top of the prints. Once I had the paper full of pattern and color, I finished it by stenciling words here and there. My Verbage stencil can do more than one verb tense. I simply covered up the -ed on the words with a scrap of paper and wished became wish!
Here’s what the paper bag looked like after an afternoon of play. Will I do more to it? Will I leave it as it is? Will I use it as gift wrap? Will I cut it up? Who knows! What I do know is I had a blast making it!
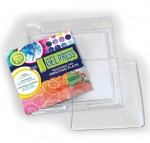
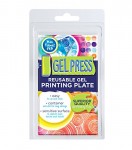
Here are the supplies I used. Some of these links are affiliate links which means I get a small percentage. It doesn’t cost you anything extra and you are helping me keep this blog and my videos ad free! Thank you- I don’t like ads any more than you do!

WHat a fun way to recycle!
It’s been a while since I visited your blog – so fun to see what you’re up to. LOVE the big work… should pick it up myself too, going big… I always have trouble with working on big sizes but I keep working on it from time to time. enjoy your weekend dear one!
Love love love this. Great for festive wrapping paper or parcels to friends and I to adore that mini rectangular gel press plate. Fabric for doll making awaits. Xox
Love how this turned out Carolyn… great mix of patterns and colors and I love the stenciled words sprinkled throughout!
awesome project!