
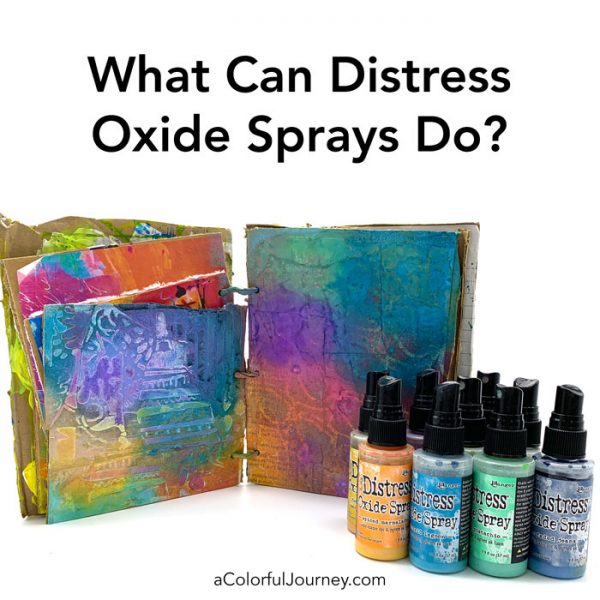
 What can Distress Oxide Spray do? That was my question as I opened the box and took these out for a spin. What you’re seeing in the video is my very first time playing with the Tim Holtz Distress Oxide Sprays.
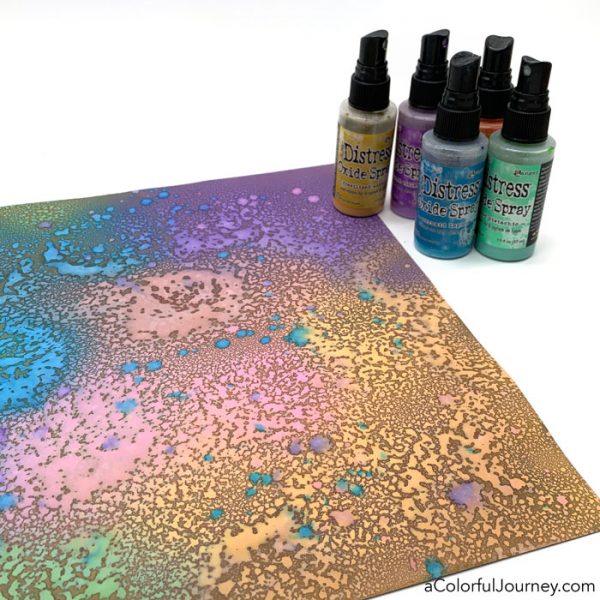
There are 3 things that really stood out to me:
- Absorbent and non-absorbent surfaces give you wonderfully different results- beading vs. resisting vs. absorbing
- How much Distress Oxide Spray you use impacts the opacity-and it can be very opaque
- It starts out bright and shiny then dries to a chalky finish
There’s lots in this video, including if it bleeds through paint and tips for how to shake it and more!
Make the cardboard journal you saw in the video in the free workshop – Permission to Play
How you shake these is important so that it doesn’t clog. Shake it side to side, like you’re ringing the bell for the butler. Every time I shake it, I think of Downton Abbey. Dang, I miss that show!
You’ll need to shake it frequently as you’re playing because the ingredients separate relatively quickly. The good news is that it only takes a quick shake to mix it back up.
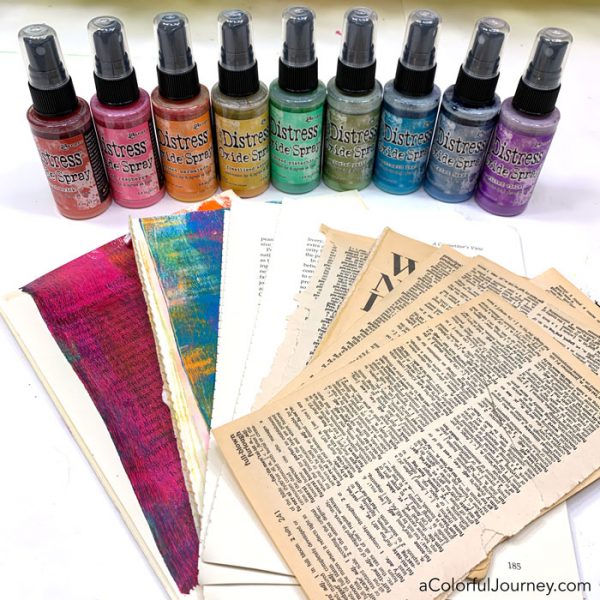
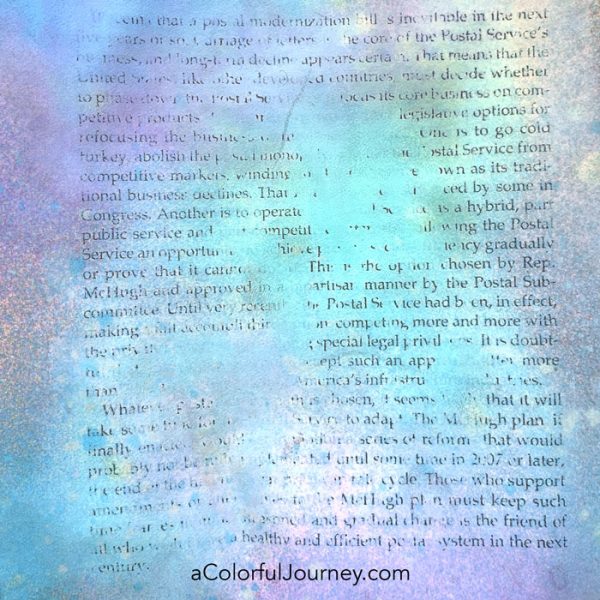
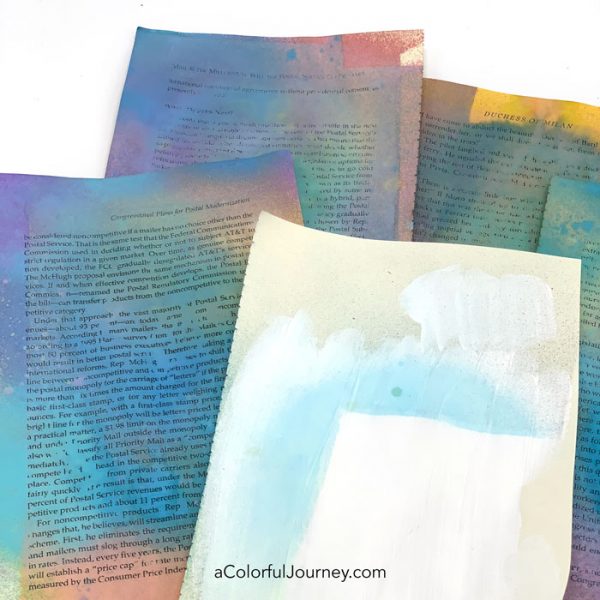
A happy surprise was how the type resisted the spray. But when I tried it with a different piece of book text, it didn’t resist. The paper you use makes a difference.
The newer smoother paper seemed to be better for the letters resisting the spray. Older or more absorbent papers did not do the resist thing.
I was using generous amounts and the papers were soaking wet. Took them forever to dry, or at least that is how it felt.
When I turned the papers over the back side looked very different from the front. Thanks to the miracle of photoshop, what you see below is the same paper, the front has the dusty chalky look and the back has a very vibrant look.
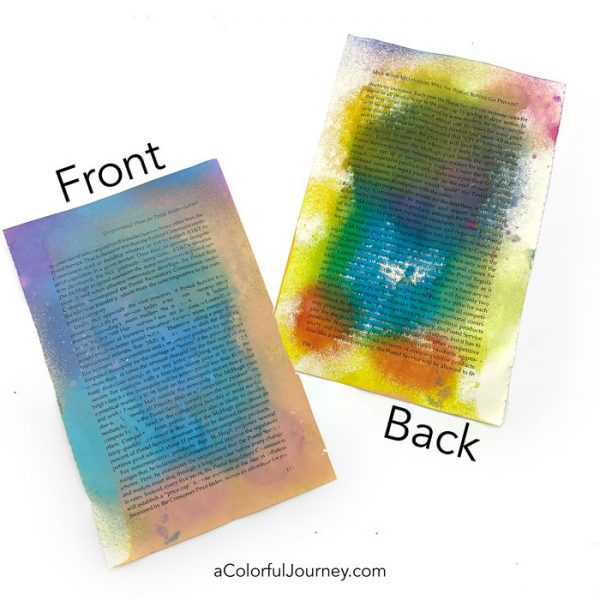
How much you use makes a difference. When it was all dry, the areas that had a lot more spray were so opaque that you could not see the type.
Since this is an opaque spray, it is great for building up layers in an art journal. This videos for how to build this journal are in my free workshop, Permission to Play– you can get signed up here. In this workshop, you’ll also get specific ways to let yourself play.
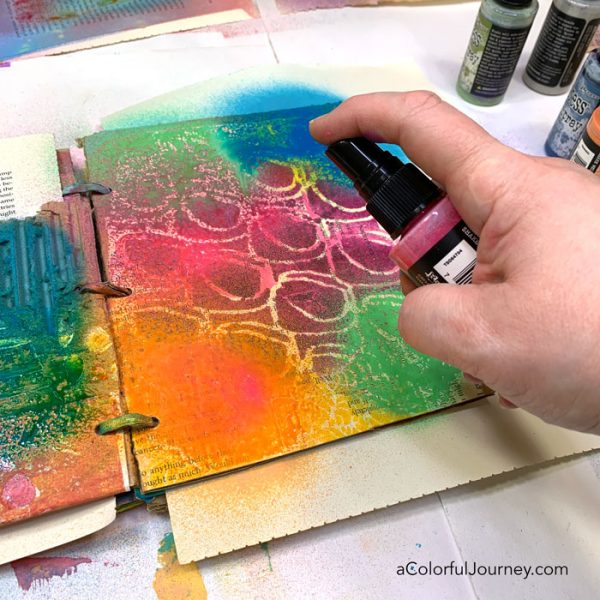
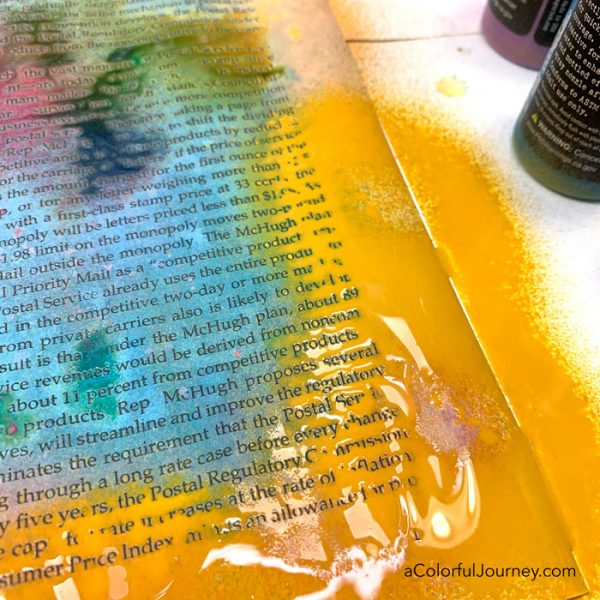
Notice how the spray behaved differently on the areas that had paint on them and the areas that didn’t. Some of this was absorbent, the paper and cardboard and some wasn’t, the painted areas. The surface you’re using changes the look of the spray. 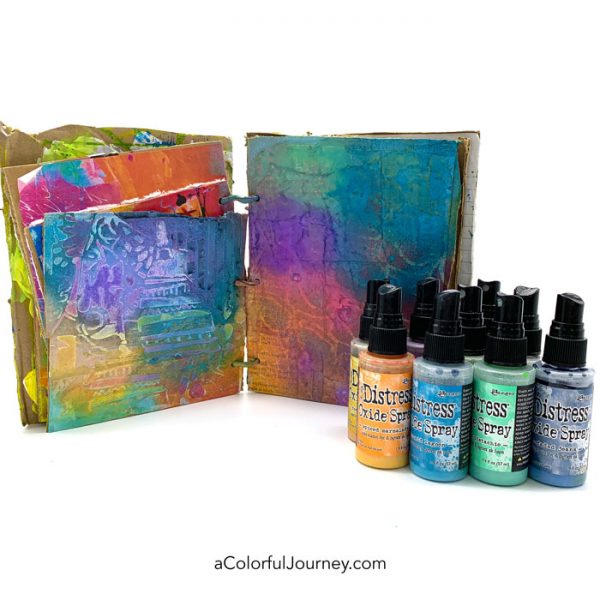
These papers had a layer of paint on them, from cleaning off a brayer while gel printing. Since there was paint on it, that meant the paper was no longer very absorbent, so the Distress Oxide Spray behaved differently on it.
You can see a little of the beading on the upper right and lower left. But let’s push that to an extreme.
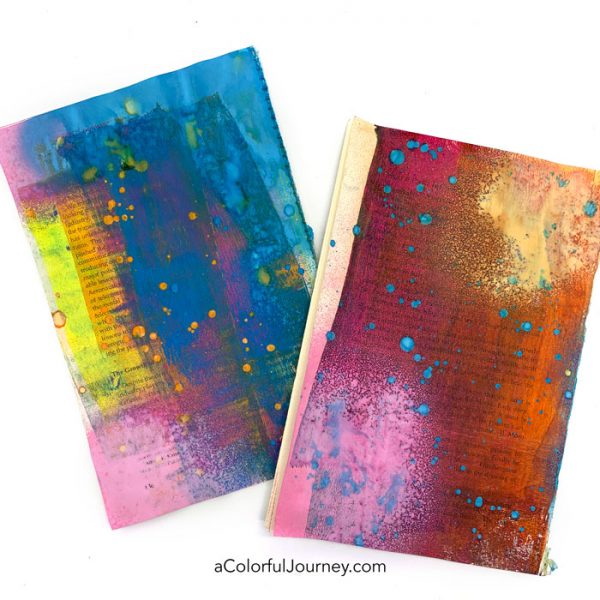
This paper was a coated cardstock, so it was not very absorbent at all. That meant it beaded up with the generous amount I sprayed on there.
Be sure to watch in the video where I have a fast forward of this drying- you’ll see how it goes from glossy to the chalky dry.
With sprays, the big question is will it reactivate, or smear if wet stuff is added on top. The good news, the white paint stayed white when brushed on, so it didn’t reactivate.
But as you can see, it did bleed through the white as it dried.
On the bottle, the manufacturer, Ranger Ink recommends that you clean the spray nozzle after each use.
Now that I’ve had one play session with these sprays, I’m excited to see what else I can do with them. If you don’t want to miss it, get signed up for my weekly newsletter and you’ll get both creative encouragement and know when I post another Distress Oxide Spray tutorial!

Thanks for the great demonstration. It’s so nice to see how these sprays work without having to invest in them. I’m not sure I like the chalky look of them so will hold off for now. I really enjoy your videos. Thanks, Carolyn!
Thank you for the demo Carolyn. Definitely loved the beading on the brown paper!
Thanks so much, Carolyn, for letting us see your “play” with this new product. It really helps me decide if I want to invest in this line or just purchase one or two bottles. Excellent !!!
I love all these page you have done. Thank You for sharing. I’m waiting on mine to come in the mail. Can you tell me how many bottles came out of this product.
very helpful, love the way you let us see what we can do and i wish i knew before how to handle the spraybottle because i did it wrong and they become useless, so i had to buy new ones (empty), thanks!
More toys!! Mine came today and my muse decided to open immediately; how unlike her! So fun! The wait for the sprays to dry was a tad painful!
Thanks for inspiring!!
Interesting
Thank You for Sharing the information and demonstration. Ready to start expiermenting.
How do I create the effect seen in this photo that has the bottles in it?