
You can cover any size area with a repeating pattern no matter the size of the stencil. But beware, you might create a background you love so much you don’t want to cover it up. At the end I’m sharing how I handle that challenge!
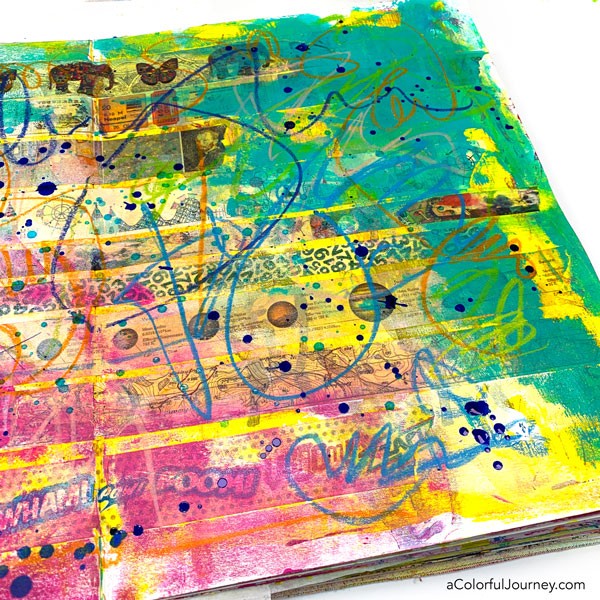
Start with anything. Any background you’ve got. Here I have layers of washi tape with all sorts of alcohol ink splats and colorful scribbles.
Start with your stencil in the middle of your page, wall, collage, whatever you’re stenciling. Why the middle even if it would line up so nicely on an edge?
That’s something that I learned when I was laying and grouting ceramic tile down on floors in our house. If you start in the middle, where most people will see it or notice imperfections, it’s line up and complete. Then you build out from there.
Should any imperfections happen, and they always do for me, they’re near the edges and less noticeable.
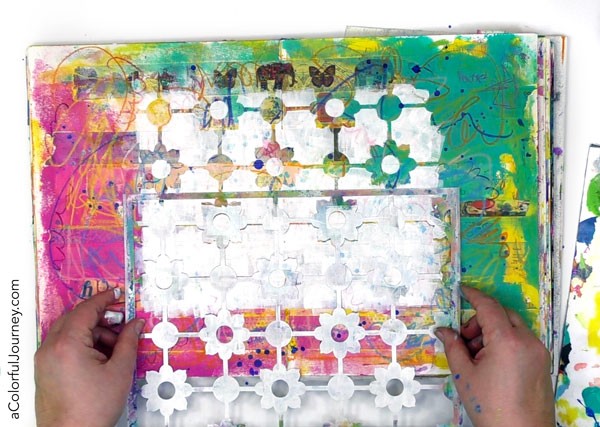
Another tip is to position the stencil where you want it, about 2-3 inches above the surface. Once you’re sure you know where you want it, then gently put it down in place.
The trick is to not slide the stencil but place it from above. This allows you work over damp paint and not smear things. Meaning you don’t have to wait for everything to be perfectly dry to go on to the next area.
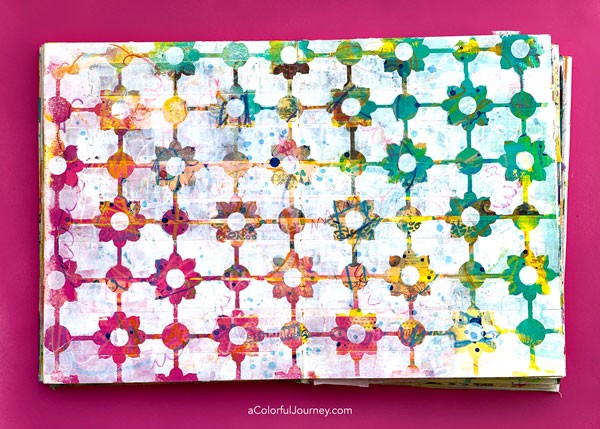
I am absolutely in love with this background. So in love with it that I don’t want to cover any of it up. But I also know that it isn’t finished.
So what am I going to do? I’m going to enjoy it just the way it is for a while because I love looking at it. Part of the reason why art journal, why I make things, is for the enjoyment and if I’m enjoying that layer then by golly I’m going to take full advantage of that.
At some point down the road, I’ll open this journal up and I’ll decide that it’s time to put something on top of it, but I’m not going to put any pressure on myself- that would take away some of the joy!
I encourage you, if you’ve ever got an art journal page that you’re just absolutely in love with, you just can’t stop looking at it and you don’t want to add anything to it. Even if you know it’s not finished. Just enjoy the gift that it is.
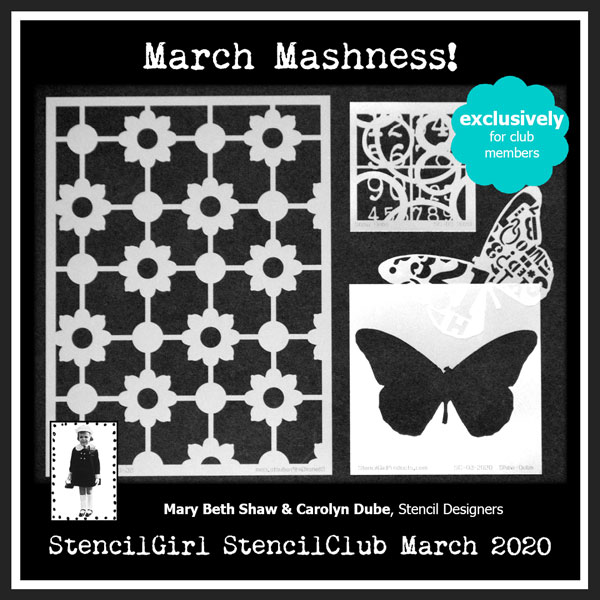
This stencil is part of this month’s StencilClub set, that I was honored to create in collaboration with Mary Beth Shaw. Of all the perks of being a member of StencilClub, there’s one that I adore the most. The exclusive video each month by the stencil designer.
That means this month it’s Mary Beth Shaw and myself who created the exclusive members only video. You’ll get to see 2 different approaches and color schemes to using them with a gel plate!
You can find out all about StencilClub at StencilGirlProducts.com

Such brilliant tips thank you and I love what you ended up with, so pretty. It would look so cool on a bathroom or kitchen floor tiles.