
If you can pour paint out of a cup and can tilt a canvas, then you have all the necessary skills to make a colorful piece of art to hang on your wall with paint pouring. We’re going to unleash the rainbow using just 3 colors plus white.
In the video, I’m sharing how to set up your space so not a drop of paint gets wasted, the easy way to know if you have the right ratio of paint to pouring medium, and everything you need to know to make your first pour. At the end of this post, there is a supply list along with reminder notes for your reference.
To help you get started, I’ve created a free Paint Pouring Guide that guides you through the entire process- from the best pouring medium for getting cells when you’re starting out, which of your paints are best for pouring, and much much more. Download it now so it’ll be at your fingertips whenever you need it.
Getting Ready to Pour
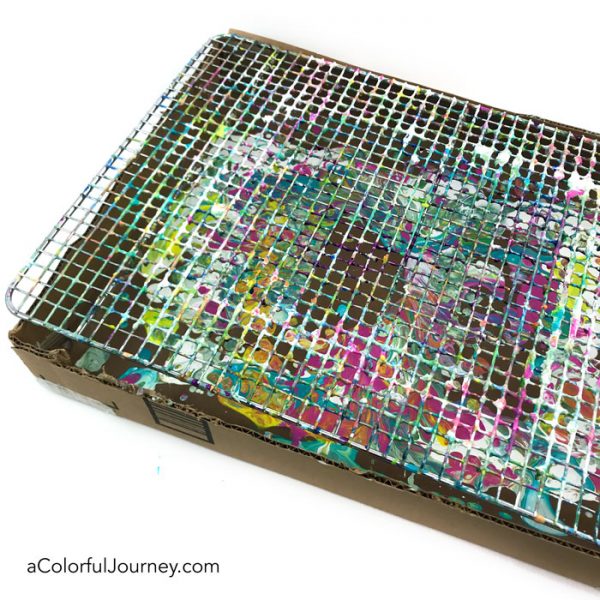
Drips happen with paint pouring so you need something to catch the drips. My favorite is a cardboard box with a cooling rack from the kitchen section. On the bottom of the box is an inexpensive teflon sheet so when the paint drips in there it becomes a colorful paint skin that just peels it up when it’s dry.
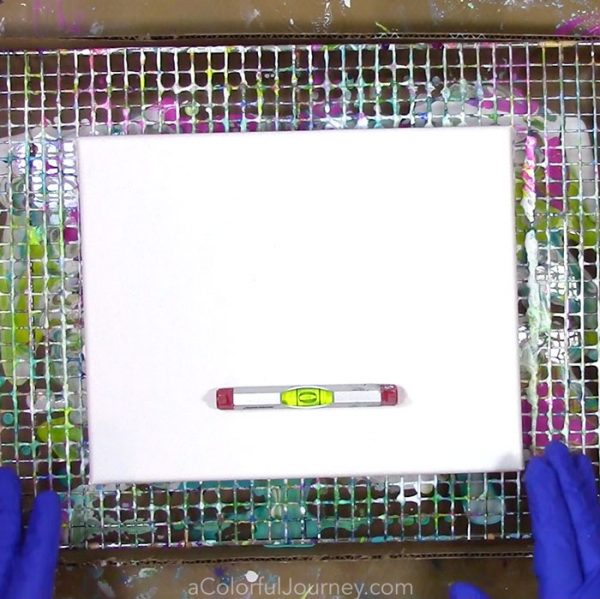
Level your canvas as best you can. I am clearly not an engineer, so about level is the best I can do. If you’ve never used a level before, you want the bubble to be between the lines. Check multiple places on the canvas and if you find it isn’t level, us something like a popsicle stick to shim it up until it’s level.
Mixing the Paint and Pouring Medium
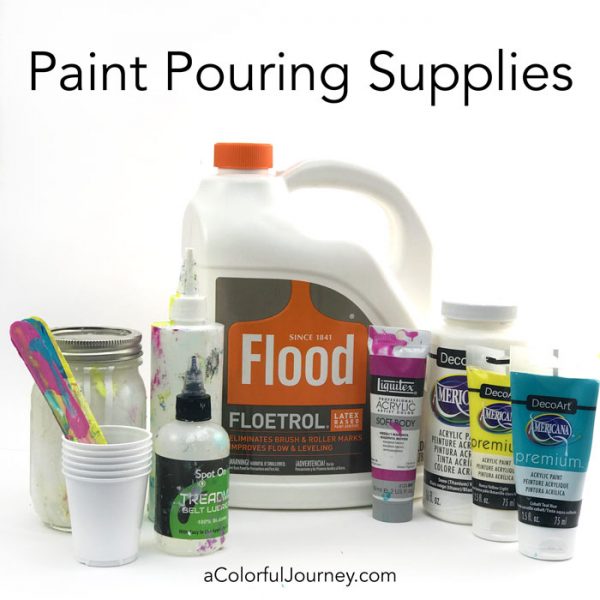
Is there one perfect pouring medium? Nope. There are many to choose from and they each have their pros and cons. Floetrol is the one I recommend for your first pour because of how it moves and behaves, plus it’s the least expensive one too. It’s actually a contractor supply so you can get it at hardware stores and online.
When I started I did a lot of careful measuring as I figured out the “perfect” ratio of paint to pouring medium. And guess what, it didn’t make a bit of difference. What I found was that if I had a tube, just over 2 oz. of the Americana premium acrylics to 3/4 cup to 1 1/4 cup it all behaved the same for me. When I used Liquitex soft body paint, I used less paint, about a third of a 2 ounce tube.
Color was the best indicator of how happy I would be with the mixture. As long as it looked like the color in the tube, I would be good. So when I mix the paint, if it looks lighter than what comes out of the tube, I add more until it matches.
Air bubbles are the enemy of paint pouring. So when mixing your paint and medium, mix it gently so that you don’t add a bunch of air to it. So that means no whisking the paint and making it frothy like a cappuccino or else you’ll be dealing with bubbles galore in your final piece.
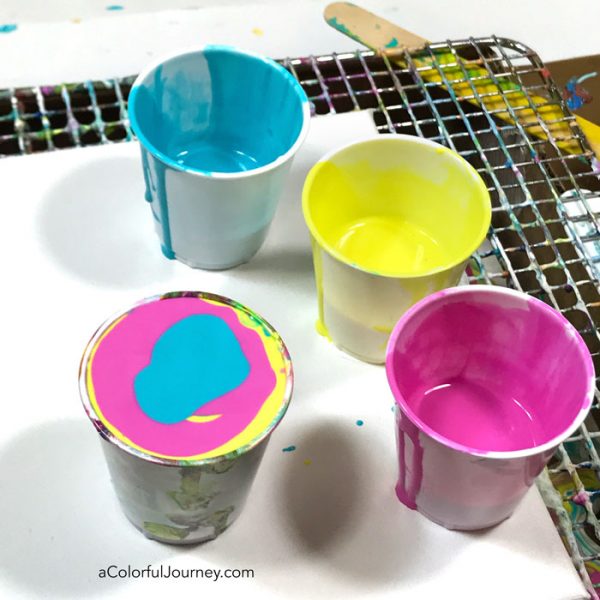
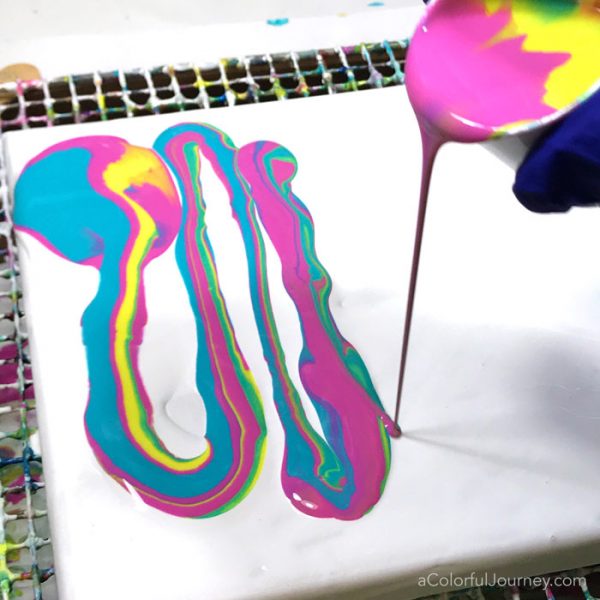
To make a dirty pour, you layer color in a cup. The more layers you have, the more intricate the pour. I’m using 3 colors and white and just kept alternating the colors until the cup is full. The white I’m using has a bit of silicone added to it.
The silicone helps make cells. I only added it into the white. There are 14 drops of silicone to 8 ounces of the white paint/pouring medium mixture. That’s what you see me adding with the squirt bottle in the video. Making dirty pour layers is a breeze with the paint in those condiment squeeze bottles.
Starting Your Pour
Coat the canvas top and sides with the white paint/pouring medium. Then add the rainbow from the cup. I’m using what I call the San Francisco method of pouring the paint because it reminds me of Lombard Street. You might have seen that winding road with very tight curves.
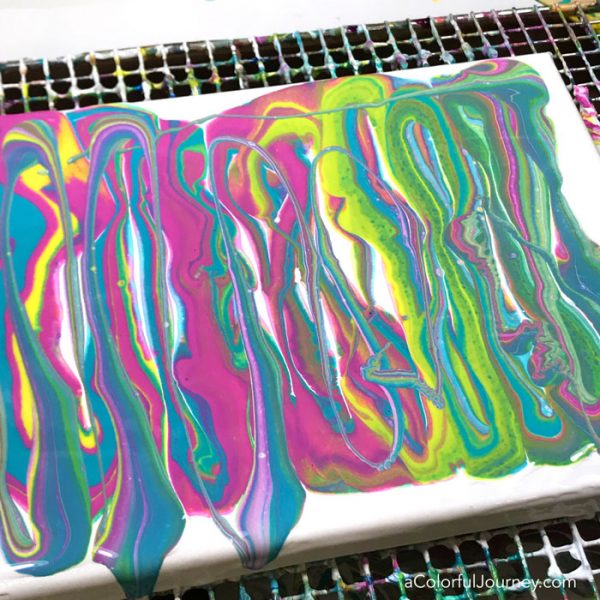
Once the paint is on the canvas you have a choice. To leave it just the way it is or to mess with it. I chose to mess with it by tipping it and letting gravity pull and stretch the color.
Letting it Dry
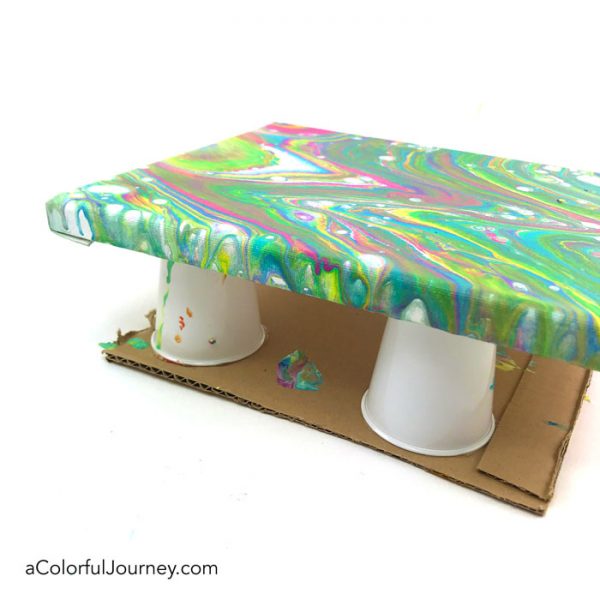
Once you have it how you like it, then let it drip for 15-30 minutes on the rack, then the move it to a homemade drying rack. DO NOT LET IT DRY COMPLETELY on the rack. It will stick. Trust me, it will really stick. How do I know? I did it once and had to almost pry it off with a crowbar.
So I built a drying rack for the next one. It’s not fancy but it gets the job done. Just 4 cups hot glued to cardboard in the width of the canvas. This allows the edges to not touch a thing as they dry and it frees up the main pouring rack and box so you can keep on making more poured canvases while this dries.
It will take anywhere from 12- 48 hours to dry, possibly more depending on how much paint was used. Keep it away from wind, like ceiling fans, and extreme temperatures so that it can dry naturally indoors.
Yes, I’ve tried to speed up the drying process and it was epic failure every time. So now I am just patient and let it dry at the pace it wants.
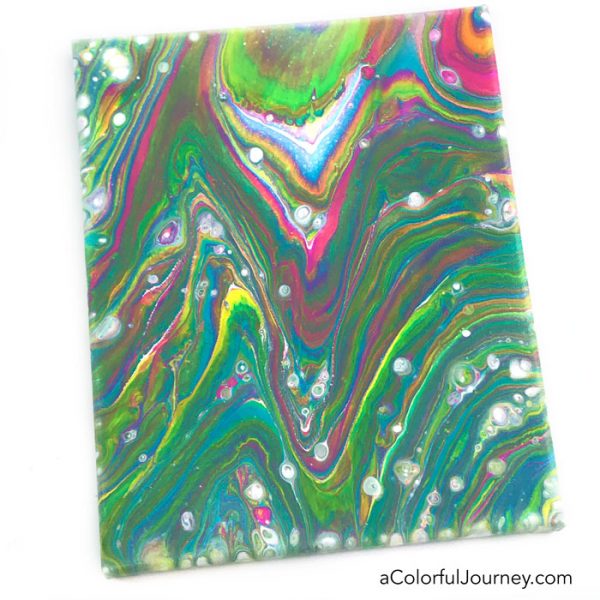
Here’s the canvas completely dry. When did all those white cells happen? Those appeared as it was drying thanks to the silicone in the squirt bottle of white.
Every drop of paint wasn’t used to make this canvas. There is still paint in the cups and a bit of the dirty pour too. What will I do with it? I’ll make another canvas and you bet I’ll share the video.
That video is up and you can see how it made a completely different look for a canvas here.
Want more help getting started paint pouring? Want to know how much paint to use? To understand the ratios and amounts needed to get the looks you love?
Want more help getting started paint pouring? Want to to have it all broken down step by step? Want to understand the ratios when mixing paints? Want new techniques for pouring? You’ll get all of these answers and more in Paint Pouring FUNdamentals, an online workshop.
Here’s what student Teresa Reeves said about the worksop: I really wobbled on paying for this class, wondering if I could pick up most of what I needed to know from you tube videos. I have to say I am glad I paid for this! You make your videos with tons of info and interesting.

Supplies for this pour
- A canvas ( I used an 8 x 10 size)
- Something to catch the drips (disposable roasting pan from the grocery store, cardboard box with cooling rack on top with a teflon sheet on the bottom, or any other way you like to catch the drips)
- Red, yellow, blue and white acrylic paint. I used a bright pink, cobalt teal, and bright yellow as my three.
- Floetrol Latex Additive Pouring Medium- this helps the paint move around the canvas and helps it dry without cracking or crazing. Color was the best indicator of how happy I would be with the ratio of pouring medium to paint. When I mix the paint, if it looks lighter than what comes out of the tube, I add more until it matches.
- Condiment squeeze bottle
- Silicone oil- this helps with cell formation- 14 drops in 8 ounces of paint/pouring medium mixture.
- Cups and popsicle sticks for mixing
Here are the supplies used. Some of these links are affiliate links which means I get a small percentage. It doesn’t cost you anything extra and it helps keep the free tutorials coming!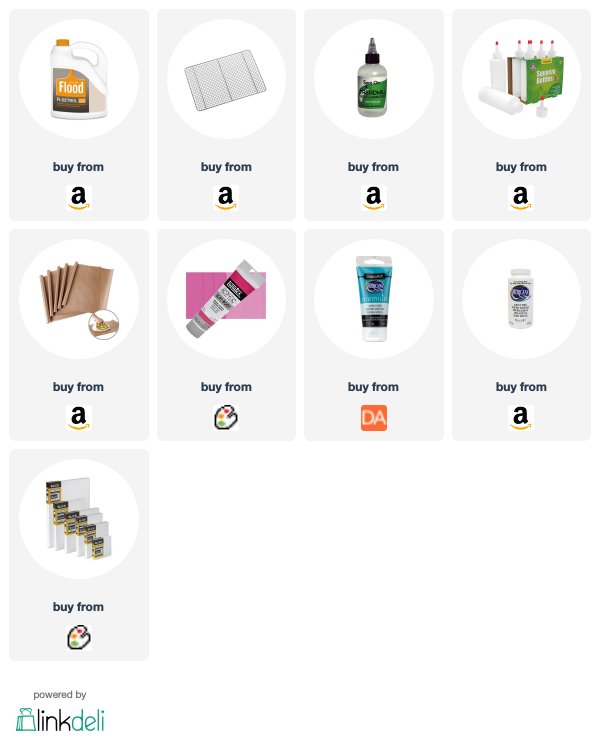

One gallon, LOL! You don’t do things by halves, do you Carolyn? Wonderfully inspiring!
Thank you for making it so simple to understand. xxx
Clear fun explanatiom
I was getting around to doing this when all the questions you now answered came into my head. Thanks so much.
Great video …thanks for clear instructions. Love your color too!
Watching your videos always makes me happy. Most of it is YOU being bubbly and positive and patient and real. The colors and designs fill me with joy. I’ve printed out some of your “Sparks” to use making cards. Thank you.
I can’t
find the subscribe button
Pat Whittle
So so cool!!!
This looks fun! You mention the “paint skins” that you capture on the silicone mat under your painting. They look interesting. What will you use these for?
Carolyn,
Hello! Binge watching your free tutorials and loving every minute! I will definitely be purchasing soon! Thank you for your enthusiasm, expertise and willingness to share.
I would like to know if DecoArt Pouring Medium good to use with paint pouring and flip and drag pouring?
Each pouring medium has a different impact on what a finished pour looks like Jamie. I go into the qualities of 3 pouring mediums (Floetrol, DecoArt, and Liquitex) in depth to enable students to find the pouring medium that is best for them for the types of pours they like to do in Paint Pouring FUNdamentals. The workshop details are at https://acolorfuljourney.com/paint-pouring-workshop/
Very informative video.Probably the best I’ve seen.
i need a the rec.this acrylic pour paint
I love this! I’ve never done this before. Can you put a glitter resin on it? Before or it dries? Thank you for making this simple to understand.
Thank you your sight answered all my questions
Loved your video; I am a beginner, liked your method. look forward to my first pour.
Hi Carolyn, I noticed you didn’t mention using Distilled water, I have seen many other videos that use it and say to add. Can you tell me why we would use it, and looking at your video it doesn’t look like I would need to. Is this correct?
There are lots of ways to do paint pouring Sabrina. I don’t use distilled water and haven’t missed it the way that I do it.
Beautiful! You mentioned that you lined the cardboard box to catch the drips and ou peel it off. Do you do something with these?
What do you do with the skins
Enjoyed your video. It was easy to understand and your energy and love for what you do showed. Kept my interest throughout. Thanks,
Ali
Love watching your “How to videos” your explanations are great. I have been
experimenting, some success and some disappointments. I saw somewhere , not sure where that the Australian Floretrol and US Floretrol are a little different and the ratio therefore required is not the same, Can you help? What I don’t like is how I manage to get paint on my hands, even with gloves
Regards
just a big thank you !!! i can see clearly now. lol
You make this look so easy
Thanks for sharing