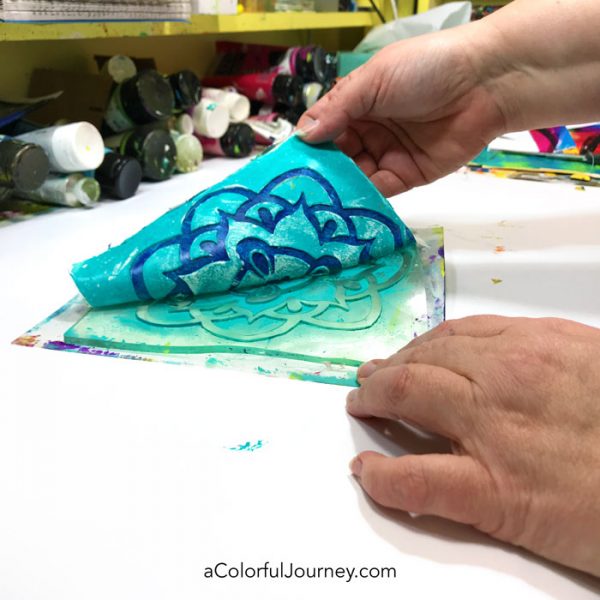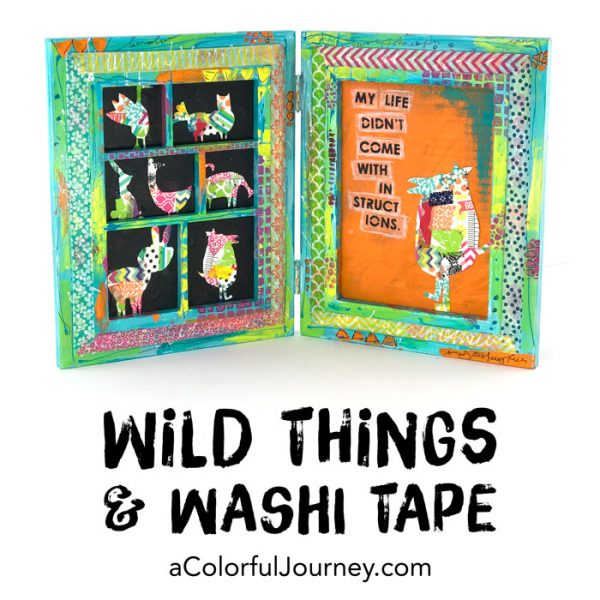
What happens when I actually use some of my stash of washi tape? Wild things thanks to a little stencil fun inspired by Mary Beth Shaw. Stencils are tools that can be used more than one way with washi tape and you can see how in the video plus how using tissue paper makes stenciling words easier!
Watch Washi tape, stencils, and an old picture frame on YouTube.
Want to see how the frame started? See it here.
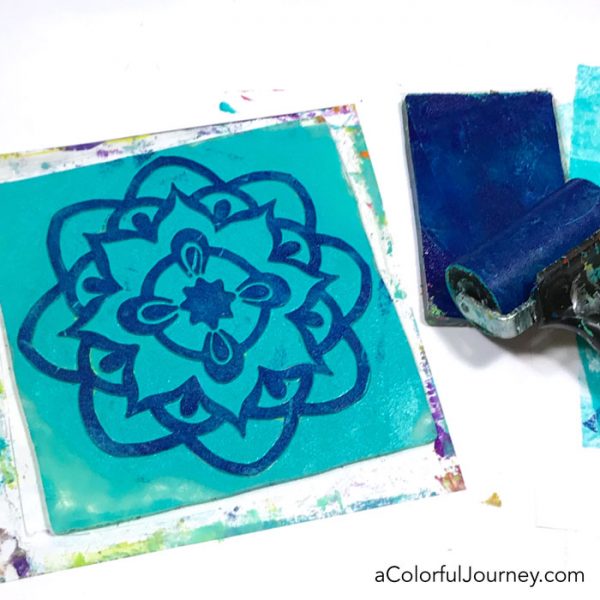
It all begins by creating a page filled with washi tape. The washi tape hoarder inside of me wondered if doing this would use up all my tape. It did not even make a dent. After filling an entire page, the rolls of tape don’t look any smaller.

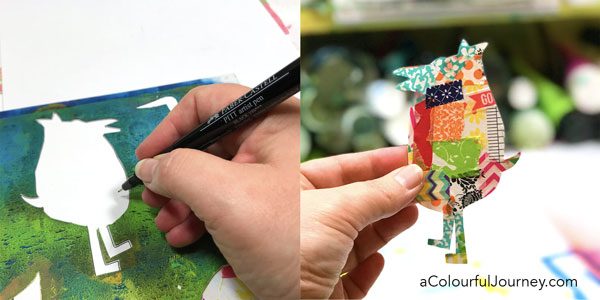
On the backside of the washi tape paper, trace the shape you want. I used my Figments of Imagination stencil. Why the backside? It’s just easier to trace it here than on the front. Then cut it out with scissors.
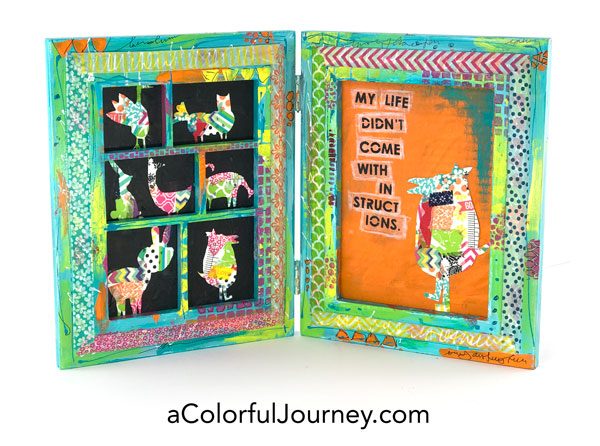
The picture frame had been started long ago, you can see it go from traditional frame to colorful here. Thankfully, the frame had been waiting patiently until this moment. One figment is fun, but I wanted more in there, I wanted the little ones.
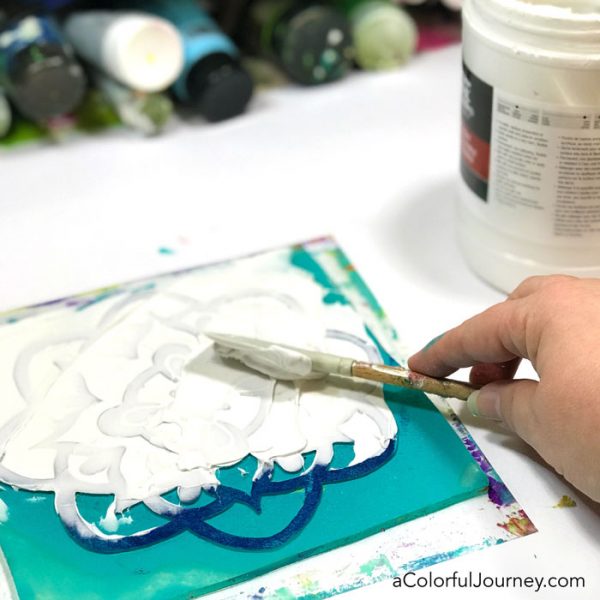
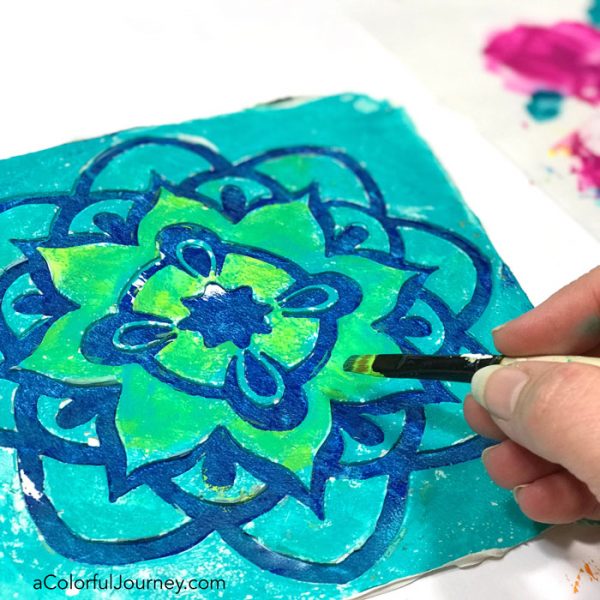
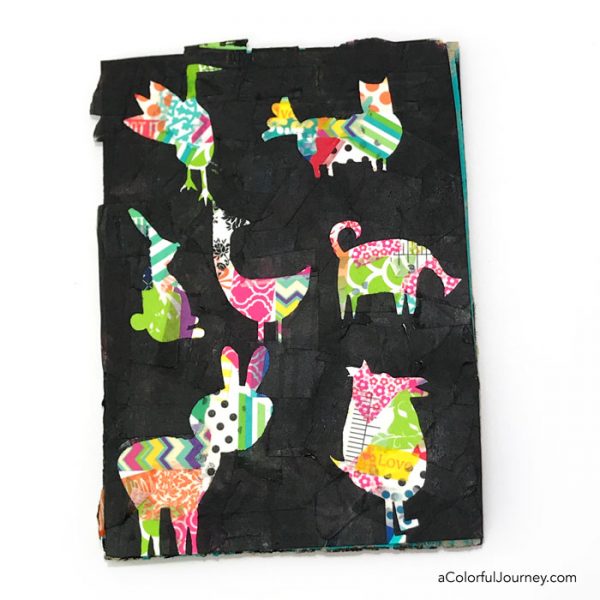
But cutting out little ones would take patience…and….I’m not that patient to cut out the Little Figments. Instead, I used the masks that come with the stencil with black paint. It gave me a similar look without having to cut anything out as I created this silly family. You can paint right on top of washi tape.

In the video, you saw how having the masks made it super easy to position the Figments just where I wanted them in the frame. In order to get such a solid look of black, I did go over some of the areas more than once with the paint.
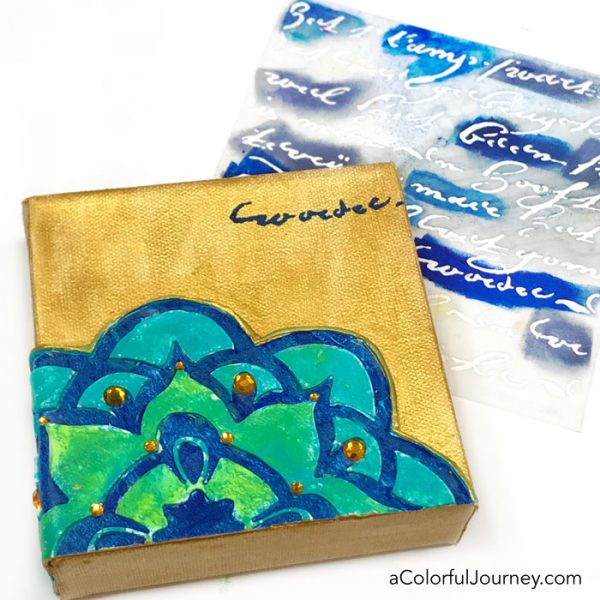
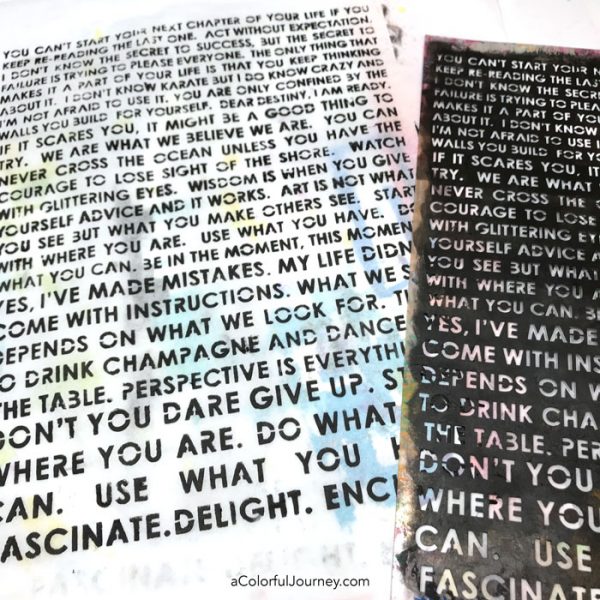
To add the quote, I stenciled the entire Wall of Words stencil on tissue paper. Why the whole thing when I only needed a few of the words? Because now I will have it stenciled and ready any time I want to use any of the other words.
Having the words on the tissue paper made it so that I could audition and try out different word placement until I found just the arrangement to fit the space.
Tissue paper becomes very translucent when it is glued down. I like to use a fluid, or runny glue, like Fluid Matte Medium for this. In the video, you can see how I used the mini blade to do this without tearing it anywhere.
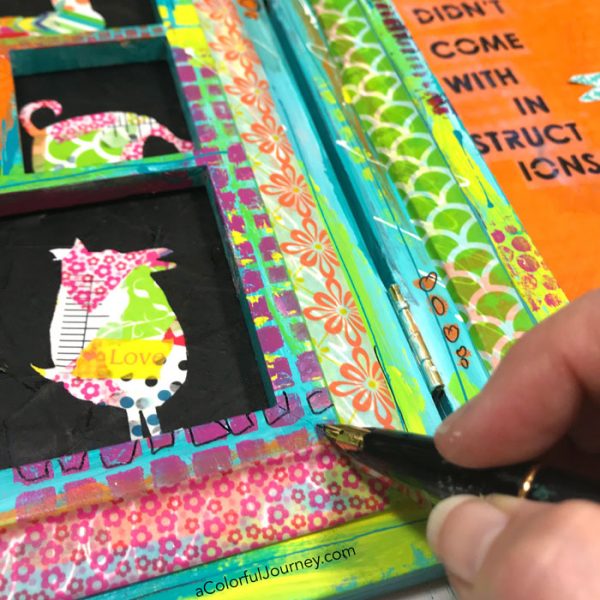
While waiting for the tissue paper to dry, I added a few touches on the frame with a pen.
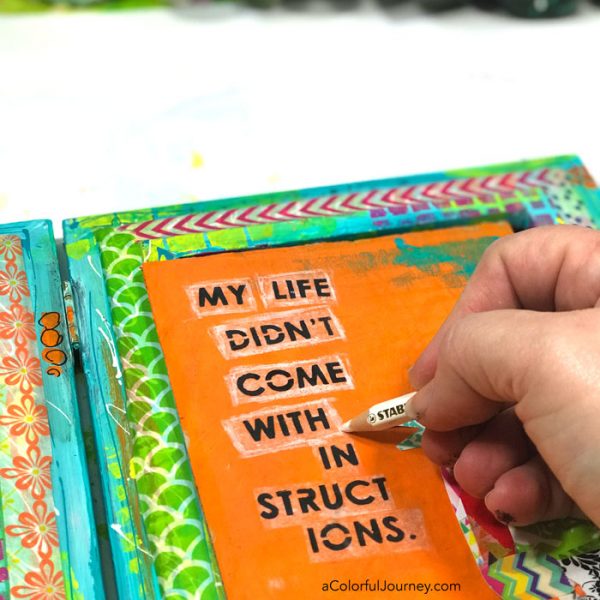
Once the tissue was completely dry, a Stabilo pencil was used to outline around the edges of the tissue paper.
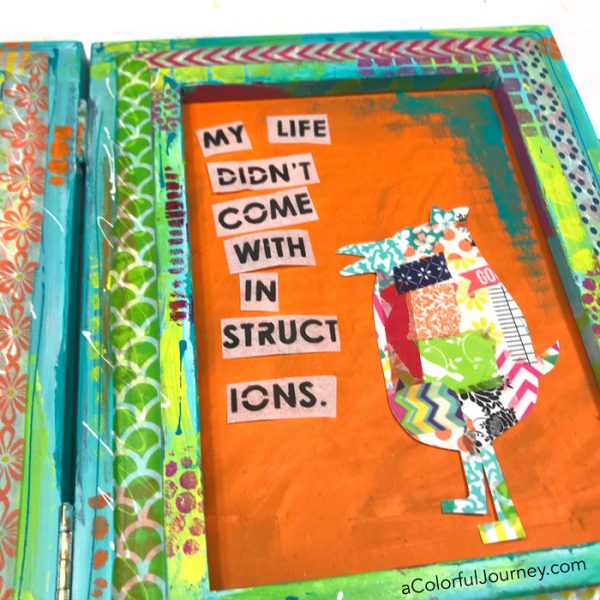
Why did I choose these words? When I added the first Figment to the frame, I saw a crazy family family photo, which got me thinking about some of my family craziness that can keep things very colorful.
We are all figuring things out as we go, since there was no instruction manual…and that can lead to some craziness at times. These don’t feel nearly as wild and silly as they did when I started, now they just feel like family.
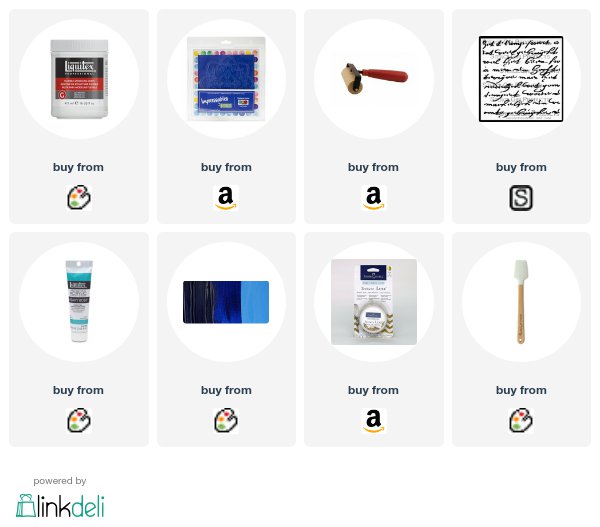
Here are the supplies I used. Some of these links are affiliate links which means I get a small percentage. It doesn’t cost you anything extra and it helps keep the free tutorials coming!