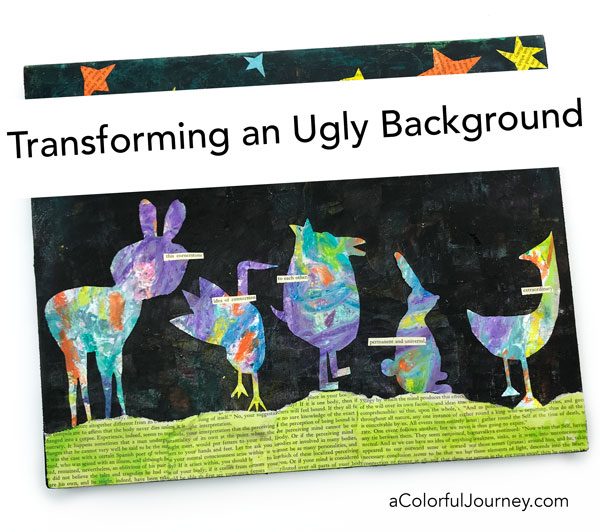
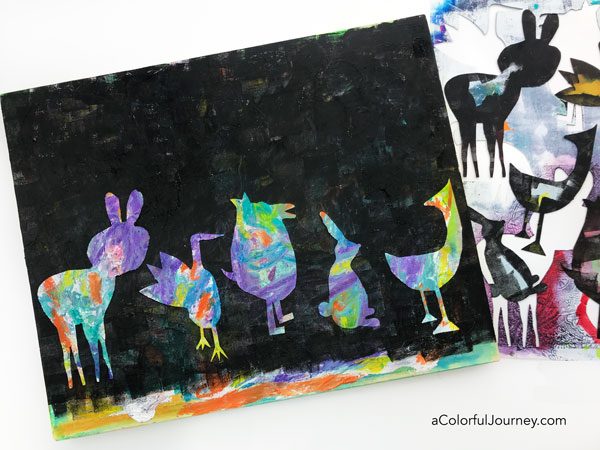
 Ever have trouble covering up a background? That didn’t happen here. Starting with an ugly background makes it easy to cover up. What did I use to cover it up? Stencil masks. They transformed the background that was yuck into colorful creatures.
Feel free to chuckle about what my daughter pointed out to me in the end that was so obvious once she said it, but I hadn’t seen it, and the struggles I had with the book text.
Watch Transforming an Ugly Background on YouTube.
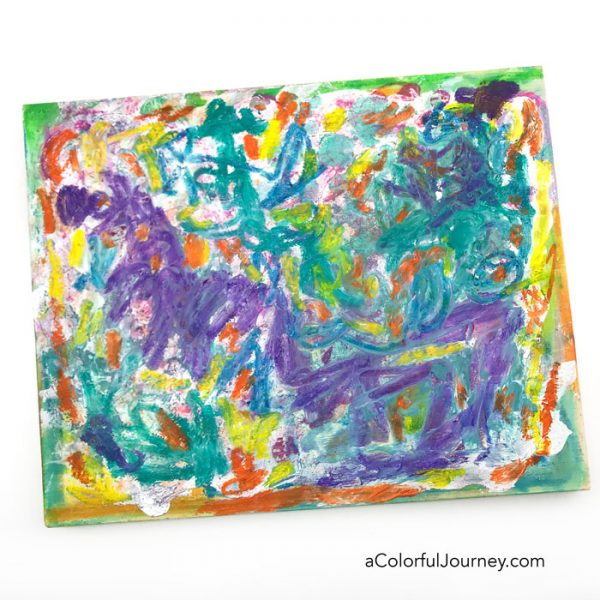
Here’s the background that was a blast to create but is rather unappealing. For now. You can see the video where background started. A total mixed media mess of fun.
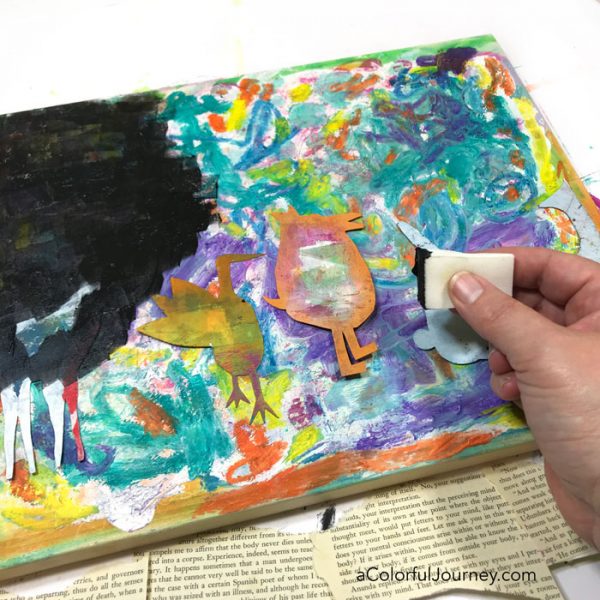
Using the Figments of Imagination stencil/mask combination, most of the background was covered up. Because there was a stencil and a mask, that allowed me to see what it would all look like before committing with the paint.
The stencil would let me see what the insides of the Figments would look like and having the masks allowed me to move them around until they were arranged in a way that made me happy. All this before a drop of black paint was added.
That ugly background suddenly looked a whole lot better when it was turned into the Figments.
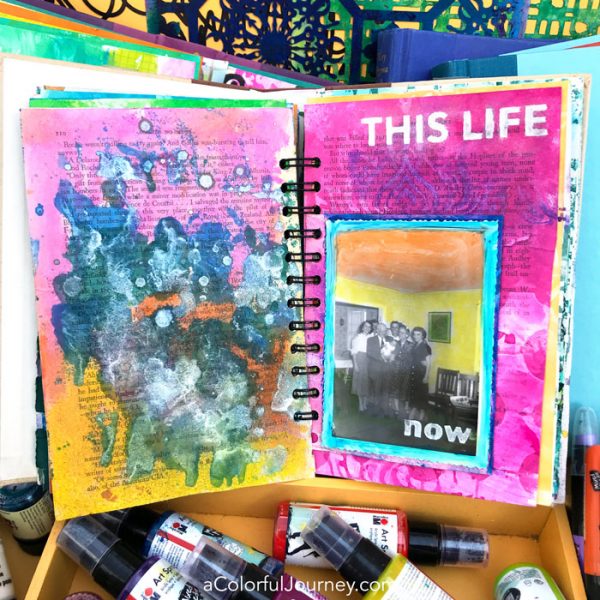
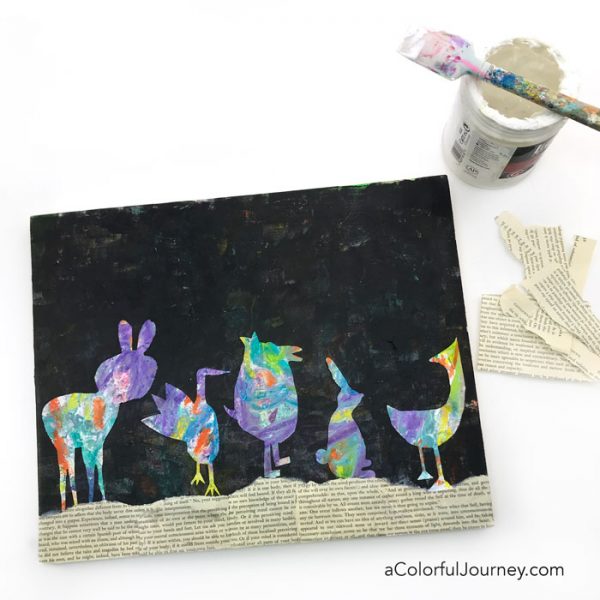
These friends needed be grounded, walking on something besides air. Torn book text became their hill. That was supposed to be something really easy to do. But it turned out to be more of an adventure than anticipated.
In the video, you see me use what I call Splotters (really daubers filled with spray ink). You can see how I fill them, and why I call them Splotters here.
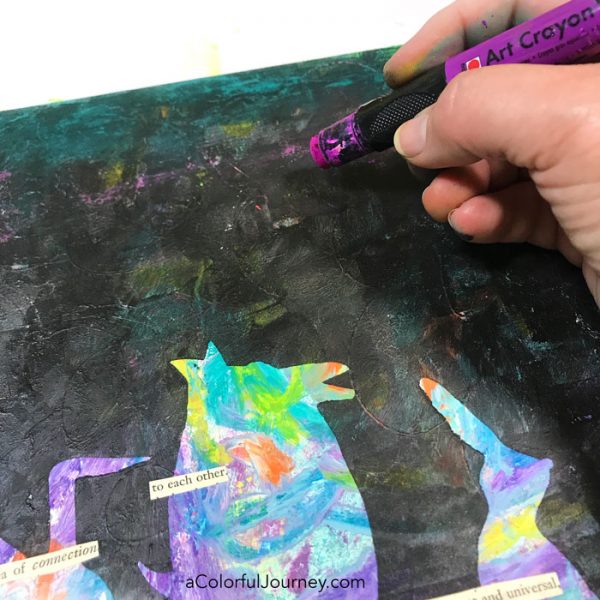
That black space was mostly black and it called for a touch of color. Using an Art Crayon, gently hints of the rainbow were smeared around to give it a subtle look.
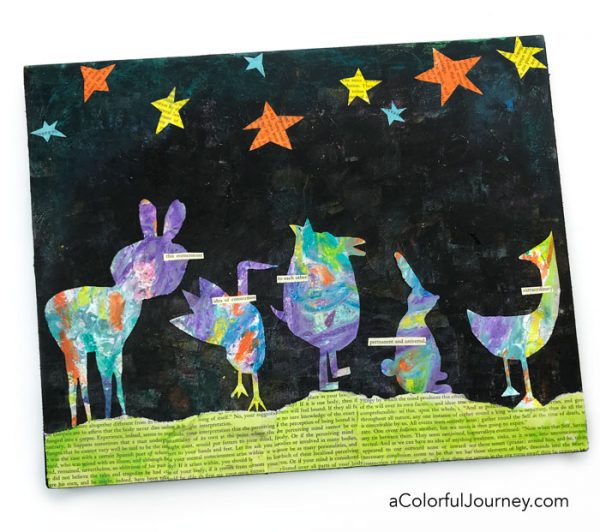
Not exactly Pulitzer material, but the found poetry felt right as I was gluing it down.
This cornerstone, idea of connection, to each other, permanent and universal,extraordinary.
Next time you have a background you don’t love, try covering it up with stencil masks and see how it transforms!
Here are the supplies used. Some of these links are affiliate links which means I get a small percentage. It doesn’t cost you anything extra and it helps keep the free tutorials coming!
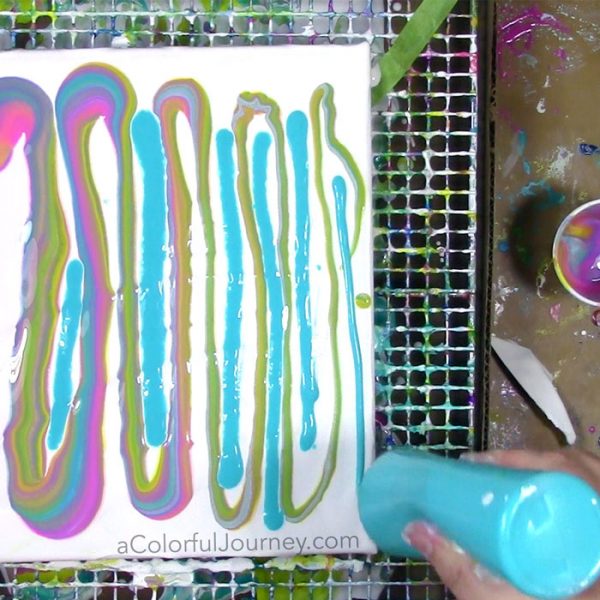
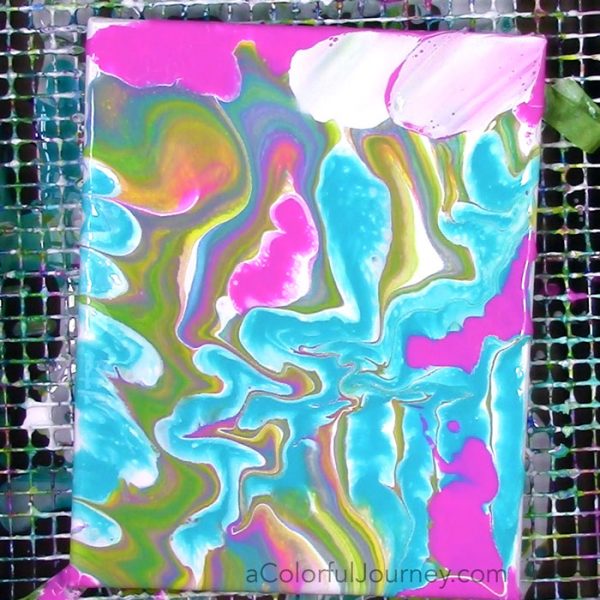
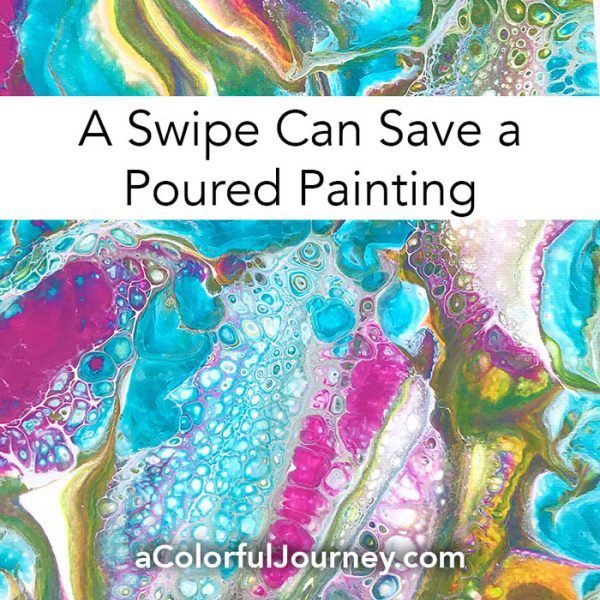 What can you do if you don’t love your paint pouring at the moment? Give it a few swipes to get that color moving and shifting. Just swishing a palette knife, or anything you’ve got handy, can shift the color and pattern on the canvas, just like it did for me in the middle of this play.