 What can you do if you don’t have the stamp you want? Carve one yourself. I’m sharing the process I use to make big bold stamps for gel printing and art journaling.
You also get to see how I deal with a carving O.O.P.S., one of those Outstanding Opportunities Presenting Suddenly. At the end of the video, you’ll also see how easy it is to use paint with a stamp and get the most out of your gel plate.
Watch Stamp Carving for Beginners on YouTube.
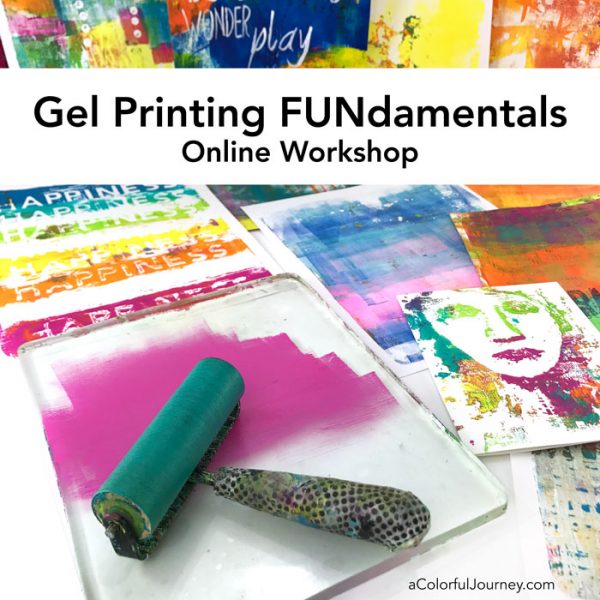
Details about the Gel Printing FUNdamentals workshop mentioned in the video are here.
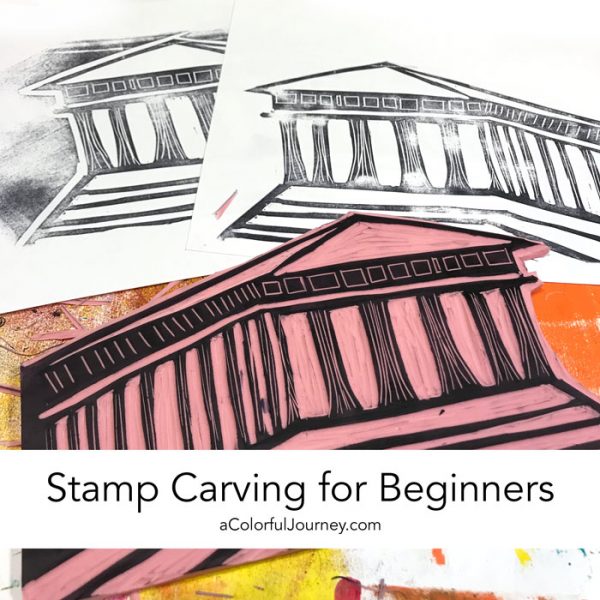
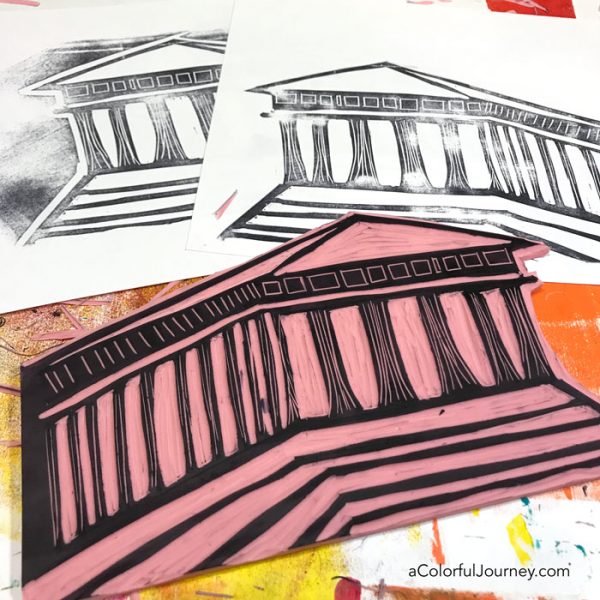
Step 1. Choose what you are going to carve and reverse it. I chose a Greek temple that I drew on heavy chipboard. That’s too heavy to trace, so I needed it to be something thinner like copy paper.
That worked out nicely because the copier also had a setting to mirror the image, creating a reverse image. If you are doing words or text, just remember to do the mirror image so that when you stamp, or else the words will stamp in reverse.
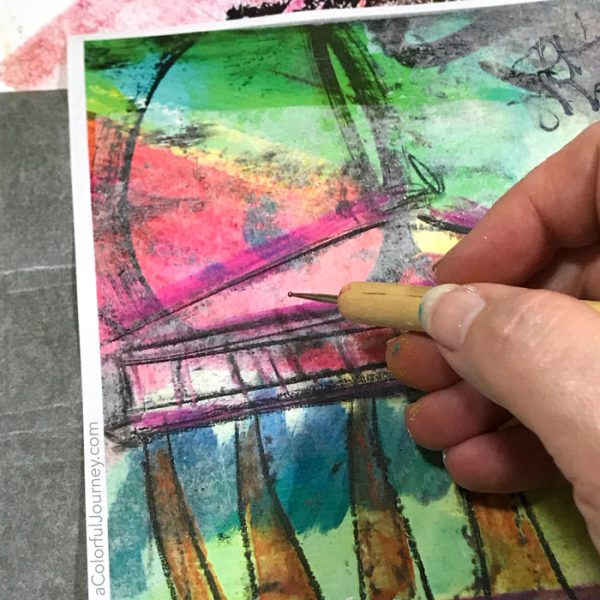
Step 2. Tape one side of the image to the pink rubber and put a piece of tracing paper between the paper and the rubber. It will act just like the old carbon papers. Then use an embossing tool, a bamboo skewer, a pencil, a ball point pen, anything you have to trace over the design and transfer the image.
What if you don’t have tracing paper? Simply rub a pencil, a lot, on the backside of the image to create a layer of graphite. Then trace and transfer just like if you had the tracing paper.
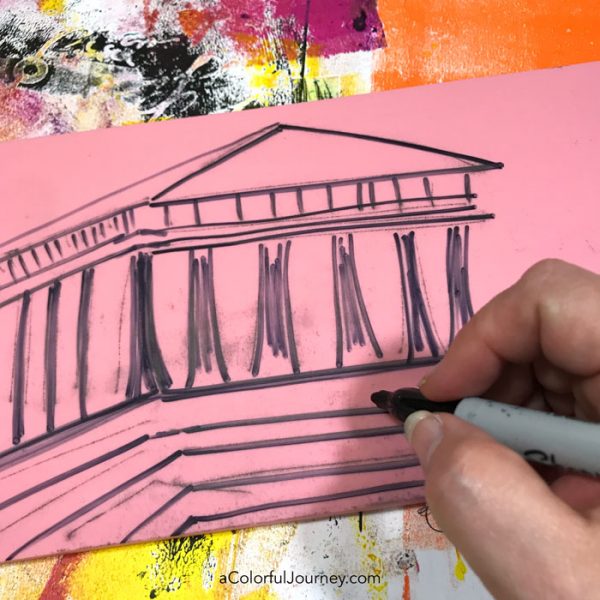
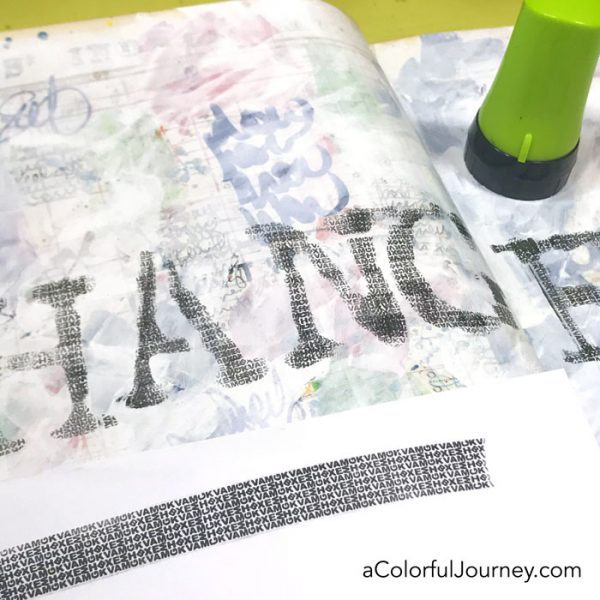
Step 3. Using a Sharpie, go over the outline. The dark lines are the areas that will become the stamped image.
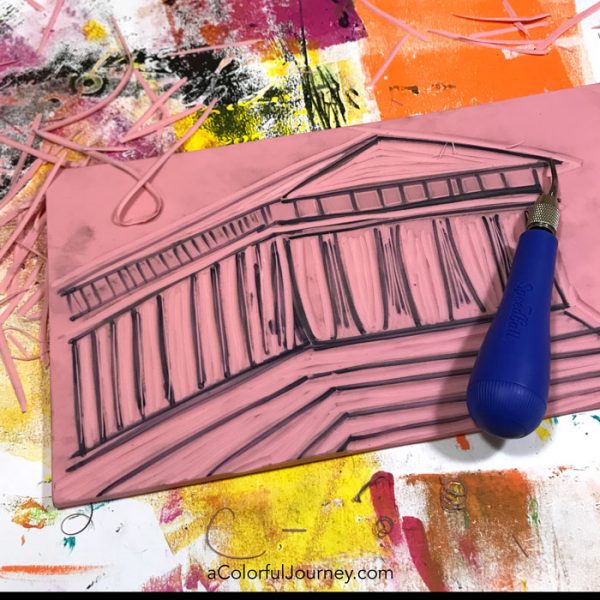
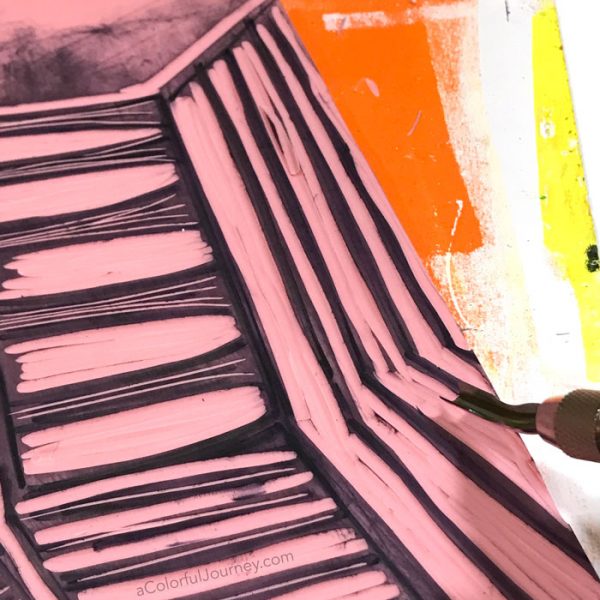
Step 4. Carve away the pink rubber around the black lines using a carving tool. Bigger tools have less precision than smaller tools so I start with the big tool first, then go in and do the finer details with the smaller one.
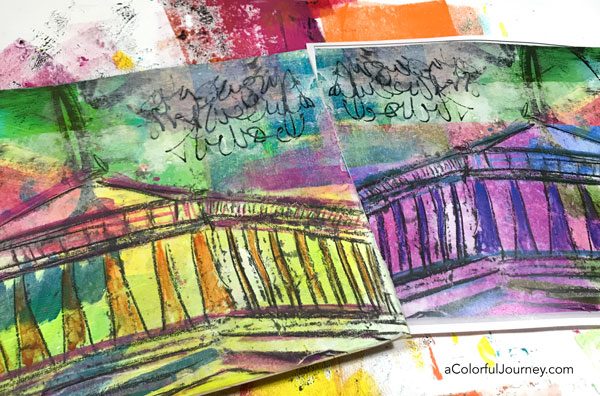
Step 5. When you have the stamp mostly carved, ink it up and stamp it. This will make any areas that need to be cleaned up stand out. Notice the little black lines and ridges that are out of place? Now that they have black ink on them, I can see where they are and carve them out.
You’ll probably need to ink it up and test it multiple times to get all the details the way you want them. But stamping a large image like this can be tricky to get a strong clear image, unless you use paint. Want an easy way to do that?
Stamping large images with an ink pad often gives less than ideal images. To create dark strong lines, try using paint instead.
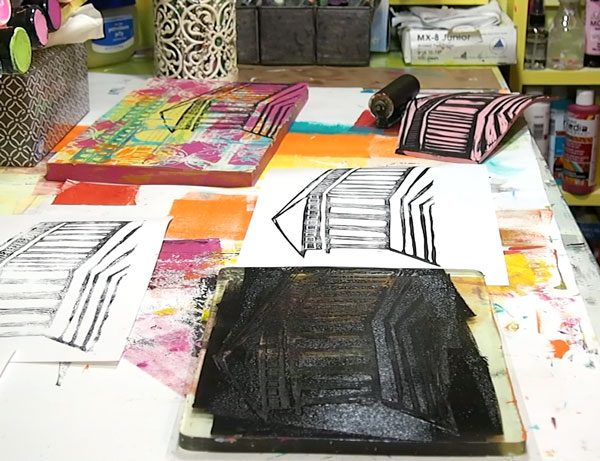
Put black paint on a gel plate and use that to “ink up” the stamp. You can also brayer paint directly onto the stamp. When using a gel plate as the palette where the brayer is loaded with paint or simply as a the big “stamp pad”, not a drop of paint is wasted.
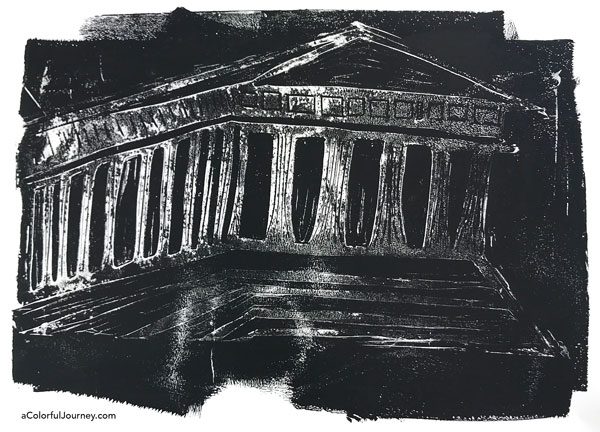
What is on the plate has the image of the stamp in it, creating a completely different look than stamping the image traditionally directly on to paper.
Ready for more ways to use your gel plate? Then check out Gel Printing FUNdamentals self paced workshop. It’s filled with ways to get the most out of your plate.
Here are the supplies used. Some of these links are affiliate links which means I get a small percentage. It doesn’t cost you anything extra and it helps keep the free tutorials coming!
There are many size options of the stamp carving blocks, the one I used was the 6″ by 12″ one.
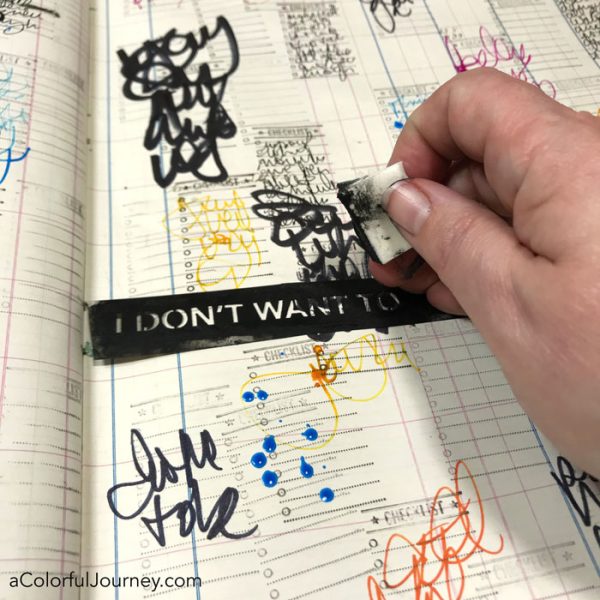
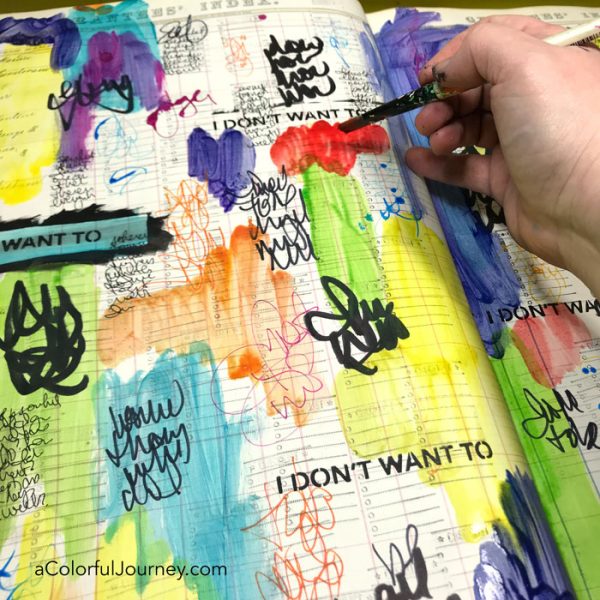
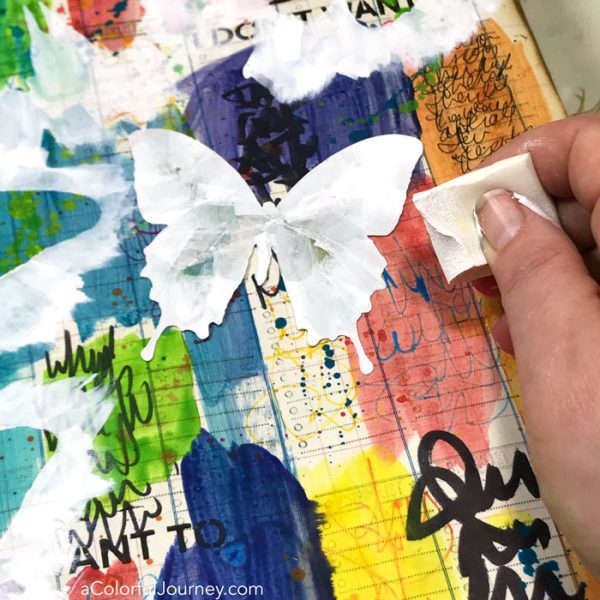
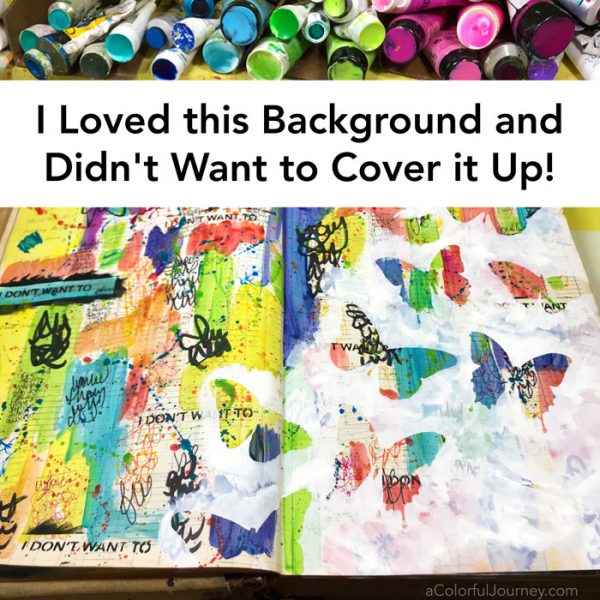 Ever have a background that you love and when it comes time to cover some of it up, you don’t want to? That’s what happened to me but I found a way around it by using a butterfly stencil-mask and some white paint.
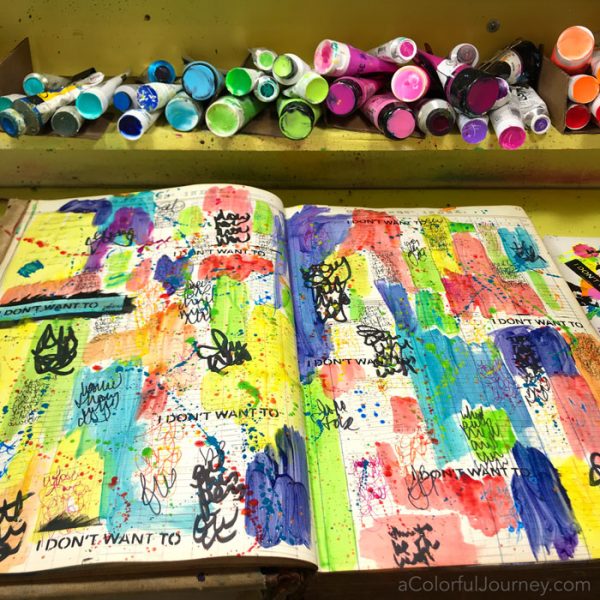
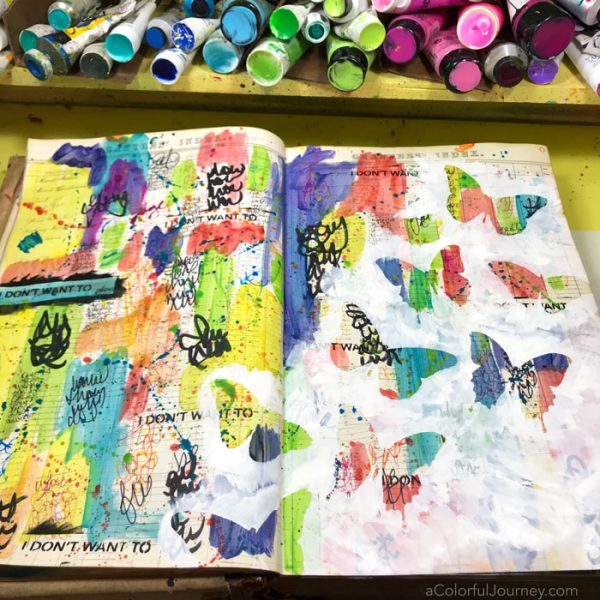
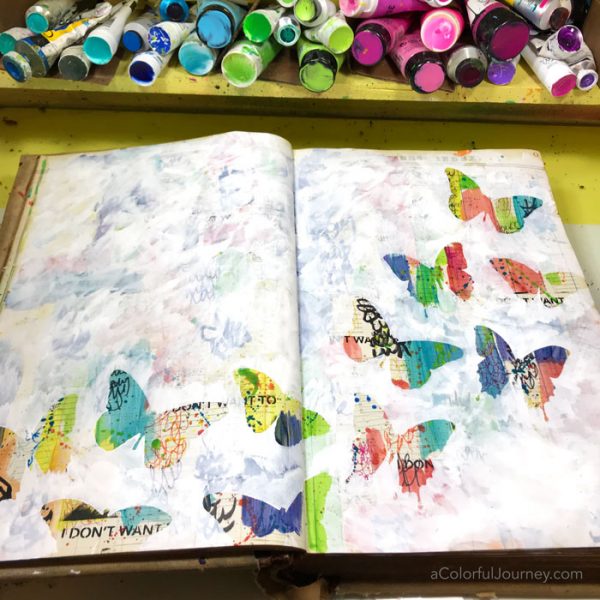
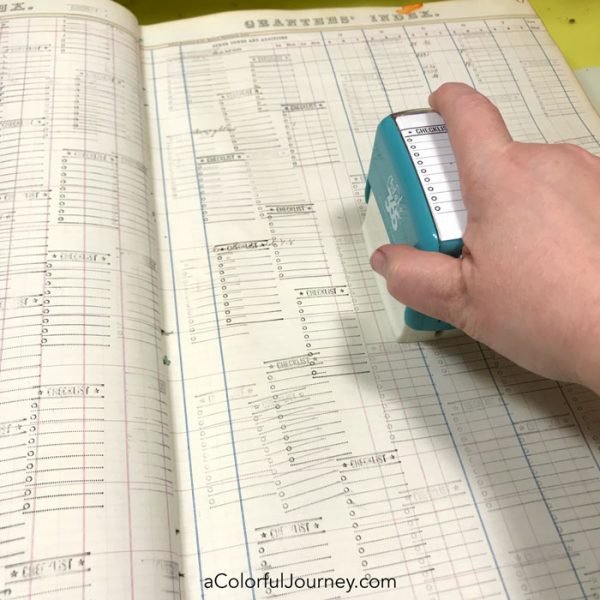
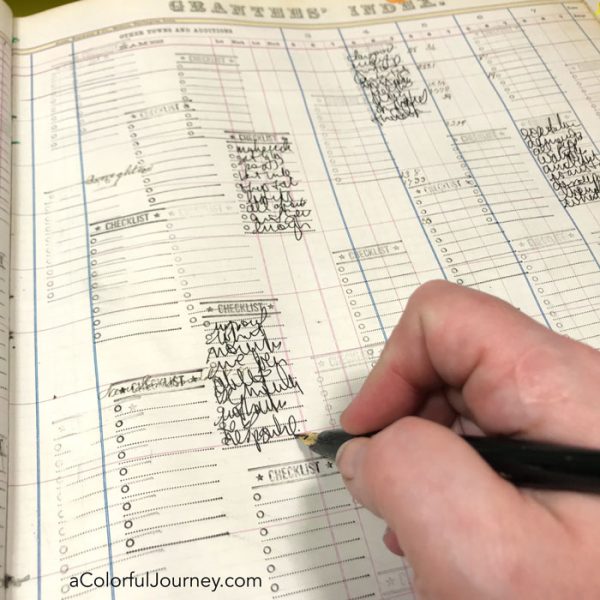
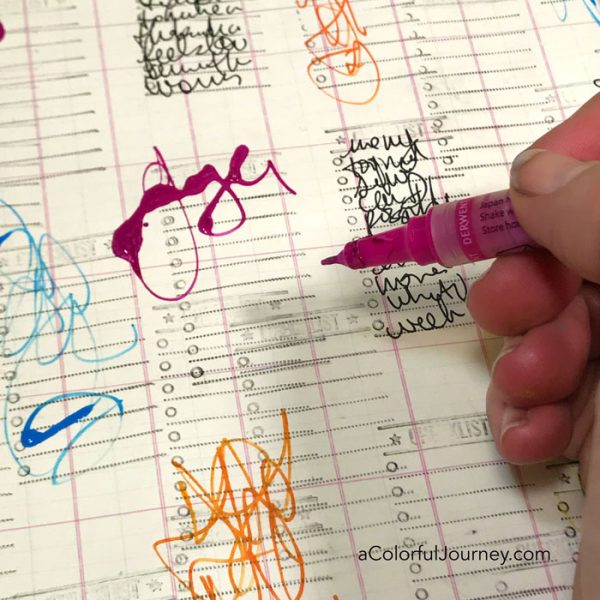
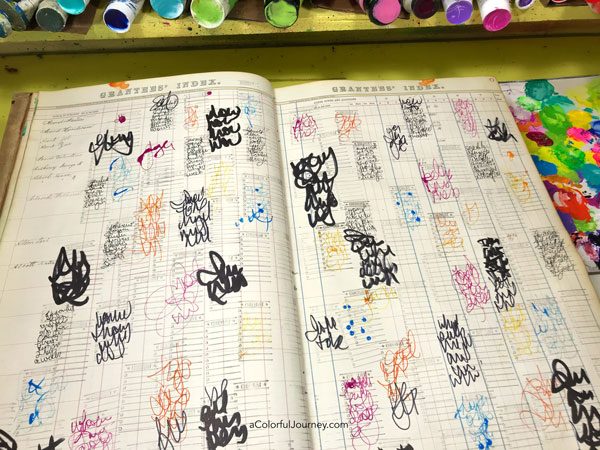
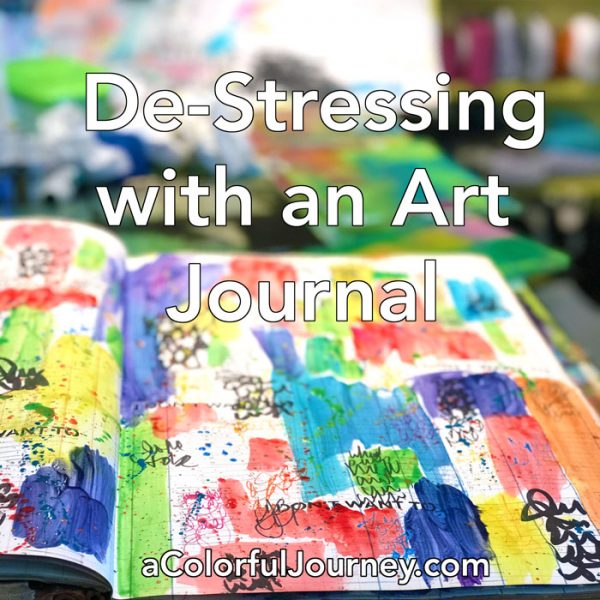 The to-do list felt never ending. There wasn’t enough time to get it all done. Ever felt that way? I was feeling overwhelmed so I turned to my art journal to help me, the 150 year giant tome of a art journal. It’s fitting that something so big will help me with a big to do list.