What’s the play for today? It’s all about wanting and waiting for that perfect idea. Perhaps you’ve been wishing waiting for that too. I was treasuring an art journal page and waiting for that “perfect” idea to appear out of thin air. After waiting quite a while, I realized play was the perfect idea!
So I grabbed what was nearby and let loose. In the video, you’ll also see tips and tricks for how to glue tissue paper into an art journal without ripping it.
Watch Art Journaling and Tips for Gluing Tissue Paper on YouTube.
Art Play Prompts mentioned in the video can be found here.
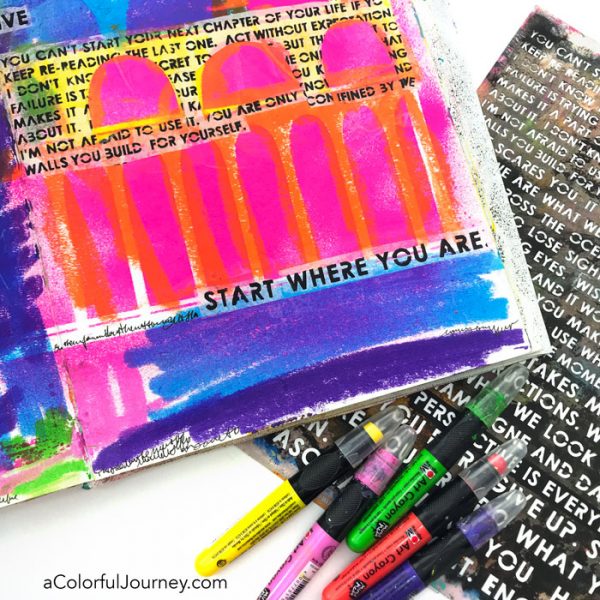
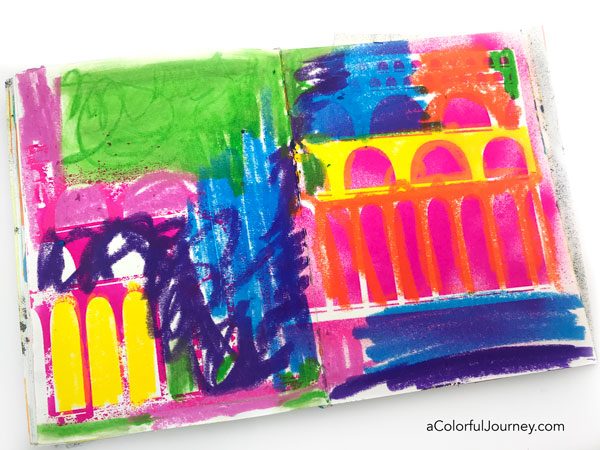
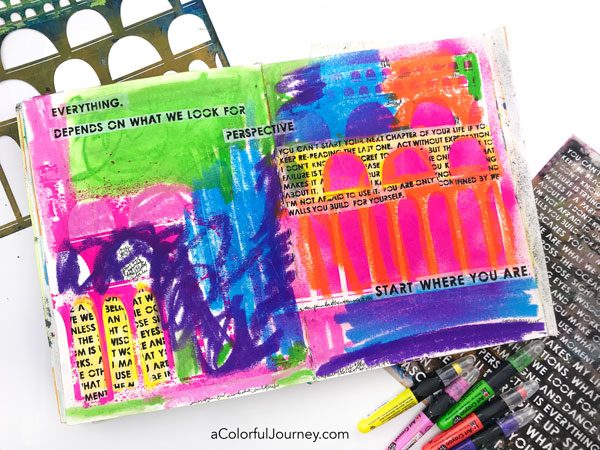
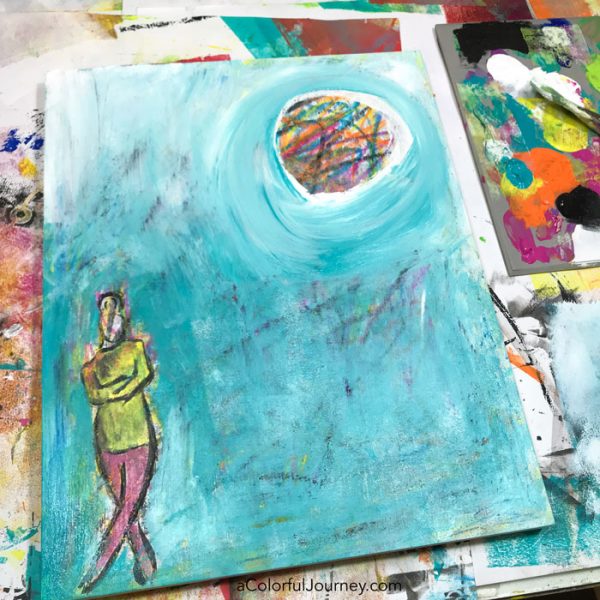
How did this page start? It was just spray ink and my Arched Aqueduct stencil. Nothing fancy, but I loved how it looked on the page. I could have stenciled it again as many times as I wanted, but for some silly reason, where this one started felt like a treasure.
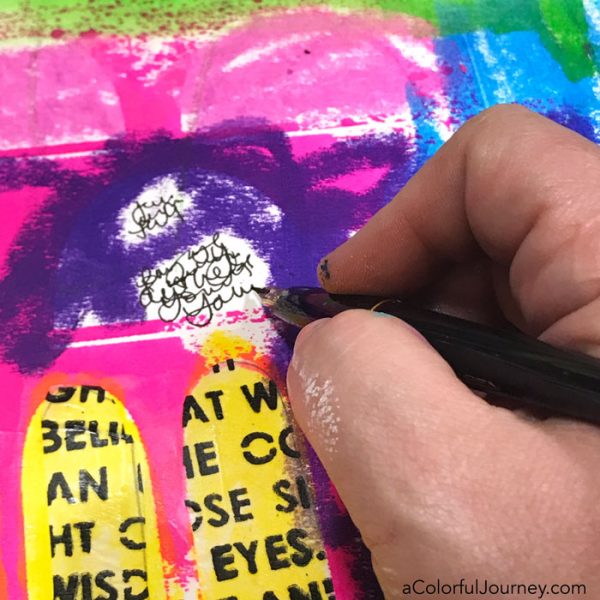
What are the 2 important things to know about gluing tissue paper into your art journal?
- Use a runny glue. Use whatever brand you have, the most important part is that it is runny or fluid. If you have regular gel medium, just mix a bit of water with some of it it create a more fluid glue. You’ll want to keep your tool wet so that it glides over the tissue paper.
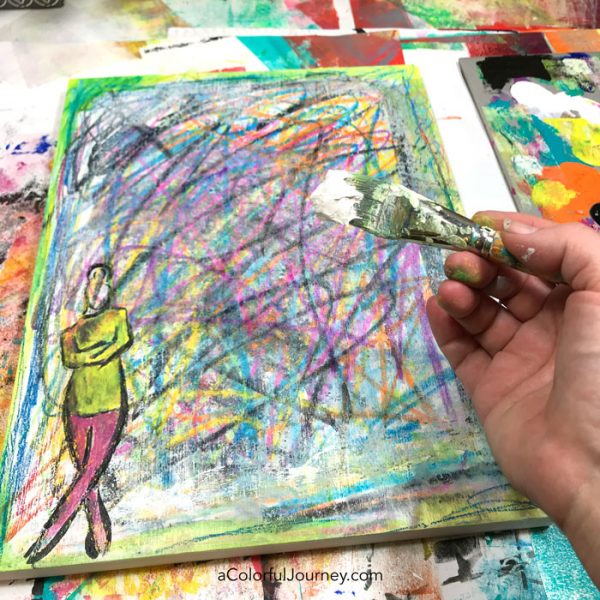
- A spatula tool. Compared to a paint brush, it really reduces the ripping and tearing of the tissue paper. I use the Catalyst one and it only takes a light touch.
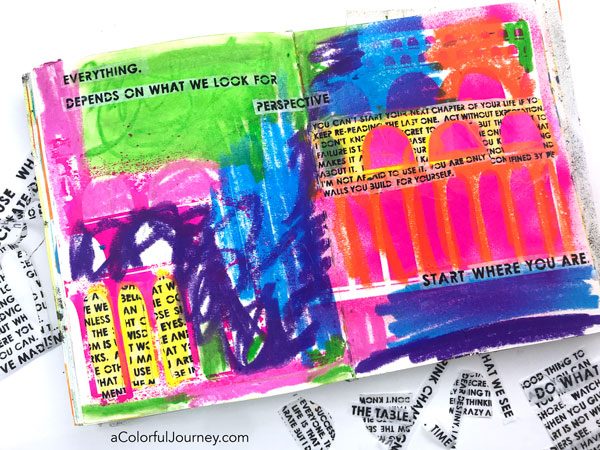
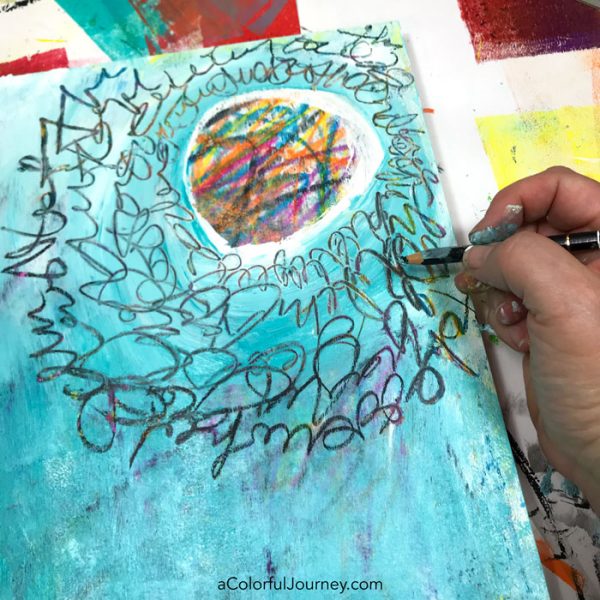
If you’re going to journal over glue or paints, you want to wait until it is dry. But I didn’t have any patience, so I simply scribble journaled in any of the black white spaces on the page.
So how did I get that printed tissue paper? It was stenciled with acrylic paint onto plain white tissue paper using my Wall of Words stencil. You can use any color you want, it’s like creating custom book text only with bolder print.
The bolder print allowed me to create titles and text on this page that stood out, even with all the color happening. You might notice that I’ve rearranged the words from how they are on the actual stencil. That gives you even more options as to what you want to say!
Next time you have an art journal page and you’re waiting for the perfect idea, give play a try- it just might be the one you were waiting for!
Here are the supplies used. Some of these links are affiliate links which means I get a small percentage. It doesn’t cost you anything extra and it helps keep the free tutorials coming!

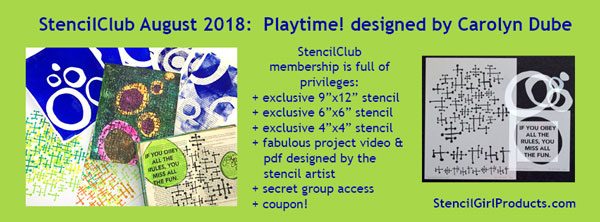
 Honored to be sharing the play with you this month as the artist for August’s