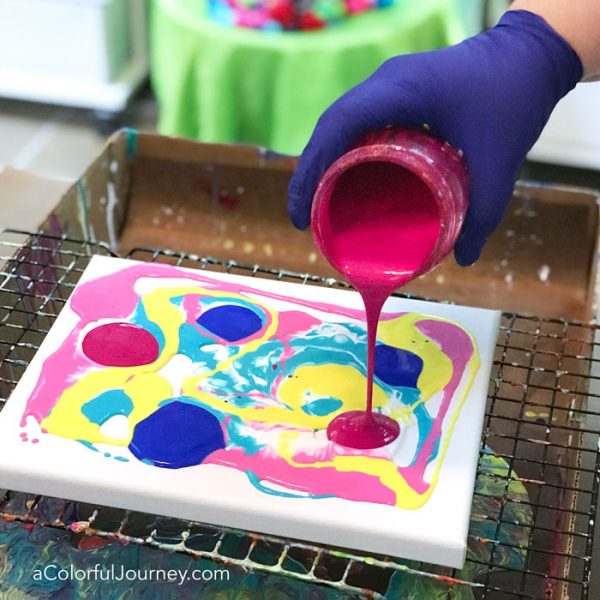
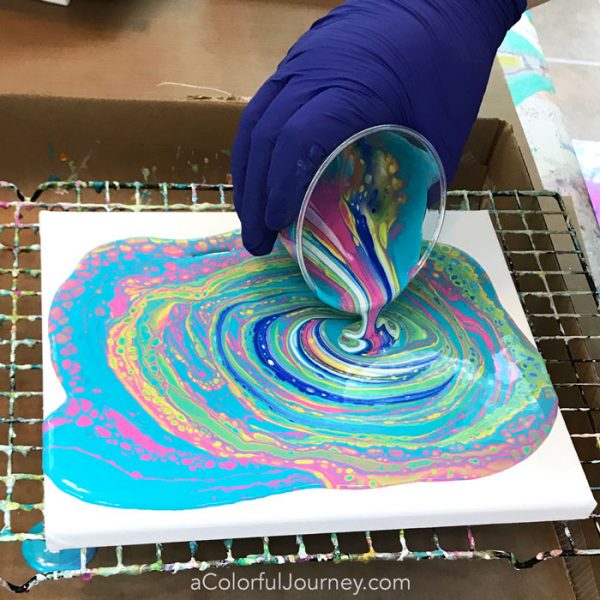
Maybe I went too far with a 6 cup dirty pour. But it was so much fun to just let that paint pour out! I’d been experimenting with some new ideas and had mixed up a ton of paint when my inner teenager showed up.
One of these cups would have been enough. 2 is ample but 6 made that attitude filled inner teenager happy beyond words.
Watch 6 cup flip pour on YouTube.
Do you need this many colors? Nope! Then why do I have so many? I was driven by curiosity to understand the why the paint did what it did.
That led to a lot of experiments with different pouring medium recipes. What did I learn from all my colorful explorations? The FUNdamentals of the science behind why the paint does what it does. I’ve taken what I learned and broken it all down step-by-step so you can get all the fun of pouring and really understand what’s happening in Paint Pouring FUNdamentals.
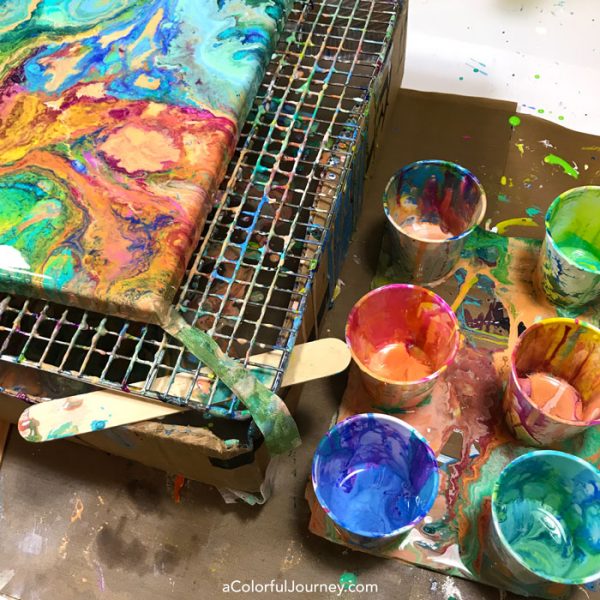
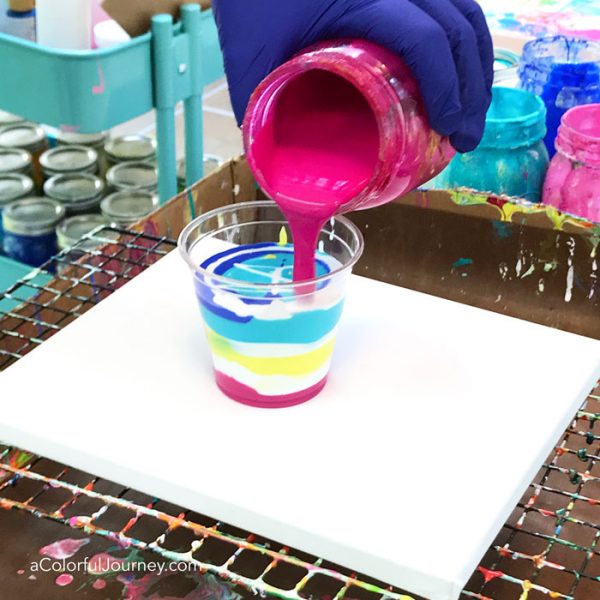
The paint was mixed in jars so that I could put a lid on it and keep it ready to go anytime I wanted to play. Cuts down on the prep time which makes the impatient part of me very happy.
With this much paint mixed up, it meant I could go all in on a 6 cup dirty pour.
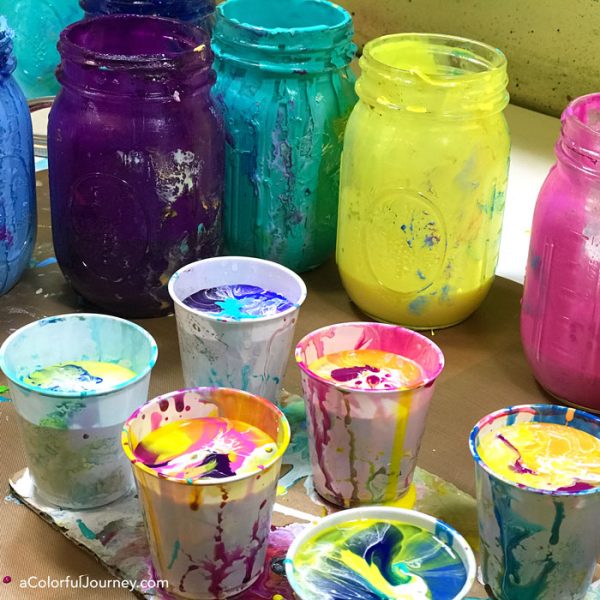
In these cups are 3 different pouring mediums. Some have Floetrol, some have DecoArt Pouring Medium and some have Liquitex pouring medium. I found it fascinating that the ratio of paint to pouring medium that worked best for me was the same for all three.

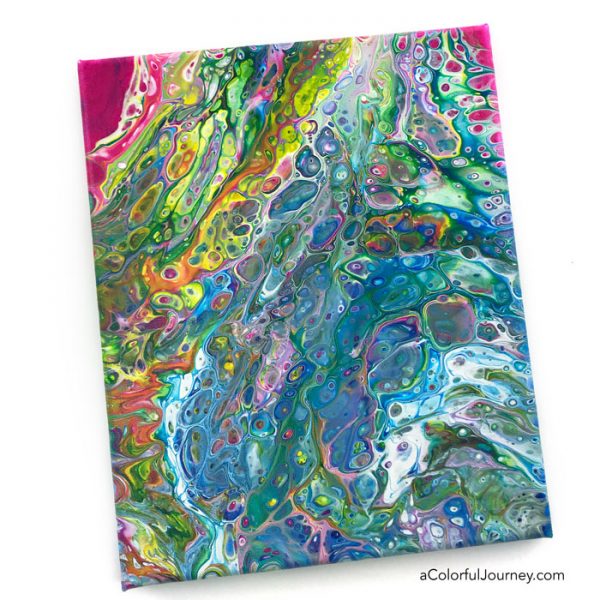
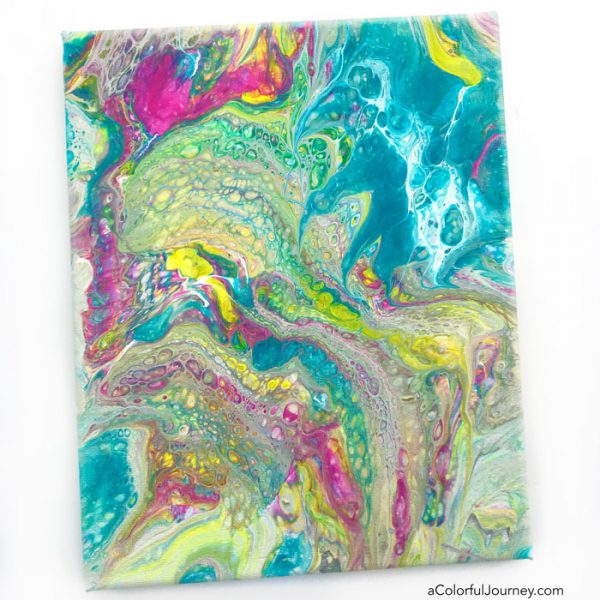
Seeing the color move is like having a living Impressionist painting, alive right before my eyes. With this much paint involved, the canvas will do a lot of moving before it dries.
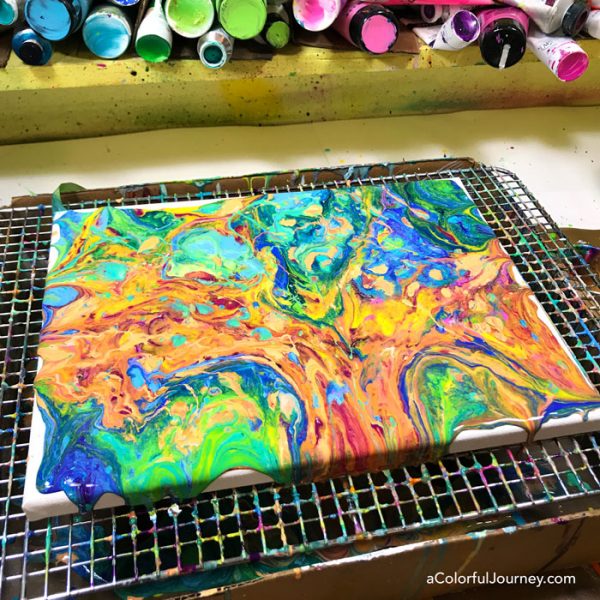
Even though a level was used to be sure it was level, the paint is running over one side more than another. That fancy tool, the popsicle stick, raised up one side and slowed the river of paint.
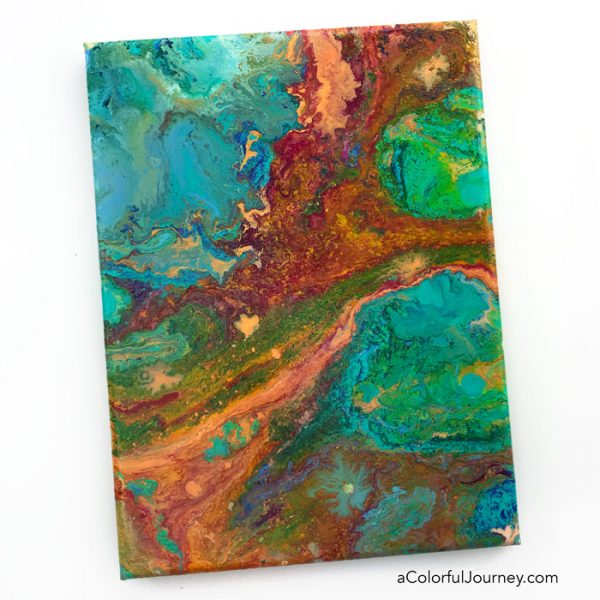
Why did the paint move so much while it dried? Why isn’t the canvas smooth now- it was when it was wet? Where did that brown come from- I never added that color? You know exactly why that all happened when you know the Paint Pouring FUNdamentals.
So did I go too far with a 6 cup dirty pour? My logical side says that was way more paint than I needed. The teenager in me said, maybe try even more paint next time!


 What supplies do you need to bring? All you need to bring is an apron. Everything else, and I mean everything, is included. Deco Art Pouring medium, cell making additives (yes, more than 1), paints, 10 canvases (8×10 size) and more. Everything you need to make ten canvases in one day. Even lunch is included from Evonda’s Cafe.
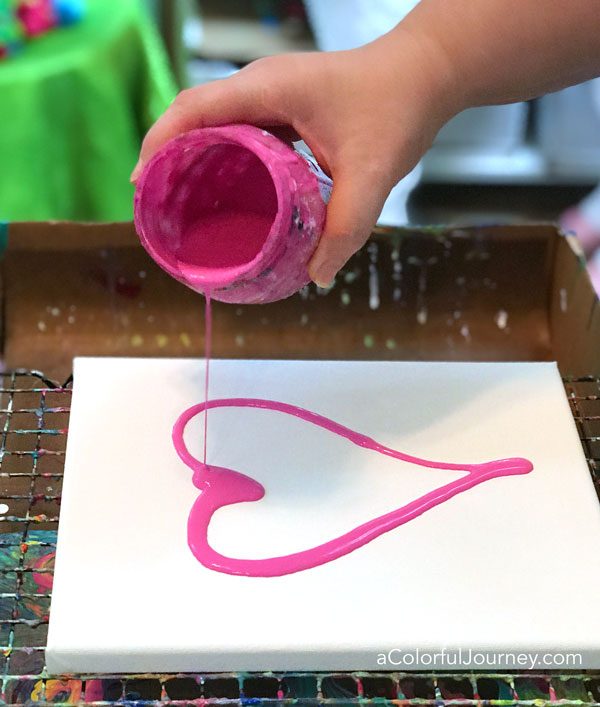 What’s the benefit of making 10 in one day? The play and the practice.