Welcome! I’m Carolyn Dube – This colorful journey is all about the freedom of play!
Search My Blog
Search by Category
The Fine Print
Some of the links on this blog are affiliate links and I receive a small percentage. It doesn't cost you anything extra and helps keep all the free tutorials and videos coming! It's a win-win!
The website is copyright Carolyn Dube, and that is kinda common sense since this is my site.
As an Amazon Associate I earn from qualifying purchases.
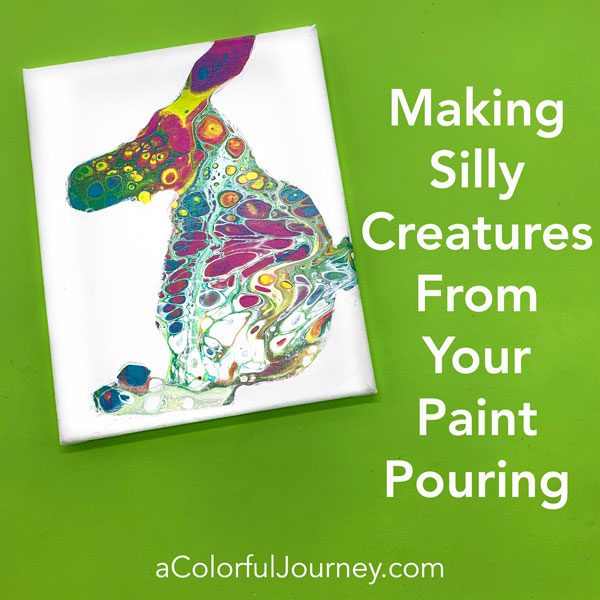
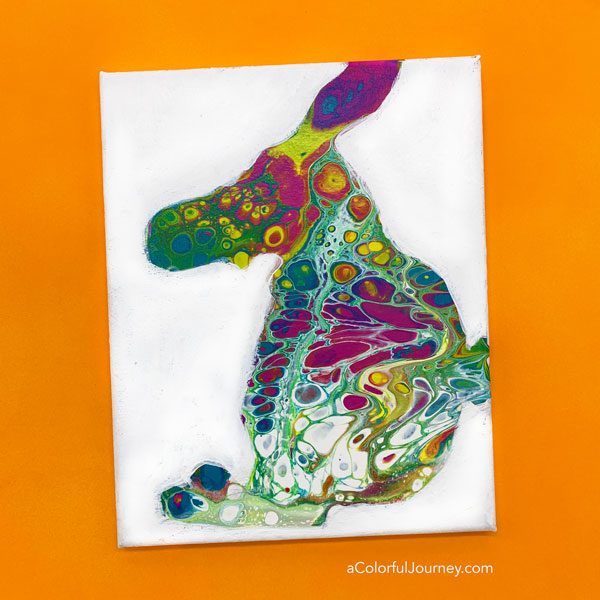
Paint pouring can make drawing easier. Really! Create playful creatures without the pressure to get proportions “right” or any other intimidating facets of drawing. How? By finding shapes in the cells of a poured painting.
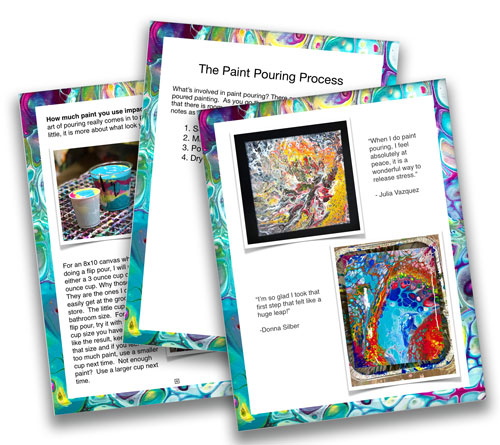
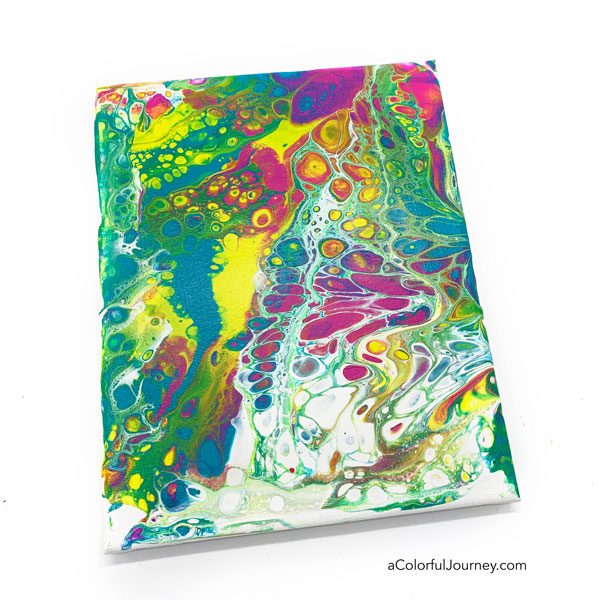
You start with any poured canvas. The more cells the better for finding characters and creatures in there. If you’re curious how to do a canvas like this, I’ve got the entire process for you in a free download, The Paint Pouring Blueprint.
If I was looking at a blank canvas, it would feel paralyzing to draw something but when I start with a poured canvas I’m just looking for what is already there. So no pressure!
Every canvas is different, so if you’re not seeing something right away, turn the canvas to look at it from a different angle or prop it up on the counter and step back from it. Changing your perspective can help creatures and images pop out.
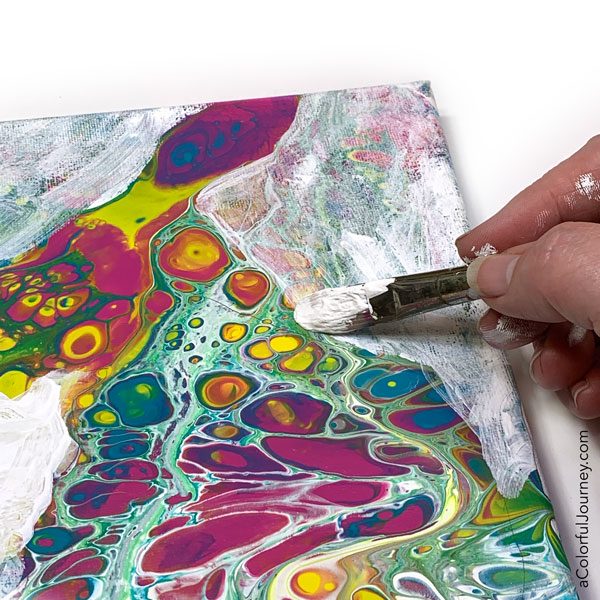
Using a pencil, lightly draw the shape you see directly on the canvas. On this one, I saw a wonky bunny rabbit. You might see something different. That’s the fun of this, each person can see something totally different.
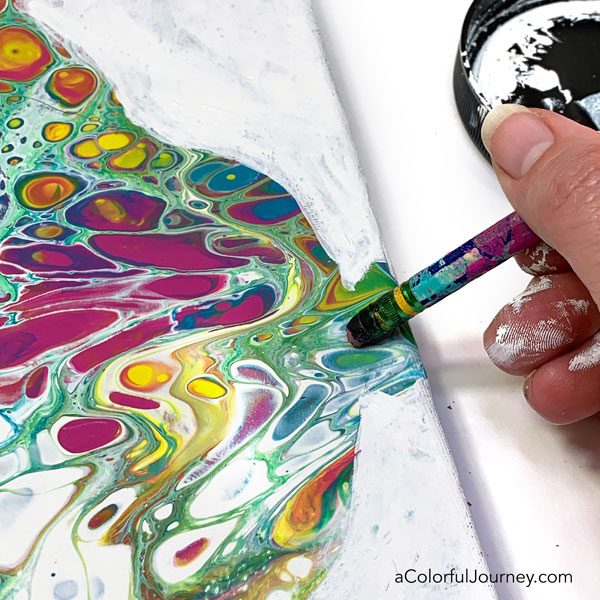
Once you’ve drawn the outline of the shape lightly in pencil, start painting around it. Use any color of paint that you want.
But be aware, that lighter colors may take more than 1 coat to cover up any darker colors underneath. If you’re more patient than me, let it dry between coats.
After you’re done painting, erase any visible pencil lines.
Do you need to seal this before you put it up on the wall? Since it was done with acrylic paints no sealing is required. But if you want a super shiny look, then you’ll need to add a gloss finish to it. Something like DecoArts TopCoat or Polycrylic will make it shine.
Next time you’re doing paint pouring, see if you notice any playful creatures or characters on your canvas!
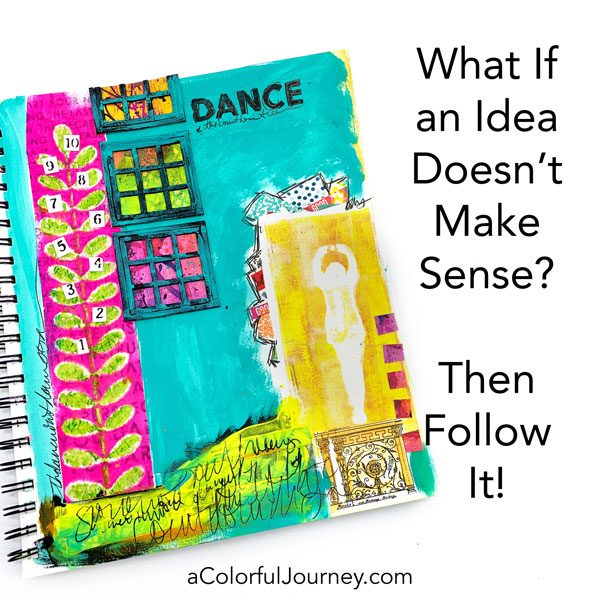
Ever get a crazy idea that just doesn’t make any sense to you? When you’re art journaling, ideas can be nonsense – so follow them! In the video, you’ll see what idea got stuck in my head plus when I had a great big case of hesistation– and why that’s a good thing!
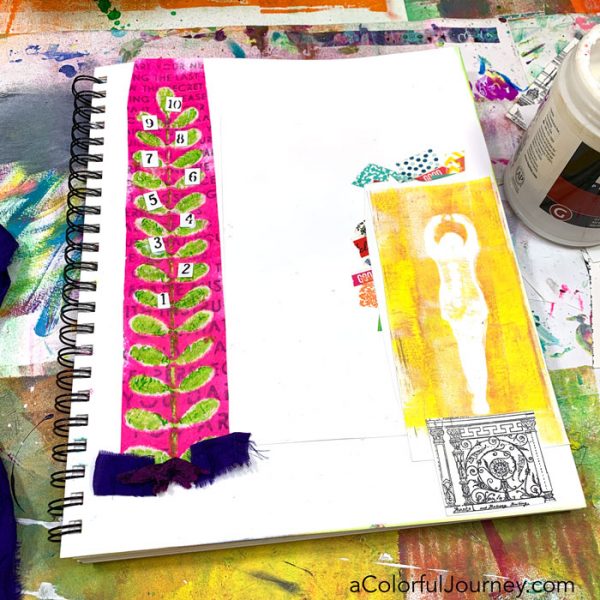
Is this a carefully curated pile of inspiration? Nope, it’s just stuff that called to me from my box of leftovers. Just because I grabbed all of it, doesn’t mean that I have to use all of it, even the parts I really wanted to use, like the purple ribbon.
Zero hesitation when it came time to glue these down and you might be thinking, wow, that’s so cool. She never has to deal with that hesitation. Oh to wait until a little bit later and you’re going to see when I hesitated, and why that made it fun!
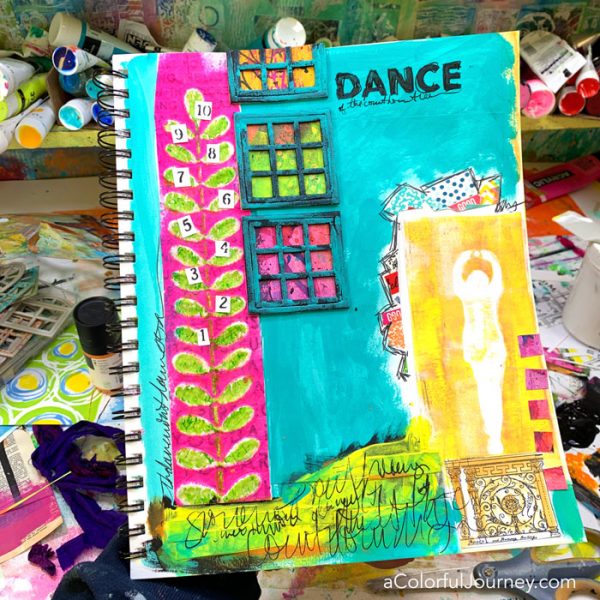
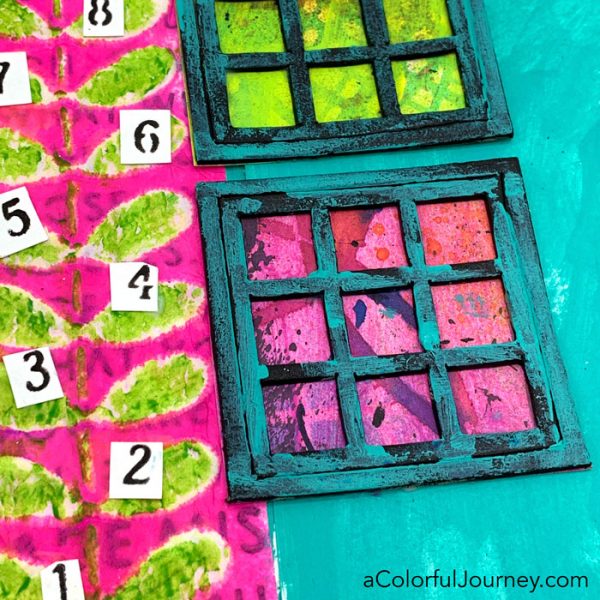
The numbers 1 to 10 cut from my Never Ending Calendar stencil planted a seed in my head that I could not shake. I kept coming back to counting down and blasting off. Only there’s nothing here that is saying blast off to me…yet.
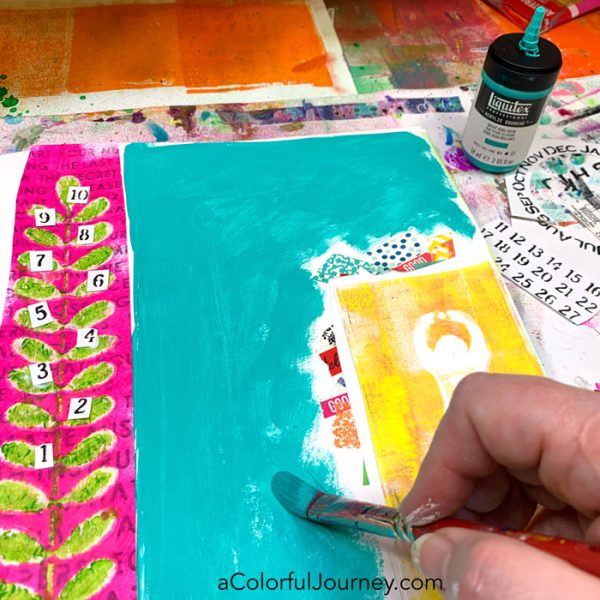
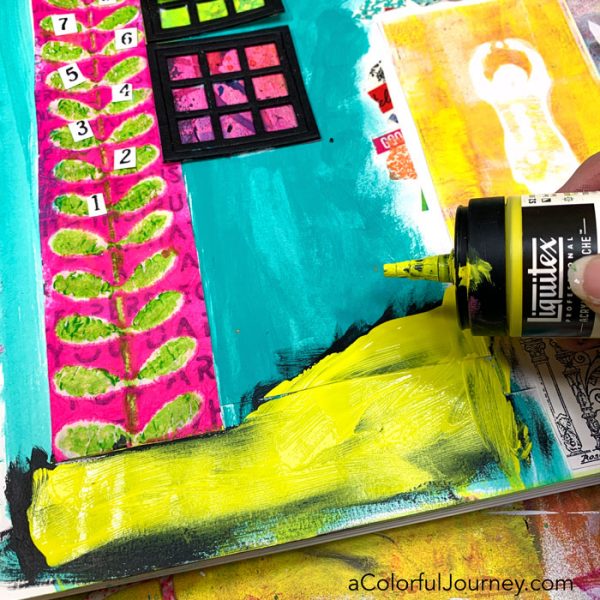
To cover up the background I used acrylic gouache. One of the cool things about this paint is that it behaves like a hybrid of watercolors and acrylic paint. When you add water to it, it acts more like a watercolor, but when it dries, it dries like acrylic paint.
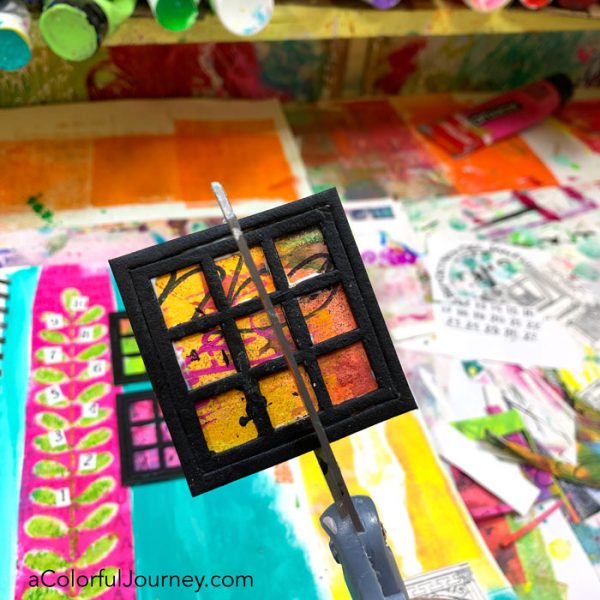
I wanted 3 windows on the page. I really wanted them but 3 windows didn’t really work on the page. No matter how many ways I rearranged them or move them around they’re too big and too much.
I knew what I had to do, but I just didn’t have the heart to do it. I was going to have to cut one of them, but once I cut it, there’s no going back. That window will never be the same and I love those three windows.
There was so much hesitation about cutting these windows apart as if it was a huge risk. I could have made more and done this all over again. But it felt so huge to me. Ever feel that way?
But all that hesitation has a benefit. When you push through it you get an absolute rush. It’s almost like being at the top of the roller coaster with your hands up in the air when you take that risk.
Since I had the black paint out and a brush already in it, why not use it? O.O.P.S., and not a pretty OOPS either, but even the ugly ones are truly Outstanding Opportunities Presenting Suddenly. Even if you have no idea how it will become an opportunity!
Maybe a little bit of yellow on top of the black will make it not so avert your eyes ugly. But nope. Still not liking it. O.O.P.S. again.
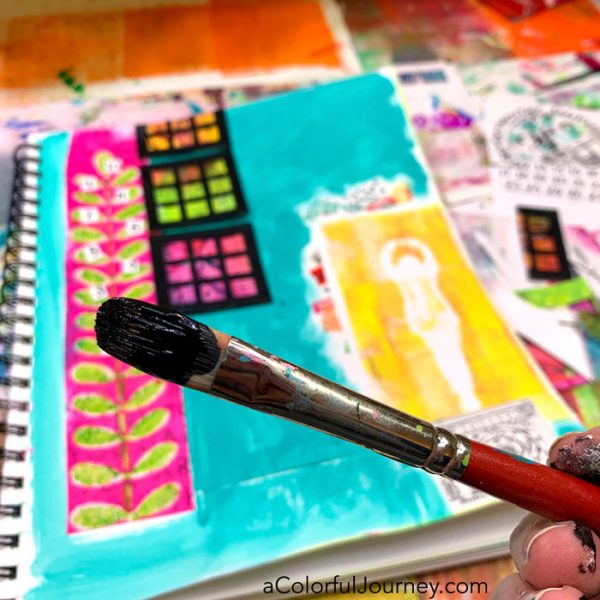
In the process of trying to rescue the yellow area, I used the teal paint. That’s when it hit me, put that on the windows too! The Opportunity in the black paint O.O.P.S. was finally clear. It was meant to be under another color!
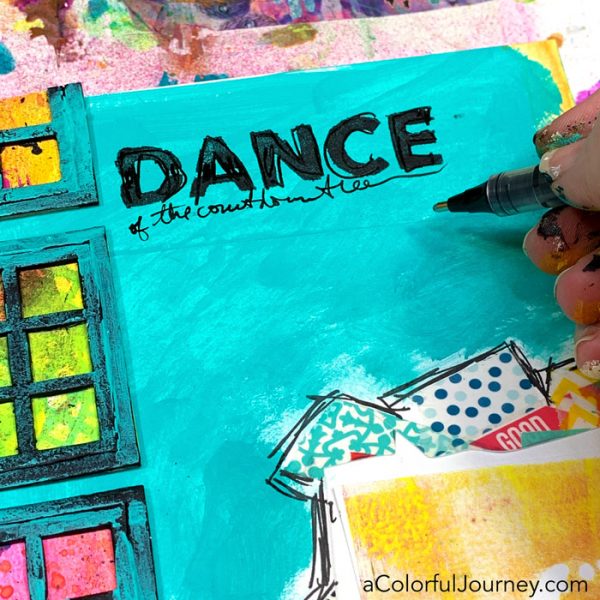
This whole time I had been dancing with the idea that I just couldn’t shake, the countdown, that didn’t seem to fit with what I was doing. As I added the word with The Dance of This Life stencil, I began to understand the story that had been developing on this page.
So that person dancing there is jack and he’s dancing in celebration. celebrating. He thinks he’s made the best deal of his life. You see, he had a cow and he traded that for some magic beans.
Well, when he got home, the family was very unhappy with this. They threw the beans out the window, he was in a wee bit of trouble for making such a big mistake. But what everybody thought was a big mistake turned out to be an amazing adventure. So upon that beanstalk, as it grew, that was the countdown for Jack going an amazing adventure.
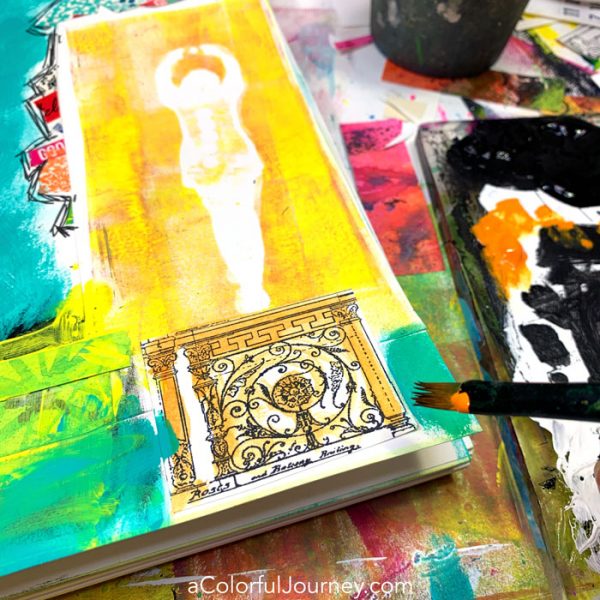
Once I understood the story, some of the things that I’d done make more sense to me like down there at the bottom where the black and put the yellow on it, it actually looks like a faraway meadow with just a little bit of a tree line. Way, way back in the distance, say where Jack’s cow might have been grazing.
Next time you’re playing, if you get a crazy thought in your head that just doens’t make sense, go with it anyway and see where it takes you!
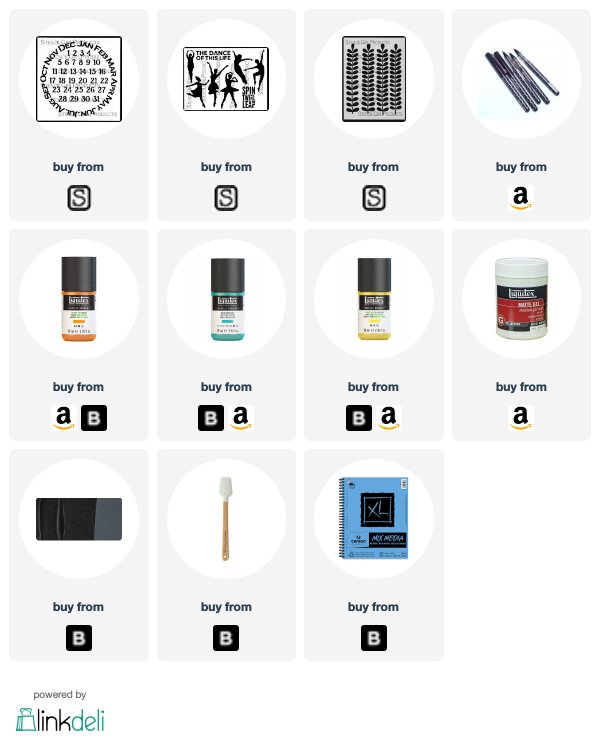
Here are the supplies used. Some of these links are affiliate links which means I get a small percentage. It doesn’t cost you anything extra and it helps keep the free tutorials coming! The Maya Road chipboard windows are no longer in production and the architectural stamped image is Stamp Camp I think but they are no longer in business.
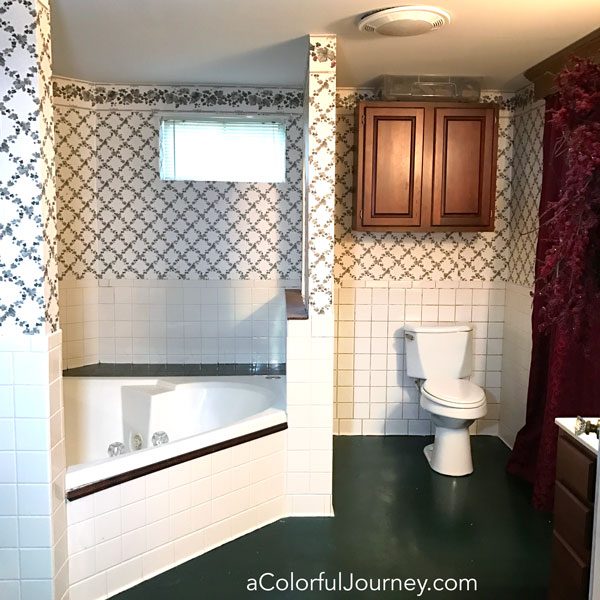
Did you see when I gel printed directly on the wall? It was a while ago and here’s an update on what’s been going on in the bathroom. There’s really no good way to write bathroom update and not have it mean the wrong thing lol!
These bathroom walls are being treated like a great big art journal. The same things, and supplies, that I use on paper, I’m using on the walls.
Here’s what it looked like before I started gel printing on the walls. There is such a fun sound a gel plate makes when it hits the wall!
I’ve been adding to this room for a while now. Will it ever be finished? Not in the traditional sense. It will forever be evolving. Any time I want to add a touch of color, a bit of scribbling, or a hint of a pattern, I’m going to do it.
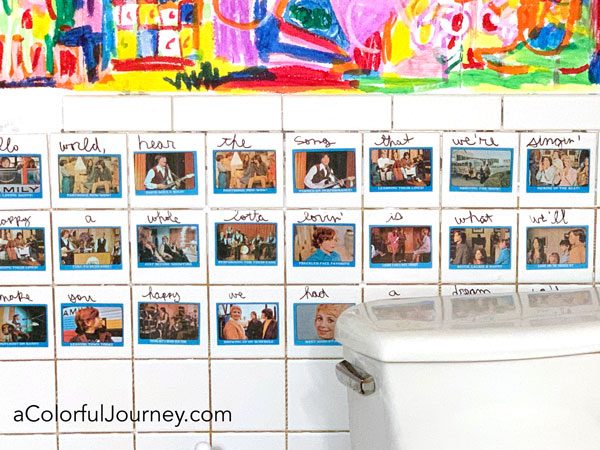
This is my place of rebellion. I painted right over the wall paper, stuck washi tape on the wall, and used black crayons.
You might be wondering who I am rebelling against with this since I’m an adult and this is my house. It’s the voice of shoulds and musts in my head, and the advice from my mother about how you have to keep a house a certain way if you ever plan to sell it.
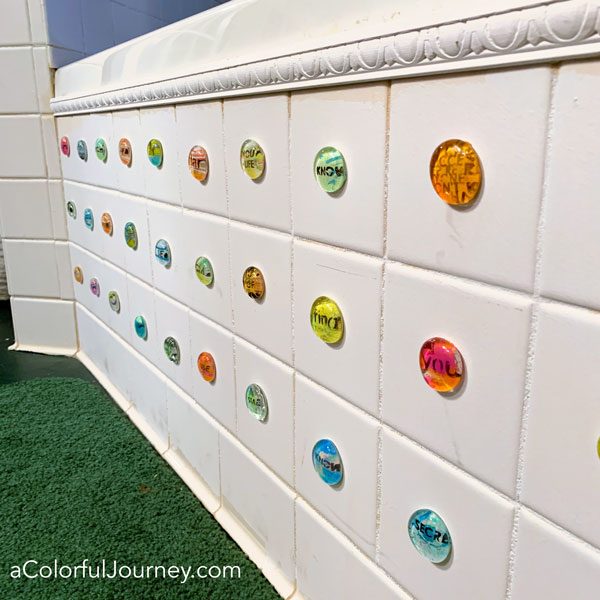
Yes, those are Partridge Family trading cards glued on to the tiles. Let’s just say I shouldn’t bid on multiple auction on ebay assuming I won’t win them all…
If it looks like I abandoned the big colorful circles, you’re right. While working on that I had the idea to glue on the glass word pebbles. Those were made with stencils and a gel plate – you can see how in this video.
If you’re curious what the rest of my creative space looks like, check out my Studio Tour and the rainbow stairs.
This website uses cookies to improve your experience while you navigate through the website. Out of these cookies, the cookies that are categorized as necessary are stored on your browser as they are essential for the working of basic functionalities of the website. We also use third-party cookies that help us analyze and understand how you use this website. These cookies will be stored in your browser only with your consent. You also have the option to opt-out of these cookies. But opting out of some of these cookies may have an effect on your browsing experience.
Necessary cookies are absolutely essential for the website to function properly. This category only includes cookies that ensures basic functionalities and security features of the website. These cookies do not store any personal information.
Any cookies that may not be particularly necessary for the website to function and is used specifically to collect user personal data via analytics, ads, other embedded contents are termed as non-necessary cookies. It is mandatory to procure user consent prior to running these cookies on your website.


 So that person dancing there is jack and he’s dancing in celebration. celebrating. He thinks he’s made the best deal of his life. You see, he had a cow and he traded that for some magic beans.
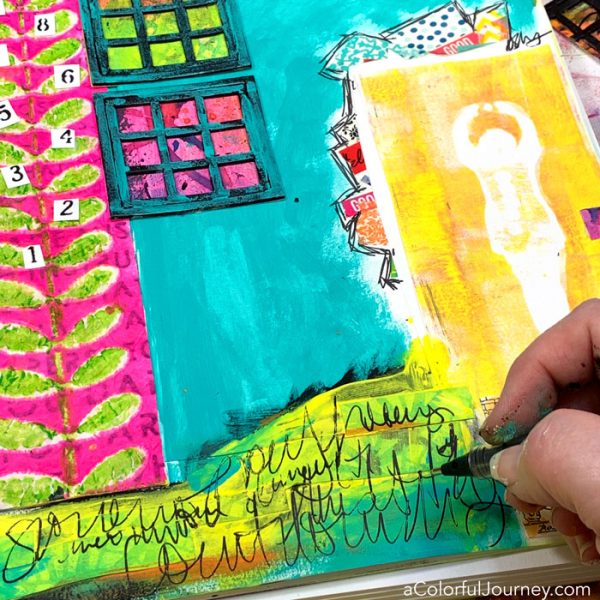 Once I understood the story, some of the things that I’d done make more sense to me like down there at the bottom where the black and put the yellow on it, it actually looks like a faraway meadow with just a little bit of a tree line. Way, way back in the distance, say where Jack’s cow might have been grazing.