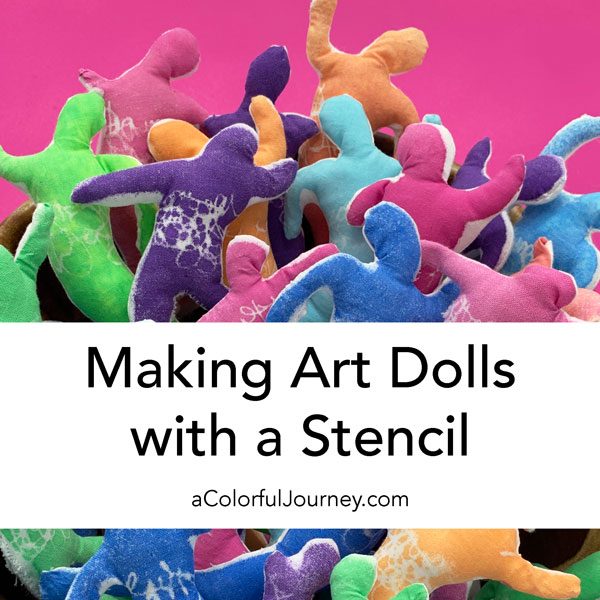
Stenciling I know. Sewing, not so much. Taking Home Economics in middle school 30+ years ago can only help you so much. But how hard could this be to take a stencil and turn it into dolls? Famous last words.
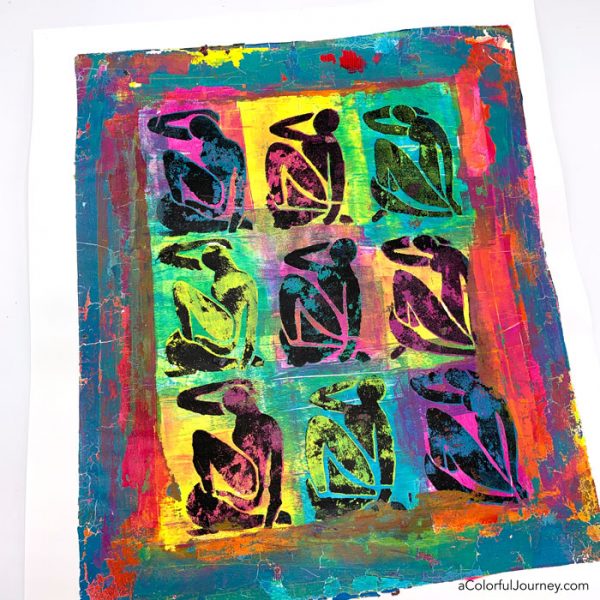
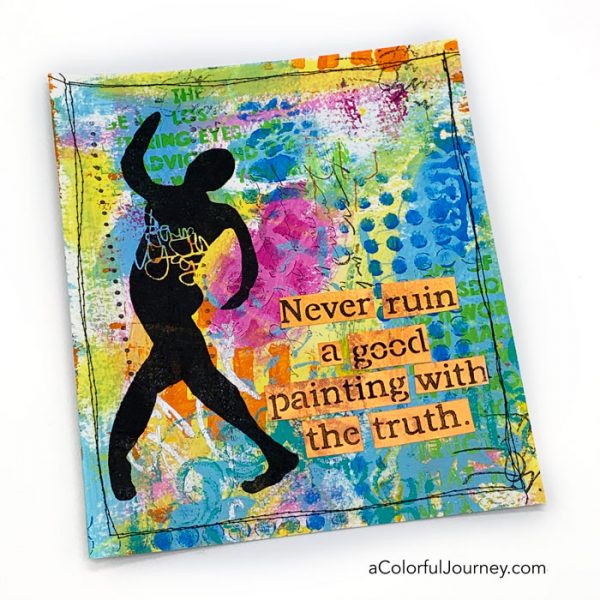
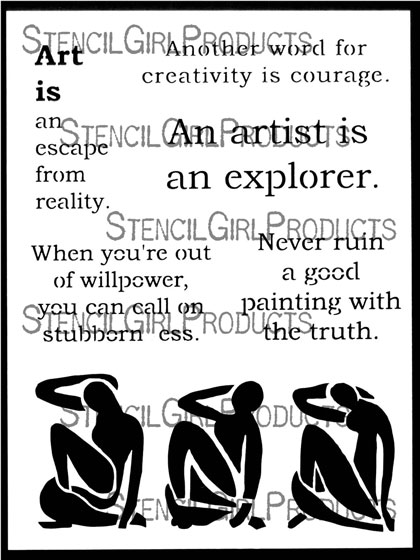
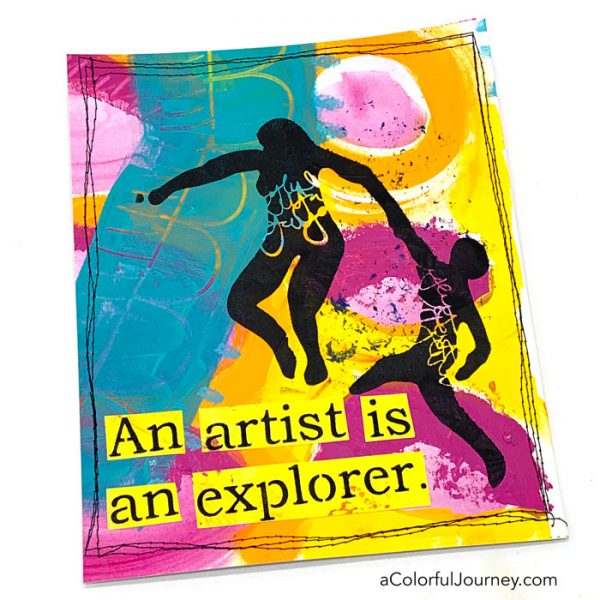
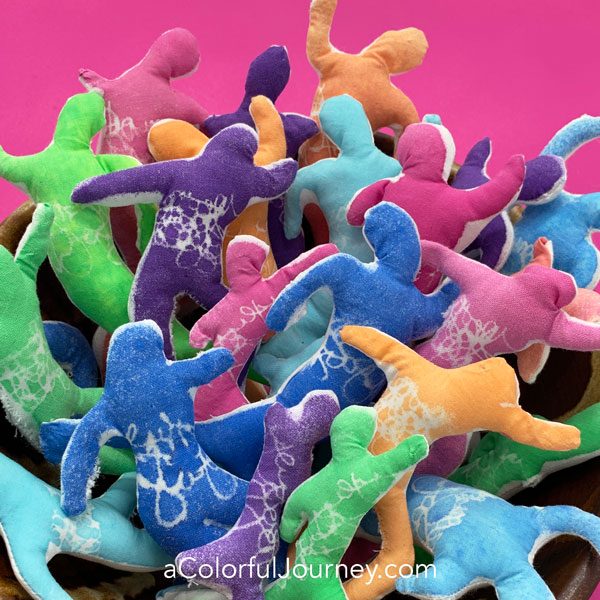
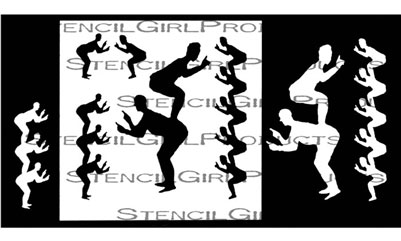
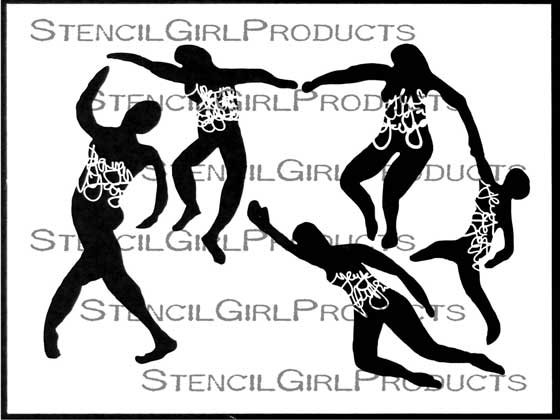
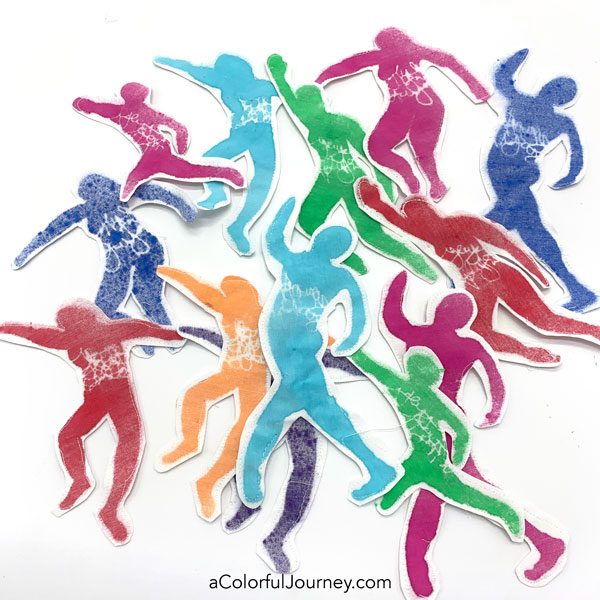
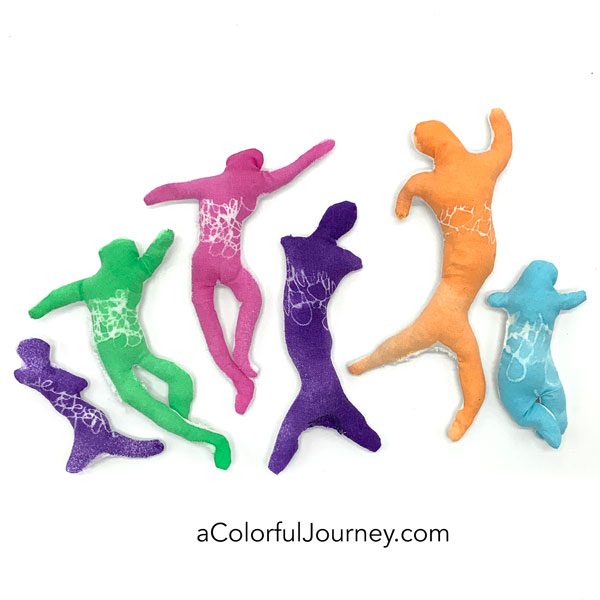
The stencil used to make these art dolls was inspired by Henri Matisse’s The Dance painting. His figures were not about proper proportions or exacting realism so it’s fitting that these dolls each ended up with their own shapes. I am not the most skilled seamstress and making really small arms had consequences.
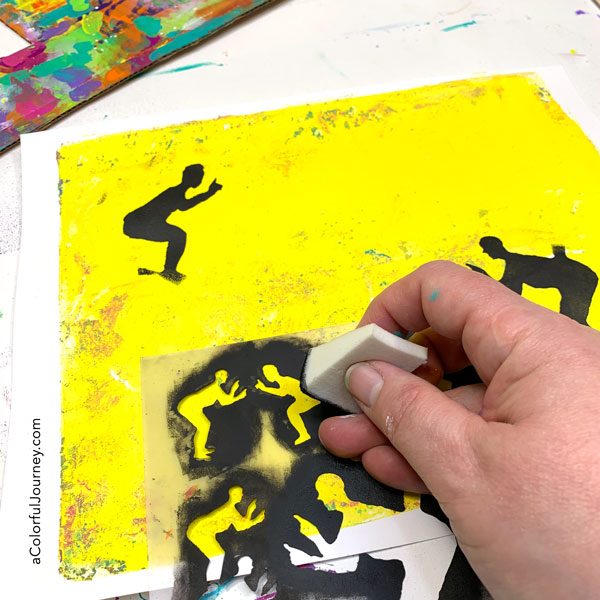
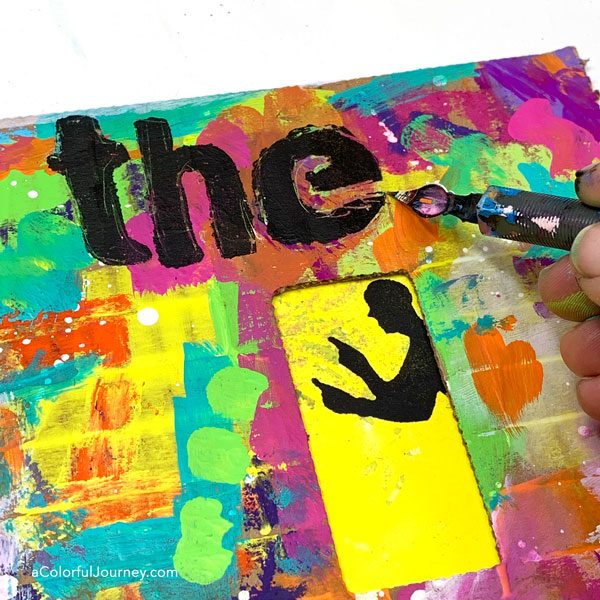
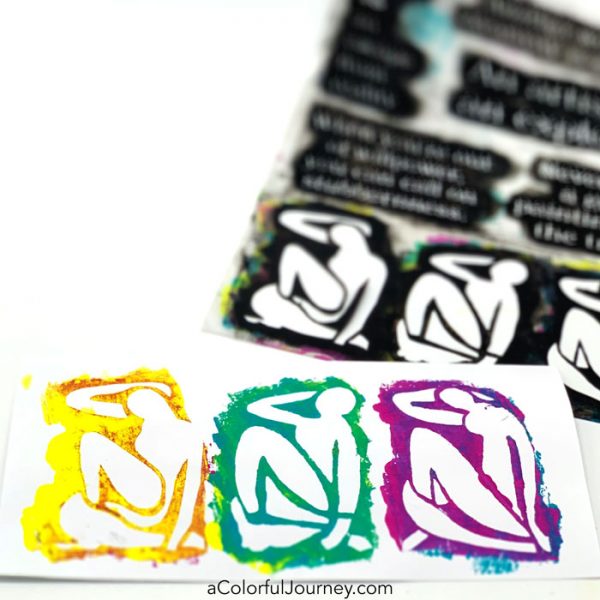
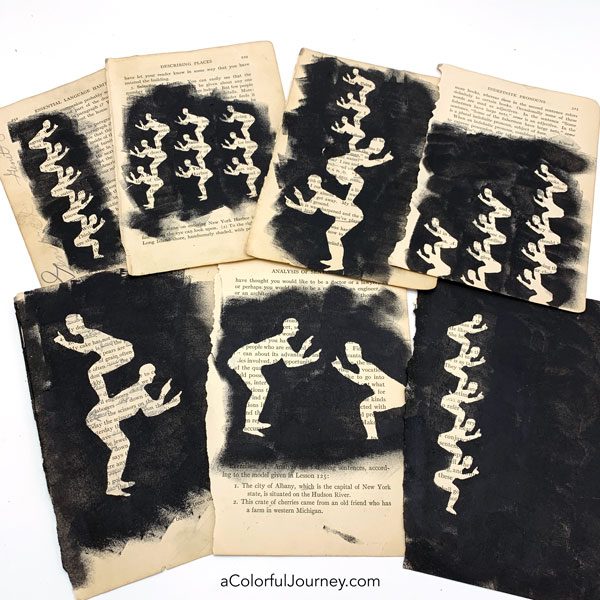
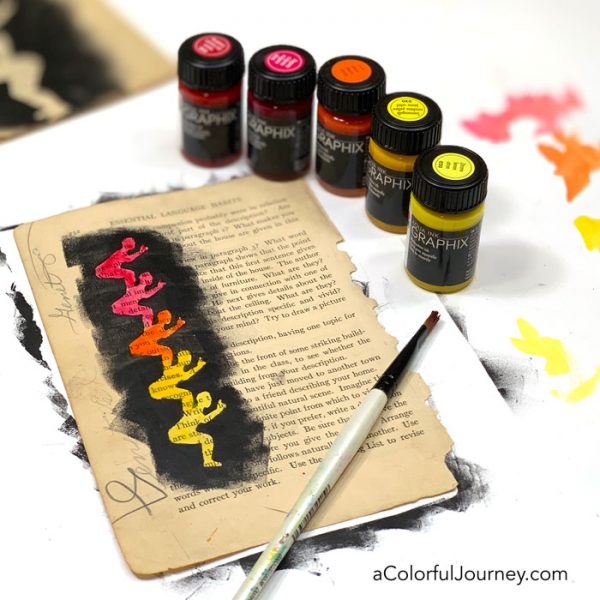
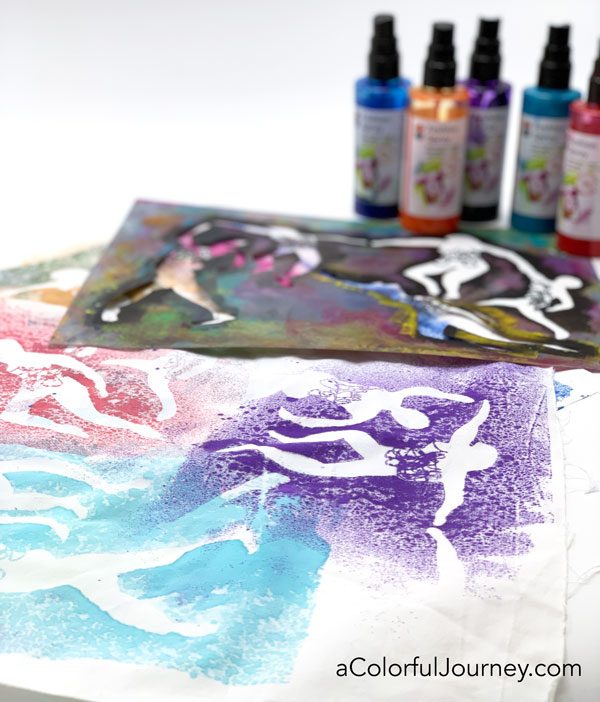
Stencil the figures on to white cotton fabric with Marabu’s Fashion Spray. The less spray you use, the crisper your image will be. The more you use, the more likely it is that the color will go under the stencil. That’s not a good or a bad thing, it’s just what happens depending on how much spray you use.
Once they’re dry, flip it over and pin a piece of plain fabric to it- with the right sides facing in.
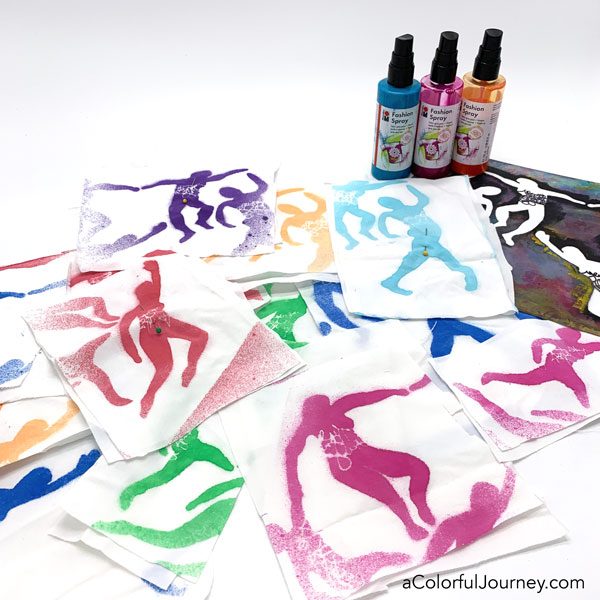
After each color, blot the stencil dry using scrap fabric this way as you’re cleaning off the stencil, you’re also using the negative of the stencil to make patterned fabric. Every drop of Fashion Spray gets used!
Next, sew around the shape but be sure to leave an opening so you can turn it right side out. You might think it’s obvious to leave the opening, but I got so wrapped up in the sewing that I totally forgot to do that once.
I’m not a precise free motion person, so that means there were some interesting shapes in the end. The extra wide spots and extra narrow spots made each doll unique.
Smaller areas, like arms can get very narrow so it is tough to pull the arms out. So I started giving them some very wide arm pits- just to make it easier to get the arms out.
On those dolls where I accidentally made the arms extra narrow, they just didn’t have one or both arms. Let’s just say I was making them like the ancient Greek statues who always seem to be missing arms.
Once they’re sewn, trim off the excess fabric. Then the fun begins – turning them right side out. Needle nose pliers and a pin are handy to have for this process. It’s an exercise in patience and one I didn’t always have. That’s why some arms seem rather short or completely missing.
Now it’s time for the stuffing. Putting in little bits of it a time is best, but that takes patience so sometimes I did that, and sometimes not so much.
Once they are stuffed, then stitch up the opening with some hand stitching. After making these, I have a new respect for doll makers and anyone who can make 2 that look like!
One of my dogs thought I made new toys for him, so he secretly got ahold of one of the art dolls and took it outside. When I found it in the grass, a silly thought popped into my head- this would make a great piece of installation art!

So I turned a little portion of my backyard into a soft sculpture garden representing the feeling of getting lost in the weeds. But only temporarily, as my dog was way way way too interested in chewing on them!
Here are the supplies used. Some of these links are affiliate links which means I get a small percentage. It doesn’t cost you anything extra and it helps keep the free tutorials coming! The colors of the sprays in the images below are a bit weird, so go by more of the colors in my video or photos than these thumbnail images for colors.