≡ Menu

Can a pen really write on wet paint? The package said it marks on wet and oily surfaces so that says wet paint to me!

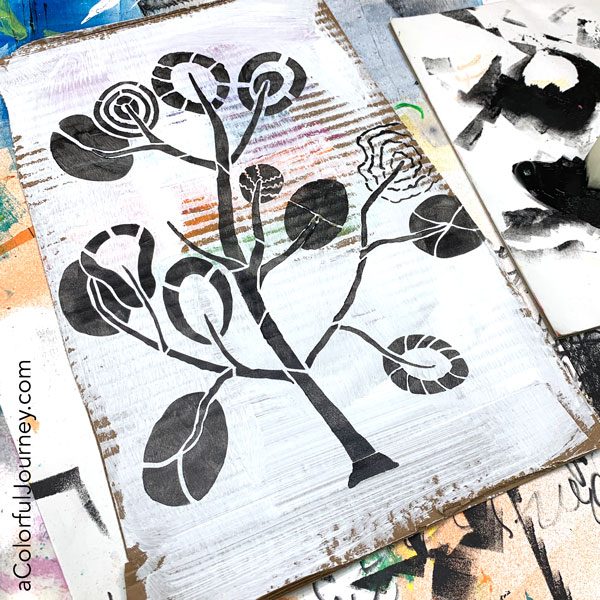
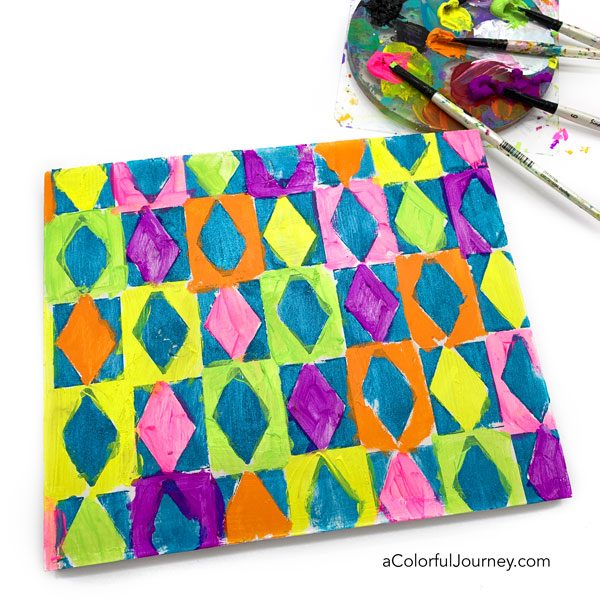
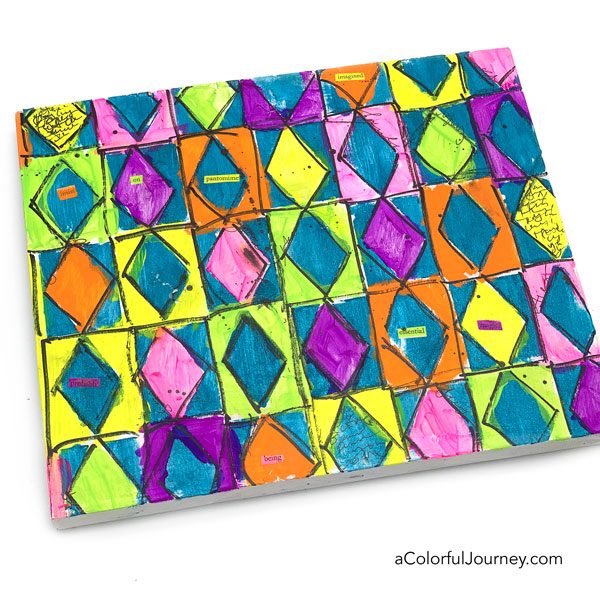
The play began on this wood panel. But the paint was totally dry since it was stenciled eons ago with my Alternating Diamonds stencil I created for StencilGirl.

But that just means, more paint is need to test out if this pen really words on wet paint!

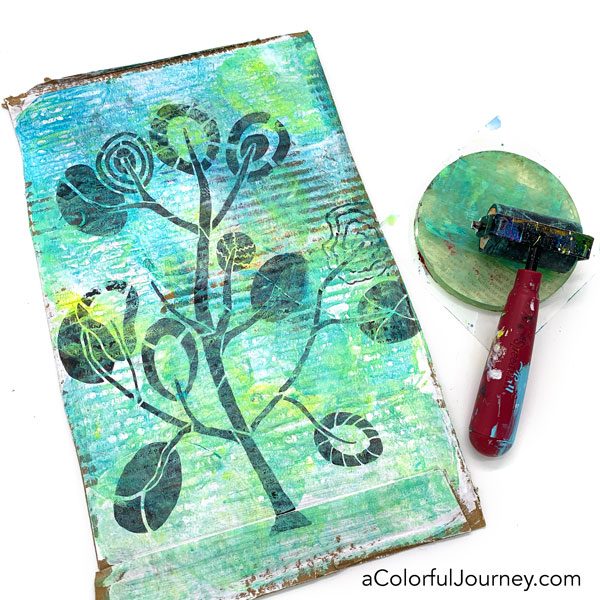
Adding the color here was a tough challenge for me. Not the painting part, but the keeping the pattern going correctly. It took all my mental skills to keep that order.

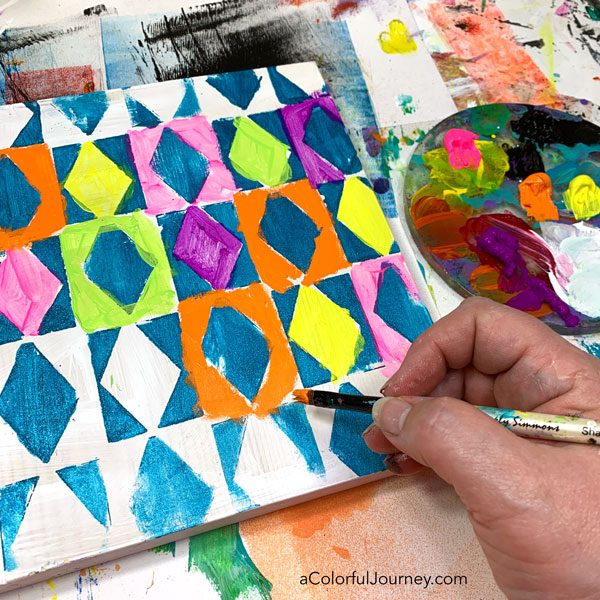
Even though I thought I was being careful, I still “messed” up the pattern. O.O.P.S.! End of the world? Nope, just an Outstanding Opportunity Presenting Suddenly.

If you’re wondering where the pattern went awry, it was the 4th row. It should have started with the purple not yellow.

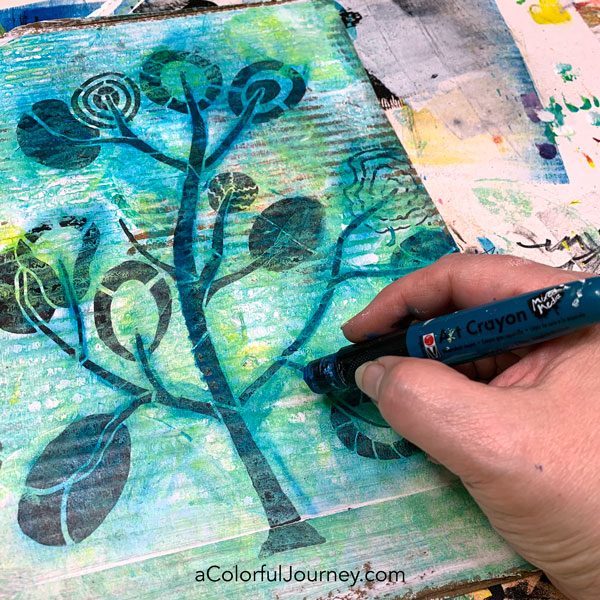
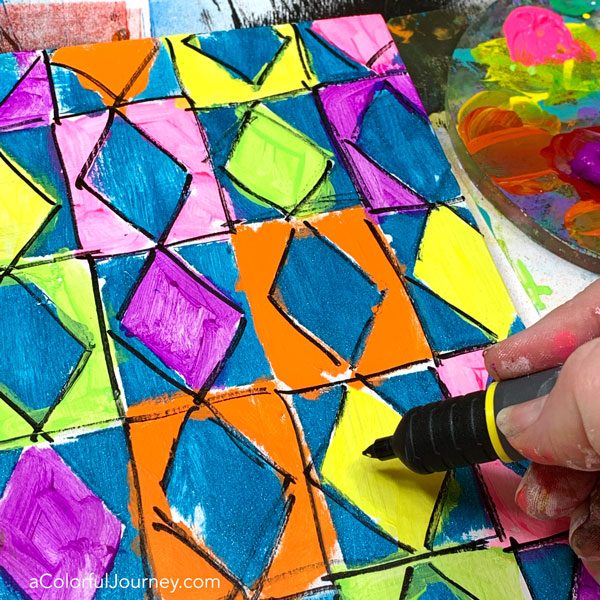
This paint isn’t completely dry. There is more than enough wet paint on here to kill any pen I have ever used. So it’s perfect to test out this Sharpie PRO and see if it really can mark on wet and oily!

Sure enough it can write on wet paint. It marked on it but there were some harrowing moments when I was pretty sure the pen had been ruined. But nope, it came back.

Be sure to watch the video to see how I rescued the pen from the edge or ruin.

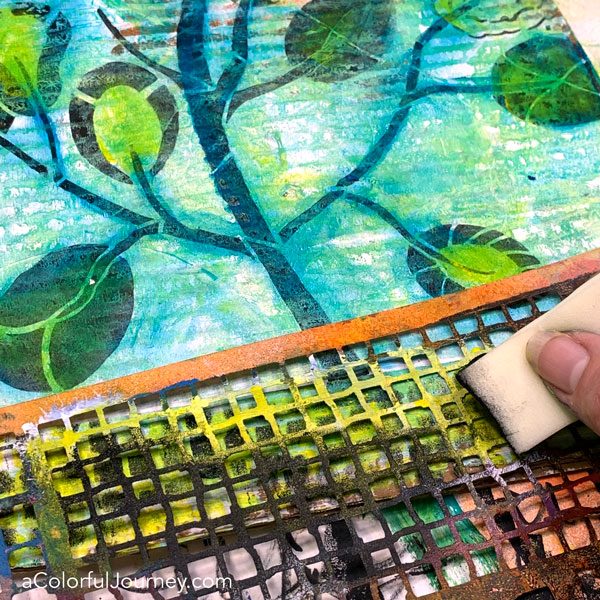
Next came the book text. Random words chosen from a book. The hope was to get something profound or deep but instead I ended up with “Insist on pantomime”.

But that turned out to be more wisdom than I realized since my family has been repeating questions to me, so instead of answering them, I’m insisting they ask in pantomime. If I have to hear the same questions over and over, at least now I’ll be entertained.

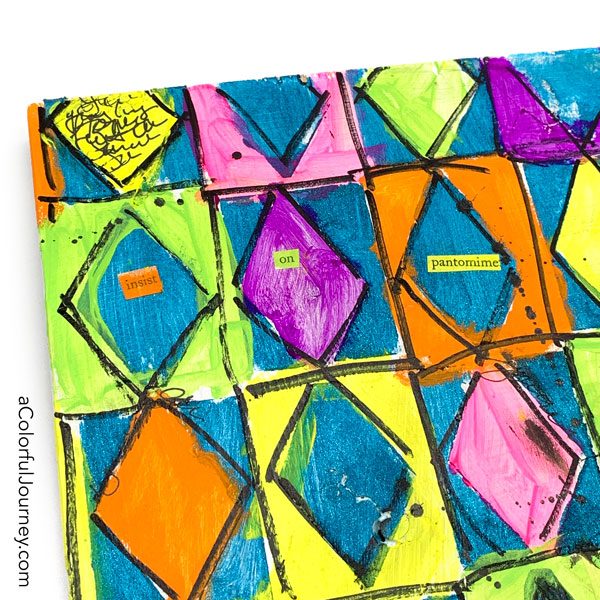
Where did pen splots come from on the finished piece? That was a fountain pen O.O.P.S. that led to the flinging of ink.

Turns out changing the ink cartridge right near your work can lead to some ink where you didn’t intend.

Thanks Kathy for this awesome pen that actually can write on and survive wet paint better than any other pen I’ve used!

Want to see what happens when a regular Sharpie is used in wet paint? Check out this video called The Dangers of Art Journaling.

Here are the supplies used. Some of these links are affiliate links which means I get a small percentage. It doesn’t cost you anything extra and it helps keep the free tutorials coming!


{ 2 comments }

How can you get the most from your masks when stenciling? By letting them do the hard work because masks can make things easier!

The Silly Silas and Sigmund stencil set includes 3 masks and the stencil. That gives you a lot of flexibility so these crazy characters do just what you need.

Using the mask allows the book text to come through. Adding a vibrant transparent color, like the Aqua Inks (links down below to the colors) is almost cheating.

Cheating that you don’t have to color carefully inside the lines and still get the look that you did color carefully.

Another way masks help you “cheat” is when deciding where to place the stenciled image on your work.

To knew before I committed with paint that the big Silas and Sigmund would fit. How was I so certain? I tested it out with the masks first. I’ve got a video below showing you what I mean by that.

This video is set to just the spot, about 2 minutes in, so you can dive where I show how masks can be a great cheat. This video uses a another stencil I’ve designed, The Dance of this Life, that also comes with masks.

Masks give you flexibility and freedom for how you want to use the stencil set. You can find all my stencil and mask sets at StencilGirl.

Here are the supplies used. Some of these links are affiliate links which means I get a small percentage. It doesn’t cost you anything extra and it helps keep the free tutorials coming!


{ 1 comment }

This wasn’t a color in the lines kind of a day or one where things went as planned. Was that a bad thing? Not when I’m playing with stencils and art crayons!

The tone of the play was decided right here as I stenciled the Modern Tree, designed by Mary Beth Shaw. I thought I had it lined up so it was centered. But it wasn’t. O.O.P.S.!

An O.O.P.S. isn’t a mistake, it’s an Outstanding Opportunity Presenting Suddenly.

A small gel plate created the background. Any size or any shape of gel plate can do this. The colors were mixed directly on the gel plate.

This is just one of the many ways you can use a gel plate. There’s an entire page of resources for you including the Dos and Don’ts of Gel Printing, technique tutorials, and ideas for what to do with your gel prints here.

To create the dreamy blended look on the tree use Marabu Art Crayons. They blend easily with your fingers and are wonderfully vibrant.

When you stencil in a light color, it can be tough to see. O.O.P.S. again. But it wasn’t a mistake, just an Outstanding Opportunity Presenting Suddenly to add more of the pattern in a darker color on top.

When you use a stencil, you have the freedom use all or part of it. Stencil it just as it is or pick and choose selected areas. There are 4 coordinating patterns to choose from on Rectangular Patterns for Play so you can have the one that is just right for your project.

The final touches came from some scribble journaling along the tree and the leaves using a fountain pen.

Neatly and crisply stenciling the word Life as another O.O.P.S. Why on earth I wanted a neat and tidy anything on here is a mystery to me but by adding a bit of Art Crayon on top of the damp paint, blending it with my finger got to a better, imperfect place.

What can you do with cardboard play like this? Turn it into a journal. Join my free workshop, Permission to Play, to see how to make a recycled journal and a whole lot more!

Here are the supplies used. Some of these links are affiliate links which means I get a small percentage. It doesn’t cost you anything extra and it helps keep the free tutorials coming! The Art Crayon color I used is called aqua green.


{ 4 comments }