The start of a new year brings the tradition of choosing a word to guide the year. But just one? That was just too tough this year, so I picked a dozen of them. Since I don’t like rules, I love getting around them on a technicality. See how I rationalized it in the video.
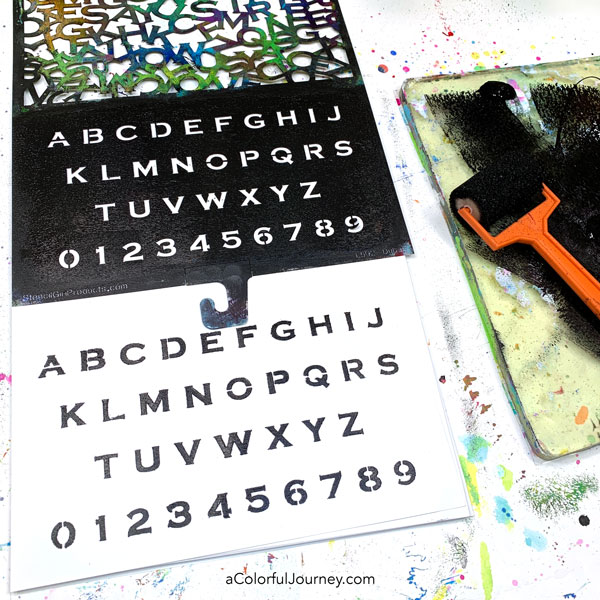
When doing a lot of stenciling, say like letters for words, using a foam roller makes it go extremely quickly. On a piece of paper, I can get 2 sets of the alphabet using the Alpha Jumble stencil from StencilGirl.
There are 2 reasons why I did multiples. First, I had no idea which words or how many I would be creating so I wanted to be sure I had enough.
In the end, I had way more than I needed but that just means I have them ready for the next time.
Second, foam rollers can hold a lot of paint to clean out of it so to reduce waste, once the roller is loaded with paint I do a lot.
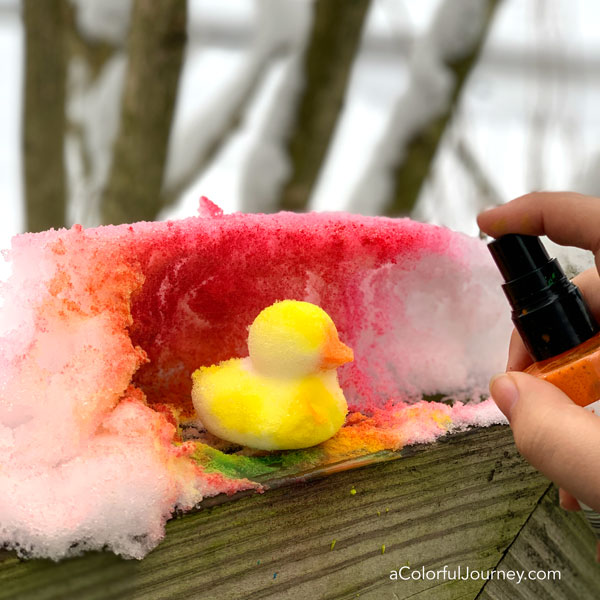
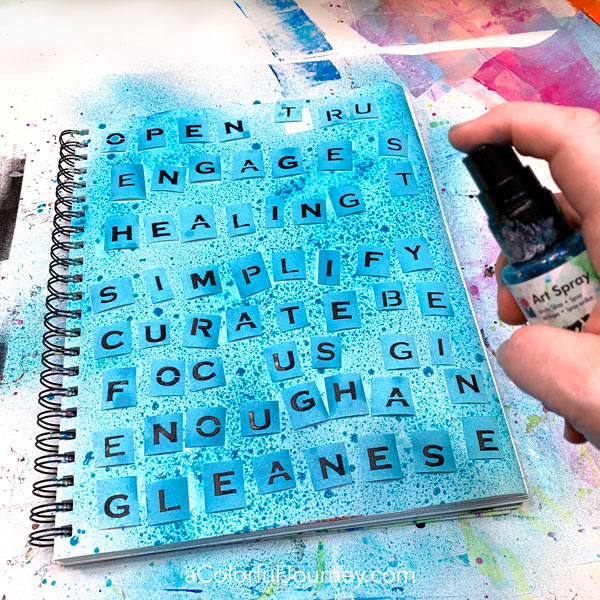
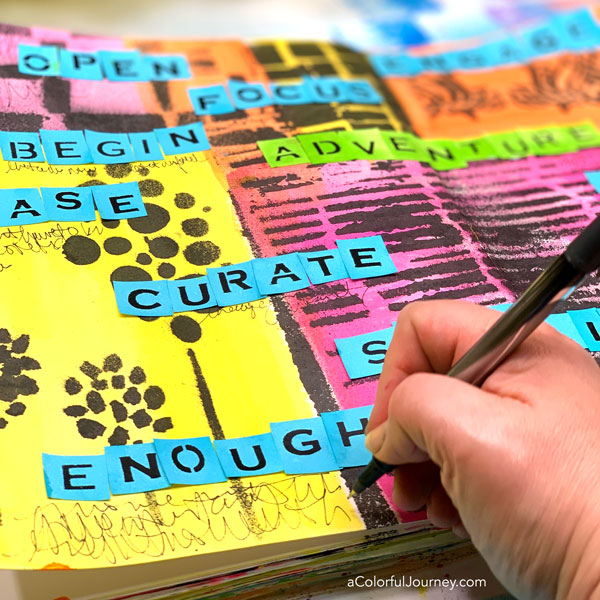
After cutting out the letters, Art Spray was the fastest way to get color on them. I’m spraying them on a blank art journal page so that not at drop of that wonderful blue gets wasted.
Once this is dry, the letters will be used and the page left behind is now the start of a future art journal page.
While flipping through pages in my journal, I found a background that called to me. This black and white page was from who knows when but it was just what I needed today.
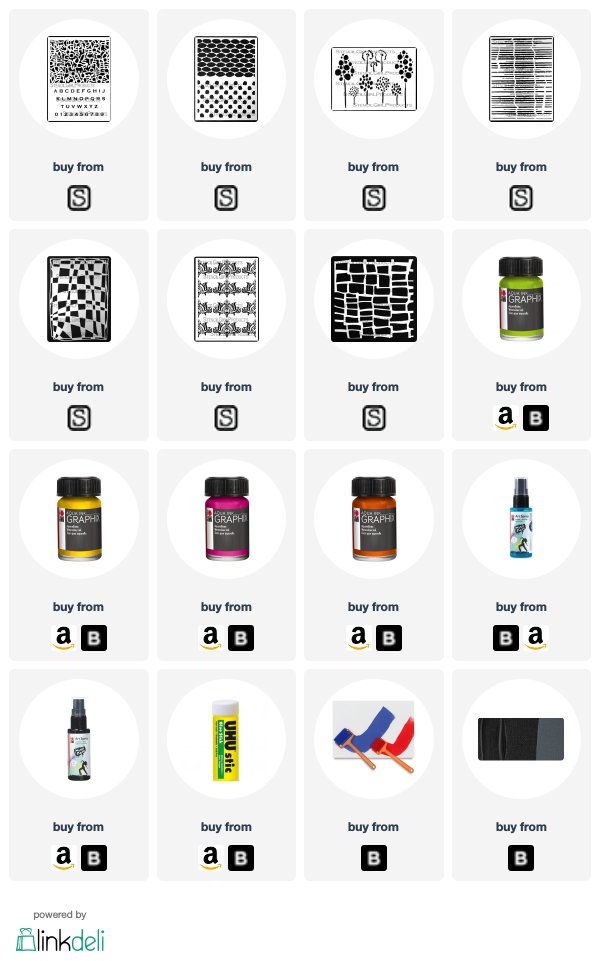
It was made using stencils and black Art Spray, in the supplies at the bottom of this post, I’ve got them all listed for you.
How do you clean a spray nozzle to prevent clogging? I’ve got a video showing you how I do it and not waste a drop of color.
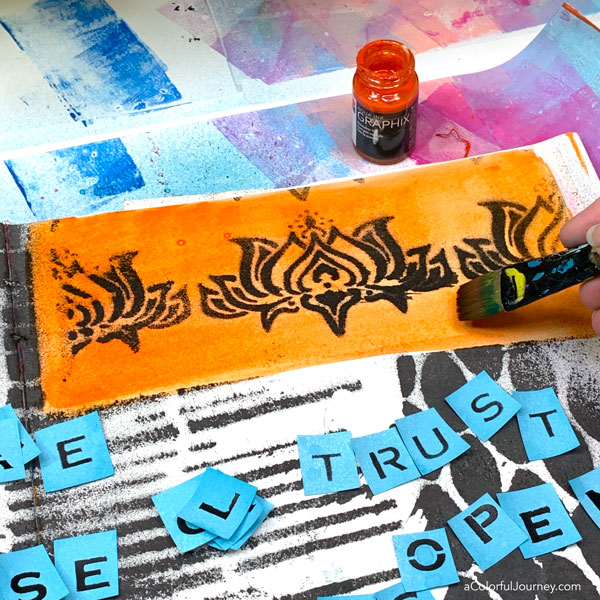
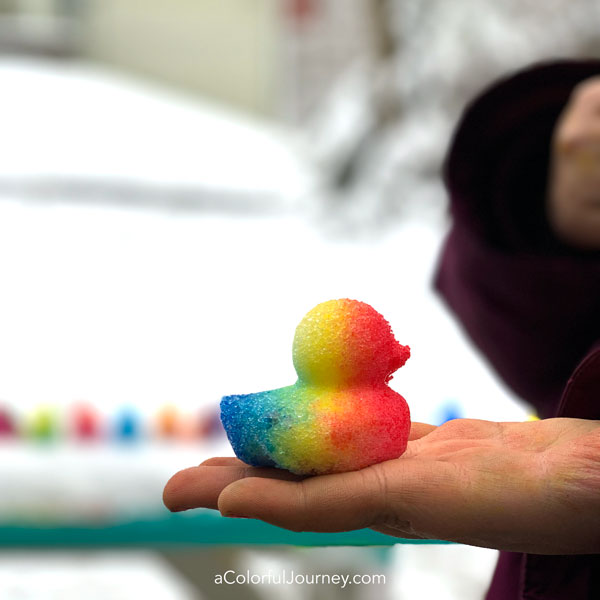
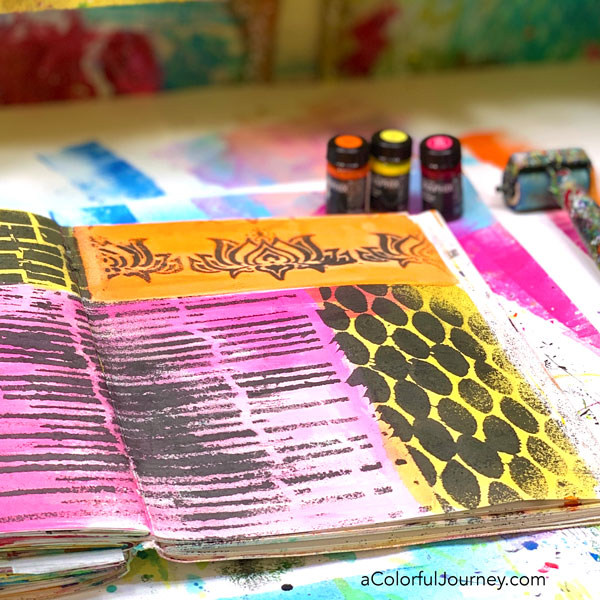
It had quite a bit of white space on it, so out came the Aqua Inks to add a pop of the rainbow. These are a watercolor ink so they can cover an area quickly with color.
Quickly seems to be very important to me right now, it seems my impatience is flaring up.
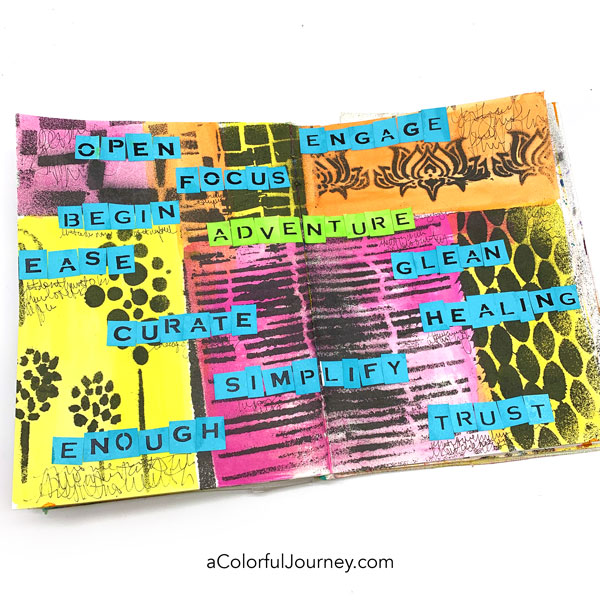
When this page began as a way to explore what word I wanted for the upcoming year. As you can see, it wasn’t just one work, but a dozen of them!
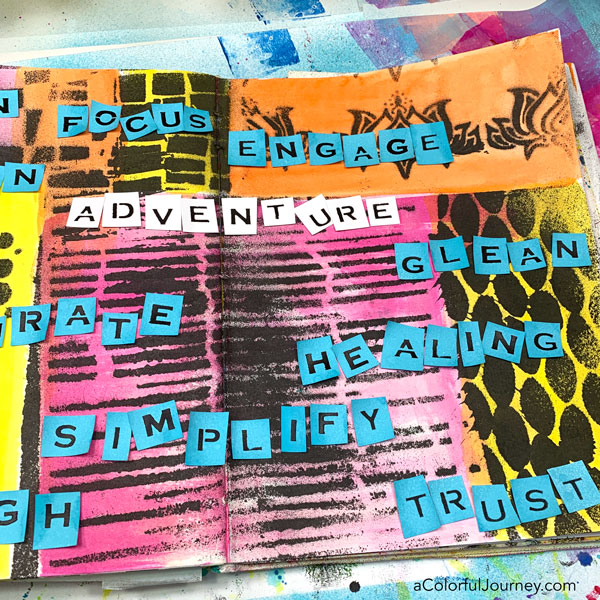
Adventure is the “umbrella” word for the year, the others are all in support of it. Notice how I technically have one word but managed to add in eleven more. Not a big fan of rules.
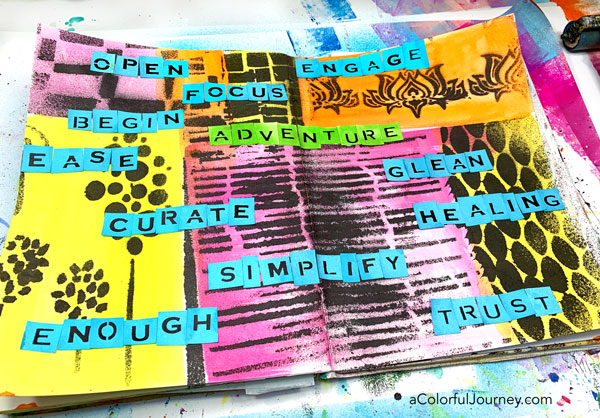
Next to each word the journaling is all about how that word will support the adventures waiting in the new year.
My list of words was due in a big way to all the members of my Facebook group, Rediscovering Your Creativity Looking through a list of words is inspiring, and so much so this year that one wasn’t enough!
This group continues to be a place to ask a question, find inspiration for your play, and join others caring women on a mixed media journey. If you like encouraging groups like that on Facebook, then check us out!
Here are the supplies used. Some of these links are affiliate links which means I get a small percentage. For example, I’m an Amazon Associate & I earn from qualifying purchases. It doesn’t cost you anything extra and you get a really good feeling knowing that you are helping keep the free tutorials coming!