The stir crazies are getting to me and I’m beginning to question my sanity. So I thought it would be wise to use my art supplies to administer some kind of test to evaluate where my mind’s at.
What better test than the Rorschach test, rainbow style. Rorschach tests are those ink blot tests used by psychologists, especially in the 1960s. Check out the prints below and see what appears to you in them. Wonder what our answers will say about us!
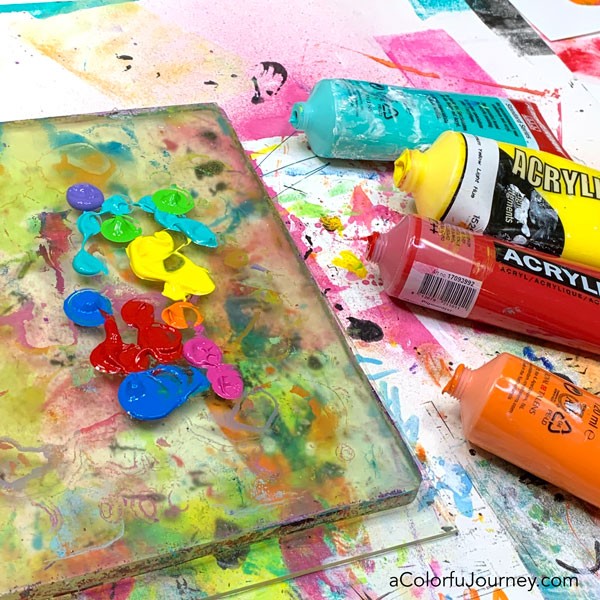
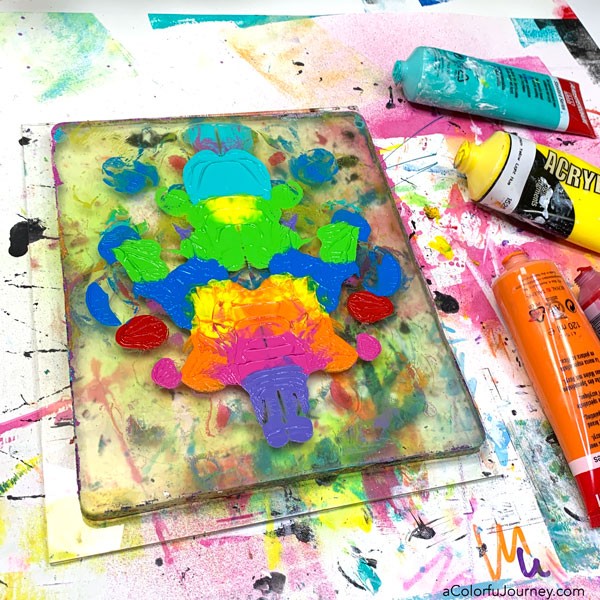
Put paint on the gel plate. Use any brand or style of acrylic paint. Put as much or as little as you want. There’s no wrong way to do it. You simply get different looks with different amounts of paint.
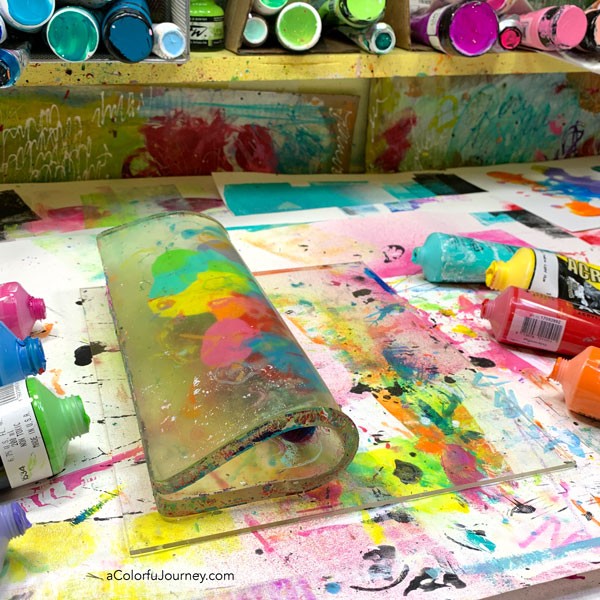
Then fold your gel plate in half so that the paint squishes around. When you let go, the plate will flop back to flat. I’ve used both lots of pressure on this and small amounts, and this gel plate can take it!
The plate can bend and move but the plastic protectors that come on it, they don’t bend so well. So I’ve removed them from both sides before folding the plate.
Now you’ve got a silly, fun, playful prints to take! Because there is so much paint on here, I tend to get 3-4 prints each time. If you use less paint, you get fewer pulls. If you use more paint, you’ll probably get more pulls.
Turn your prints and look at them from different angles to see different things in each one. Official Rorschach tests have a complex way of interpreting answers. We’re going to skip over that technicality and just see what we all notice in the prints.

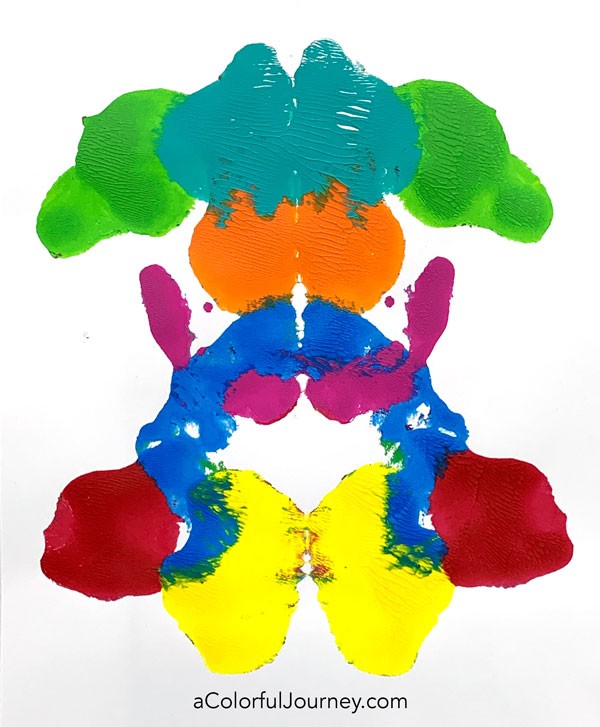
I’m seeing circus jugglers in the prints above. One is wearing an orange skirt, and the other has a big orange collar on a silly shirt.
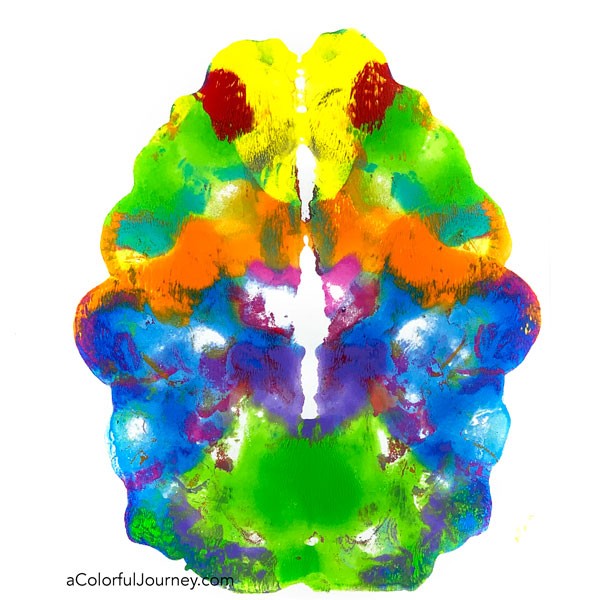
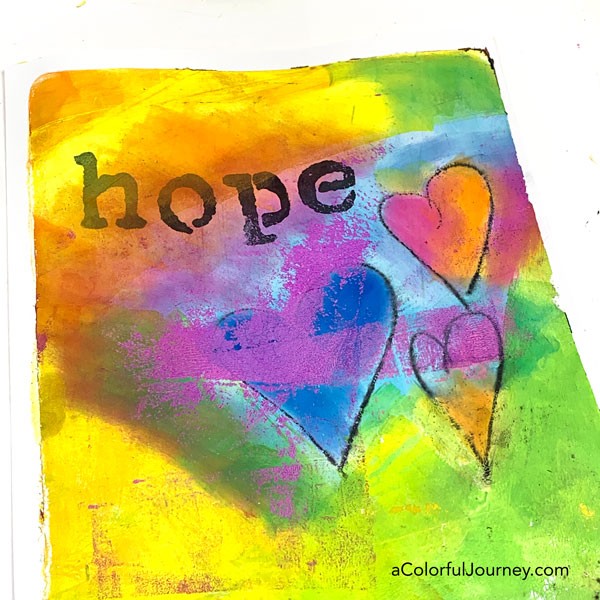
This print is what I imagine a brain scan on any of us would look like when we’ve got our art supplies in our hands and we’re feeling the freedom of play!
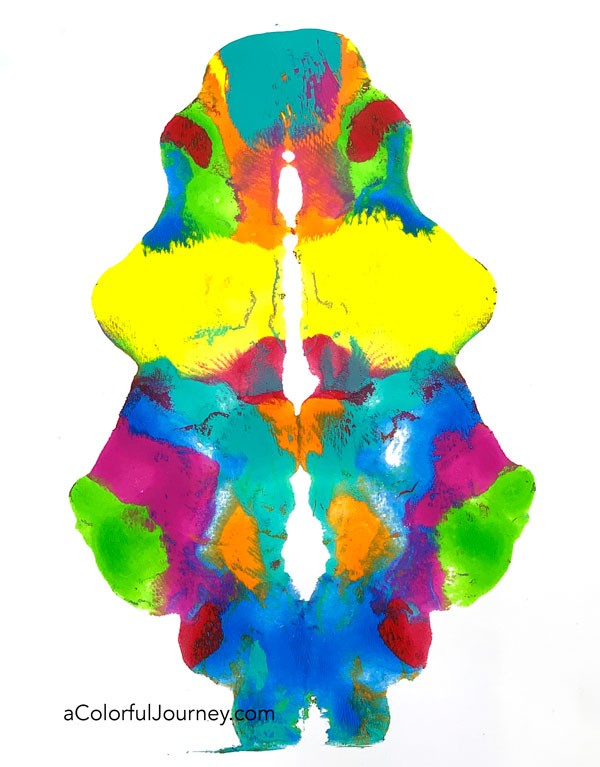
What does it say about me that I see big floppy green ears on a sitting puppy dog? Or a well dressed hippo heading out for a night on the town below?
After all the play today, I still have no idea where my mind’s at, but what I do know is that it was absolute fun to escape from the stress of what’s happening in the world right now by squishing some paint!
This is just one of the many things gel plates can do. What other types of looks can you create with them? What other supplies can you use with them? If you’re looking to have more fun with your gel plate, then take a look at my current workshops here.
Here are the supplies used. Some of these links are affiliate links which means I get a small percentage. For example, I’m an Amazon Associate & I earn from qualifying purchases. It doesn’t cost you anything extra and you get a really good feeling knowing that you are helping keep the free tutorials coming! The Plaza art colors I used are Perm. Green Light, Cerulean Blue Hue, and Cadmium Yellow Light Hue.