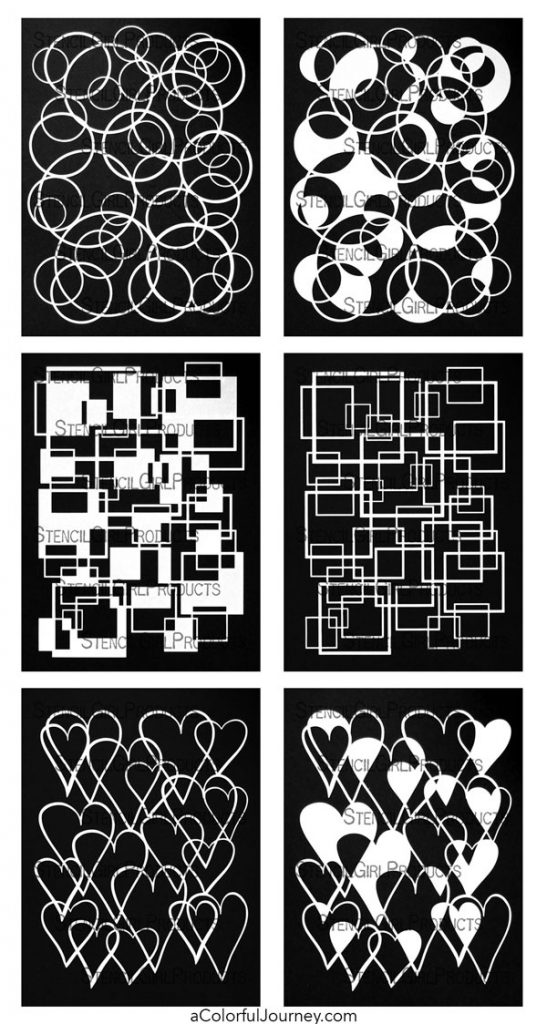
I’m so excited to be able to share the play that’s been happening with the Overlapping Shapes collection! It’s my latest release over at StencilGirl Products!
These stencils can work by themselves and they can work in pairs. In the video, you saw how the Overlapping Circles Filled fit right over the Overlapping Circles. The squares pair will do that and so will both of the heart stencils.
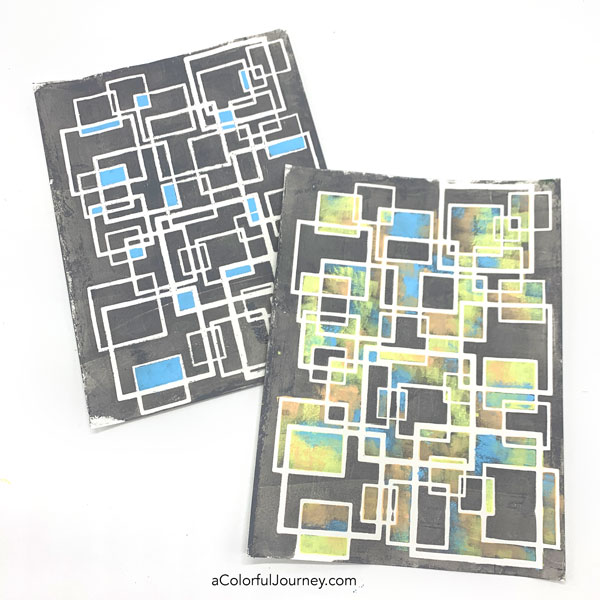
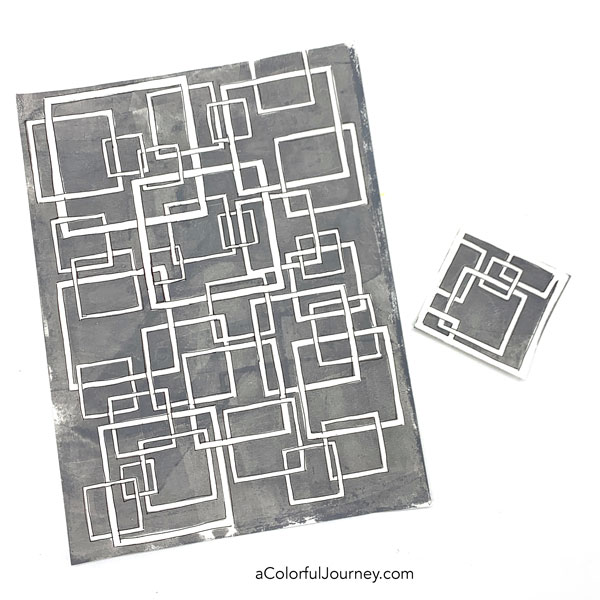
Here’s an example below where I did the base layer with the Overlapping Squares stencil in gray, then put the Overlapping Squares Filled on top. With the blue, I simply stenciled in some of the spaces. In the other, I sponged paint over the entire stencil.
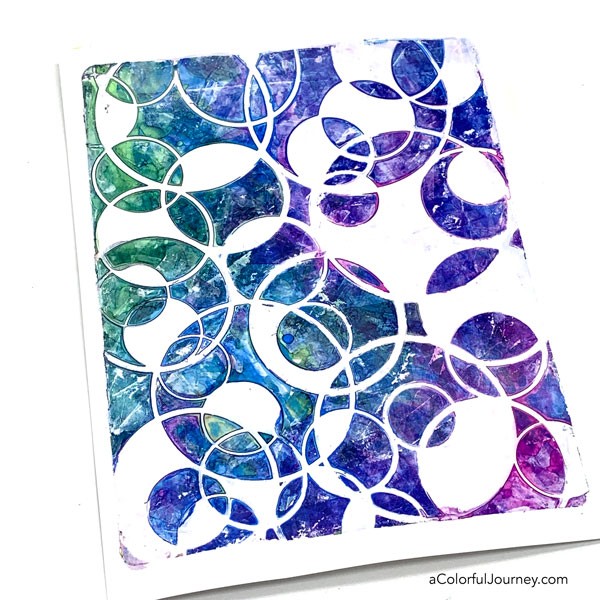
The stencils can also be used alone. The purples, blues, and greens below are all courtesy of alcohol inks and the Overlapping Circles Filled stencil.
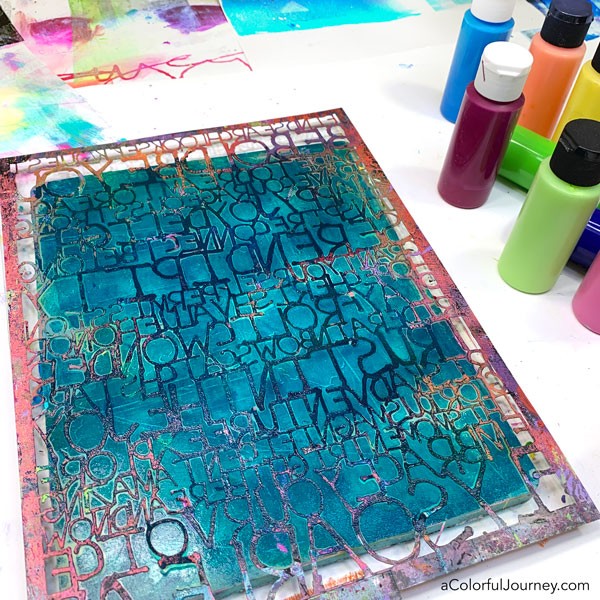
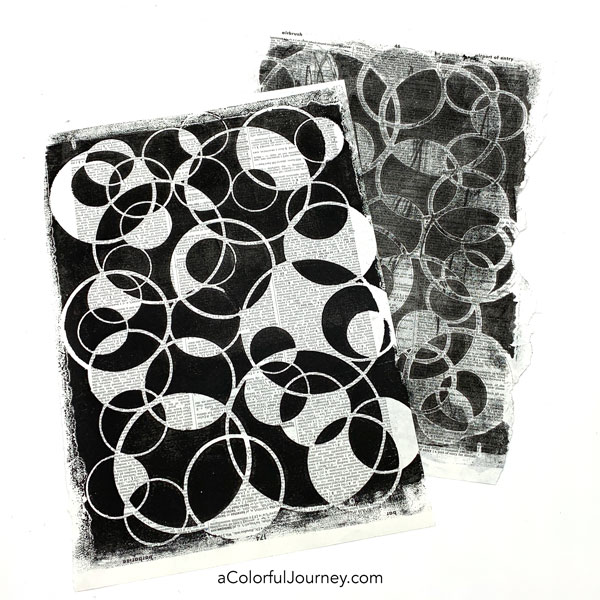
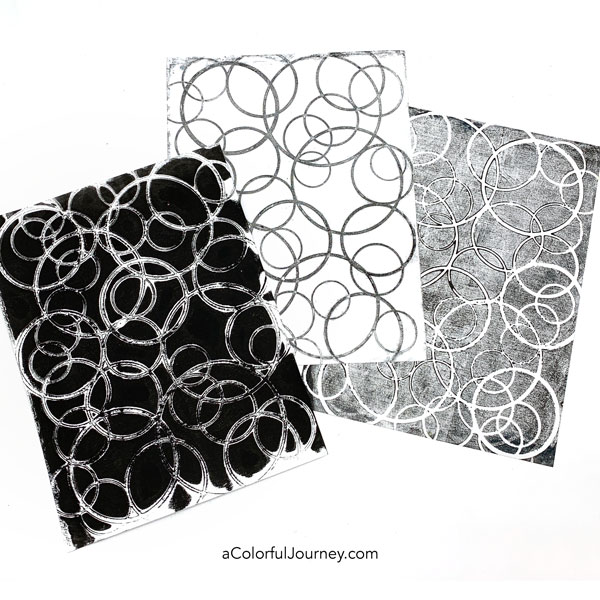
The graphic vibe of these stencils had me thinking monochromatic and here it’s stenciled onto a page from an old dictionary using a gel plate. In the video, you saw how easy it was to quickly stencil a full page using a gel plate.
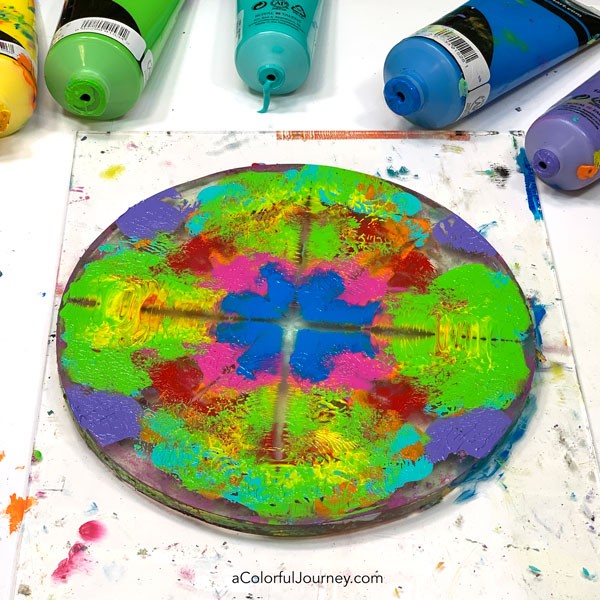
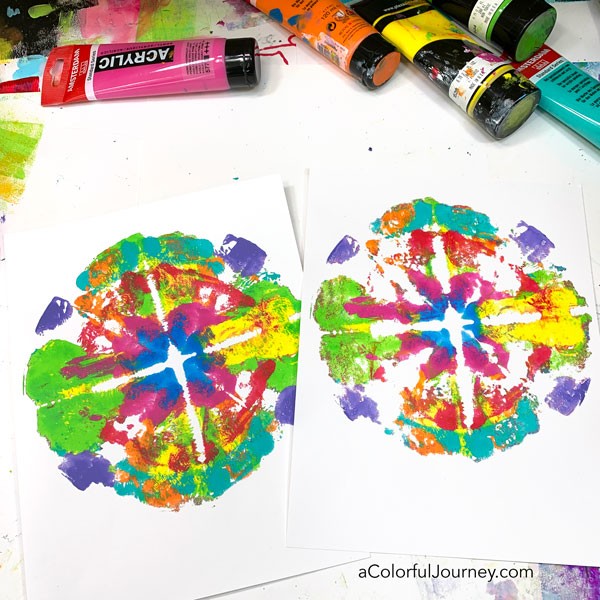
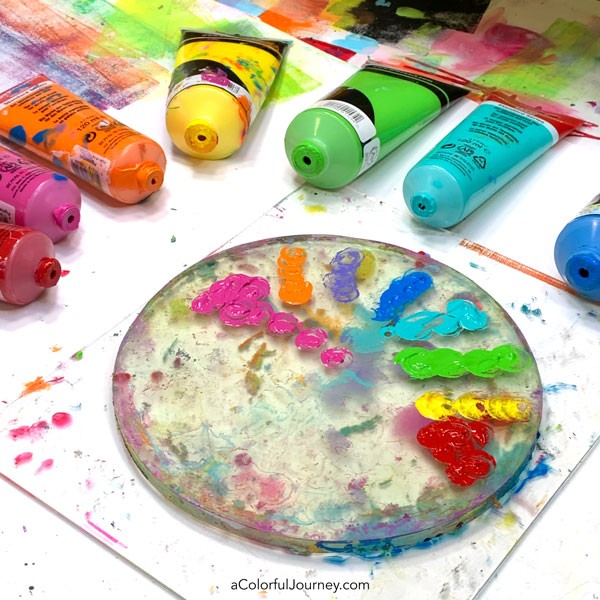
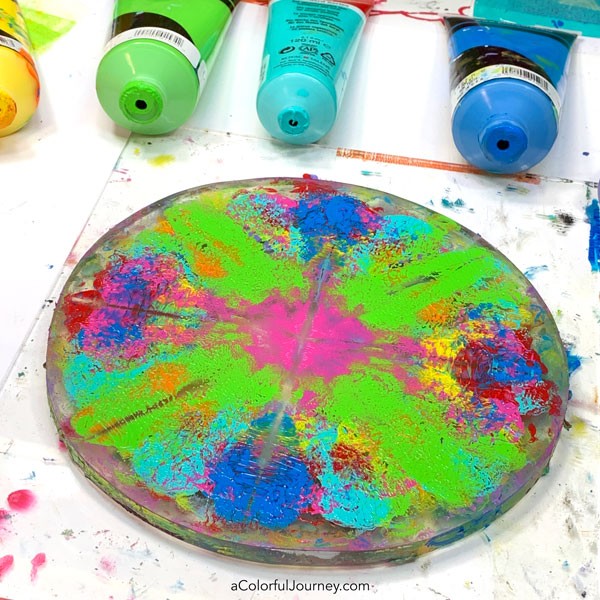
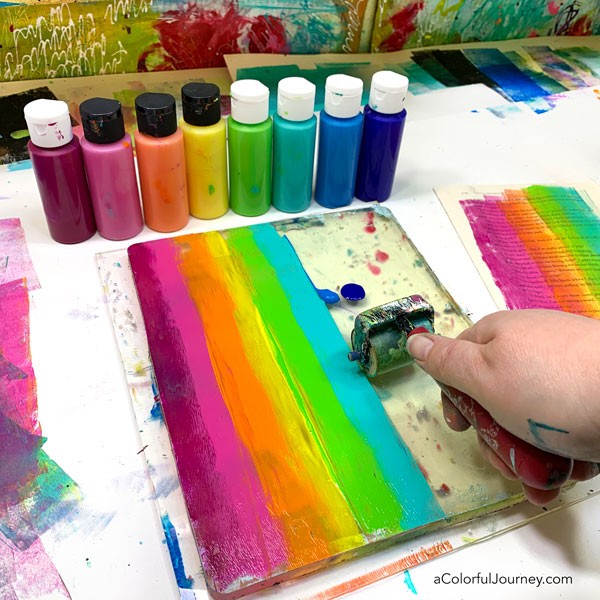
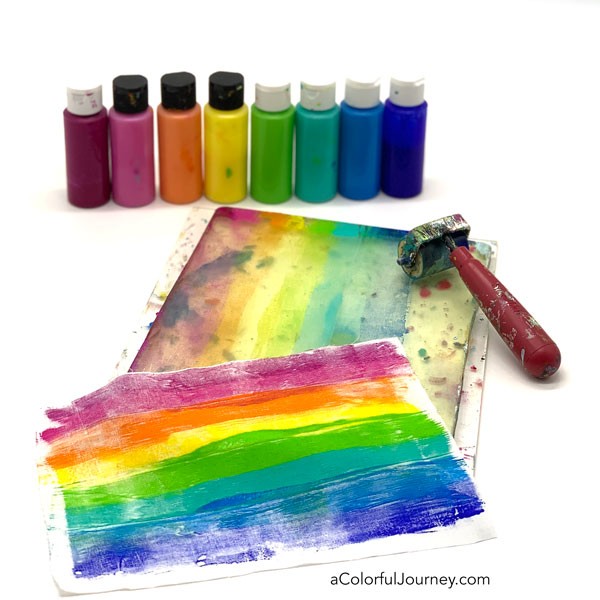
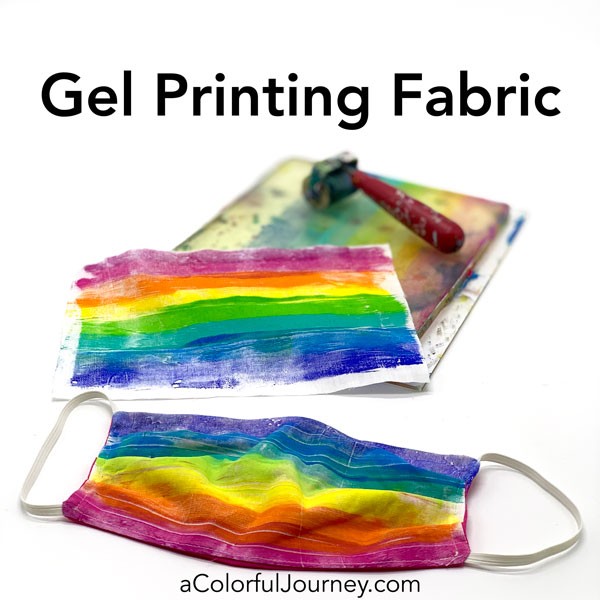
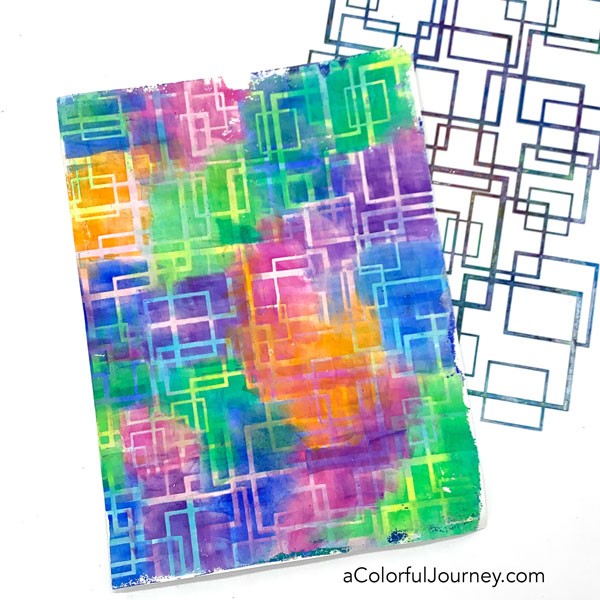
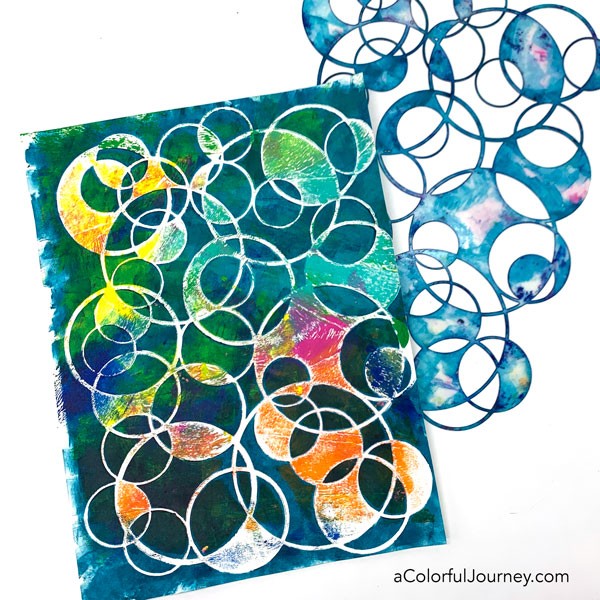
These designs called for the rainbow too! Bright, vibrant, and fully saturated color!
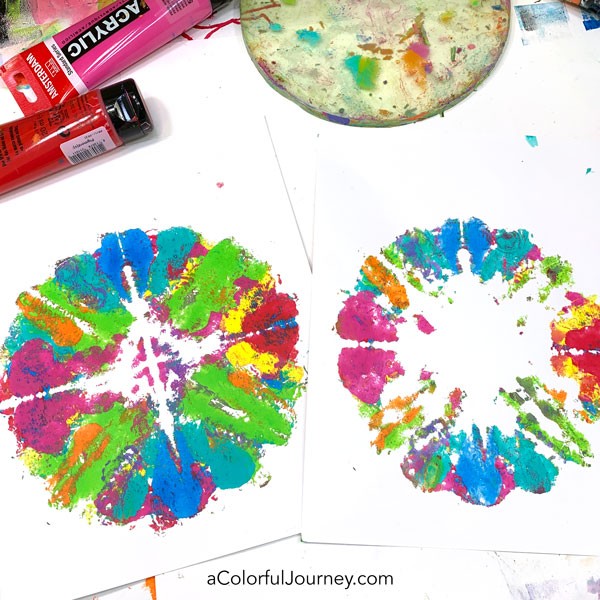
The stenciling above and below was created using PanPastels and a gel plate with the Overlapping Shapes stencils. Yup, you can use PanPastels and get gel prints like this in one single pull.
One big jumbo bonus of using PanPastels on a gel plate is they are fully and totally sealed automatically! I’ve got an entire workshop all about combining the layering ability of a gel plate and creamy PanPastels called Gel Printing with PanPastels.
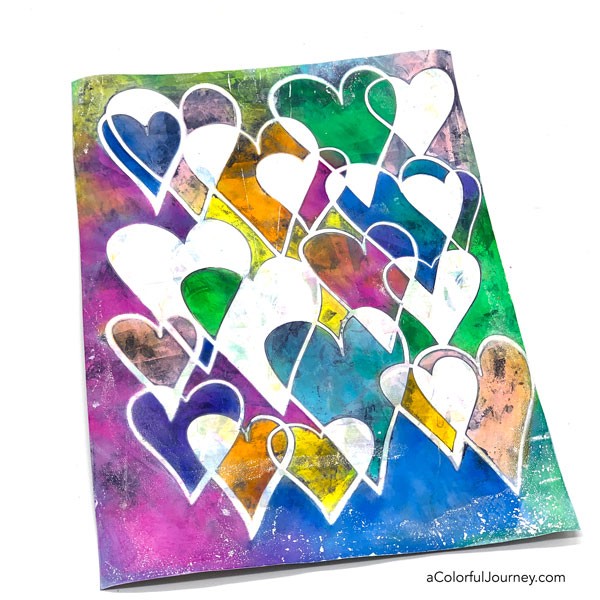
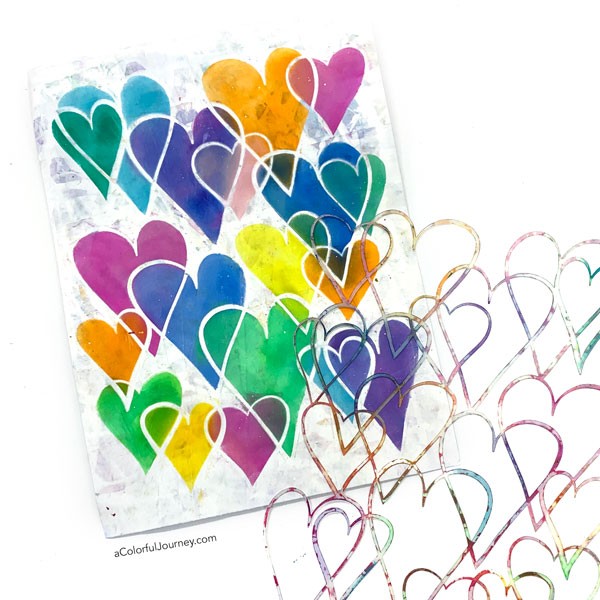
The hearts below was also created using PanPastels and a gel plate using just one stencil, the Overlapping Hearts.
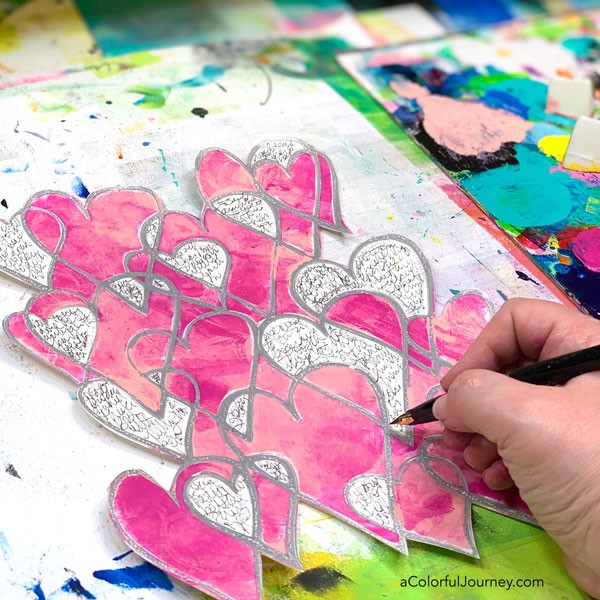
Once you’ve stenciled the Overlapping Squares (or any of them), use a pen to trace the lines to create an extra feeling of depth. Here I did very loose lines all around the white.
Papers like this can also be cut apart. This gives you the flexibility and freedom to have a variety of sizes of patterned squares.
All those white spaces are a great place to doodle too! I was surprised by how meditative and relaxing it felt to use a pen on these papers. With everything happening in the world with COVID-19, being able to take a break from the stress and worry was a huge relief.
But that shouldn’t have surprised me because I know that using your art supplies can relieve so much stress and help get back into a calm headspace.
And after you’ve got it all doodled in, you bet you can cut clusters of hearts out!
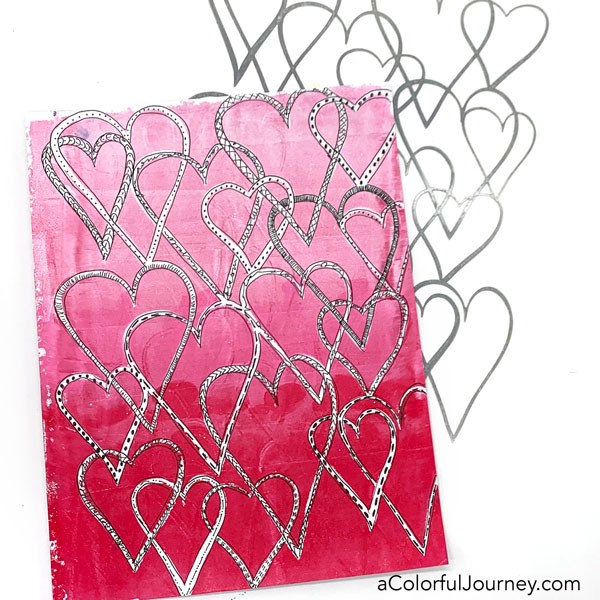
Another way you can use scissors to give you different looks is by cutting around the edges. Both of the heart stencils were used to create this. First came the gray stenciling with the Overlapping Hearts, then Overlapping Hearts Filled was placed on top and the pinks were added.
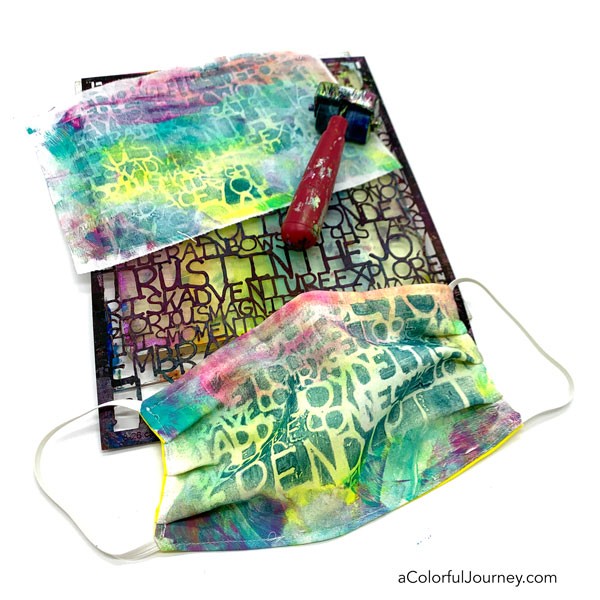
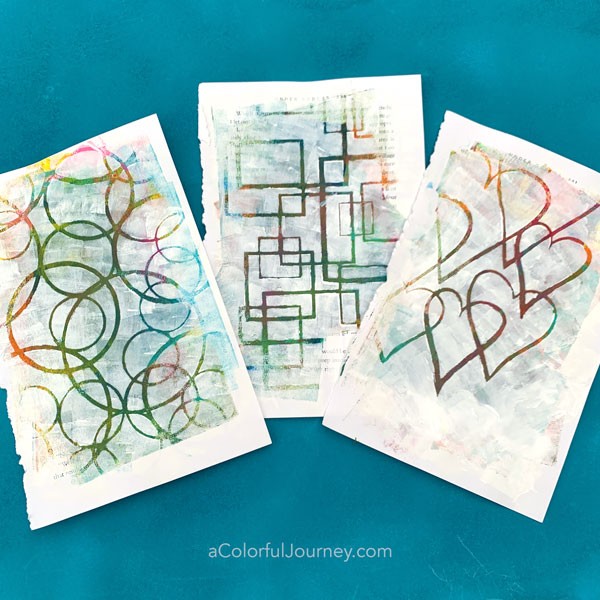
There’s a very special reason that I used these stencils on these 3 papers and I’m saving the story for an upcoming video! If you’re not already on my newsletter list, get signed up and you’ll be sure to know when that video is released.
This Overlapping Shapes collection is an exploration of the idea that everything is connected. It symbolizes the moments and places where things overlap and the space that surrounds those points of intersection.
Holding space, people coming back into our lives, skills we’ve learned turning out to be stepping stones were what these represented to me during the design process. But I didn’t have any idea what it would come to mean in 2020.
The whole process of creating these stencils took about 6 months from the first draft of the idea to today, when they were released to the public. These started long before any of us had any idea what 2020 held for us all with COVID-19. But if there is one thing I’ve learned this year, it’s how truly interconnected the entire world is.
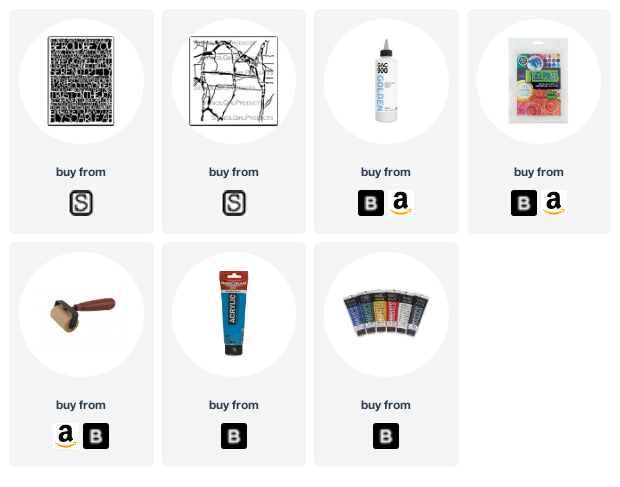
You can find the entire Overlapping Stencils collection at StencilGirl Products. If you’ve never been to their website, be prepared to see an incredible selection and diversity of artist designed stencils!