You’ll see my pen struggles, my OOPS stenciling, and a surprising message that came about on the page as I add more layers to an altered book journal. And you’ll see the cost of my impatience, that I don’t mind one bit.
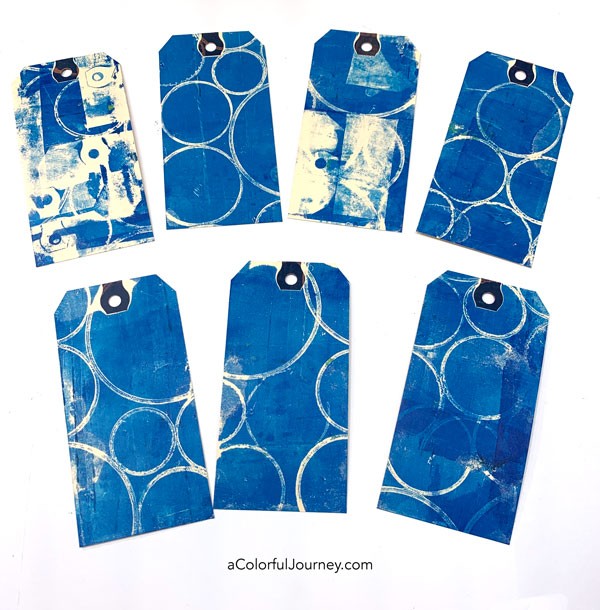
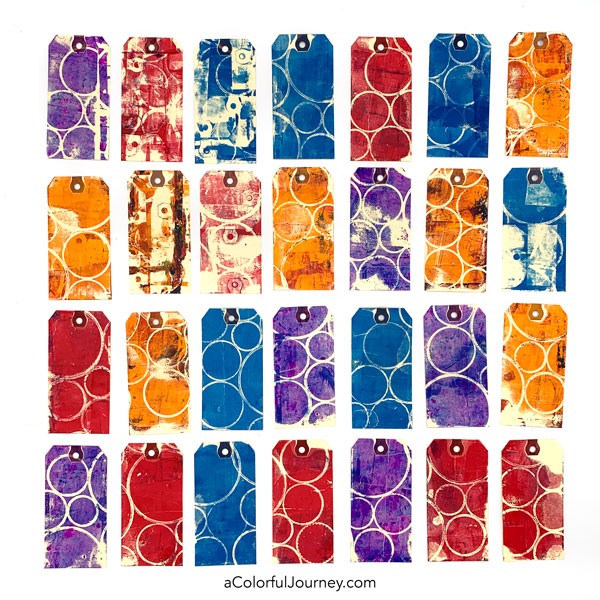
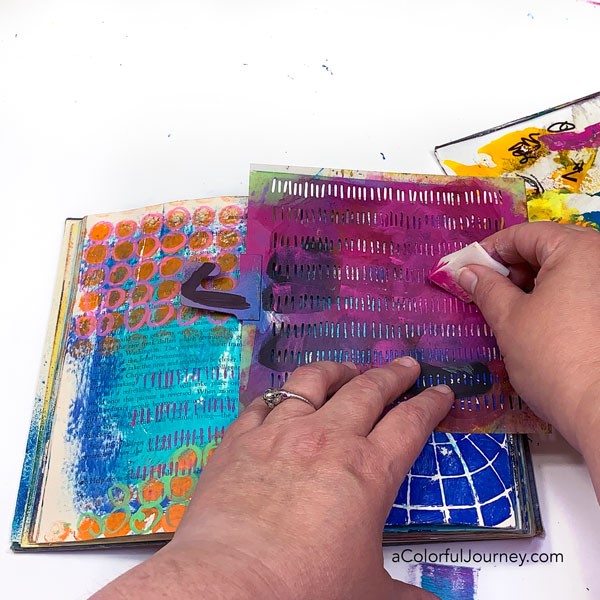
The stenciling began by going up and down, the best way to get a crisp image, but then the cosmetic sponge went side to side. That’s why some of it is neatly done and others have a looser look as I’m using the Hash Marks stencil by Mary Beth Shaw.
It feels faster and like a huge time saver. Saves a good second. Maybe two. Of course, it feels like that is 20-30 minutes in my head.
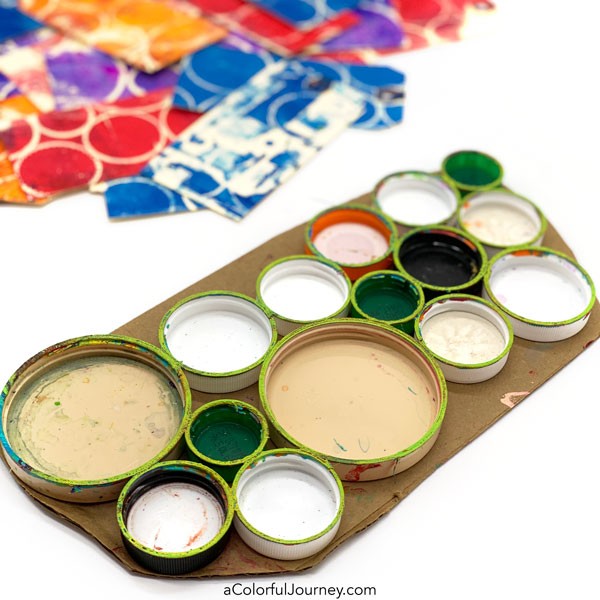
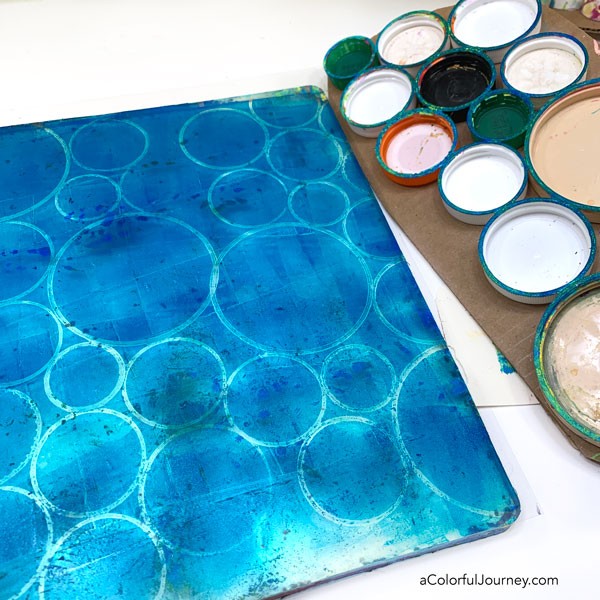
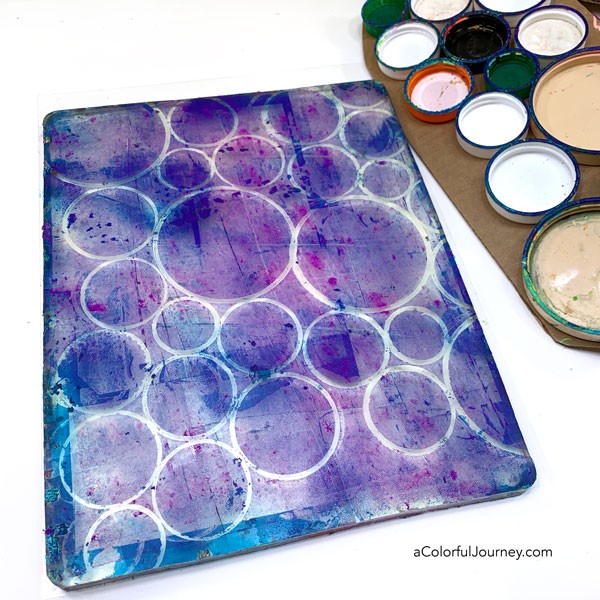
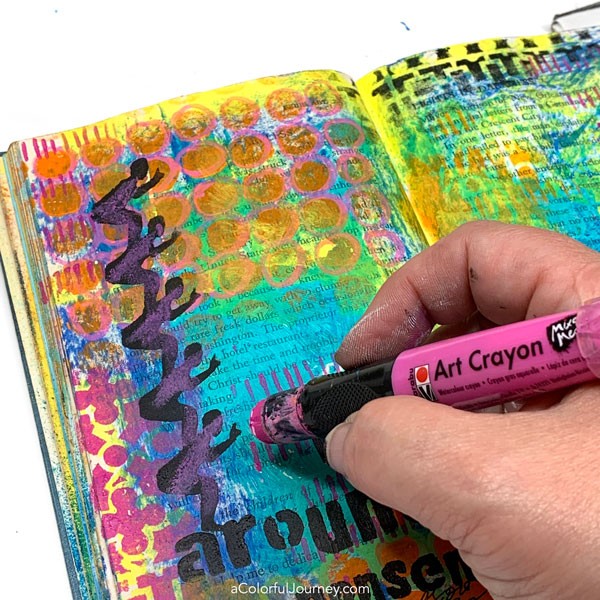
Stencils are a tool that can be used in a wide variety of ways. Supplies that have multiple uses and work with a variety of other supplies give you most mileage.
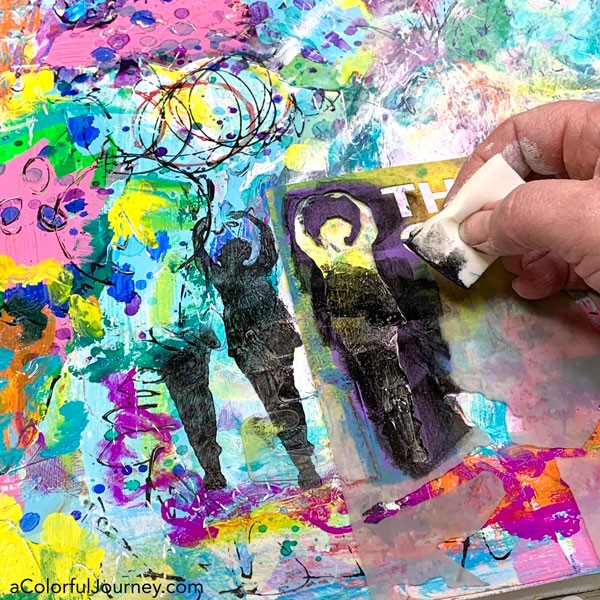
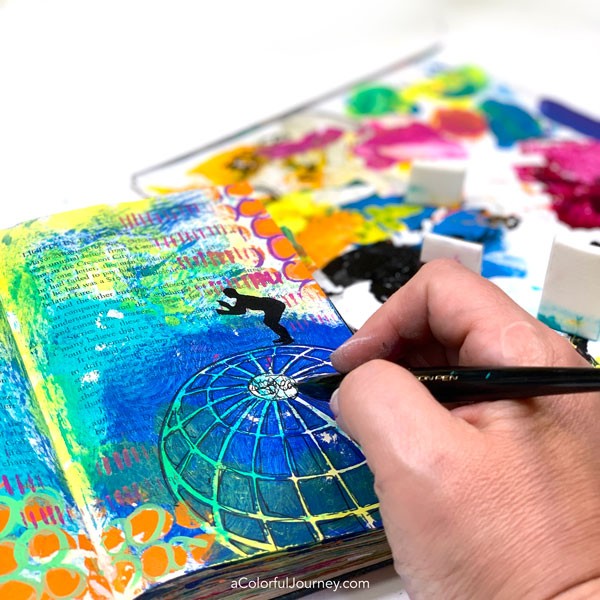
Here I’m using a pen with the Small World stencil. When tracing around the stencil you can get very precise lines and if you free hand it, it’s a much looser look.
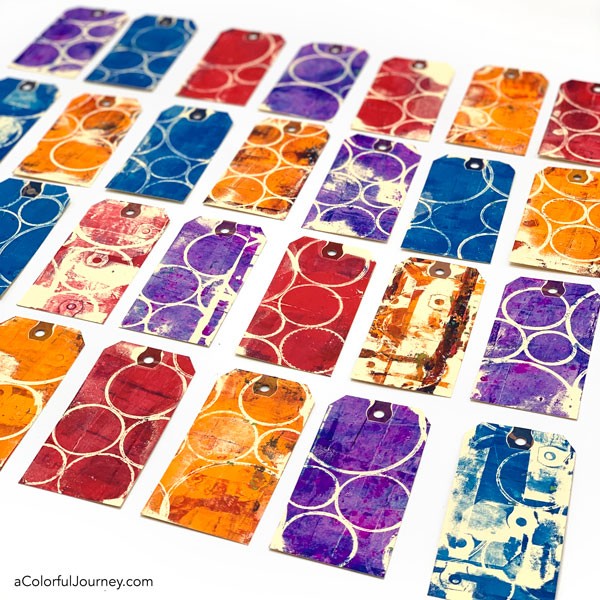
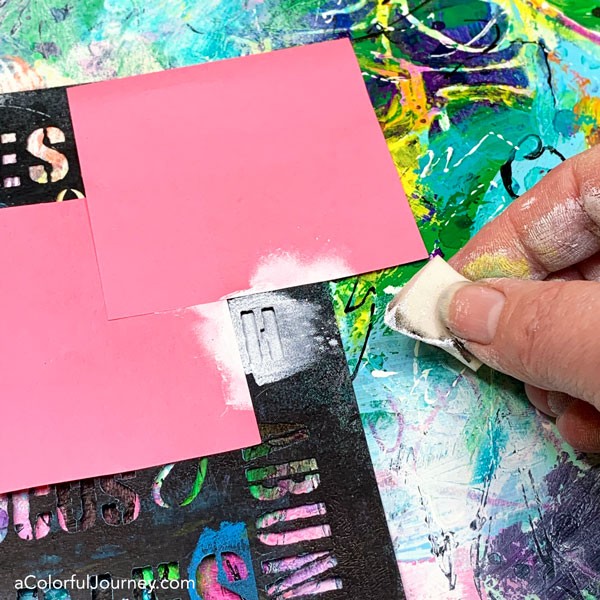
Word stencils can be used just as they are or you can mix and match the words to create new phrases. That’s what happened here as I used my It’s Time to Play stencil. Words were pulled from two of the quotes to fit what was evolving on this page.
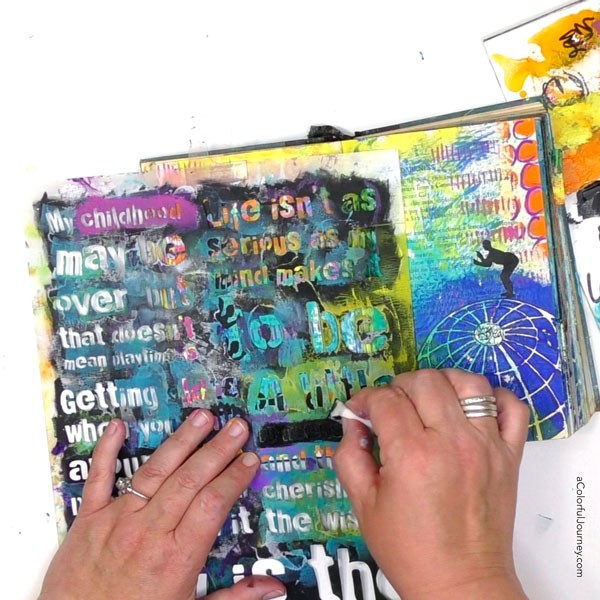
The journal that I’m using is an altered book. That’s the fancy way of saying a regular book that I have repurposed into an art journal. I don’t prep the pages, I just start playing on them.
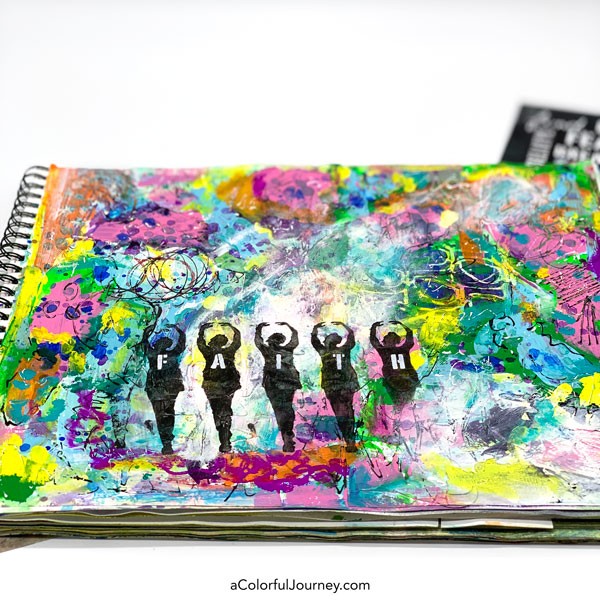
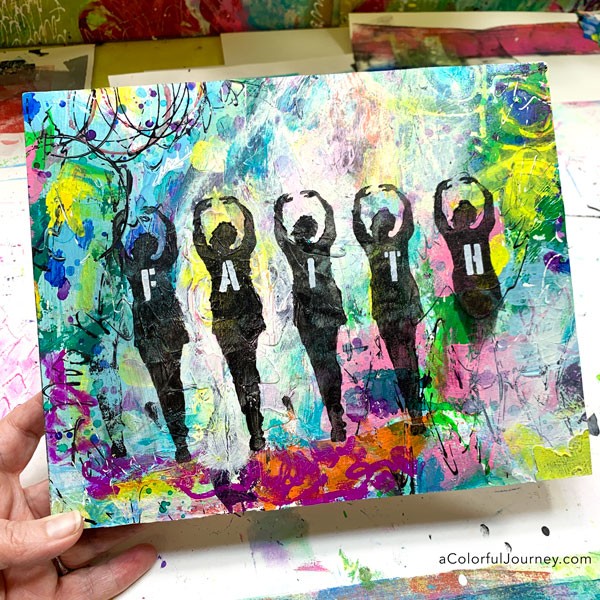
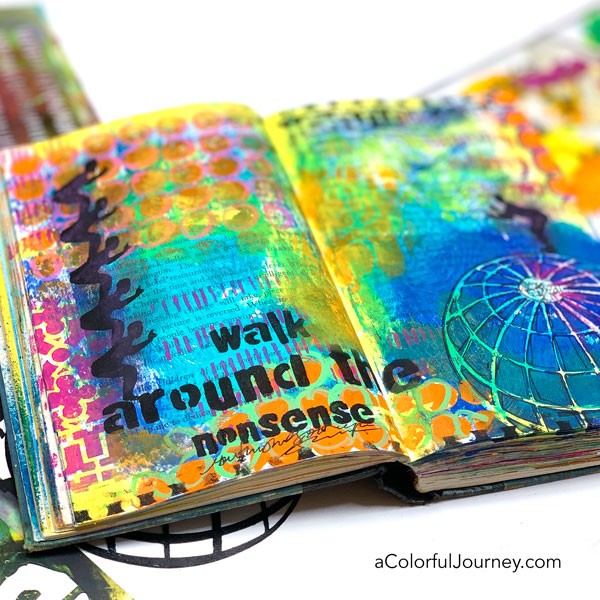
Not only did the page have many layers, so did the meaning of the words. It reminded me to walk around the nonsense that is out in the world right now.
There’s lots happening this year that needs to be taken seriously, things that are very important. And there’s also nonsense. It’s knowing which to walk around and which to take seriously that’s important.
On a lighter level. one of the things I am not going to take seriously is coloring inside the lines. Art journals are a great place to play and if you’re looking for ideas and ways to get more play in your journals, check out my free workshop, Permission to Play. It’s about play, not experience so this free workshop is great for both beginners and experienced art journalers.
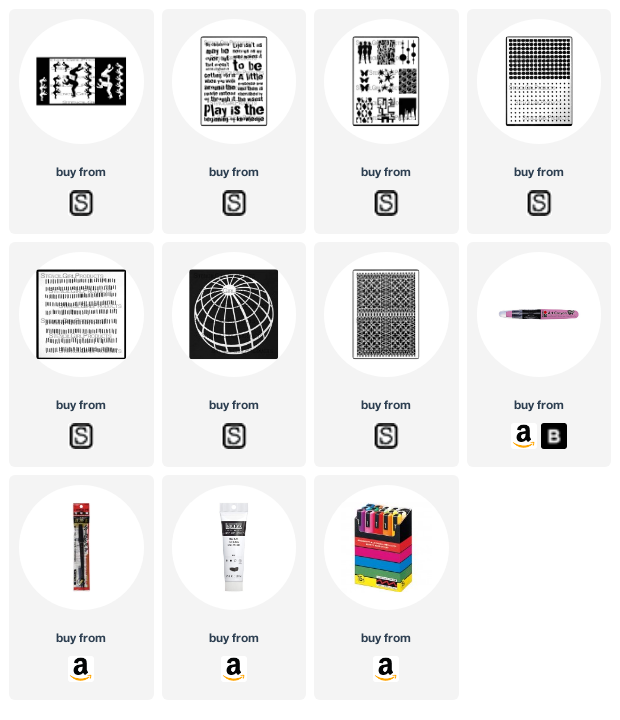
Here are the supplies used. Some of these links are affiliate links which means I get a small percentage. For example, I’m an Amazon Associate & I earn from qualifying purchases. It doesn’t cost you anything extra and you get a really good feeling knowing that you are helping keep the free tutorials coming!