Art is personal and what you create is full of emotions. All emotions, not just the happy ones. The Feelings and Emotions collection at StencilGirl Products was inspired by the rollercoaster ride this year has been and my need to be able to get a wide range of emotions honored in my play.
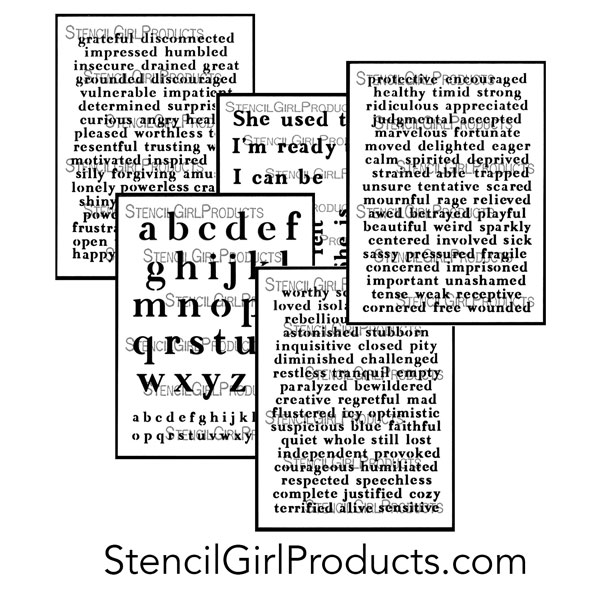
Embedding the words in the early layers of your play allows you to express and respect your feelings privately. Since these are stencils, that means you have incredible flexibility on how you use them.
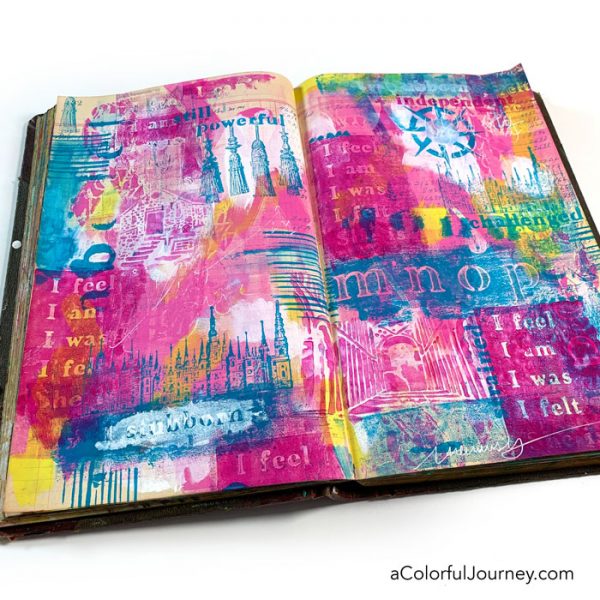
Not only can they be subtle layers, they can be bold too. You can use stencils in the way that fits your creative process.
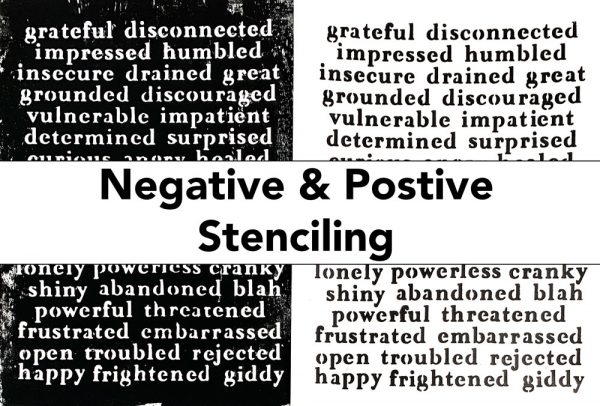
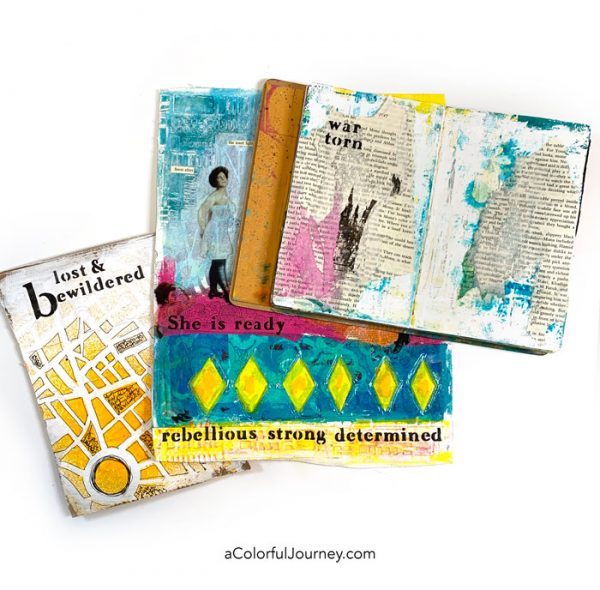
Stencils can be used in a positive or negative way. This is about the only time negativity makes me happy!
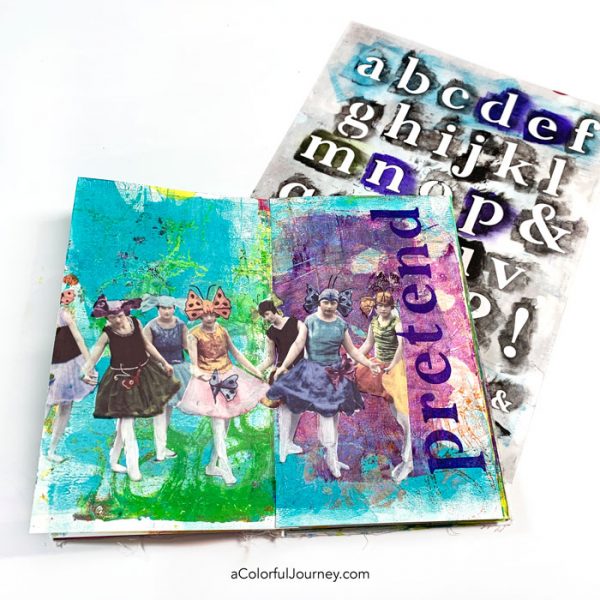
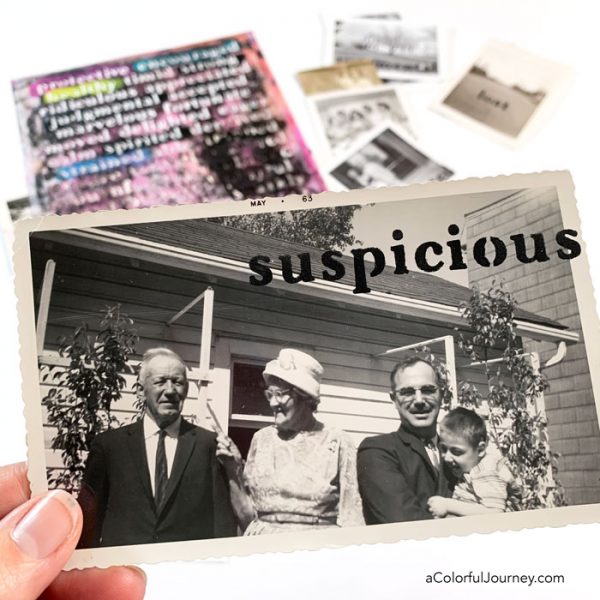
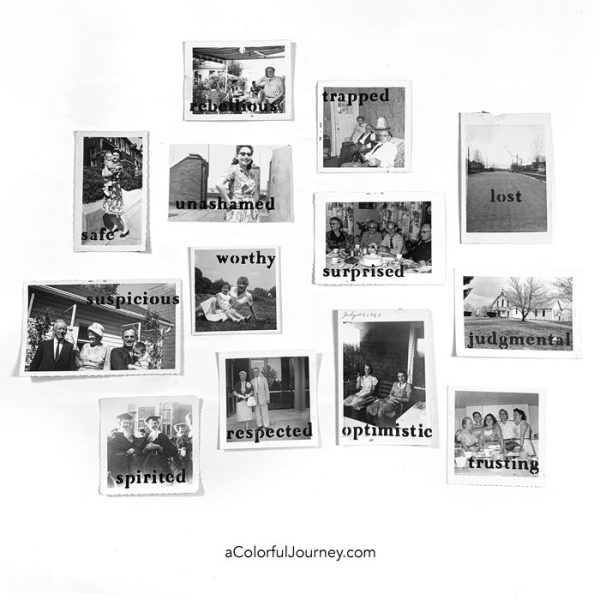
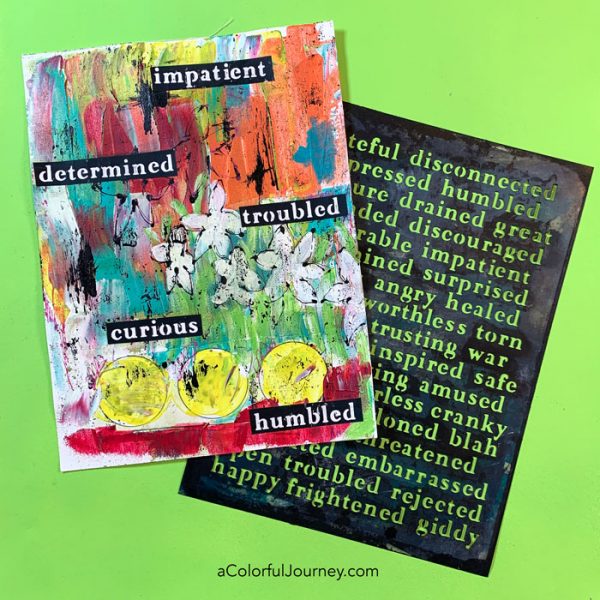
Adding a word to your play can start the storytelling process. Stenciling a word onto a vintage photo, it begins to reveal the story. Once suspicious was stenciled, her tale began to reveal itself. What is she suspicious about? What did he do? Is that a magic wand in her hand (and I realize it’s just the photo angle and shadow but I can’t get magic wand out of my head).
What about finding the story and meaning in something that isn’t a photo? Keep reading!
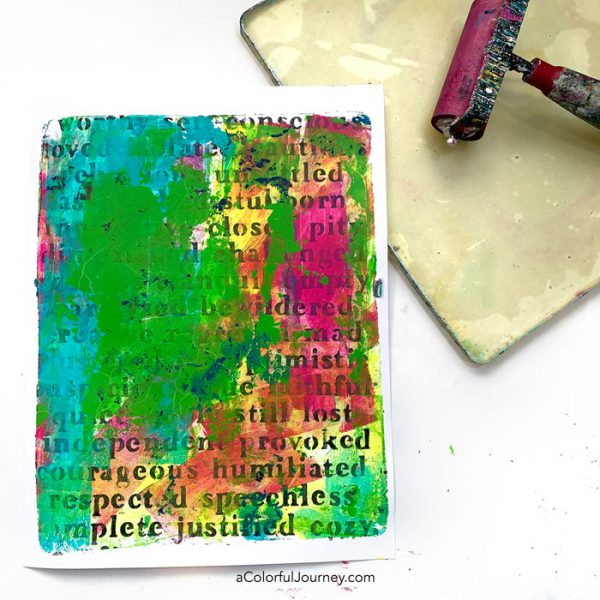
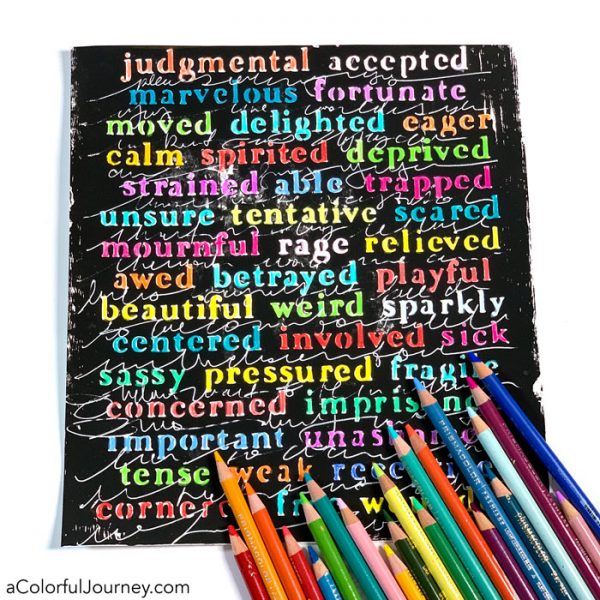
On the stencils, there is space between the words so it’s easier to stencil just the one you want. There’s another perk to having that space between the words.
One of the benefits to the space between each row of words, besides making it easier to stencil just one word, is room for journaling. Below, I’ve reverse stenciled and then scribble journaled my thoughts between each row .
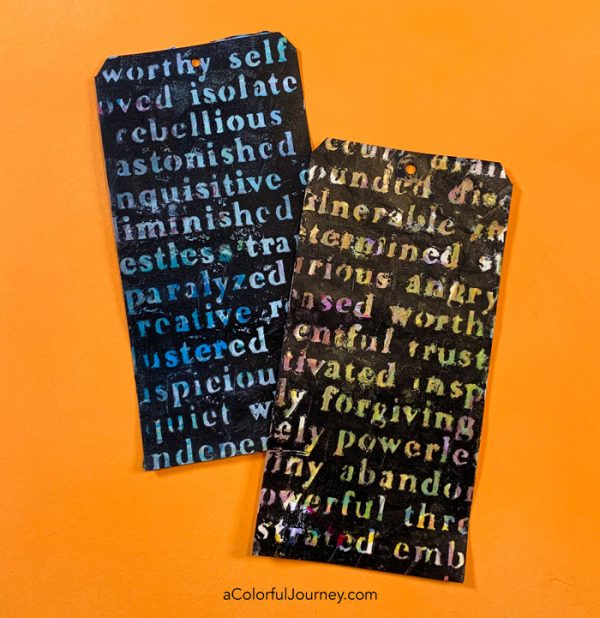
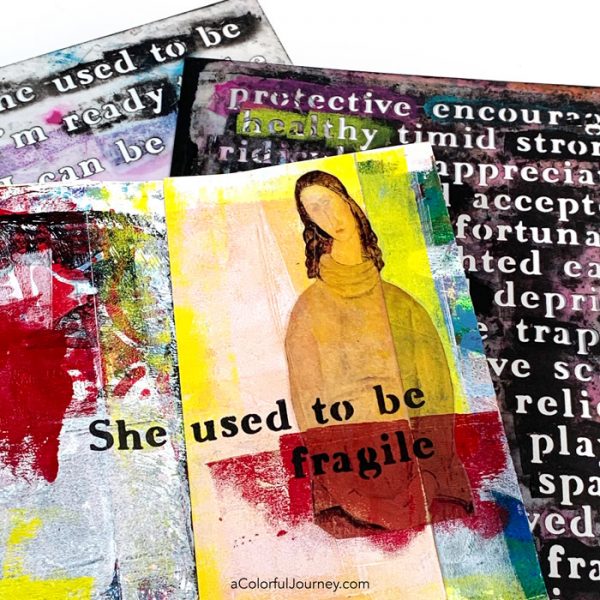
Inspired by illuminated letters, the Feelings and Emotions alphabet includes a large and small alphabet. Having two coordinating alphabets in one stencil gives you lots of flexibility!
Create a modern take on illuminated letters by starting a word with a large letter then stenciling the rest of the word with the smaller alphabet. That’s what I did for these mixed media tags below.
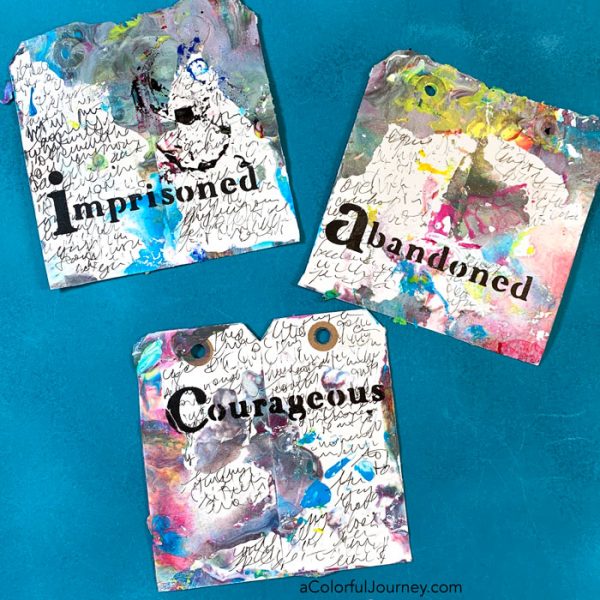
Can these help you when you have an ugly background? Absolutely! The layer under the black was ho hum. A layer of reverse stenciling transformed it in one single layer from something I didn’t really like to something I loved.
Words can add meaning or a design element (or both like it did here)!
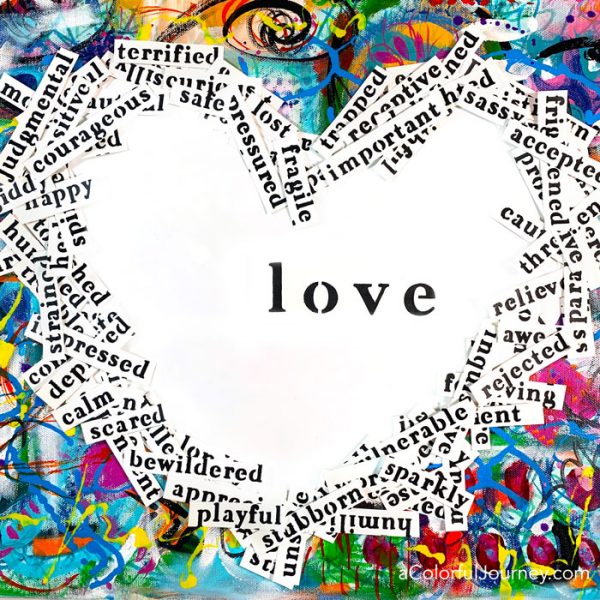
So why didn’t I make one stencil with the happy words and one stencil with the others? Because they don’t happen in isolation in life so I didn’t want them to be isolated in the stencil either.
In the video at the top of this post, I explain the O.O.P.S. that happened with these stencils. An O.O.P.S. is an Outstanding Opportunity Presenting Suddenly and something like this has never happened on one of my stencils before.
This canvas represents all that goes into loving someone. When I tell my family or friends that I love them, it’s more complex than just one word. There are so many other feelings wrapped up in that word. Especially this year. I have been the full swing of emotions with my family and friends, and they have been with me too. Those emotions that over time have built one upon the next to create that powerful feeling, love.
This is just the beginning of what you can create with the Feelings and Emotions stencil collection! I can’t wait to see what you make!