Welcome! I’m Carolyn Dube – This colorful journey is all about the freedom of play!
Search My Blog
Search by Category
The Fine Print
Some of the links on this blog are affiliate links and I receive a small percentage. It doesn't cost you anything extra and helps keep all the free tutorials and videos coming! It's a win-win!
The website is copyright Carolyn Dube, and that is kinda common sense since this is my site.
As an Amazon Associate I earn from qualifying purchases.
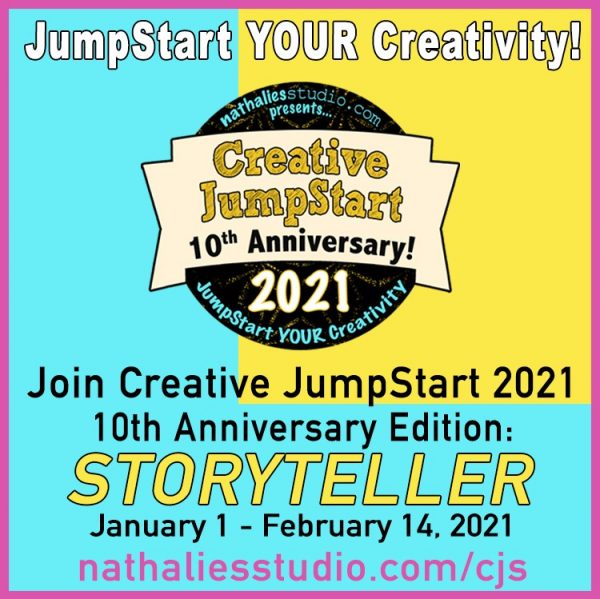
Kick off the new year with some fun! Join Creative JumpStart 2021 and get a new video every day beginning January 1st, all the way through February 14th each with a different artist’s take on the theme of Storytelling!
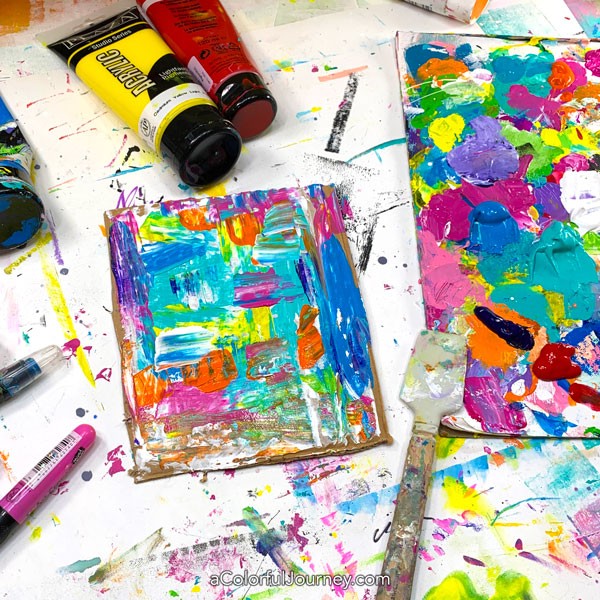
When I heard this theme, I was excited. Right after the excitement, I will admit, I was absolutely deer-in-the-headlights frozen. I couldn’t think of a single storytelling thing to do. O.O.P.S.! Then I realized it was the perfect opportunity to show you what to do if that ever happens to you!
You get that along with 44 other videos, each by a different artist! Dina Wakley, Julie Fei-Fan Balzer, Mary Beth Shaw, Seth Apter and lots lots more! A buffet of downloadable inspiration!
Why go big this year? It’s the 10th anniversary of this one-of-a-kind online workshop hosted by Nathalie Kalbach. It’s super sized this year with a total of 45 artists, and online webinars, and giveaways from the sponsors, and a supportive community! You can see all the details here.
Early bird price of $69.
Then when the workshop begins, on January 1st, it goes up to $89.
So the best time to join in the fun is now if you want to get the early bird and save! Looking forward to starting 2021 off right with you, plenty of play and lots of creativity! Get signed up and join the fun!
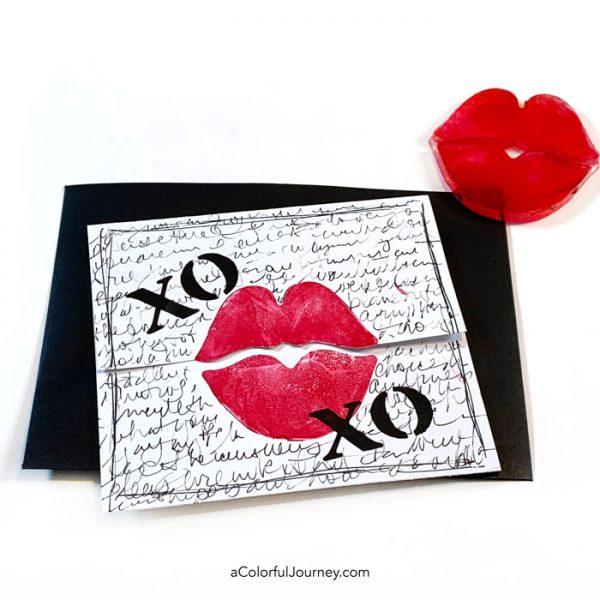
Lining things up and getting it centered just right can be tough, but they don’t have to be! Getting the lips positioned so they open directly on the flap & getting it centered in the card, was all done without measuring. Check out the video to see how it’s all done!
And yes, I could have opened and closed the card for hours- it was wonderfully fun to just make the lips move!
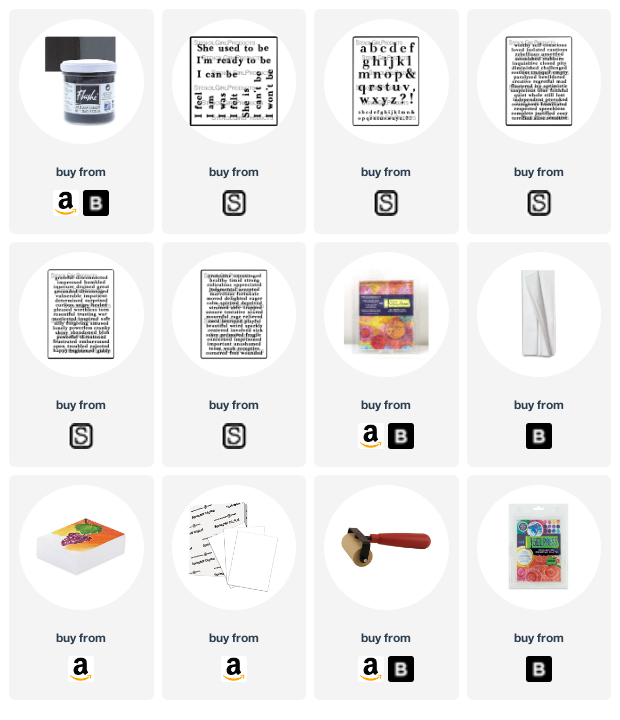
Here are the supplies used. Some of these links are affiliate links which means I get a small percentage. For example, I’m an Amazon Associate & I earn from qualifying purchases. It doesn’t cost you anything extra and you get a really good feeling knowing that you are helping keep the free tutorials coming!
Reverse stenciling enables you to get a very different look from your stencils. But it can be a persnickety technique if you don’t know the three important factors that dramatically impact your print.
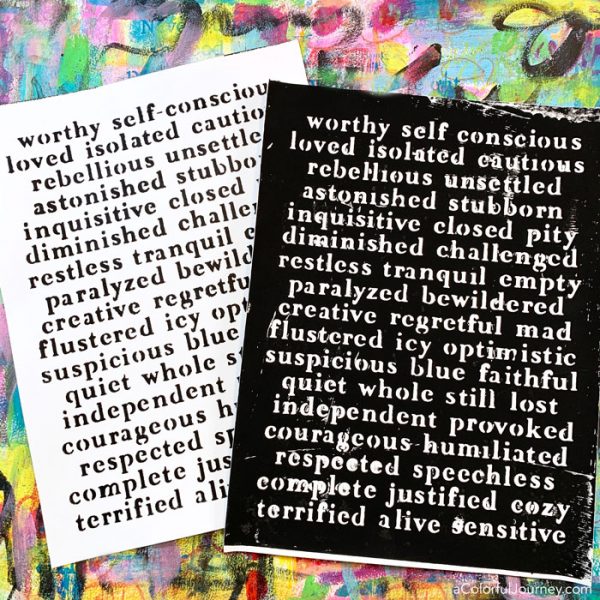
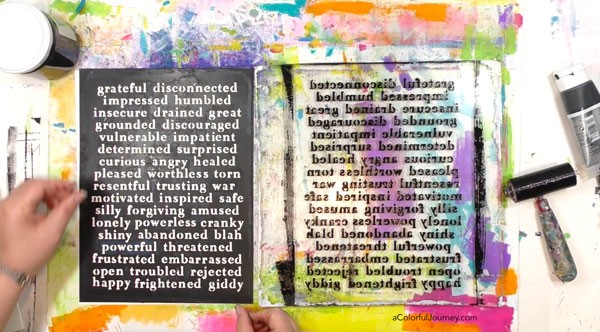
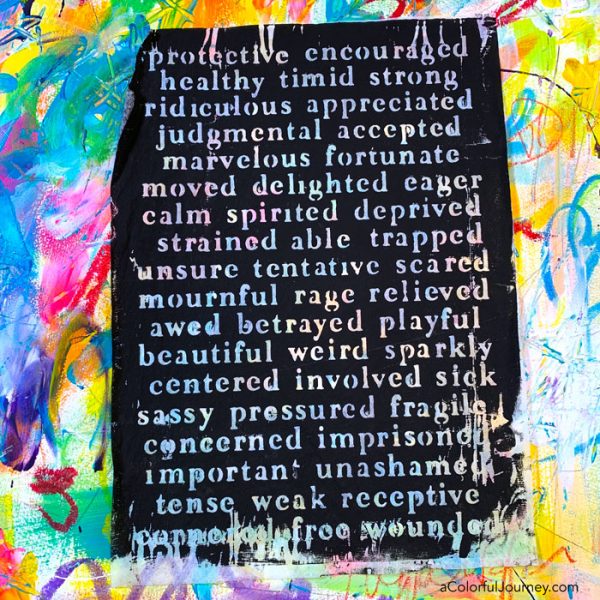
Below is an example of the Feelings and Emotions 1 stencil used the standard way on the left and reverse, or negative, stenciling on the right. What do you need to know to get that dark reverse print? Keep reading!
The video shows the process much better and with more detail, but the gist of it is you put the paint on the back of the stencil and the press it onto paper to get your print.
Loading your stencil up with paint can be done on any kind of paint palette but I prefer to use a Gel Press plate because it enables me to use the leftover paint so it doesn’t get wasted. I’m using the 12×12 size here but you can use any size you’re comfortable with.
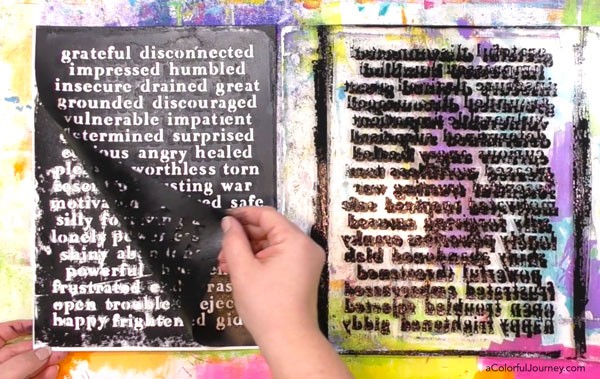
The first big factor to keep in mind is pressure. You’ll need to make sure you’re using ample pressure to get the paint to transfer onto your paper. Below is an example of what it might look like if there is too light of a pressure.
The second factor is the kind of paint you’re using. I’ve done this technique will all sorts of acrylic paints and medium concoctions and it tends to be a pretty persnickety technique. But then I found the Flashe paint and wow- what a different it made!
Is it because it’s a vinyl paint? Or is it because it’s made by a 300 year old French company? I don’t know but I do know that there’s something different about this paint compared to acrylic paints when you’re reverse stenciling.
The paint behaves like an acrylic in terms of how you apply it, how it clean ups with water, and it dries with a magnificent matte finish.
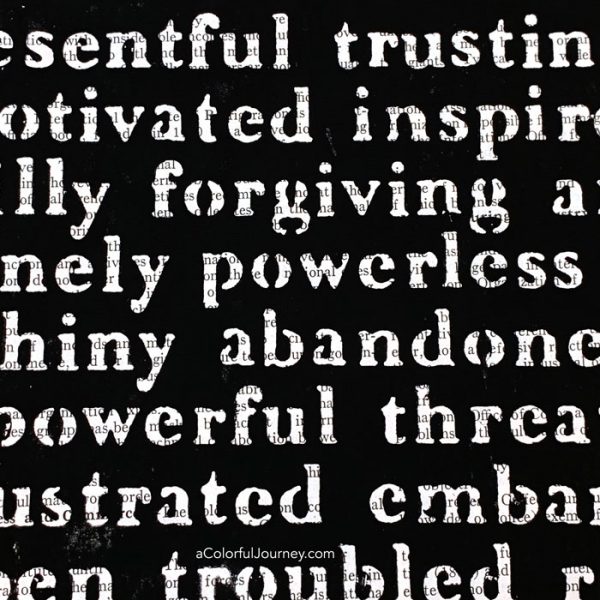
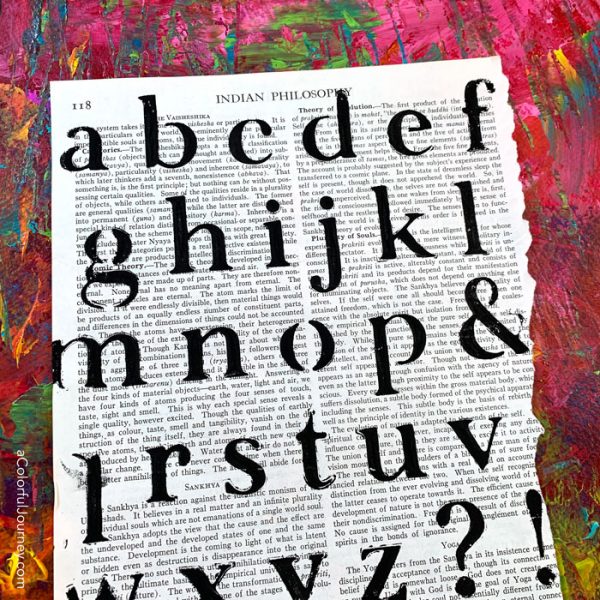
The third factor to keep an eye on is how much of the paint you’re using. When you are doing a print on heavier papers, like cardstock, you’ll need more paint. When you’re doing a print on thinner paper, like the encyclopedia page above and blow, you need less paint because the paper is more absorbent.
When you’re using tissue paper with this technique, you need a lot less paint and the super thin paper is delicate and prone to tearing. After all, it’s tissue paper and it gets wet from the paint.
If you don’t have or want Flashe paint, you can do this technique with acrylic paint but you’ll have an easier time with it if you use thinner papers like thin book paper or tissue paper. You’ll have to experiment with the amount of paint and pressure to see what works best with the paints you have on hand.
What about all the leftover paint on the palette? If you’ve used a Gel Press plate, then you can use that to make some quick prints. That’s how I built up a stash of these letters using my Feelings and Emotions Alphabet stencil.
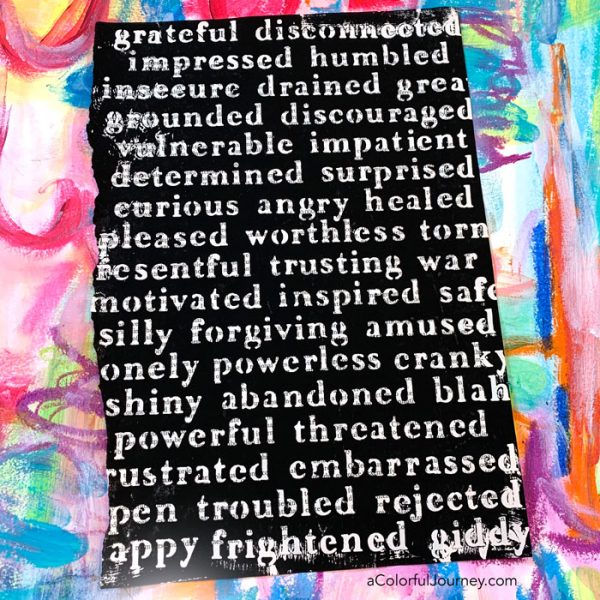
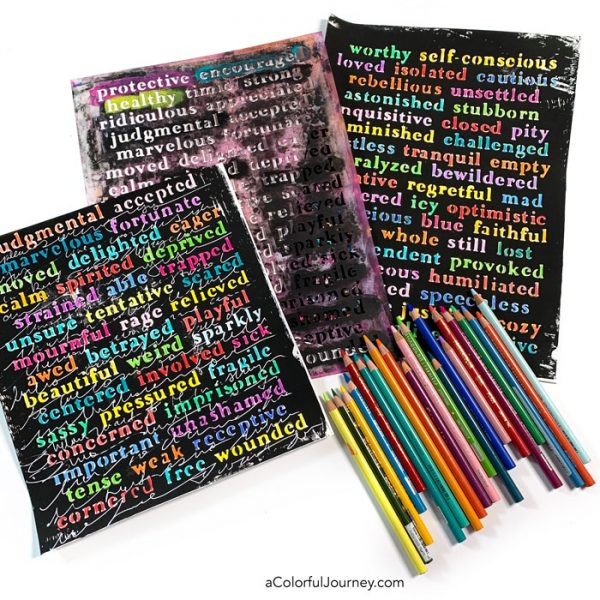
Once you have your reverse stenciled words, you can fill them in with whatever you have on hand. Here, I used colored pencils add the rainbow. One of these will stay a full page, but the other is destined to be cut up so I can use the words invidually.
Now that you know the three big factors to keep an eye on when reverse stenciling, you understand more of how it works. Which means you can tell what’s happening and why when you are doing a reverse stencil print.
If this was helpful to you, you might enjoy my workshops where I show you techniques step-by-step. All my workshops are designed to help you have more fun while you’re creating. After all, that’s the power of understanding why an art supply does what it does!
Here are the supplies used. Some of these links are affiliate links which means I get a small percentage. For example, I’m an Amazon Associate & I earn from qualifying purchases. It doesn’t cost you anything extra and you get a really good feeling knowing that you are helping keep the free tutorials coming!
This website uses cookies to improve your experience while you navigate through the website. Out of these cookies, the cookies that are categorized as necessary are stored on your browser as they are essential for the working of basic functionalities of the website. We also use third-party cookies that help us analyze and understand how you use this website. These cookies will be stored in your browser only with your consent. You also have the option to opt-out of these cookies. But opting out of some of these cookies may have an effect on your browsing experience.
Necessary cookies are absolutely essential for the website to function properly. This category only includes cookies that ensures basic functionalities and security features of the website. These cookies do not store any personal information.
Any cookies that may not be particularly necessary for the website to function and is used specifically to collect user personal data via analytics, ads, other embedded contents are termed as non-necessary cookies. It is mandatory to procure user consent prior to running these cookies on your website.