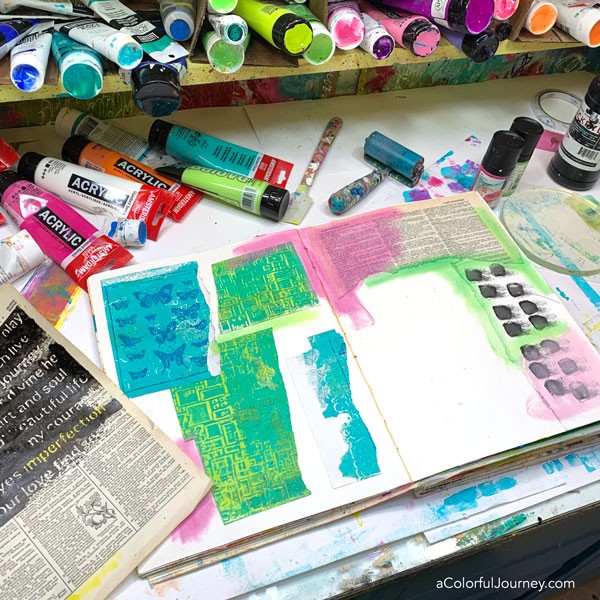
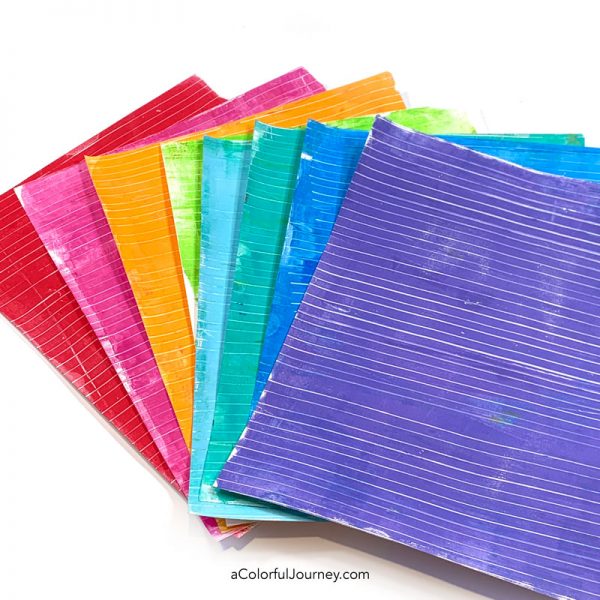
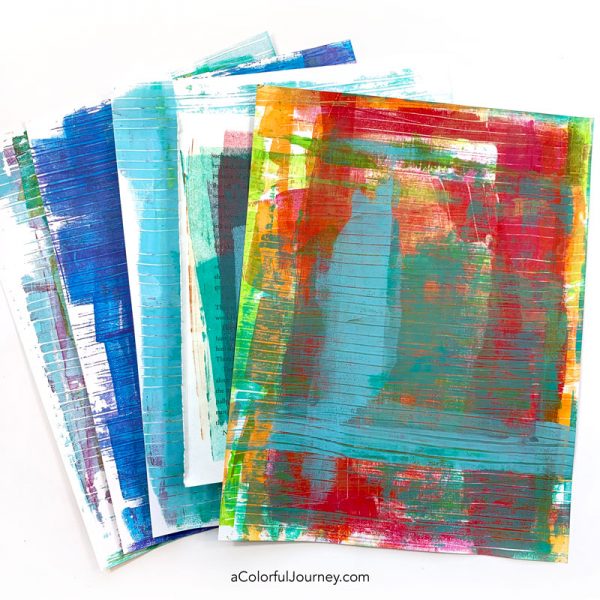
A highly efficient stenciling technique was used to start this art journal page. That’s code for an easy (or one could even say lazy) way to do it. What is the this easy way? Using a Gel Press plate.
Since I was very heavy handed with the paint on the Art Nouveau stencil, that meant there was plenty to get two strong prints. All the little ghost bits you see there is from cleaning off the stencil directly on the page. Every drop of paint gets used!
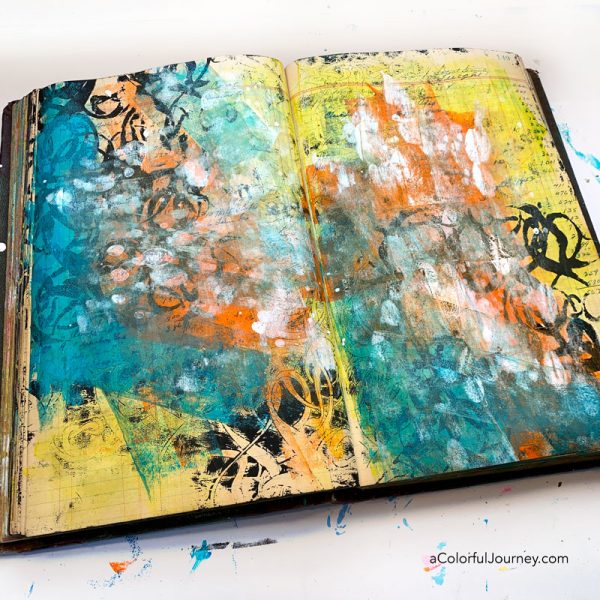
The plan that started this play was the stenciling and the yellow. The rest of this wasn’t planned, including the brown to come! If you’ve seen many of my videos, you rarely ever see much brown. That’s a color that I just don’t enjoying using. Usually. This time I did.
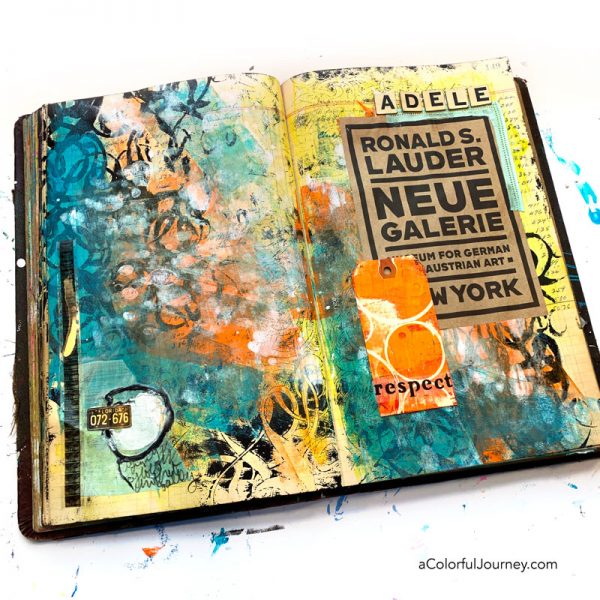
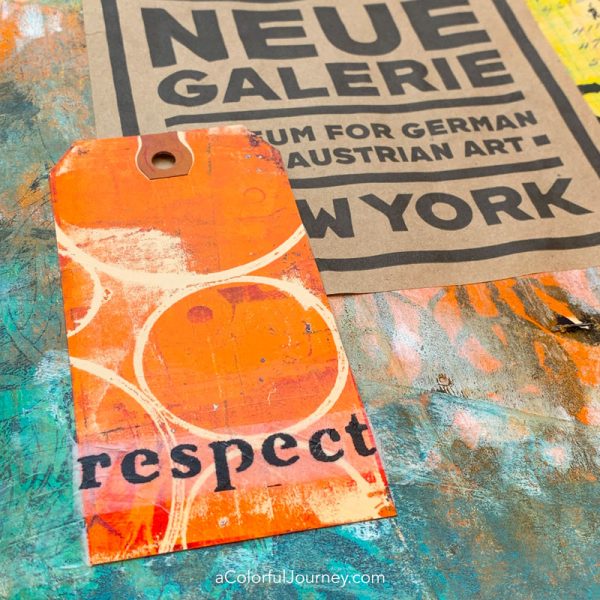
The brown bag below is from the gift shop at the Neue Galerie. Even though it’s brown, it’s a treasure to me that I’ve held on to for years. Yes, this is treasure in my world! Why? Because it is a souvenir of a magical experience of seeing a stunning Gustav Klimt painting in person. The Woman in Gold was breath taking.
Next I needed a word. Having a bowl of stenciled words on tissue paper nearby means I can always find the word I need. Lately, my bowl has been full of words from my Feelings and Emotions collection from StencilGirl Products.
The word I chose was respect. Naturally, I respect Klimt and his inspiring artwork. But this respect was for Ronald S. Lauder. Why? Because he is the collector who bought the Woman in Gold (portrait of Adele Bloch-Bauer) for bargain price $135 million and then made it available for the public to see.
How did I make that orange tag? See how in this video using trash.
To add some of my thoughts to the page, I used a pencil. Why? Wet glue and paint is very hard on pens so the final journaling was done with a water soluble black pencil. Pencils survive wet paint easily, pens not so much.
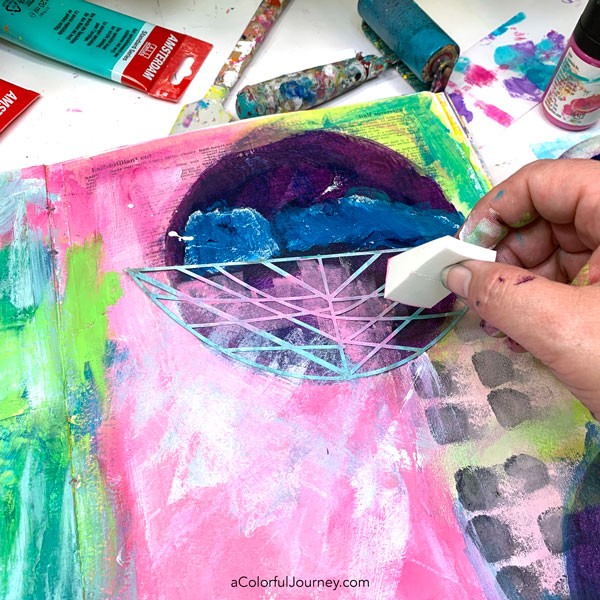
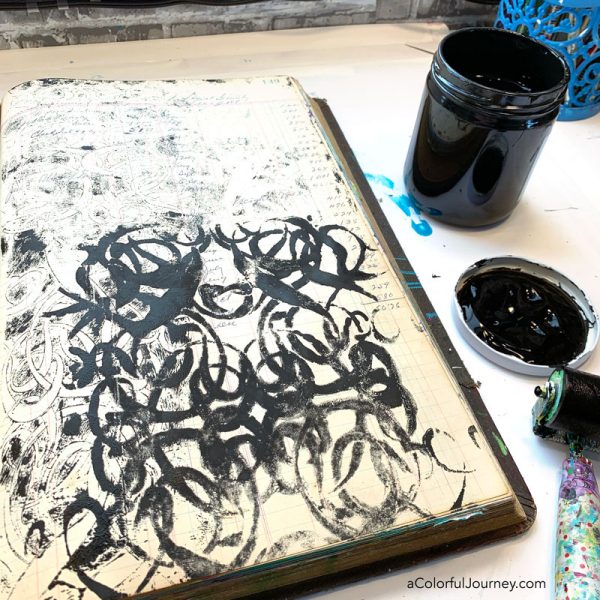
Where did that black circle come from? Leftovers from another play session.

When the play began, there was zero intention to use brown. And that’s part of the fun of play! Next time you’re using your art supplies, if the play leads you in an unexpected direction, follow it and see where it takes you!
Enjoyed the play? Want more? Get signed up for my newsletter for weekly creative inspiration and free downloadable Sparks!