≡ Menu
Video showing how I made this card using StencilGirl Products stencil by Seth Apter and tape from Transform Your Tape workshop with Carolyn Dube


Video showing how I made this card using StencilGirl Products stencil by Seth Apter and tape from Transform Your Tape workshop with Carolyn Dube


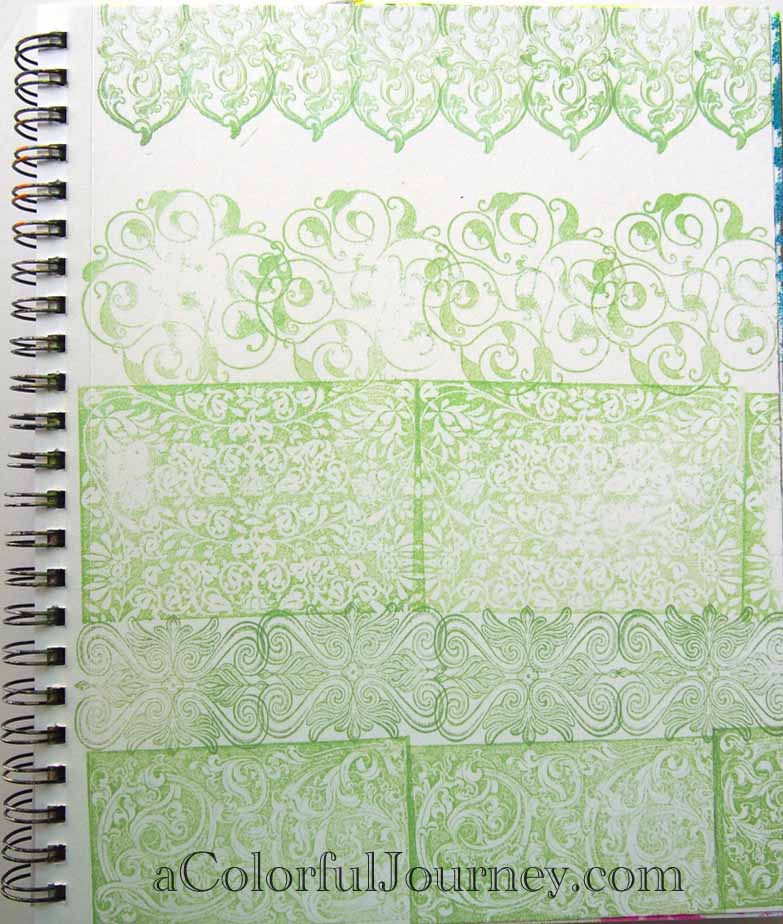
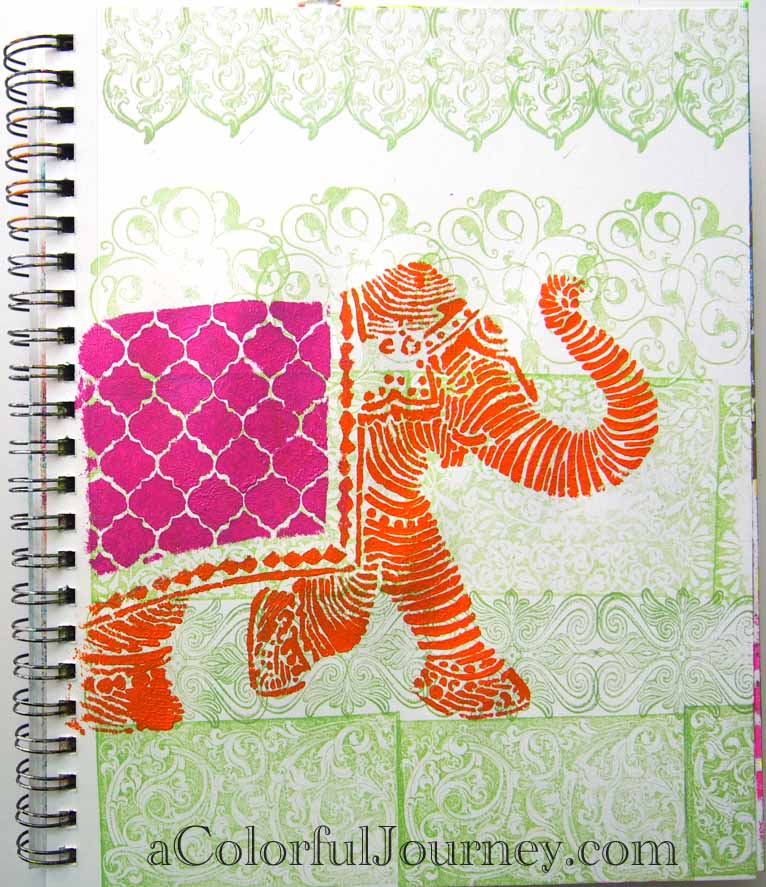
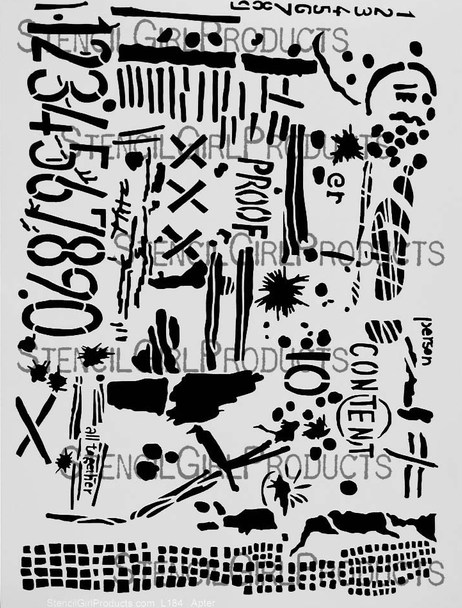
Seth Apter has outdone himself with his stencils for StencilGirl Products!  There are so many possibilities in each and every one of them!  What I love about it is I can pick and choose the parts that I want for each project I am doing.  In the video you’ll notice how many colors of paint are on this stencil.  This one has been used a lot!


I’ve got a short video (3 and half minutes) showing how I put this together.  And I was a bit excited that I actually left white space on this…usually it ends up filled with color but not this time!

You can also watch Using Seth Apter’s Stencil on a Card on YouTube.

Video showing how I made this card using StencilGirl Products stencil by Seth Apter and tape from Transform Your Tape workshop with Carolyn Dube


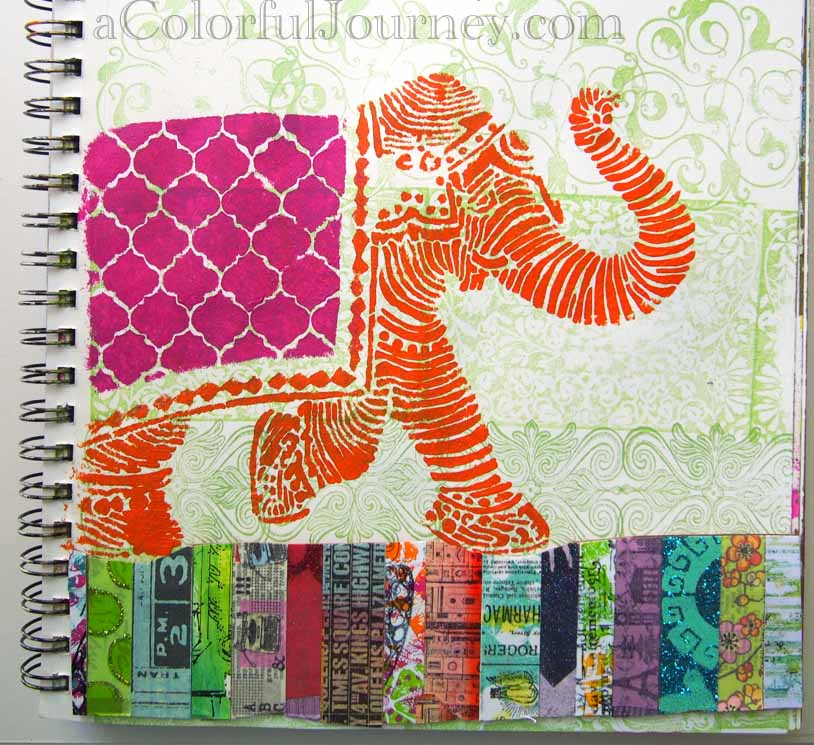
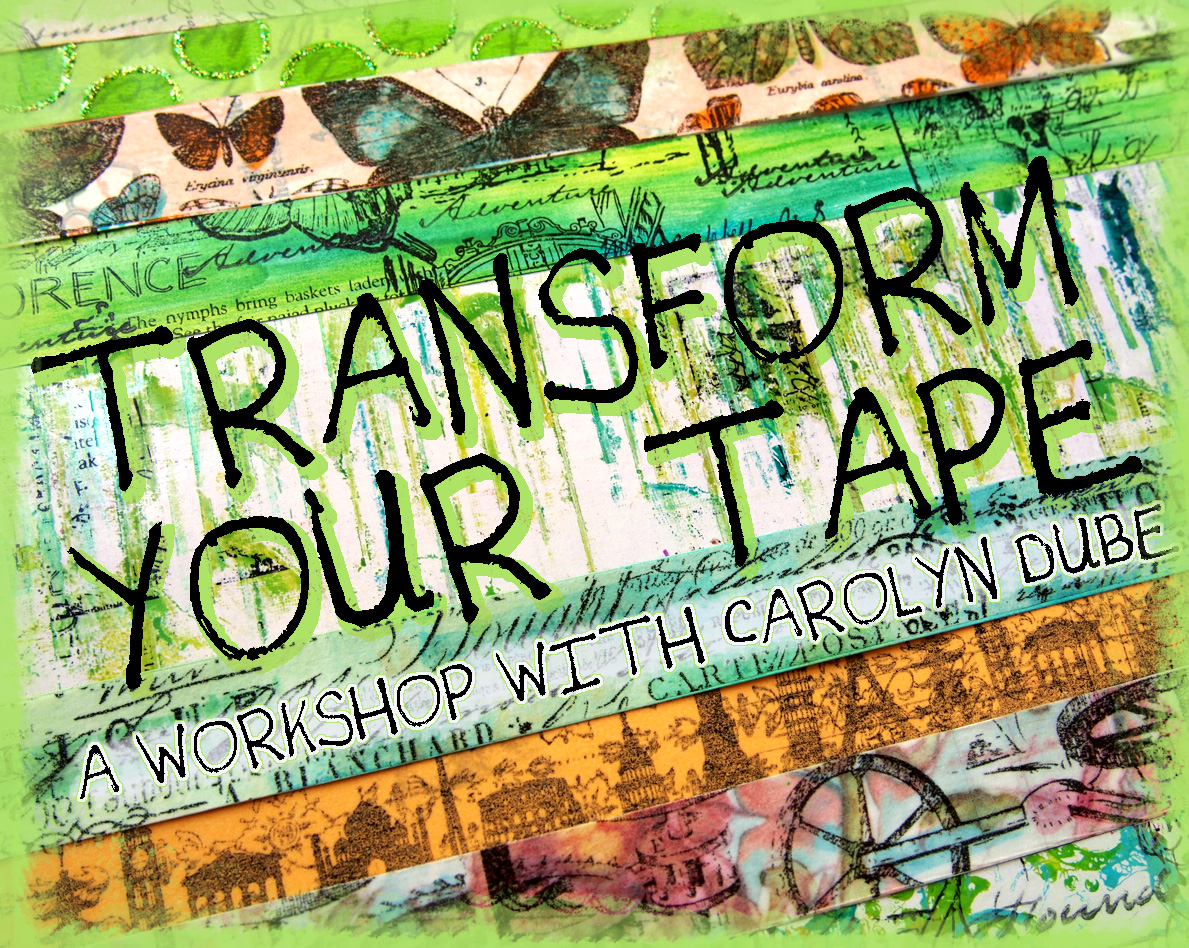
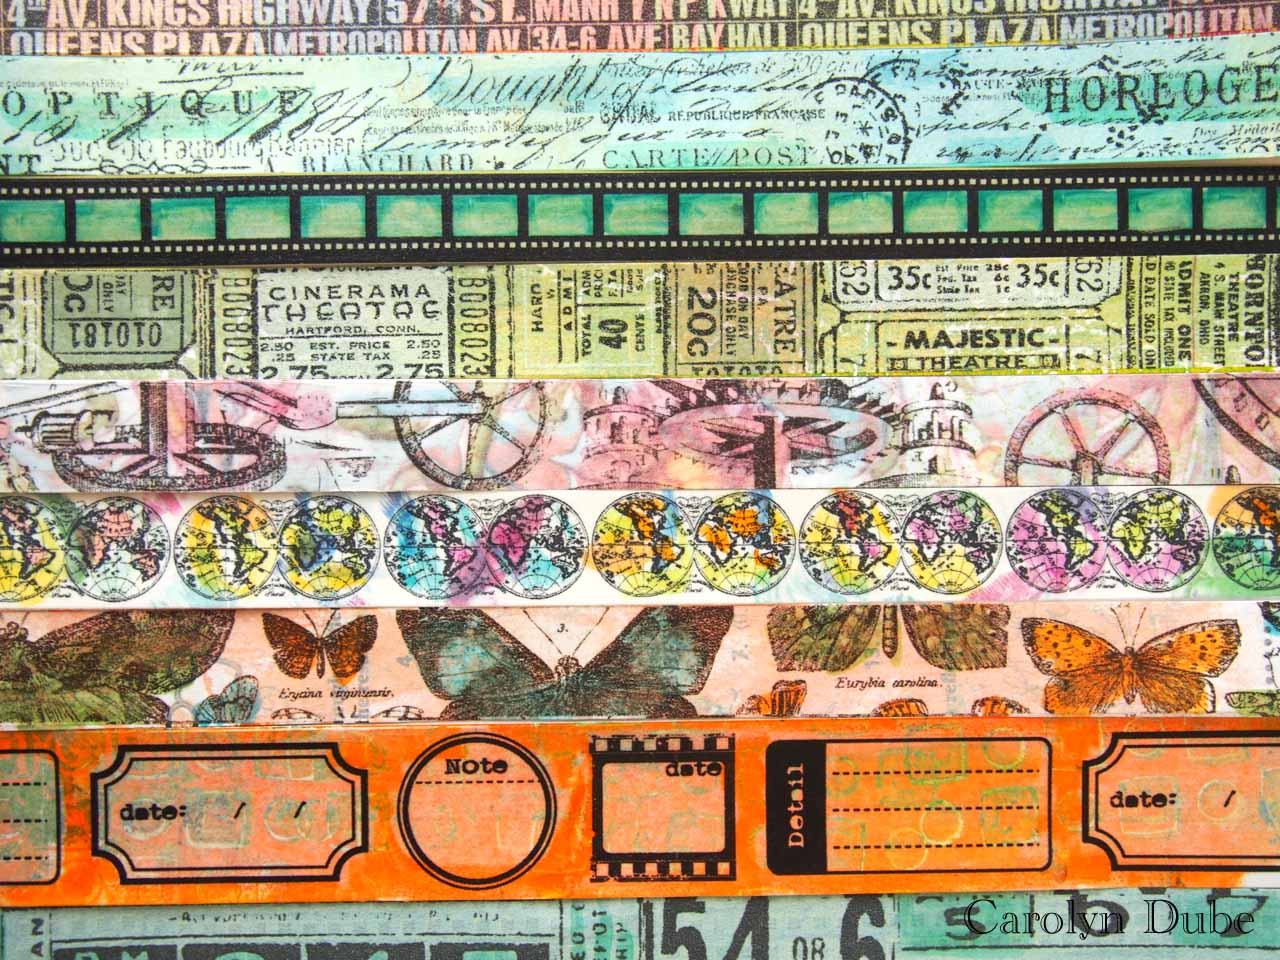
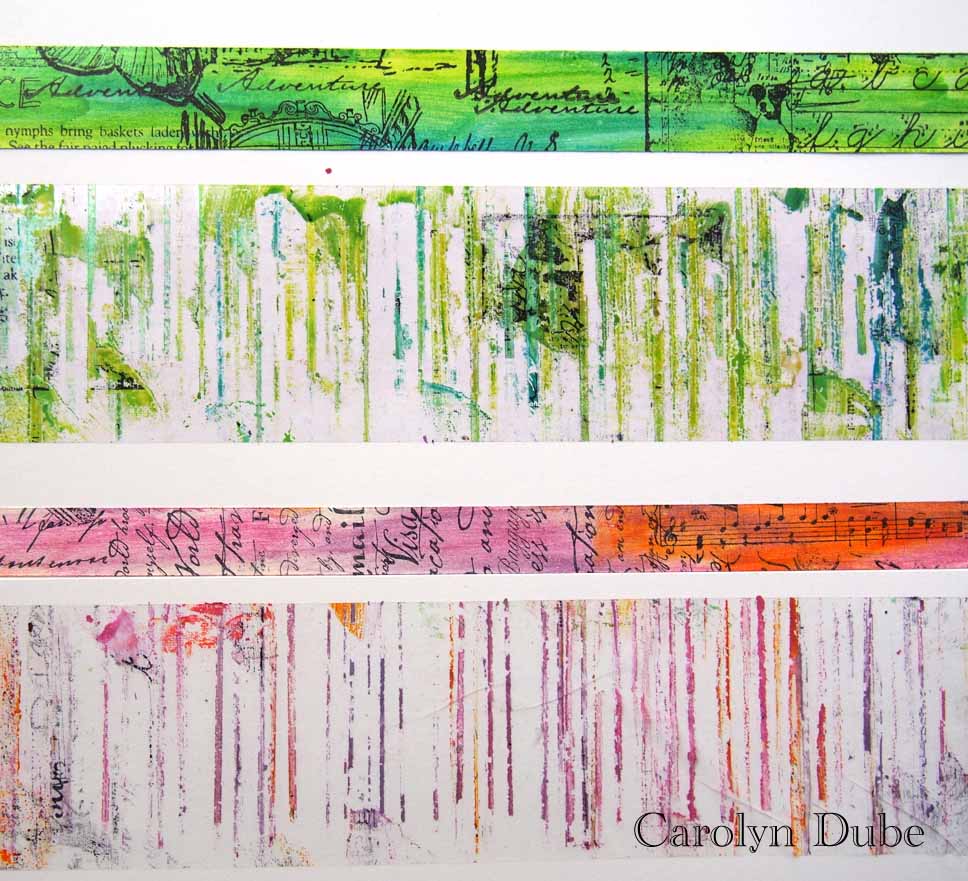
I wanted to use this arch in my card.  You can see how I made this arch in Washi Tape and A Canvas. I used all sorts of tapes using techniques from my workshop, Transform Your Tape.


Video showing how I made this card using StencilGirl Products stencil by Seth Apter and tape from Transform Your Tape workshop with Carolyn Dube


I love these numbers and they were so easy to stack to cover the entire arch.


Video showing how I made this card using StencilGirl Products stencil by Seth Apter and tape from Transform Your Tape workshop with Carolyn Dube


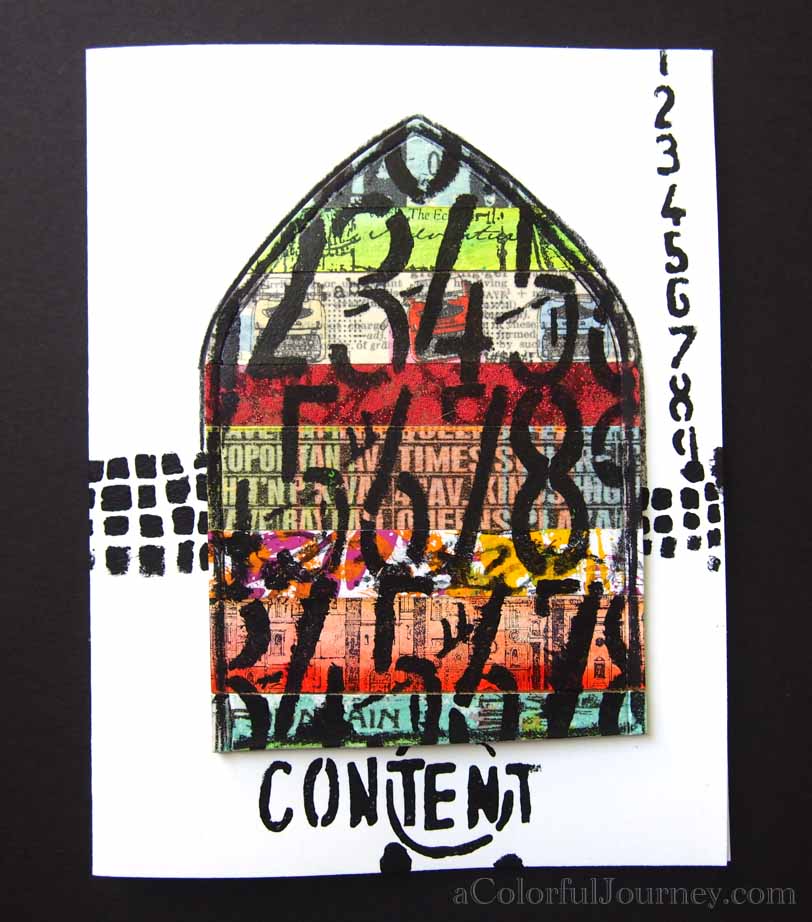
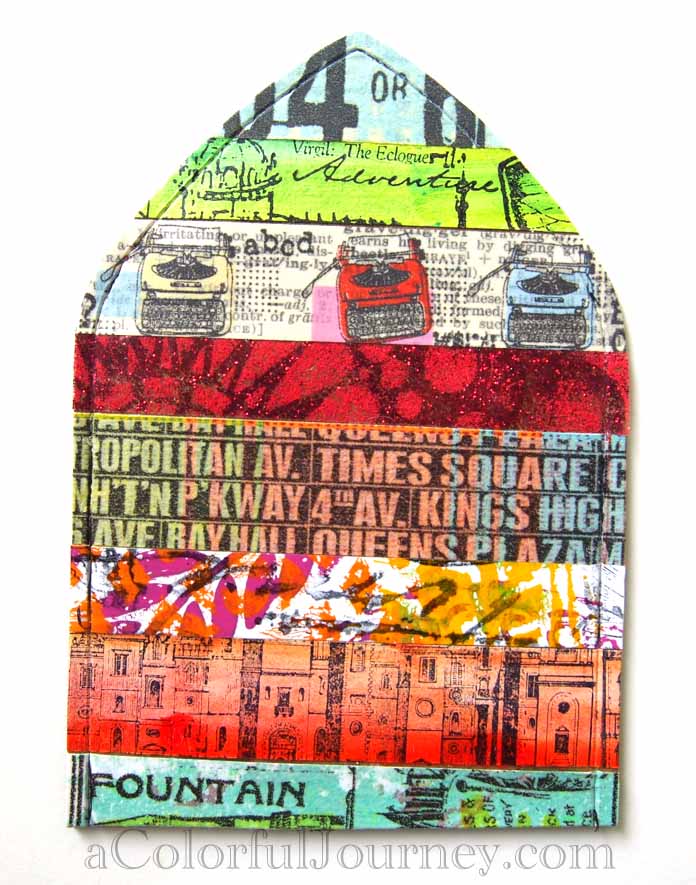
Here’s the final card- I am extremely proud of myself for actually leaving some white space! This doesn’t happen often…


Thanks for stopping by!  You can win a stencil by  Seth Apter just by leaving a comment on this post AND on top that you have 10 chances to win because every person can leave a comment on every blog in the hop!

Transform Your Tape a worskshop by Carolyn Dube


And there’s another giveaway too!  I am giving away a spot in my workshop, Transform Your Tape!  Go to this post for a chance to win a spot in the workshop!


{ 131 comments }
Video by Carolyn Dube showing this art journal page from beginning to end using StencilGirl Products Elephant stencil by Nathalie Kalbach Nathalie Kalbach's Blog Hop

Nathalie Kalbach has outdone herself with her Elephant March stencil for StencilGirl Products!  I am in love with it for so many reasons.  All the texture in it, all the different patterns hidden in this beauty, and all the fun titles and quotes that go with an elephant!   Not to mention the memories I have of hugging  an elephant, riding an elephant as a little kid, and learning just how gentle and careful an elephant really is when eating a carrot from my hand.

You can watch Elephant Art Journal Page for Nathalie Kalbach’s Stencil Hop on YouTube here.

Video by Carolyn Dube showing this art journal page from beginning to end using StencilGirl Products Elephant stencil by Nathalie Kalbach


Random rubber stamping for a background.


Video by Carolyn Dube showing this art journal page from beginning to end using StencilGirl Products Elephant stencil by Nathalie Kalbach


The elephant didn’t fit on the journal I chose, Oops.  That wasn’t the plan.  Turns out that I am thrilled I did this because that meant the elephant is partially off the page- making it look like she is walking right into my art journal.

She’s welcome here any time!!


Video by Carolyn Dube showing this art journal page from beginning to end using StencilGirl Products Elephant stencil by Nathalie Kalbach

She’s such a fun elephant with all her patterns and colors she just had to walk on a very colorful ground.

That striped cardboard- it was sitting on my counter and fit perfectly.  Another reason not to clean!

There’s a video here so you can see how I made that cardboard using tape created with techniques from my Transform Your Tape workshop.


Video by Carolyn Dube showing this art journal page from beginning to end using StencilGirl Products Elephant stencil by Nathalie Kalbach


She of course, had to be holding play- she is very playful!  Those letters were made with Gelli prints  cut with Tim Holtz’s Block Talk die from Sizzix.


That’s PanPastels adding the soft blue at the top.


Video by Carolyn Dube showing this art journal page from beginning to end using StencilGirl Products Elephant stencil by Nathalie Kalbach


While looking at the play, the rest of it just popped into my head.

Play with the elephant in the room.


Video by Carolyn Dube showing this art journal page from beginning to end using StencilGirl Products Elephant stencil by Nathalie Kalbach


There just wasn’t enough color yet…so I added a bit of yellow.  I just can’t seem to leave much white space on page yet….it’s that color addiction I have…


Thanks Nat for inviting me to play!  Be sure to stop by and check out all the other wonderful goodness created by these talented people!  And every blog in the hop you comment on gives you another chance to win Nat’s Marching Elephant!!!  That gives you 5 chances to win!  She’s randomly choosing a winner on September 18th at midnight EST.

And there is another giveaway going on too!  Stop over here for a chance to win a spot in my latest workshop, Transform Your Tape!

Like this post? Love it if you’d share it!

Linking up to Art Journal Every Day and Creative Every Day!

{ 68 comments }
Transform Your Tape A workshop with Carolyn Dube

It’s regularly $35 but until Sunday, September 15th it is just $30!

I had a drawerful of washi tapes that I rarely used. I was cleaning out my studio and I realized I bought them because I loved them but I wasn’t using them.  Why?  They weren’t exactly me so I decided to change that!

Now I am using that tape.  And I didn’t stop there.  I eyed the packing tape on my shelf.  I started upcycling it.  That led to the artist tape ( like a white masking tape).  And then this workshop, Transform Your Tape!

There’s a giveaway for a spot in this workshop!  Just leave a comment here before Sunday, Sept. 15th!  

Transform Your Tape A workshop with Carolyn Dube

In the videos I explain not only how to make these tapes but I’ll explain why I make the choices I make.  I will show you my entire process, including my Oops and how I handle them.  You’ll see when my tape hit that ugly stage and how that actually helped me turn that tape from the one I liked the least into my favorite of all time!


Transform Your Tape A workshop with Carolyn Dube

Clear packing tape will be turned into colorful works of art! You will work with patterned washi tape enhancing the pattern by adding layers of color and more pattern! Yes, more pattern!   You will take plain white tape and create rich colorful tape filled with images!  All in your favorite colors because you’ll be customizing it just the way you want it!


Transform Your Tape A workshop with Carolyn Dube


Who can do this?  Anyone! No prior skills are needed to get started! For all you experienced creatives, I will show you ways to use your existing supplies like you never imagined!


What you get:

  • Over 2 hours of video
  • 9 videos showing how to alter and customize 3 different kinds of tapes: washi, artist tape, and packing tape.
  • A video with examples of how you can use your tapes in projects to spark your creativity
  • Full color pdf with instructions and photos for you to download
  • 1 supply video that goes into detail about the supplies but you probably already have many or all of the supplies.
  • The classroom will be open at least a year (which means Sept. of 2014)

It’s regularly $35 but until Sunday, September 15th it is just $30!

Register for class here!

The workshop goes live on Monday, Sept. 16th.  From that day on you will have immediate access to all the videos to watch at your leisure!  The workshop will be open for at least a year!

Transform Your Tape A workshop with Carolyn Dube

Supplies

The supplies needed for the entire workshop are listed below.  I encourage you to use what you have before buying!  Feel free to substitute items on my list with things you have or that you want to experiment with on your tape!


  •  Craft Sheet (I use Rangers but any good teflon sheet will work)
  • Artist Tape or Masking Tape
  • Washi Tapes
  • Clear packing tape
  •  Acrylic Inks (I used F and W both pearlescent and traditional)
  • Rubber Stamps
  • Permanent Ink Pad ( I used Ranger’s Archival Ink Pad)
  • Acrylic paint and brushes
  • Rubber stamps
  • Stazon permanent inkpad (I use a re-inker and Ranger’s Cut and Dry foam)
  • Rubbing alcohol
  • Tacky glue
  • Wax Paper
  • Copic Markers (or any alcohol based marker) in your favorite colors and a Copic blending pen.
  • Colored and patterned papers (I used purchased scrapbooking paper and papers I printed with the Gelli Plate)
  • Printed papers such as book text, your kid’s old homework papers, handwritten text
  • Glitter glue (some brands work better than others- Stickles brand has worked well for me but it does vary based on the brand of washi tape)
  • Sequins
  • Glitter
  • Embossing powder
  • Glossy Accents
  • Xyron machine with an adhesive cartridge that you can run a strip of packing tape through or sheets of double sided adhesive
  •  Stencils (I used stencils from StencilGirl Products)
  • Stitch A Greek Medallion
  • Damask Medium
  • Houses
  • Eye Lattice
  • Layered Salad
  • Stitch a Greek Border
  • Stitch a Doily 
{ 20 comments }