Welcome! I’m Carolyn Dube – This colorful journey is all about the freedom of play!
Search My Blog
Search by Category
The Fine Print
Some of the links on this blog are affiliate links and I receive a small percentage. It doesn't cost you anything extra and helps keep all the free tutorials and videos coming! It's a win-win!
The website is copyright Carolyn Dube, and that is kinda common sense since this is my site.
As an Amazon Associate I earn from qualifying purchases.
All over Facebook friends are posting photos of their kids going to their first day of school. As I saw those cute kids with new clothes, backpacks full of school supplies, and smiling faces I realized I’m one of them!
I had stacks of kits for 2 workshops with crates of colorful supplies to be used in class. I even had a new shirt I stenciled myself! And yes, there will be blog post in it in the near future…
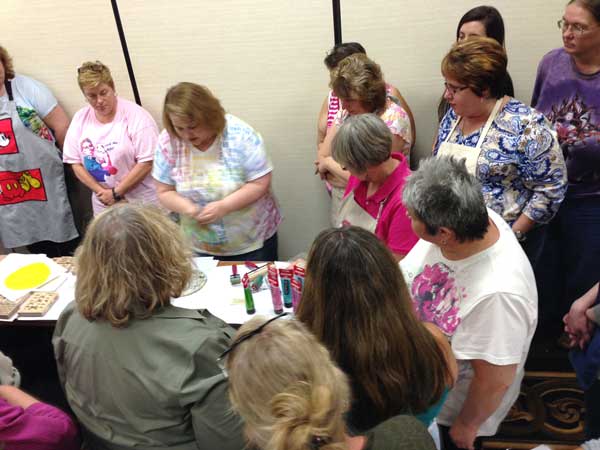
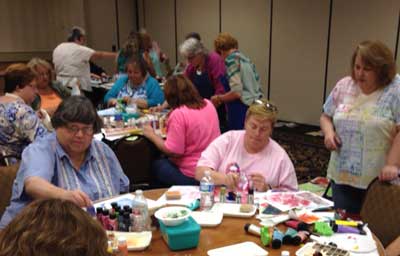
I was going to teach class at Stampaway in Cincinnati!
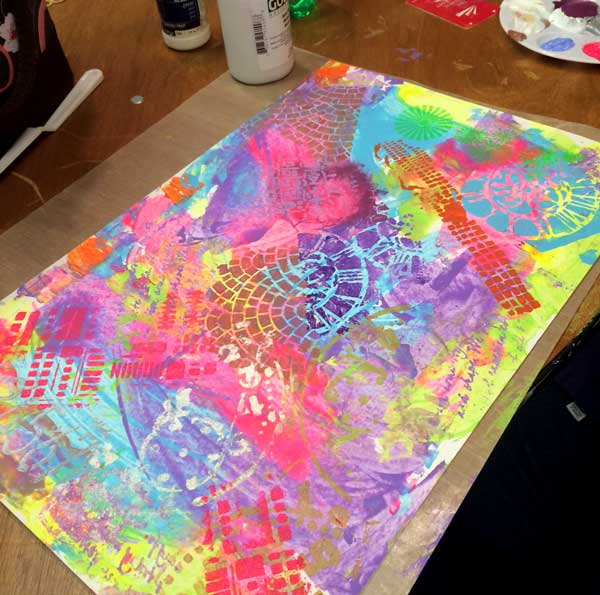
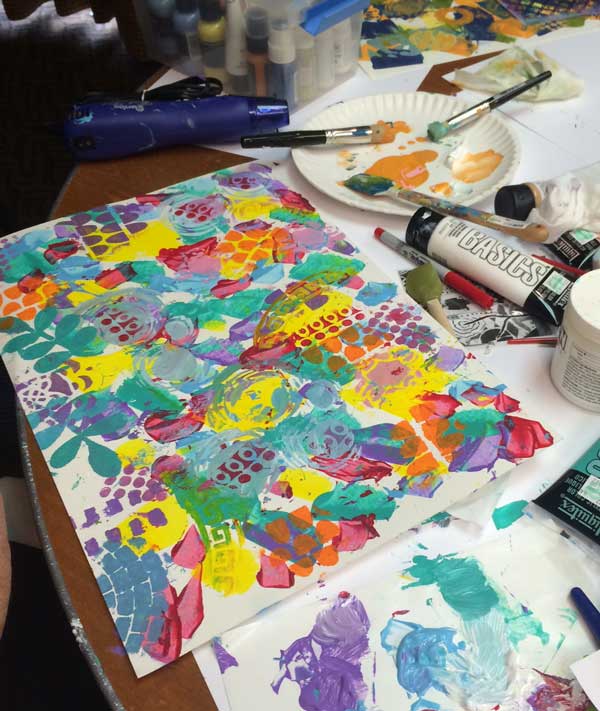
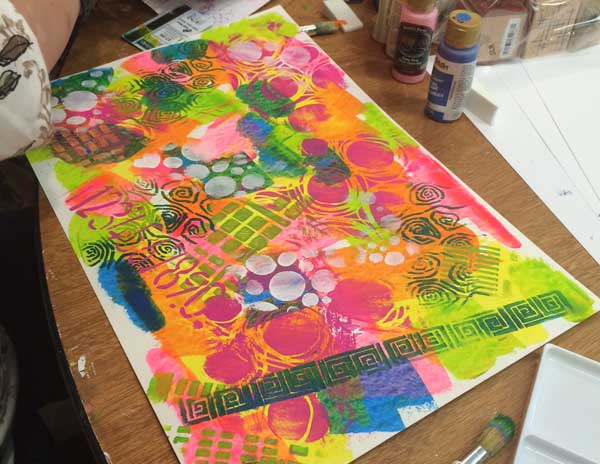
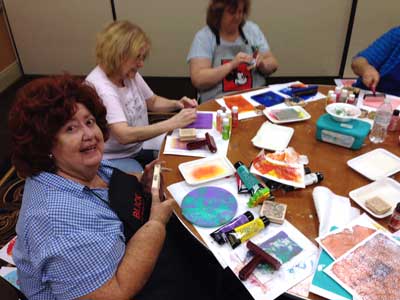
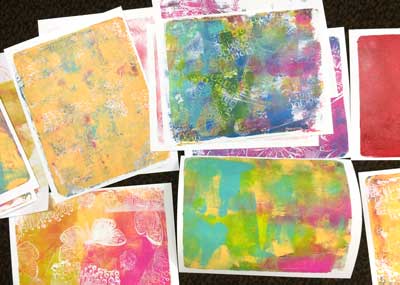
What a fabulous group of ladies I was blessed to have in class. These great groups of ladies jumped in and embraced paint and play!
The Stenciling Workshop
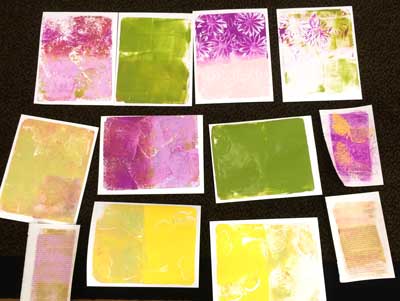
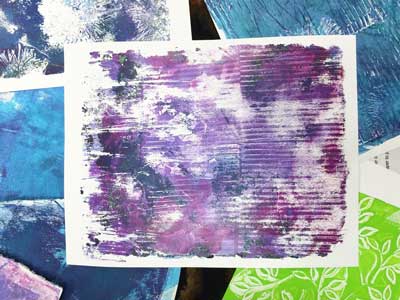
Gelli Printing with Rubber Stamps Workshop
My next in-person workshop is Meet the Crazies where we’ll be playing with stencils and unleashing some crazy characters! You can find all the details here. Would love to see you there!
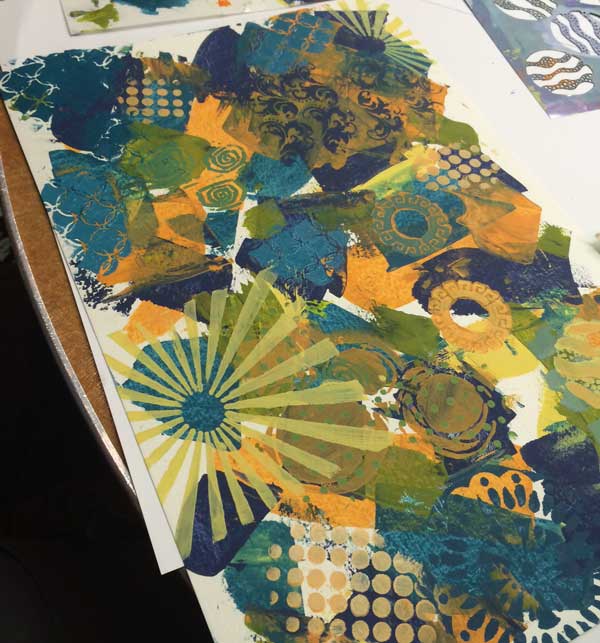
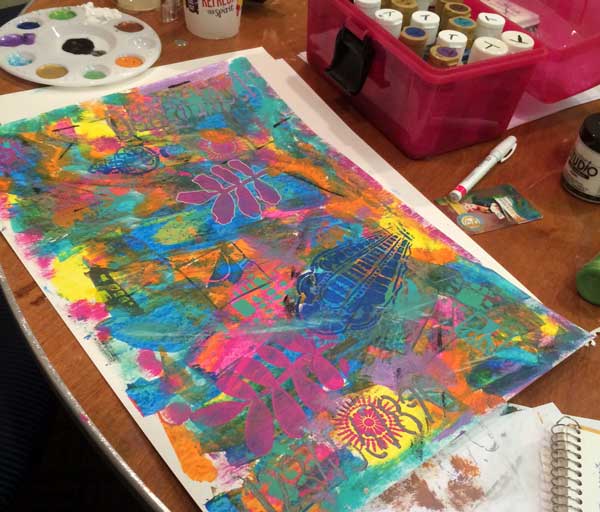
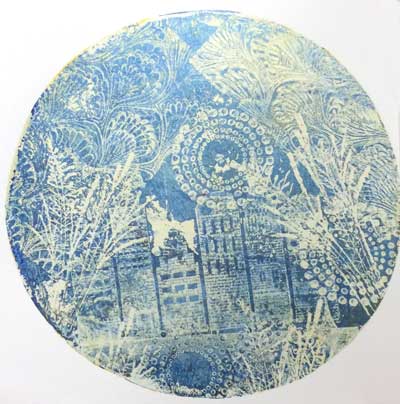
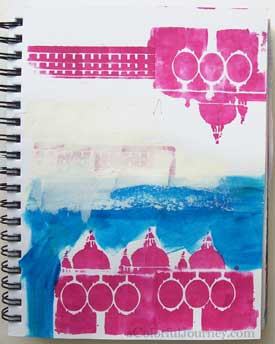
What do you do when you get a new stencil? I explore it. Try it this way and that to get to know the stencil.
This art journal page came from some of my new stencil explorations.
The last step for an artist creating a stencil is trying out the sample, called a blue (because it is cut in blue mylar). When I got my Venetian stencil in my mailbox many moons ago, I grabbed some paint to see how it stenciled on various art journal pages. The laser cutting that StencilGirl does is always awesome so what I am looking for were any areas that the design needed tweaking.
This means putting the stencil through its paces. Rather than get another page, I just flipped the page over and now had some upside down and some right side up.
The goal here was for me to really get to know the stencil and decide if it was ready to join the StencilGirl family.
This stencil passed all my tests (which you probably guessed since it has been out a while…).
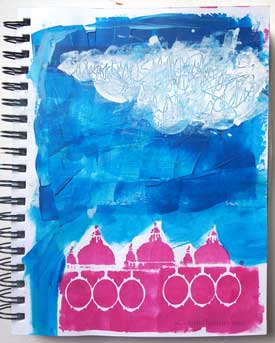
And here is where the page patiently waited for me, until today, to finish it.
These clouds? They cover up the other building….so maybe this page won’t be obviously upside down….but it is if you flip through my journal since every other page goes the other direction. Doesn’t bother me a bit. After all, it is an art journal where I play.
Since this is just paper, I can be an instant architect and add a window – that gap between the ovals nagged at me.
Just stenciled on an index card, cut it out, and gel mediumed it down. Renovation complete.
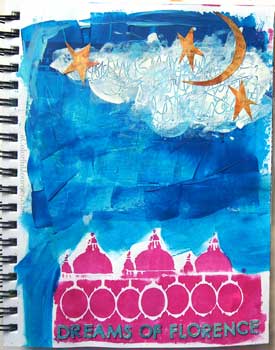
The moon and stars are book text sprayed & painted. After they were the exact shapes I wanted, I realized they were upside down. It seems that is the theme of this page…
Every time I looked at this page in my studio, all I could think about was Florence, Italy.
So I used up some scrapbooking letters from my stash for a title.
This is one city I would love to go back to, spending weeks there just absorbing the art and architecture. I may not have a plane ticket to there yet, but my muse can take me there any time she wants!
I wanted color, lots of color, all summer long. The plants are pretty but there are times when they aren’t in full bloom and I wanted color all the time. So I used an afternoon painting flower pots. Oops…
What you are seeing is the 2nd try with the paint….the first time I used exterior house paint in a sunshine yellow. It was fine until I noticed my pots had bubbles on them. Turns out I needed to seal the clay pot before I added the plants. Clay pots absorb water. I knew that but just didn’t think about it until I saw the bubbles.
Oops. This was just an Outstanding Opportunity the Presented Suddenly.
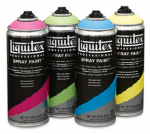
The following spring, I scraped off the bubbles and any loose paint. The pots were completely dry when I started with my 2nd try at painting. Instead of buying more house paint, I decided to use the Liquitex Spray Paints I had on hand. The can said they were lightfast so they wouldn’t fade. What did I have to lose?
Liquitex Spray Paints
I sprayed the oustides and the top of the insides of each flower pot with color. Instead of having all the pots one color, I was able to quickly create a rainbow! This was even better than my first try with just one color. I am so glad I made that Oops or I never would have ended up with this rainbow outside my window.
I knew I had to seal them this time. I learn from every Oops. I used Rust-Oleum’s Ultra Cover clear gloss from the hardware store to coat the insides and outsides to be sure the bubbles would not return. This also added more UV protection so that being in the bright sun doesn’t dull the colors. It is asking a lot of a paint to stay vibrant after being in the sun all summer (and I have to say these are looking just as good today as the the day they were finished!)
One very serious word of caution about these spray paints. They are vibrant. They cover well. They are addictive. I am eyeing everything now as a potential spray paint target. That mailbox is just so plain…and yes, I’ll share what I make here!
This website uses cookies to improve your experience while you navigate through the website. Out of these cookies, the cookies that are categorized as necessary are stored on your browser as they are essential for the working of basic functionalities of the website. We also use third-party cookies that help us analyze and understand how you use this website. These cookies will be stored in your browser only with your consent. You also have the option to opt-out of these cookies. But opting out of some of these cookies may have an effect on your browsing experience.
Necessary cookies are absolutely essential for the website to function properly. This category only includes cookies that ensures basic functionalities and security features of the website. These cookies do not store any personal information.
Any cookies that may not be particularly necessary for the website to function and is used specifically to collect user personal data via analytics, ads, other embedded contents are termed as non-necessary cookies. It is mandatory to procure user consent prior to running these cookies on your website.


 What you are seeing is the 2nd try with the paint….the first time I used exterior house paint in a sunshine yellow. It was fine until I noticed my pots had bubbles on them. Turns out I needed to seal the clay pot before I added the plants. Clay pots absorb water. I knew that but just didn’t think about it until I saw the bubbles.
 The following spring, I scraped off the bubbles and any loose paint. The pots were completely dry when I started with my 2nd try at painting. Instead of buying more house paint, I decided to use the Liquitex Spray Paints I had on hand. The can said they were lightfast so they wouldn’t fade. What did I have to lose?