Welcome! I’m Carolyn Dube – This colorful journey is all about the freedom of play!
Search My Blog
Search by Category
The Fine Print
Some of the links on this blog are affiliate links and I receive a small percentage. It doesn't cost you anything extra and helps keep all the free tutorials and videos coming! It's a win-win!
The website is copyright Carolyn Dube, and that is kinda common sense since this is my site.
As an Amazon Associate I earn from qualifying purchases.
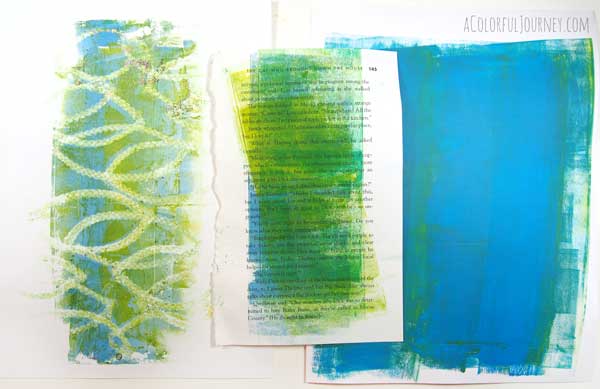
Making your own papers on the Gelli plate means you have an instant collection of coordinating papers. What can you do with those Gelli prints? One thing is art journal with them.
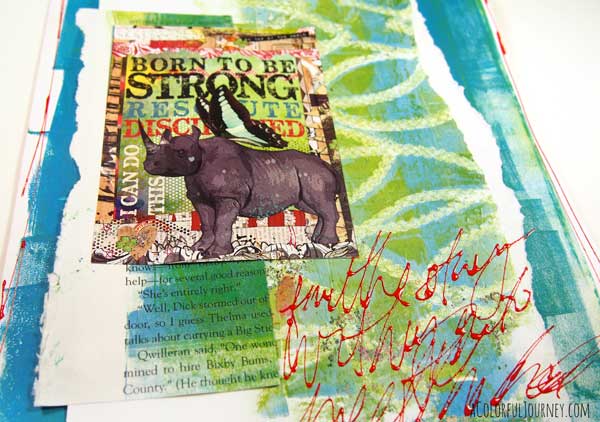
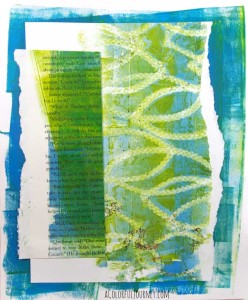
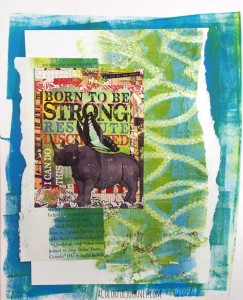
I ripped and cut so the papers would stack and still let me see their color and pattern.
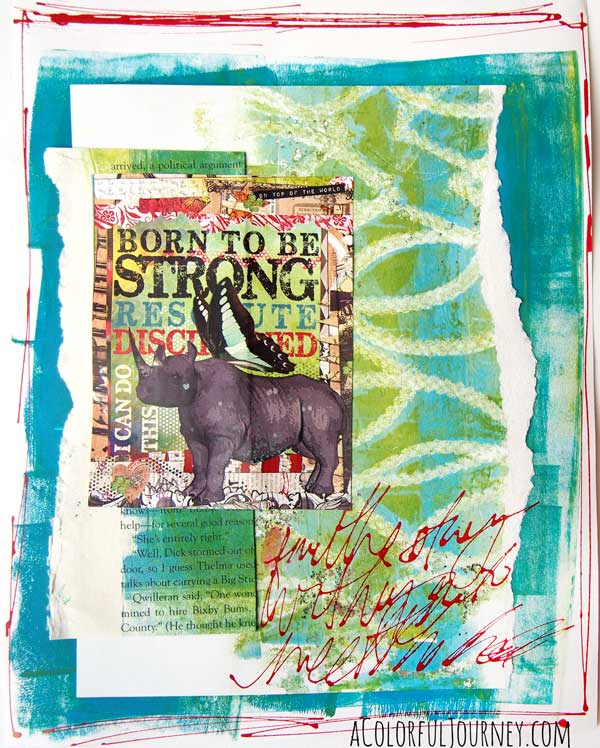
At this point, I realized this could have easily been a scrapbook page or an art journal page simply by changing what I placed next. Put a photo there and it feels like a scrapbook page. Put a fun collage image from one Tangie Baxter’s collage sheets and it an art journal.
The pops of red in the image called for more red on the page, so I brought out a fine liner filled with red acrylic ink.
Who would have thought I pulled out red to use? It’s one of those colors I rarely ever use. I guess a winged rhino got me to do it! Now….can that winged rhino get me to clean up the house?
I was so inspired by a video about Sargy Mann, who is an amazing painter who happens to be blind. His paintings are stunning. Watching him create captivated me. I could not stop thinking about it. So I decided to try to paint without my eyes. And did I ever learn a few things…
Where you place you supplies is critical….I thought I had it all organized so I could easily put my brush in paint but NO.
I thought I would be able to feel when the brush hit the paint…but NO.
I thought I was getting color on the entire piece evenly but NO (in fact it seems I completely ignored one whole corner of it).
I thought I’d be able to remember where colors had been placed but NO.
After trying painting without my eyes, I watched the video about Sargy Mann again with a new appreciation. I couldn’t keep track of what color went where in just the few minutes I was playing, let alone an entire composition filled with so many precise details.
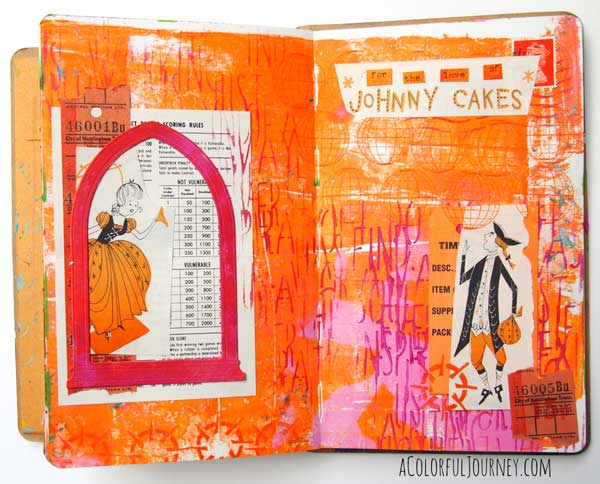
When I play in my art journal sometimes a story is revealed to me. This particular tale, of two lovers separated by time and space brought together thanks to Johnny Cakes, isn’t really Pulitzer prize worthy. In fact, it is quite a silly love story and I like it that way.
Between you and me…I expected to create a very modern looking art journal page as I added some stenciling to the page. I was thinking modern. I was feeling modern. And then my art journal led me a totally silly, fun, and playfully different way.
Enjoy a chuckle as I play around and create a story with classic elements of story telling and you’ll even get to see more of my postage stamp quirks in the video!
This website uses cookies to improve your experience while you navigate through the website. Out of these cookies, the cookies that are categorized as necessary are stored on your browser as they are essential for the working of basic functionalities of the website. We also use third-party cookies that help us analyze and understand how you use this website. These cookies will be stored in your browser only with your consent. You also have the option to opt-out of these cookies. But opting out of some of these cookies may have an effect on your browsing experience.
Necessary cookies are absolutely essential for the website to function properly. This category only includes cookies that ensures basic functionalities and security features of the website. These cookies do not store any personal information.
Any cookies that may not be particularly necessary for the website to function and is used specifically to collect user personal data via analytics, ads, other embedded contents are termed as non-necessary cookies. It is mandatory to procure user consent prior to running these cookies on your website.

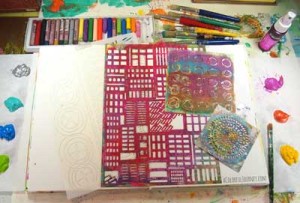 Where you place you supplies is critical….I thought I had it all organized so I could easily put my brush in paint but NO.
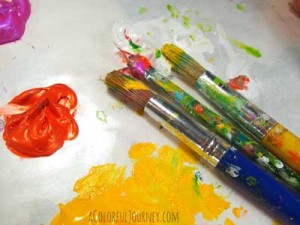 I thought I would be able to feel when the brush hit the paint…but NO.
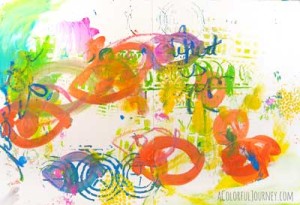 I thought I was getting color on the entire piece evenly but NO (in fact it seems I completely ignored one whole corner of it).