

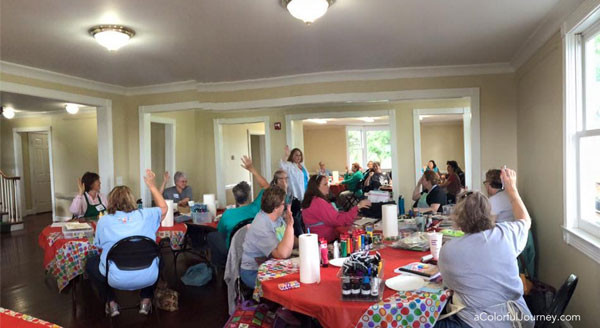
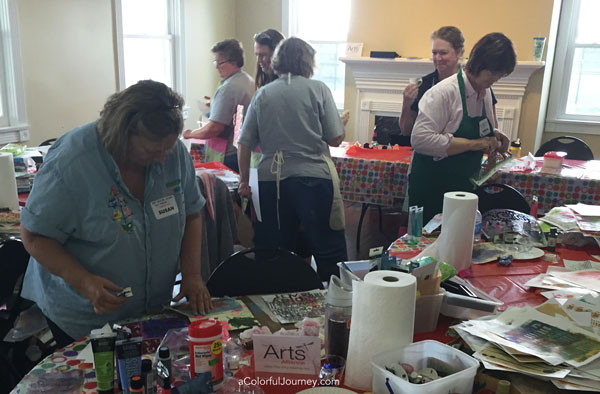
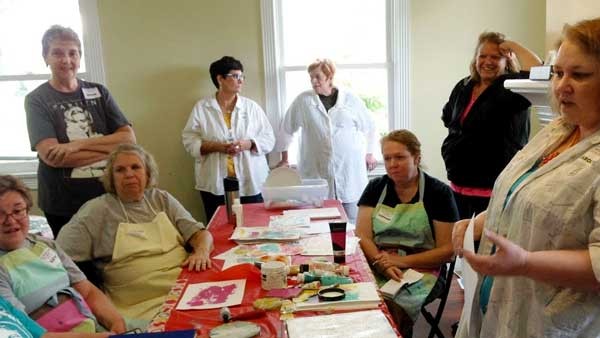
After taking a solemn oath of OOPS, 20 brave women embarked on a day of play in Gelli® Printing: Easy as 1-2-3. The workshop was held inside a spacious and inviting old home at the Arts Alliance in Mason, Ohio.
These women were more than just willing to play, they were a blast! Lots and lots of laughter all day long!
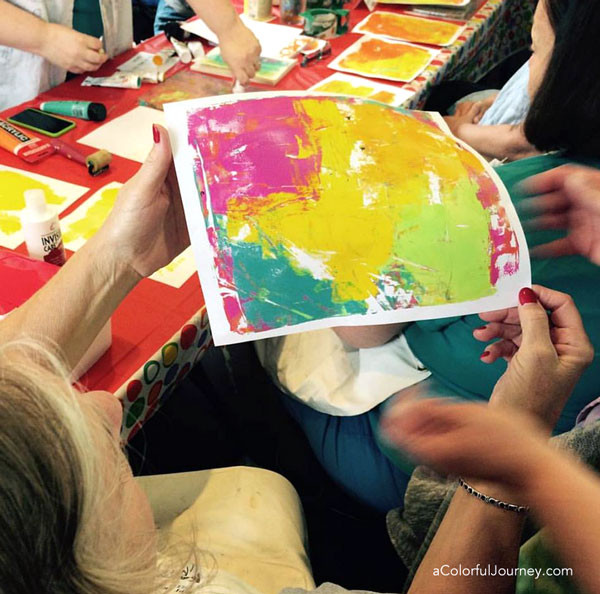
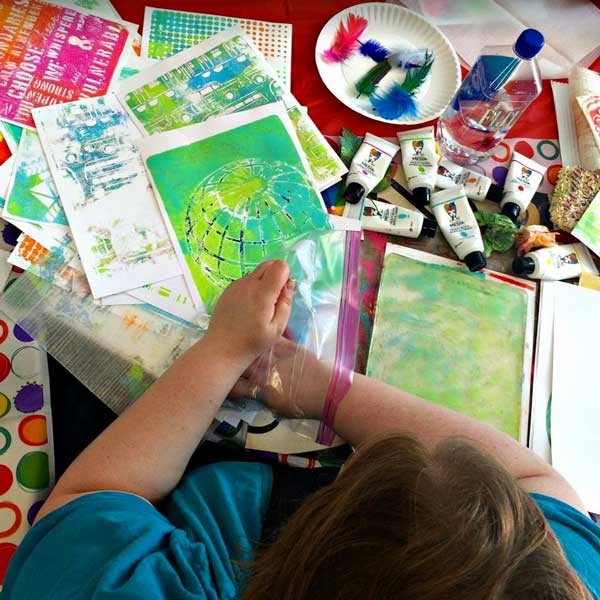
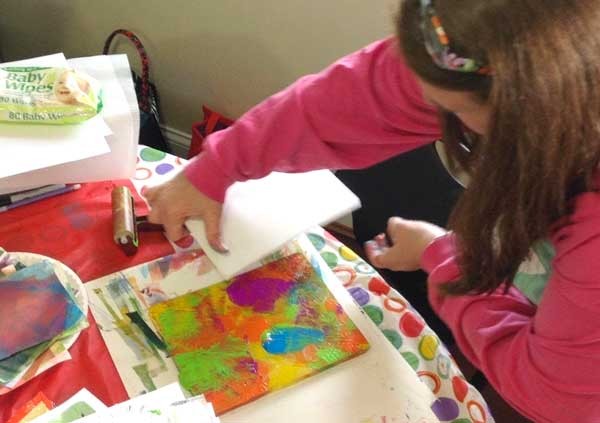
Lots of play too! They were all game to try new techniques and step out of the comfort zone!
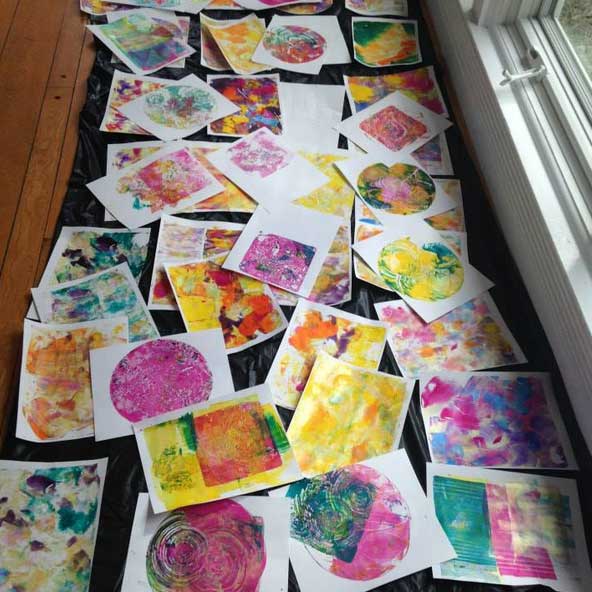
Looking over everyone’s shoulders as they played gave me a bird’s eye view of the colors and prints – such a treat to see it all!
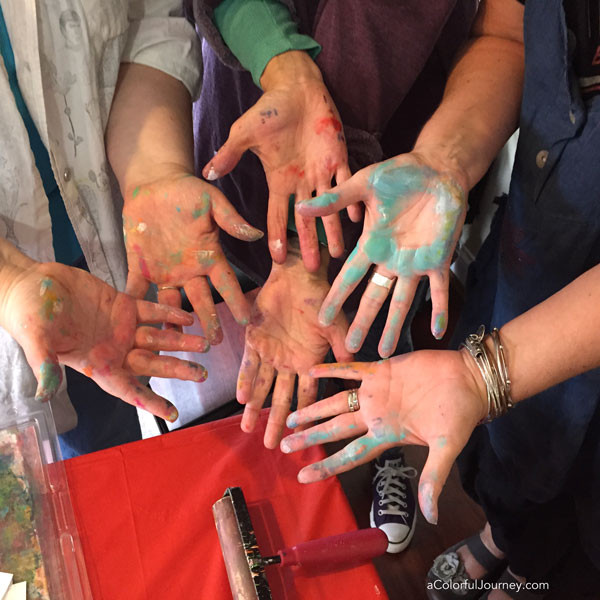
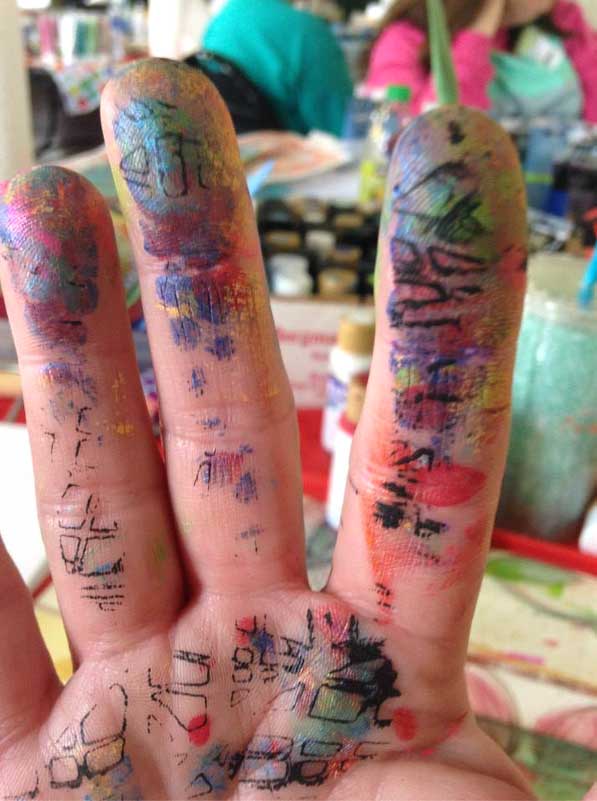
The proof we were playing? Not only the prints but our hands too!
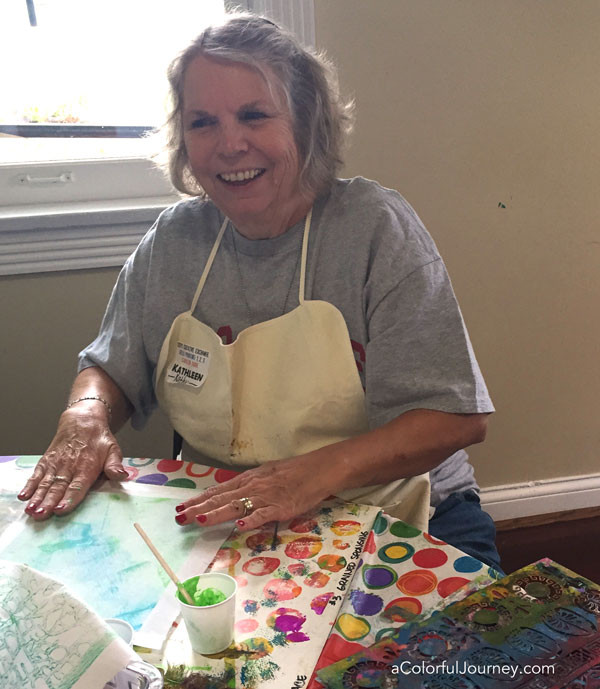
This wouldn’t have been possible at all if it weren’t for Glenda Miles, the amazing hostess of the event. She created such a amazing environment with all her special touches that this one day workshop had the feel of a getaway retreat! She made her very first print ever and I think she’s hooked!
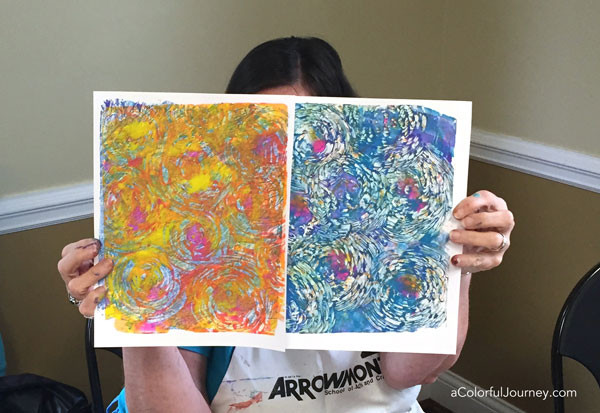
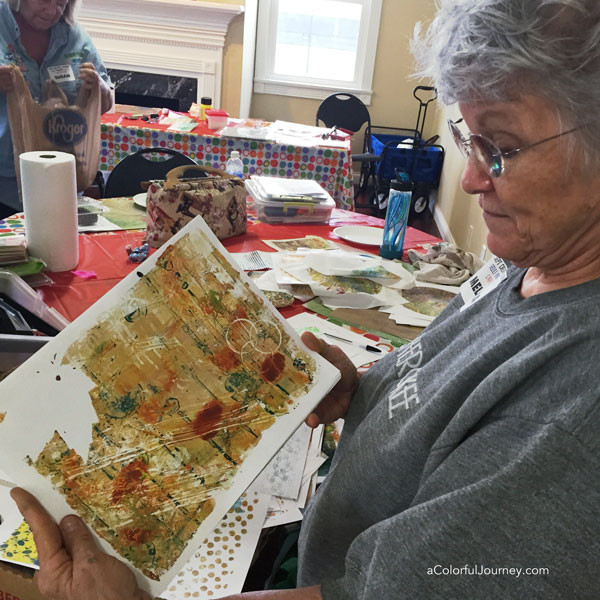
You probably guessed I didn’t use browns much at all, but I can appreciate someone else’s stunning print with browns.
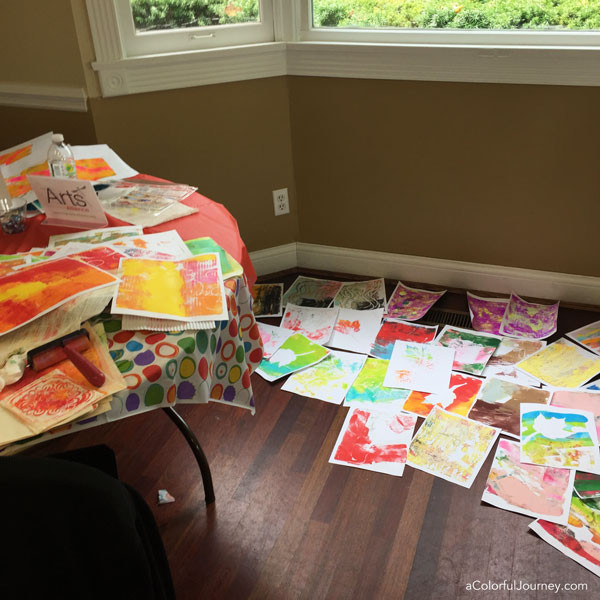
There were prints filling every table…even stacked on the tables too!
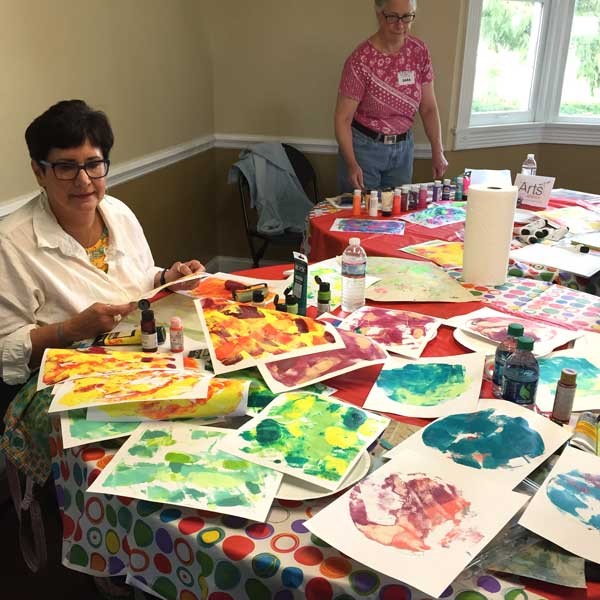
And the floor…anywhere there was space it was fair game to put a print!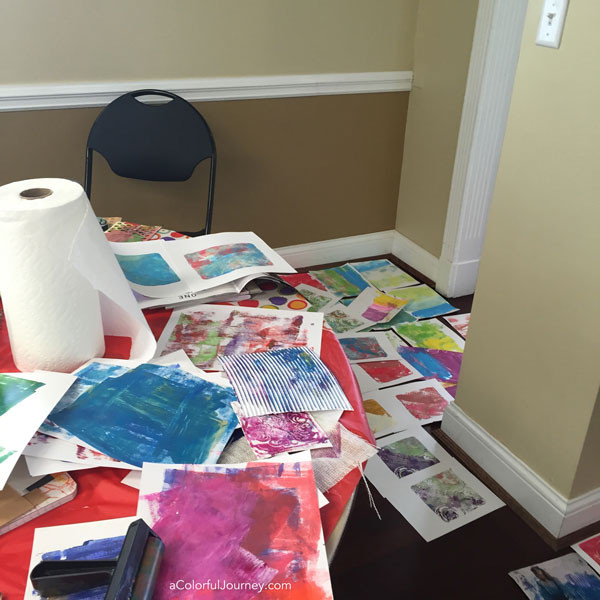
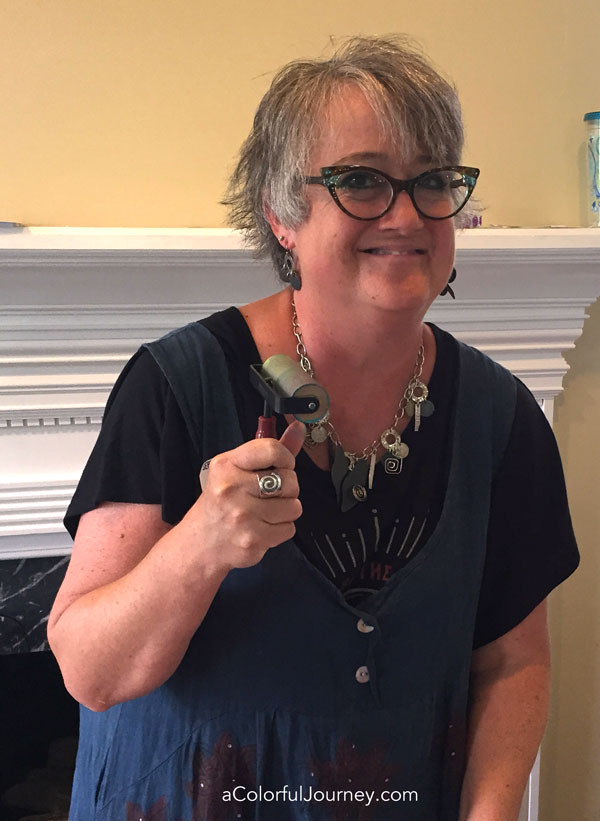
What could possibly lead to this look on my face? It had to be a question about how I clean something….since I do that so rarely I have to really focus to answer it lol!
Thank you, each and every one of you, for sharing your day, your play, and your journey with me. If you’re in the Cincinnati area, there are a couple of amazing workshops coming up in this fantastic space that Glenda has put together: one with Ken Oliver and one with Cheryl Strait!

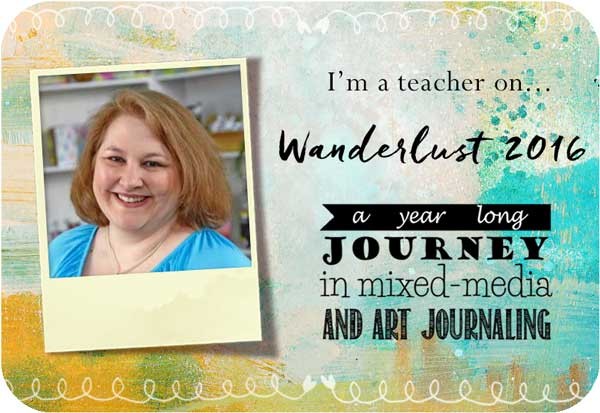 When I was invited to be a part of Wanderlust 2016…mixed media art journaling with a travel and adventure theme…I was over the moon! I love mixed media art journaling. I love all things travel. I love adventures. I love online workshops. Of course, I said YES!
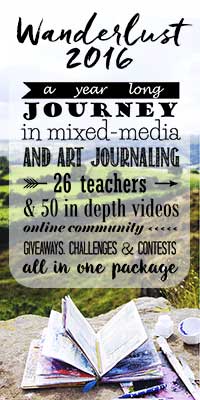
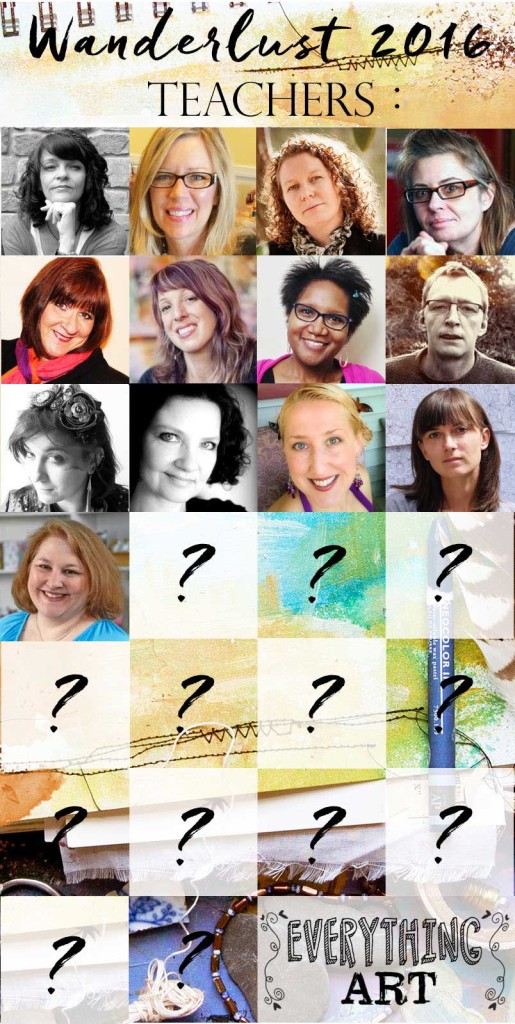
 Thank you Jamie and Kasia of Everything Art for bringing all these creative people together for Wanderlust 2016!