Welcome! I’m Carolyn Dube – This colorful journey is all about the freedom of play!
Search My Blog
Search by Category
The Fine Print
Some of the links on this blog are affiliate links and I receive a small percentage. It doesn't cost you anything extra and helps keep all the free tutorials and videos coming! It's a win-win!
The website is copyright Carolyn Dube, and that is kinda common sense since this is my site.
As an Amazon Associate I earn from qualifying purchases.
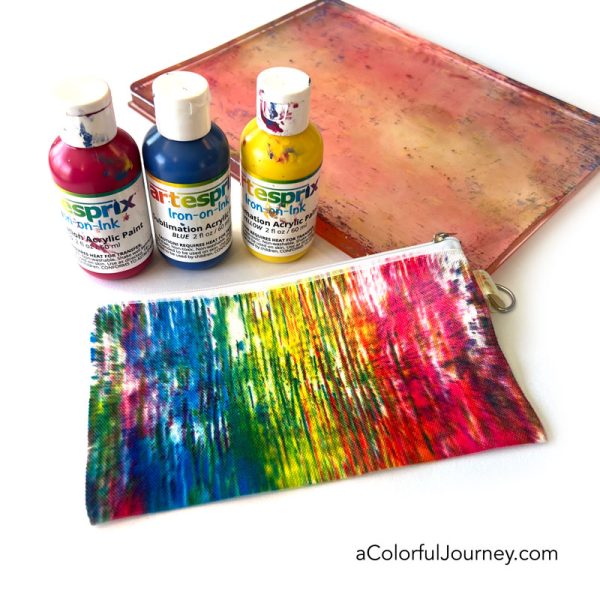
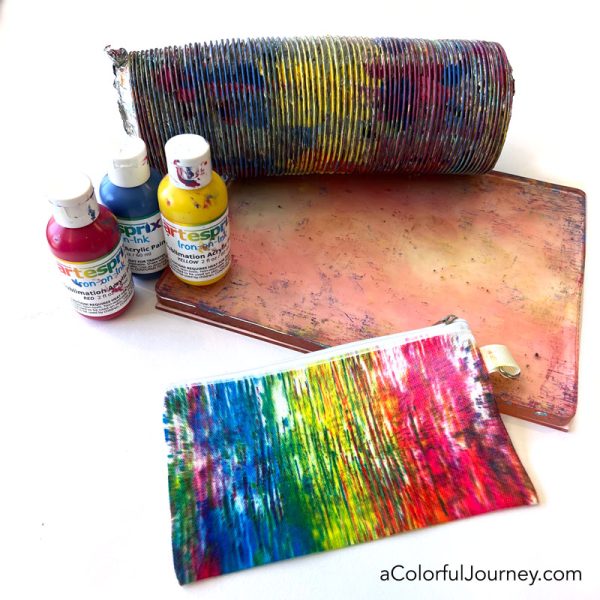
Take a gel print and fuse it into fabric? You can with sublimation paint by Artesprix and a Gel Press plate! The image isn’t painted onto the pencil bag, it’s permanently fused into the fabric! The very fancy pattern making tool I’m using to create the print is a dryer vent from the hardware store.
The red paint did stain my gel plate but it is just cosmetic. It has zero impact on how the plate works and the red staining doesn’t show up in future prints.
Once the heat is applied, the paint becomes wonderfully vibrant, as you can see below. BUT before the heat, the paint looks dull.
I’ve also go another video using a gel plate for sublimation making metal magnets so you can see a different way that I use a Gel Press plate with the paints!
Here are the supplies used. Some of these links may be affiliate links which means I get a small percentage and it doesn’t cost you anything extra! And you get a really good feeling knowing that you are helping keep the free tutorials coming!
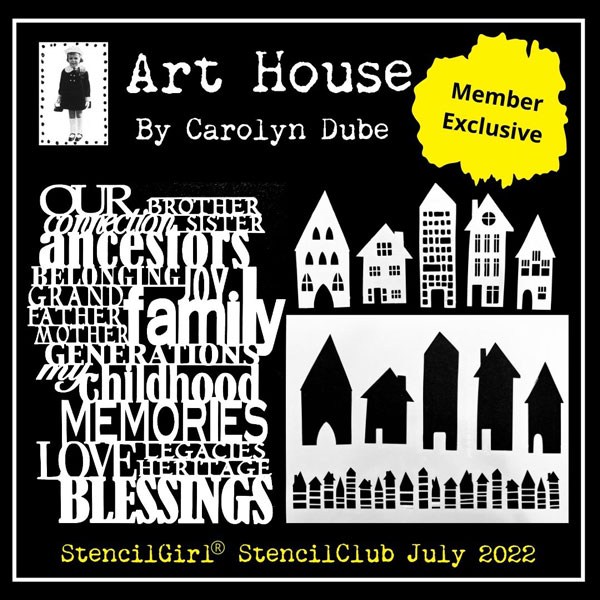
What’s the play for today? It’s Art Houses! This is how I’d love to paint an actual neighborhood, but there are practical issues, so I’ll have to stick with mixed media ones for now! In this video you’ll see how I cheat on creating a random or serendipitous look, why I am grateful to all that time playing Tetris, and some commitment issues. Spoiler alert, it turned out to be a good thing.
I’m playing with this month’s StencilClub set that I’m honored to have designed for StencilGirlProducts! The Art House collection I designed is two 9×12 stencils and it includes the 5 house masks. You can see all the details about what’s included in StencilClub here (and there’s a members only video each month too!)
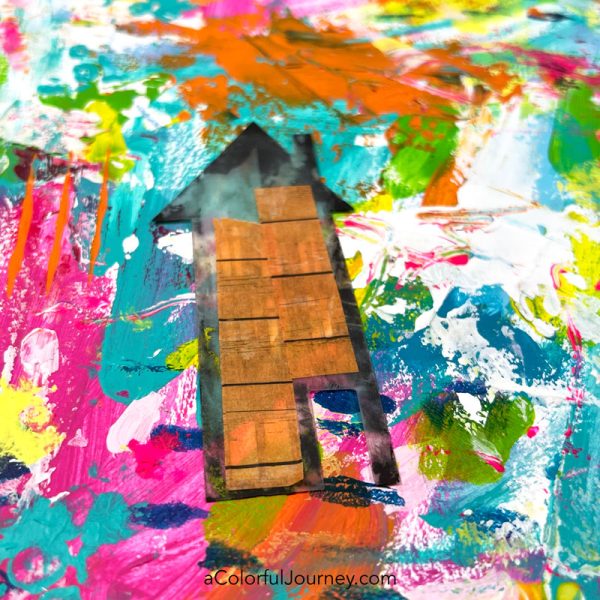
Start with a background. You can use paper you’ve painted, like I did, or anything else you’ve got! A gel print, book text, scrapbook paper, decorative paper, anything at all!
I could just wing it and slap the house masks down anywhere on this and hope it looks good. But I want to be sure I like how the houses will turn out. So that’s where the stencil let’s me cheat!
I audition different locations using the stencil, and when I find a spot where I like it, then I know exactly where to place the mask. No guessing because they fit together almost like puzzle pieces. Then remove the stencil and you’re ready to paint.
These house masks, which come in the Art House StencilClub collection, have windows. If you want to stencil the windows, just use it as it is. If you don’t want the windows, simply cover them with a repositionable tape.
Commitment issues can lead to decision paralysis. I was frozen when it came to these windows during the design process. I wanted the windows for some techniques and not for others and I could find equal reasons to keep them as well as delete them. I won’t even begin to tell you how long I spent on this decision!
So much time was spent sitting on that fence, I decided I had to find a reasonable way to have both options. So the windows are on the masks but are quickly covered up with washi tape or painters tape. Now these houses can do both kinds of techniques!
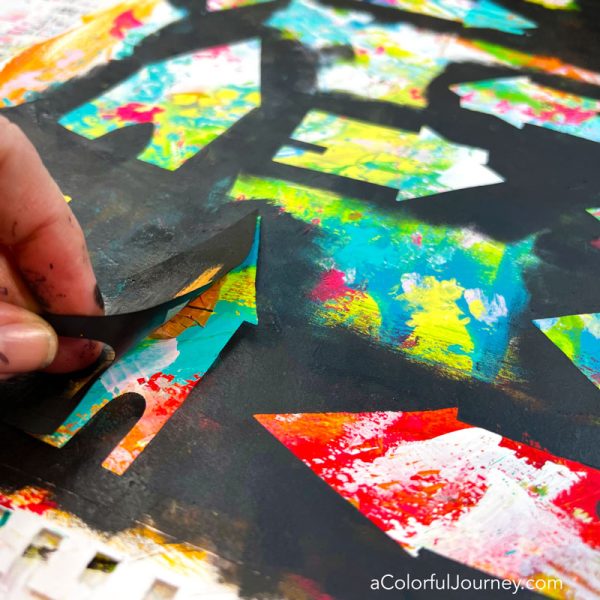
Using a cosmetic sponge the black paint goes around the mask. Once you’ve got all the paint on there you want, lift up the mask!
A little trick to keep the masks from moving is to make a little tape circle and put it on the back of the mask! You can see a little bit of it peeking out here from under the house.
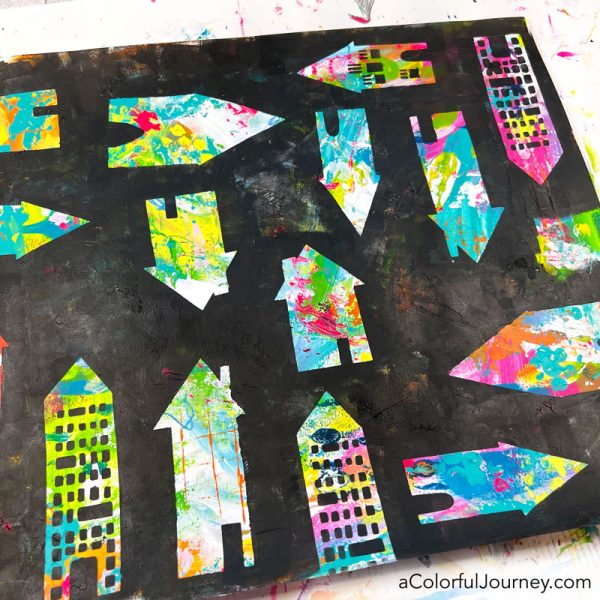
Playing Tetris prepared me for squeezing every useful bit of color out of this background. All that time making those little blocks fit together on a computer screen was helpful after all!
If you’re using up every bit you can, like I did, it helps to turn the paper or the stencil to see how things look in different places.
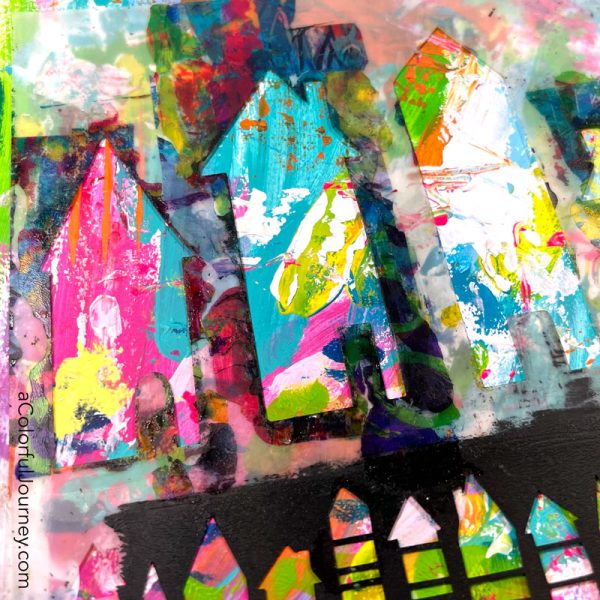
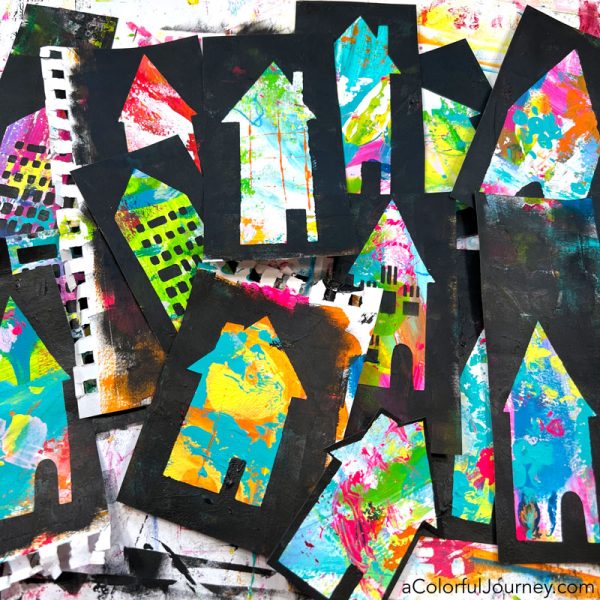
Once it’s all painted, then use a pair of scissors and cut out the buildings to create a stash of fodder to use in your play. Use it in an art journal, on a card, in a collage, as an ATC, or any other way that calls to you!
One of these houses is not like the other. That’s because there was a bit of an O.O.P.S. when I was cutting them out. It wasn’t a mistake, it was an Outstanding Opportunity Presenting Suddenly that led me to cutting out the border of one differently. Now there are two options for cutting these out!
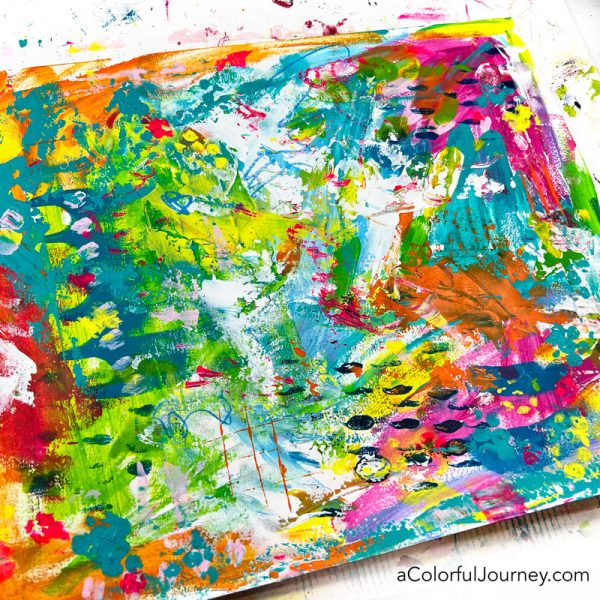
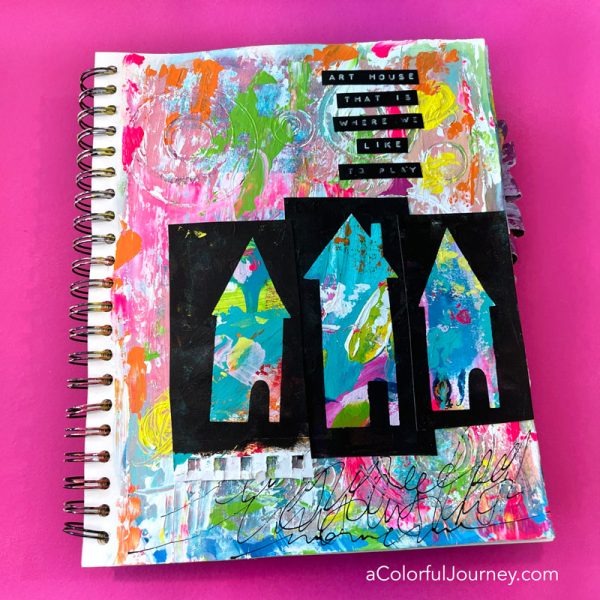
I picked three of them to create a focal image for an art journal page. Other ideas for a quick card, added to a scrapbook page, use for an ATC, in a collage, the possibilities are endless!
I used to take holidays for granted. I assumed we’d all get together just like we always had, the biggest challenge getting schedules to line up and setting times that worked for everyone. Then covid changed all that. Now that family and friend gatherings are happening again, I never ever want to take them for granted!
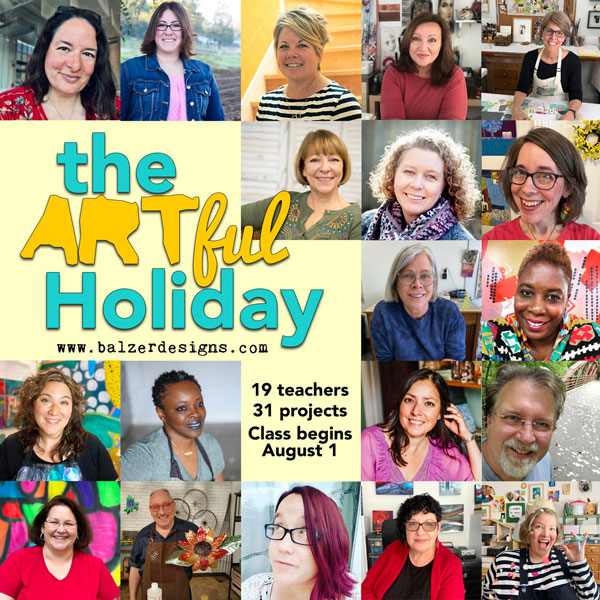
What that looks like will different for each of us and for me it means adding a handmade touch to the holidays and gatherings. So when Julie Fei-Fan Balzer invited me to be a teacher in her Artful Holiday workshop, it was a definite yes!
What is The Artful Holiday? It’s a project based online workshop with 19 teachers and 31 projects. Each day in August, a new lesson is available to you. The videos are between 7-30 minutes each. You can watch it then or anytime after that because it’s a self paced workshop with lifetime access. Plus there’s something extra cool that Julie is doing in this workshop to spark your creativity!
Get the early bird discount and save 15% (code:EARLYBIRD) but it’s only good until Aug 1st, 2022!
Each of the instructors brings their own style and approach creating a buffet for you of printmaking, collage, jewelry-making, paper arts, book arts, sewing, assemblage, and more!
Each Wednesday, Julie offers up a “mash-up” project. These are step-by-step video tutorials where she borrows techniques, materials, and ideas from the previous lessons and transform them into something totally new. For example…
The intention of these “mash-up” lessons is to spark your imagination and help you find new ways to use the techniques and ideas shared in this power packed workshop.
FAQ
You have lifetime access to all content. Watch anytime.
A new project tutorial will be released every day in August 2022. If you sign up after the start date of class, you will get immediate access to any lessons that have already been released.
Lessons are delivered via video, with several teachers also offering supporting PDF instructions and information.
Each lesson is like a blog post, with a comments section at the end where you can leave questions and comments for the instructor.
There is a general Facebook Group for Balzer Designs Students where you can share your work, if you wish. You can also share on social media with the hashtag #artfulholidayclass.
This workshop is an easy way to learn from a wide range of teachers and try out some techniques or areas of art-making that may be new to you.
Although this class is project based, I believe you will find yourself returning to all of the wonderful art making techniques over and over again, no matter what you make.
Videos range from 7-30 minutes long, depending on the complexity of the project.
You can watch and rewatch the videos, speed them up, and slow them down.
There are more than thirty step-by-step project tutorials. Hours of art instruction that is sure to inspire you!
This website uses cookies to improve your experience while you navigate through the website. Out of these cookies, the cookies that are categorized as necessary are stored on your browser as they are essential for the working of basic functionalities of the website. We also use third-party cookies that help us analyze and understand how you use this website. These cookies will be stored in your browser only with your consent. You also have the option to opt-out of these cookies. But opting out of some of these cookies may have an effect on your browsing experience.
Necessary cookies are absolutely essential for the website to function properly. This category only includes cookies that ensures basic functionalities and security features of the website. These cookies do not store any personal information.
Any cookies that may not be particularly necessary for the website to function and is used specifically to collect user personal data via analytics, ads, other embedded contents are termed as non-necessary cookies. It is mandatory to procure user consent prior to running these cookies on your website.