Welcome! I’m Carolyn Dube – This colorful journey is all about the freedom of play!
Search My Blog
Search by Category
The Fine Print
Some of the links on this blog are affiliate links and I receive a small percentage. It doesn't cost you anything extra and helps keep all the free tutorials and videos coming! It's a win-win!
The website is copyright Carolyn Dube, and that is kinda common sense since this is my site.
As an Amazon Associate I earn from qualifying purchases.
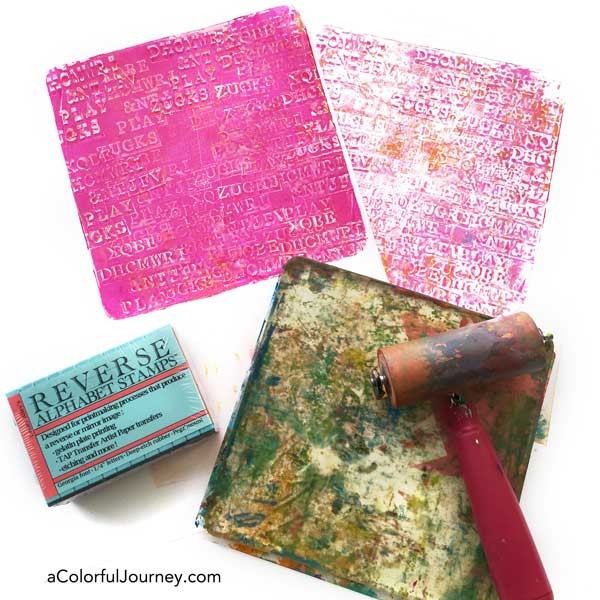
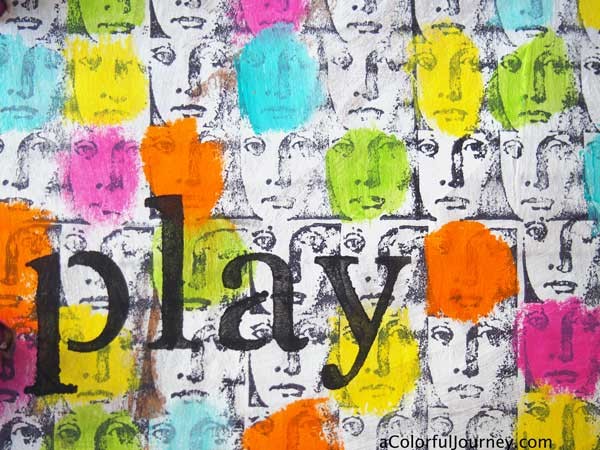
Want to print words on a Gelli® print? If you’ve ever tried it, you might have learned the way I did…with a great big Oops! Text is reversed on a Gelli print®. If you’re using a stencil with words that just means flip the stencil over.
But what if you want stamped words. Stamps don’t flip over the way a stencil does. So Lesley Riley created these reverse alphabet stamps and sent me a set to try out.
In the video below you’ll see how I played with these to create a text based pattern. Hidden in all the random letters is one word, my favorite word of late.
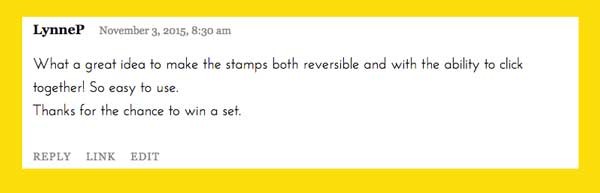
Want a set of these stamps? Lesley is giving away one set of Reverse Alphabet stamps to one randomly drawn commenter that will be chosen on Sunday, November 8th at 10pm EST and the winner announced on Monday. Leave a comment and get entered to win! Just one comment per person please and continental US only due to shipping costs. The giveaway is now closed- scroll down to the bottom of the page to see who won!
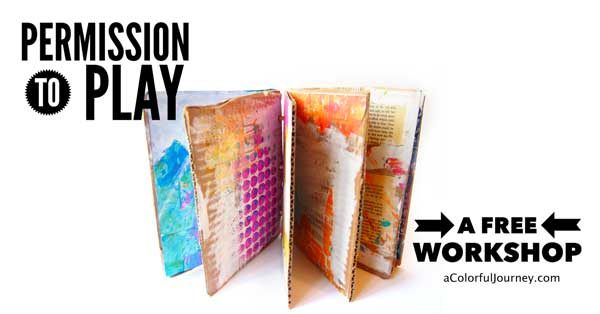
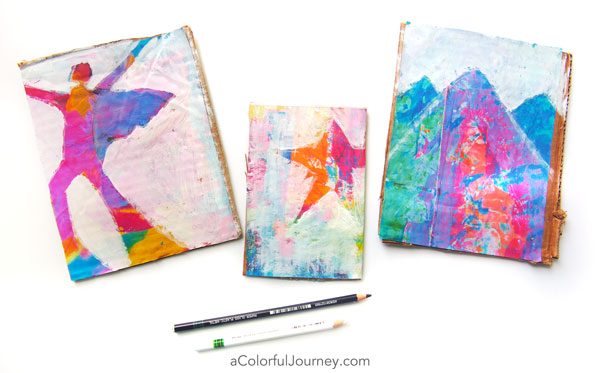
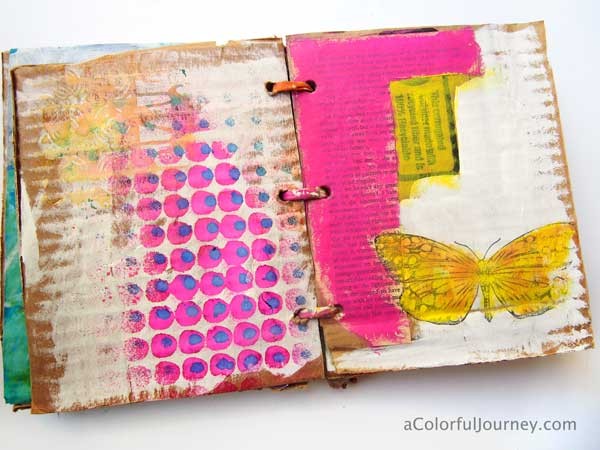
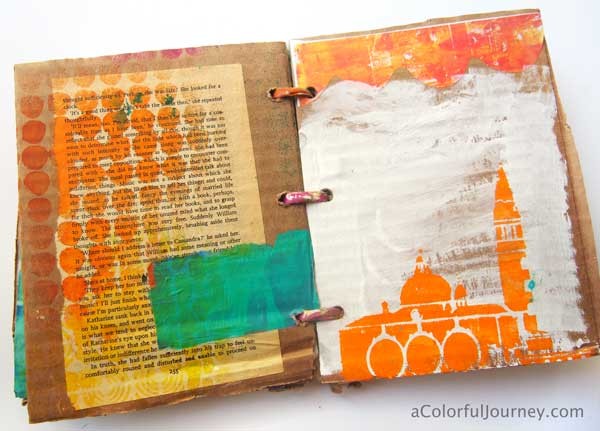
Want to create, to play, to be loose and free but not quite sure where to start or how to do it? That’s why I created this free workshop, to help you reawaken your creativity by focusing on 3 specific steps you can take to embrace the fun. We’ll be making an art journal out of ordinary cardboard as I share some of my favorite mixed media techniques. Get signed up and let yourself play!
What does play mean for me as an adult?Play means not worrying if it’s perfect or right or if it’s good enough. Play is about the fun, the process, the moment. Hint…the more fun you have the more you like what you create.
Since the process of growing up made me forget how to play, I had to rediscover how to do it as an adult.You’ll see 3 of the play reclamation strategies in action while we make an art journal out of cardboard. Notice how I used that big word to make it sound scientific. That keeps the grown up part of me happy while the rest of me gets to play.
Who is this workshop for? -Is it for someone new to mixed media? -Is it for someone who wants to be creative but feels she isn’t? Hint I think you are creative if you even wish you were and a workshop like this can help you reawaken your creativity -Is it for some one who is already creating but wants more freedom and playfulness?
The answer is all of the above!
Don’t just take my word for it…here are what students are saying!
This Art Journal book has been a fun book to create. I am fairly new at all of this Art Journaling and Mixed Media. I am just loving it. I guess this was the kind of Art that I have been looking for for years. I just love it because it is so freeing and life changing.- Valerie
I have just cut up 3 boxes, can’t believe how happy it makes me feel to look at the pile of excitement in front of me. Don’t think I will be coming out of my studio any time soon -Marian
I wanted to thank you because I am liking my art and not thinking it sucks anymore. I am an abstract artist by heart and every time I try and do something else I don’t like my work so thank you for giving it back to me by allowing myself to play. – Cindy
All I can say is, thank you so much Carolyn. I love playing with paint, and have wanted to do art journaling for quite some time. My efforts haven’t been giving me any joy, until I joined this little class. You have helped me break the barriers significantly. I really appreciate your teaching. Thank you.- Christine
Paint, stencils, rubber stamps, and spray inks, OH MY!
Do you have to have all of those supplies? Absolutely not! Play is about freedom and fun, not rules so I encourage you to use what you have and substitute for any of the supplies I use. The basics needed to build your journal are cardboard, a piece of ribbon, and a pencil.
When does the workshop start? As soon as you sign up you can start playing. Watch the videos as your schedule allows since all the videos are all downloadable and you have forever access to the classroom.
5 Downloadable Video Lessons!
A free 5 lesson workshop for you with each new video lesson every 3 days starting as soon as you sign up.
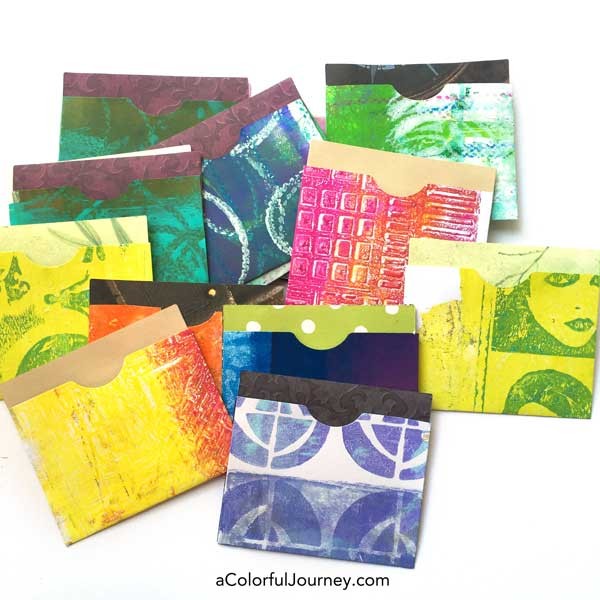
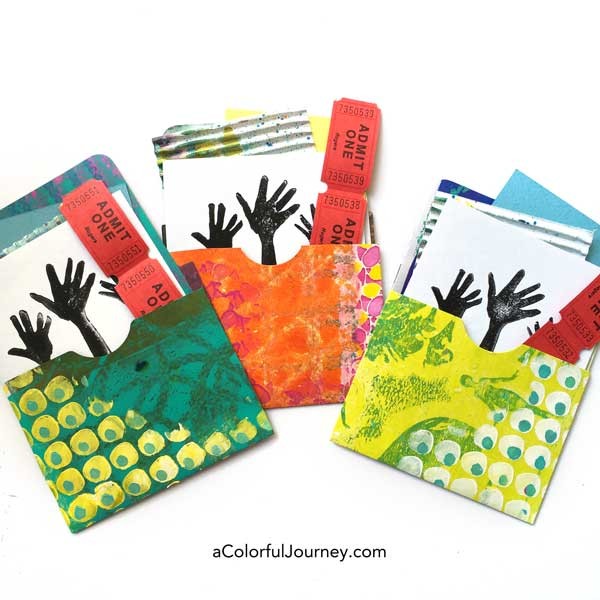
“What can do you do with all the prints you make with a Gelli Plate®?” is something I get asked often. Anything that I use paper for I can use Gelli prints®. That is just what I did as I created some fun library pocket holders with a new Sizzix die.
I grabbed a whole bunch of prints that I had made and ran them through my Sizzix machine. When they came out they had the score lines already in them so it was easy and quick to fold and glue.
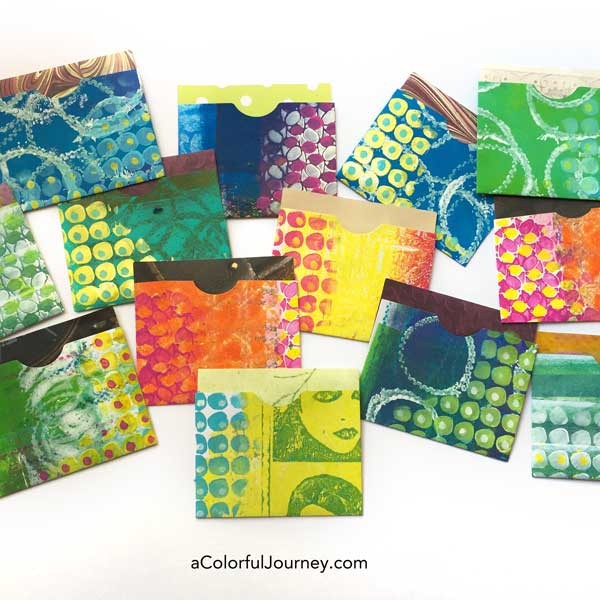
These had lots of color…but I wanted more color! So out came the stencils. Using the Layer Me stencils makes it easy to get a multi colored pattern quickly. You can see how to use these stencils in detail here. The women you see…those are all from Kari McKnight Holbrook’s stamps.
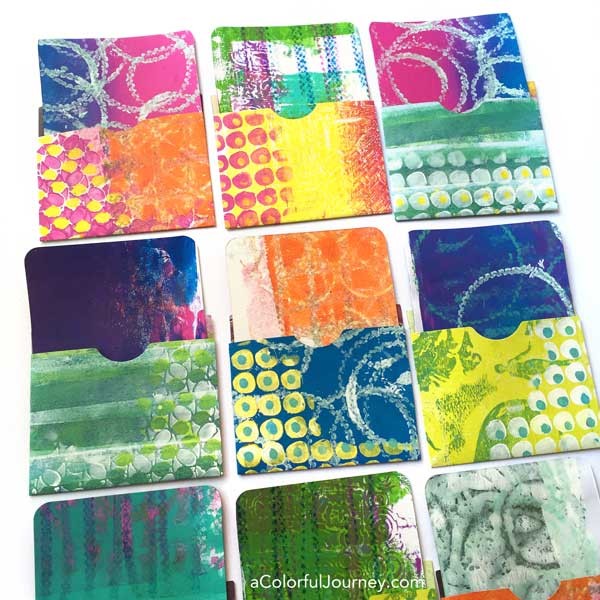
As if this wasn’t enough color, I mixed and matched the inserts, also cut with the die.
Stuffed with even more goodies, now they were ready for everyone at my workshops at Simply Said Stamps in Cincinnati.
Here are the supplies I used. Some of these links are affiliate links which means I get a small percentage. It doesn’t cost you anything extra and you are helping me keep this blog and my videos ad free! Thank you- I don’t like ads any more than you do!
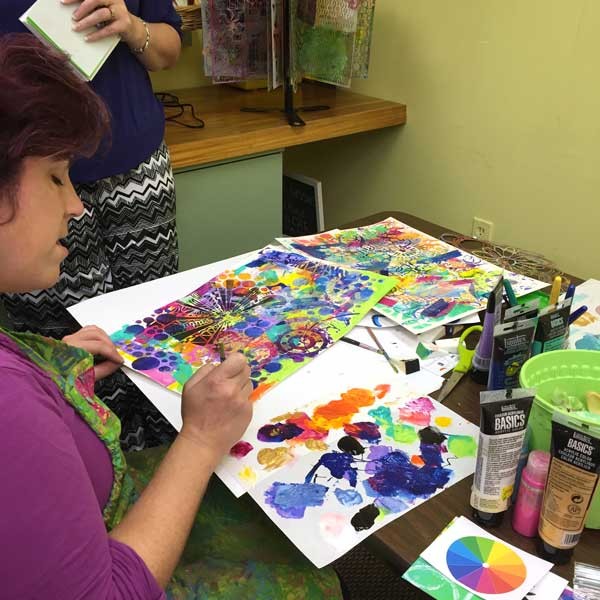
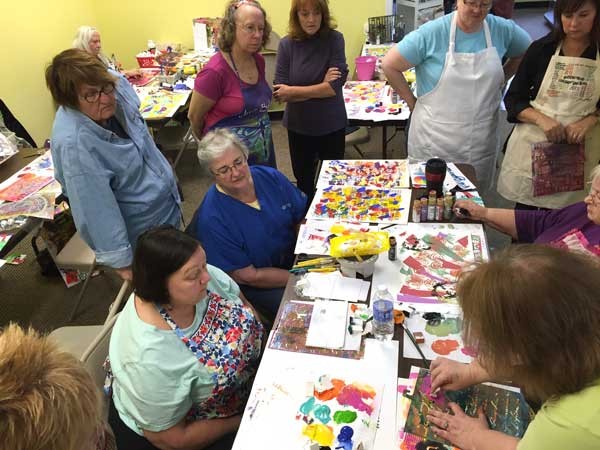
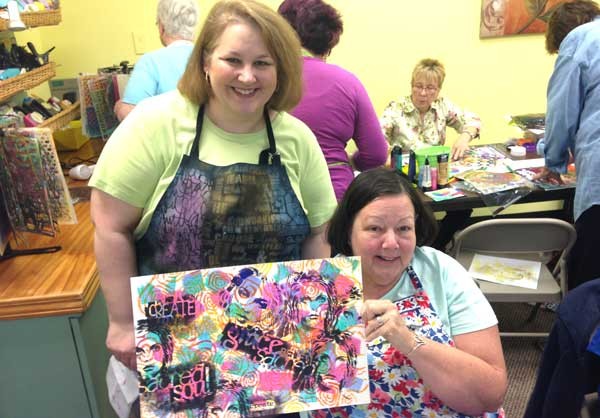
These were all made to share with students in my two workshops at Simply Said Stamps- one on stenciling and one all about Gelli Printing®! These photos are just some of our play!
Here’s Allison adding layer after layer of stencils and paint!
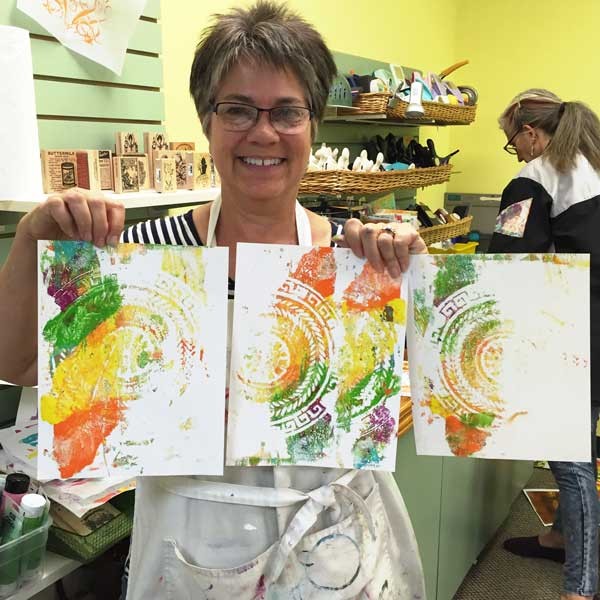
Carla created colorful circles with the Greek Medallion stencil. Her joy while printing was the best kind of contagious!
Both classes were filled with such interesting and fun people…and that is not just because they were willing to laugh when I smeared paint on my face unintentionally…it’s because they all dove in and stepped out of their comfort zones to play! Thank you Christi for making sure I didn’t walk around with paint all over my face!
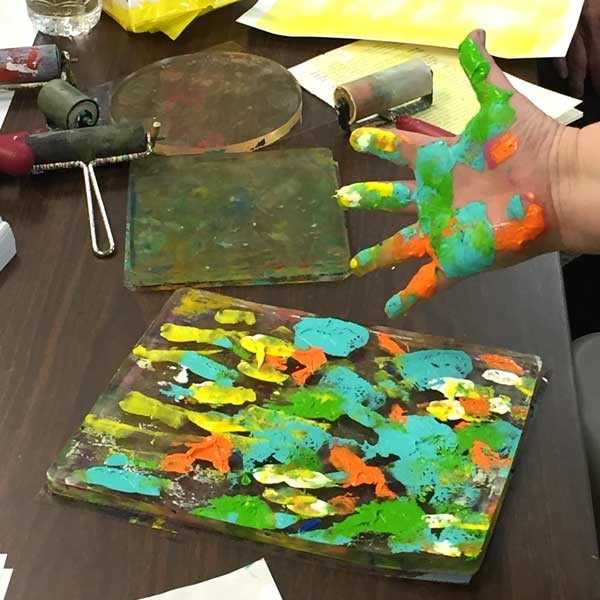
If you leave me near the paint….I usually end up with a little on my hands…good thing I had an apron…
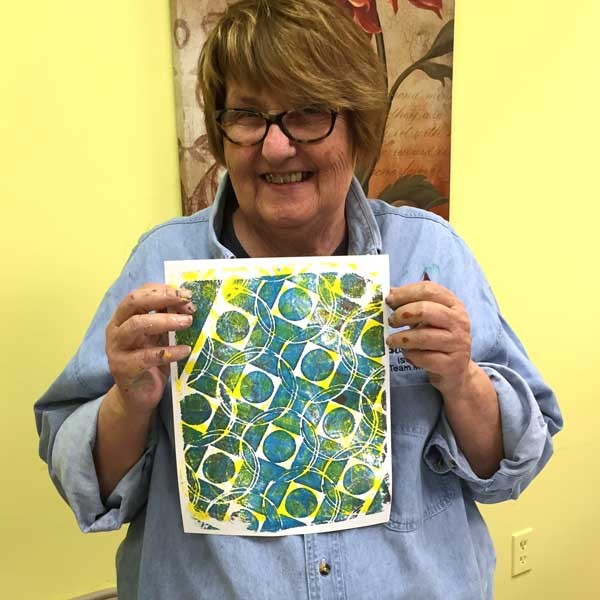
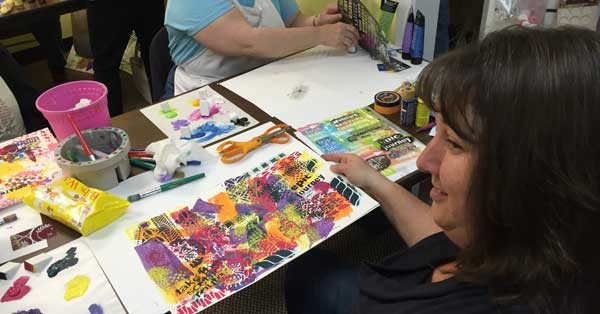
Kelly couldn’t stop smiling as she layered the Square Dance stencil with multiple colors to make WOW prints!
Theresa let the round plate inspire her in circular play as she swirled colors all around! She was making her brayer do all sorts of colorful fun!
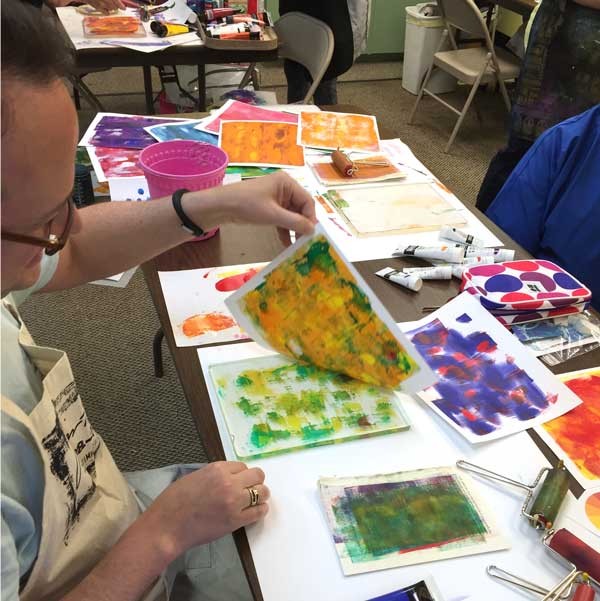
Kate created the wonderfully fun print with the happiest Halloween colors! And she did all of this in one pull!
Michael mastered the brayer and created layers of fall colors that led to so many amazing prints!
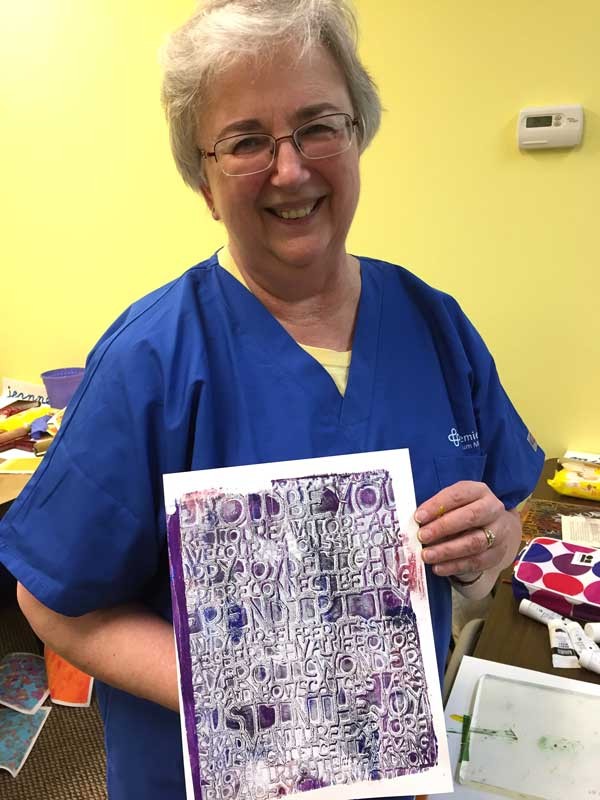
Everyone’s breath was taken away when Virginia revealed this print using the Words to Live By stencil during her play! It looks 3D but it is just paint!
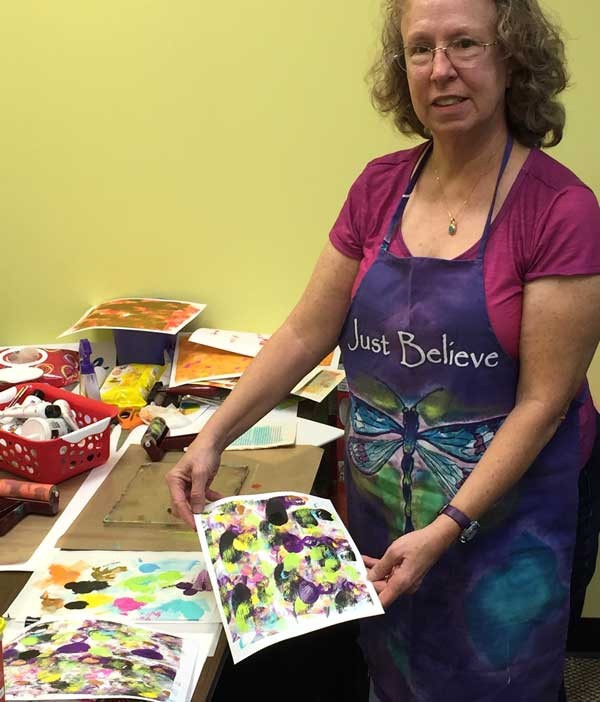
Cheryl let herself play with fall colors as she explored and built up the layers testing out new techniques!
Jane’s Eddy Rose layer built so much movement into her print setting a great stage for the women, Talaya and Peacock with a touch of words!
Thank you to each and every one of you who joined me for a day of art play and silliness! If you’re ever in the Greater Cincinnati area, check out Simply Said Stamps- Joan has so many fun goodies to temp you in there!
This website uses cookies to improve your experience while you navigate through the website. Out of these cookies, the cookies that are categorized as necessary are stored on your browser as they are essential for the working of basic functionalities of the website. We also use third-party cookies that help us analyze and understand how you use this website. These cookies will be stored in your browser only with your consent. You also have the option to opt-out of these cookies. But opting out of some of these cookies may have an effect on your browsing experience.
Necessary cookies are absolutely essential for the website to function properly. This category only includes cookies that ensures basic functionalities and security features of the website. These cookies do not store any personal information.
Any cookies that may not be particularly necessary for the website to function and is used specifically to collect user personal data via analytics, ads, other embedded contents are termed as non-necessary cookies. It is mandatory to procure user consent prior to running these cookies on your website.


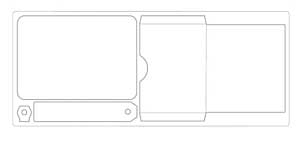 I grabbed a whole bunch of prints that I had made and ran them through my Sizzix machine. When they came out they had the score lines already in them so it was easy and quick to fold and glue.